manuals.online logo
Brands
  1. Home
  2. •
  3. Brands
  4. •
  5. Assa Abloy
  6. •
  7. Door Opening System
  8. •
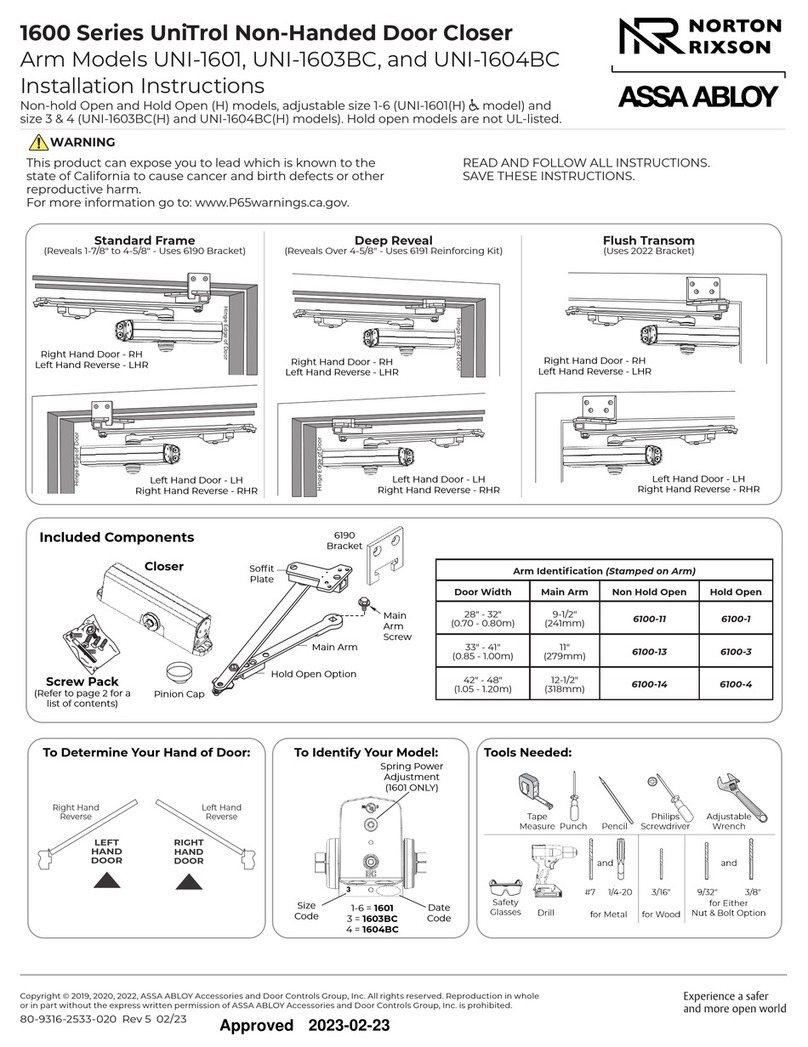
  9. Assa Abloy Norton J1600 UniTrol User manual

Assa Abloy Norton J1600 UniTrol User manual

This manual suits for next models

4

Other Assa Abloy Door Opening System manuals
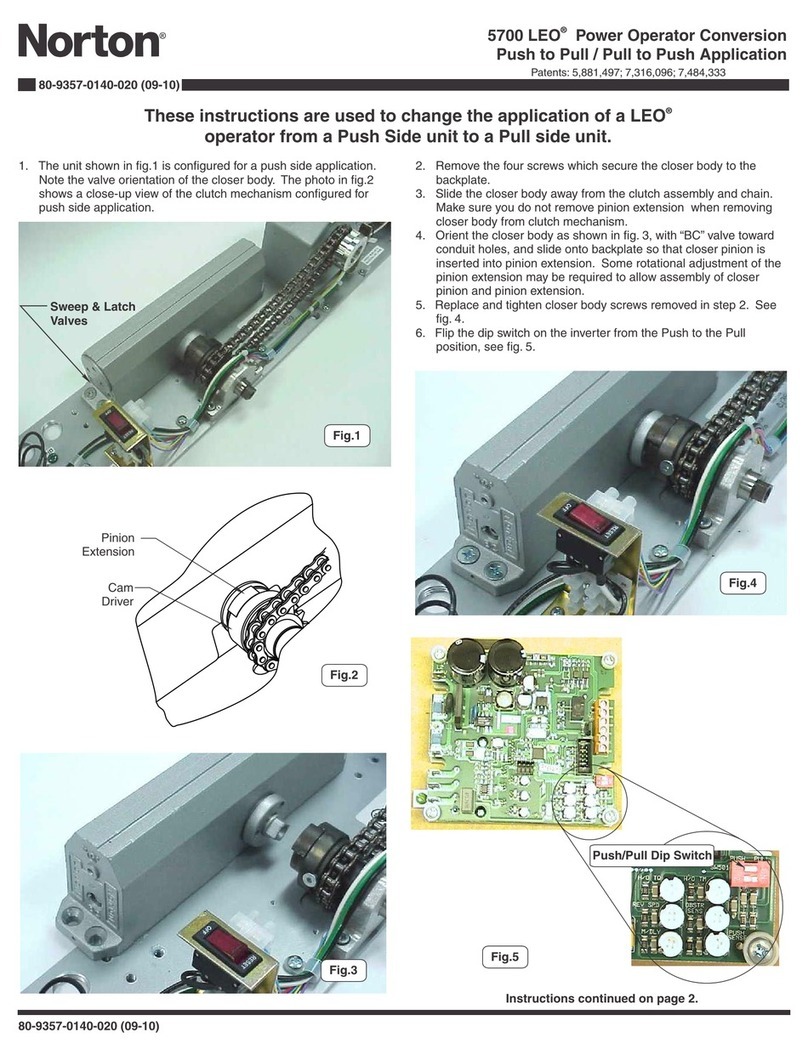
Assa Abloy Corbin Russwin ED4000 Series User manual

Assa Abloy

Assa Abloy Corbin Russwin ED4000 Series User manual

Assa Abloy SW200 User manual

Assa Abloy

Assa Abloy SW200 User manual

Assa Abloy Norton 1600H User manual

Assa Abloy

Assa Abloy Norton 1600H User manual

Assa Abloy Besam SL500 User manual

Assa Abloy

Assa Abloy Besam SL500 User manual

Assa Abloy Corbin Russwin DC6200 Series User manual

Assa Abloy

Assa Abloy Corbin Russwin DC6200 Series User manual

Assa Abloy NORTON RIXSON 1600 Series User manual

Assa Abloy

Assa Abloy NORTON RIXSON 1600 Series User manual

Assa Abloy 78PRA-8L User manual

Assa Abloy

Assa Abloy 78PRA-8L User manual

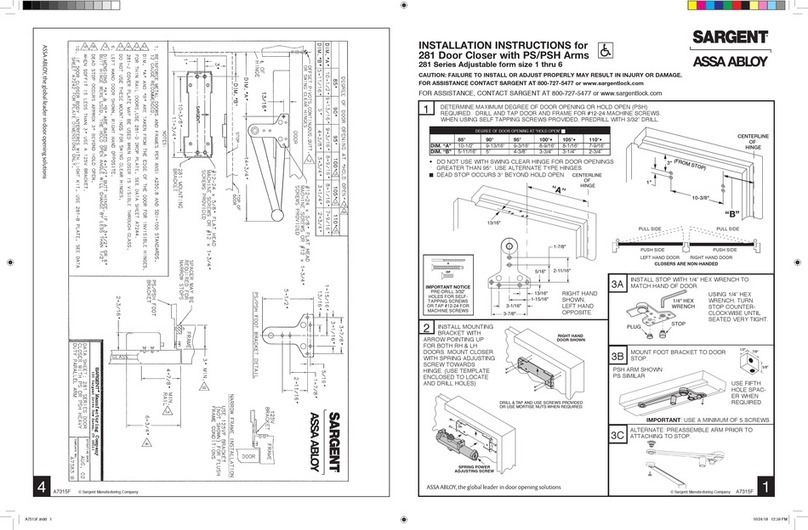
Assa Abloy SARGENT 281 Series User manual

Assa Abloy

Assa Abloy SARGENT 281 Series User manual

Assa Abloy SARGENT 351 User manual

Assa Abloy

Assa Abloy SARGENT 351 User manual

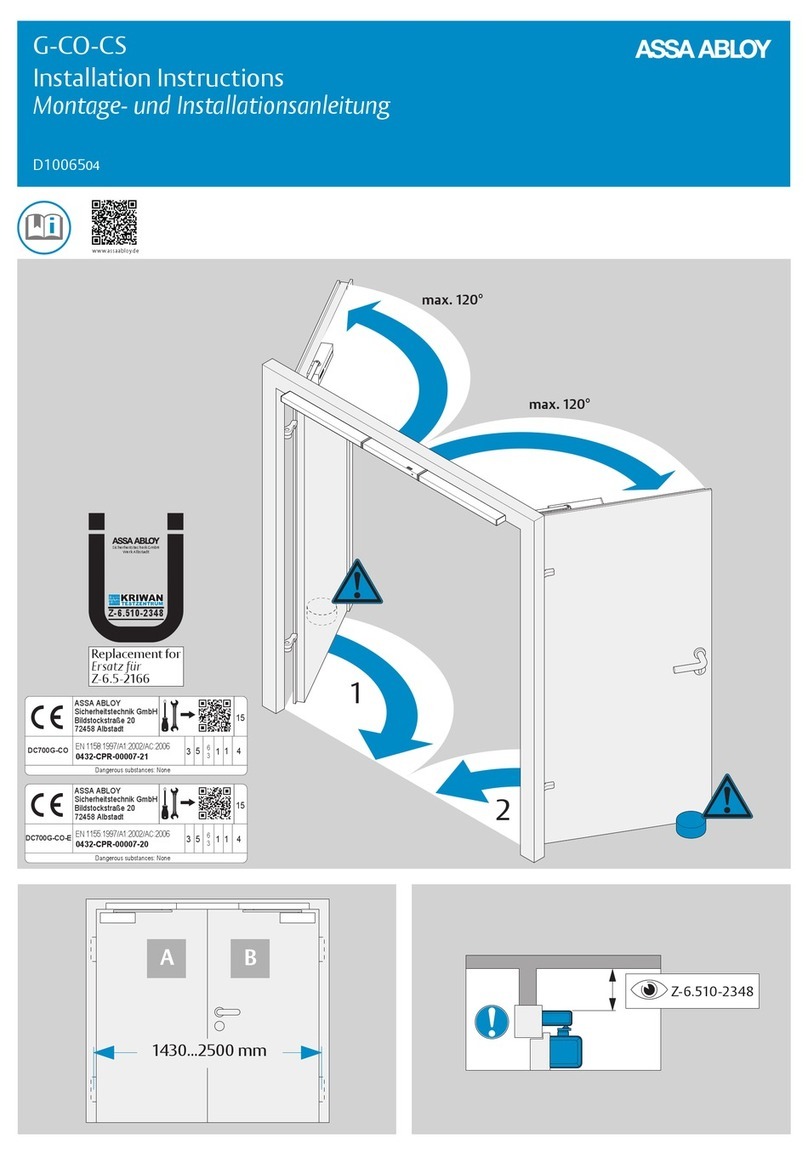
Assa Abloy G-CO-CS User manual

Assa Abloy

Assa Abloy G-CO-CS User manual
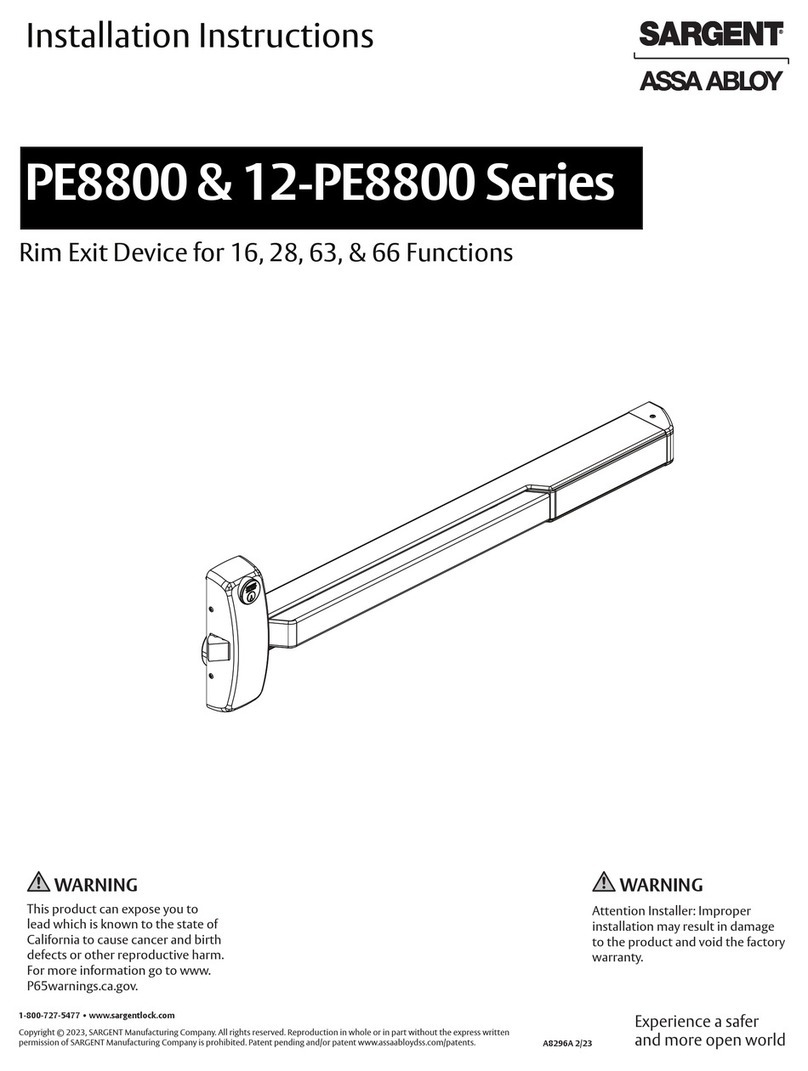
Assa Abloy Rixson Smok-Chek VI Quick guide

Assa Abloy

Assa Abloy Rixson Smok-Chek VI Quick guide

Assa Abloy RIXSON 91DCP User manual

Assa Abloy

Assa Abloy RIXSON 91DCP User manual

Assa Abloy Norton SafeZone 7110SZ Quick guide

Assa Abloy

Assa Abloy Norton SafeZone 7110SZ Quick guide

Assa Abloy Norton 6300 Series Quick guide

Assa Abloy

Assa Abloy Norton 6300 Series Quick guide

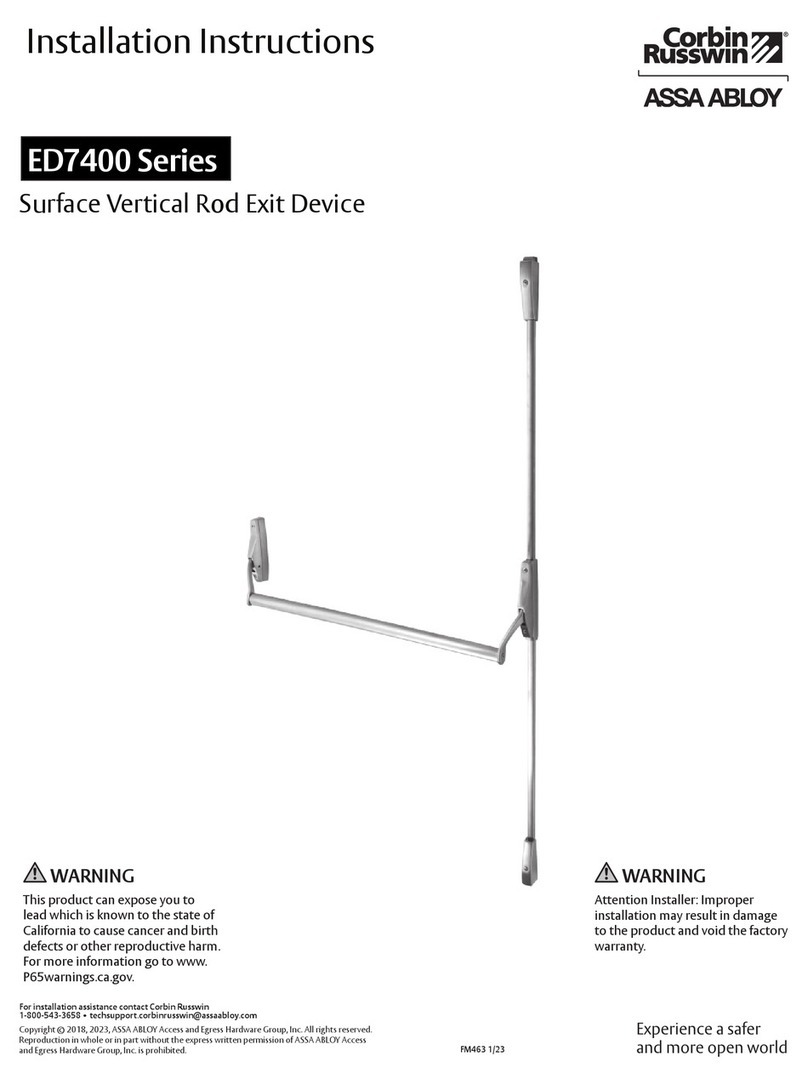
Assa Abloy Corbin Russwin ED7400 Series User manual

Assa Abloy

Assa Abloy Corbin Russwin ED7400 Series User manual

Assa Abloy G-CO-C User manual

Assa Abloy

Assa Abloy G-CO-C User manual

Assa Abloy Corbin Russwin DC8200 Series User manual
Assa Abloy

Assa Abloy Corbin Russwin DC8200 Series User manual
Assa Abloy CloserPlus Ramp Norton XF460 User manual

Assa Abloy

Assa Abloy CloserPlus Ramp Norton XF460 User manual

Assa Abloy Corbin Russwin DC3200 Series User manual

Assa Abloy

Assa Abloy Corbin Russwin DC3200 Series User manual

Assa Abloy Corbin Russwin PED5000 DB Series User manual

Assa Abloy

Assa Abloy Corbin Russwin PED5000 DB Series User manual

Assa Abloy DC700G-FT User manual

Assa Abloy

Assa Abloy DC700G-FT User manual

Assa Abloy DC140 User manual

Assa Abloy

Assa Abloy DC140 User manual

Assa Abloy Corbin Russwin PED5000 DB Series User manual

Assa Abloy

Assa Abloy Corbin Russwin PED5000 DB Series User manual

Assa Abloy Yale YM Series User manual

Assa Abloy

Assa Abloy Yale YM Series User manual

Popular Door Opening System manuals by other brands

Mobeye Call-Key MCK100 installation manual

Mobeye

Mobeye Call-Key MCK100 installation manual

SALICE Lapis Assembly instructions

SALICE

SALICE Lapis Assembly instructions

Cal-Royal N-F77CVR Installation instruction

Cal-Royal

Cal-Royal N-F77CVR Installation instruction

Scrigno OPEN1000 Assembly manual

Scrigno

Scrigno OPEN1000 Assembly manual

BFT WIND RMB 130B 200 installation manual

BFT

BFT WIND RMB 130B 200 installation manual

Alecto ADI-250 user manual

Alecto

Alecto ADI-250 user manual

Besam Swingmaster MP Installation, adjustment and maintenance instructions

Besam

Besam Swingmaster MP Installation, adjustment and maintenance instructions

GAL MOVFR Quick setup

GAL

GAL MOVFR Quick setup

Häfele Finetta T 70 VF manual

Häfele

Häfele Finetta T 70 VF manual

AGS D-PL Instructions for fitting, operating and maintenance

AGS

AGS D-PL Instructions for fitting, operating and maintenance

Stanley MA900ñ Installation and owner's manual

Stanley

Stanley MA900ñ Installation and owner's manual

WITTUR Hydra Plus UD300 Instruction handbook

WITTUR

WITTUR Hydra Plus UD300 Instruction handbook

Alutech TR-3019-230E-ICU Assembly and operation manual

Alutech

Alutech TR-3019-230E-ICU Assembly and operation manual

Pamex KT-INP35 Installation instruction

Pamex

Pamex KT-INP35 Installation instruction

MPC ATD ACTUATOR 50 ATD-313186 Operating and OPERATING AND INSTALLATION Manual

MPC

MPC ATD ACTUATOR 50 ATD-313186 Operating and OPERATING AND INSTALLATION Manual

Chamberlain T user guide

Chamberlain

Chamberlain T user guide

Dorma MUTO COMFORT M DORMOTION 50 Mounting instruction

Dorma

Dorma MUTO COMFORT M DORMOTION 50 Mounting instruction

Fireco Dorgard operating guide

Fireco

Fireco Dorgard operating guide

manuals.online logo
manuals.online logoBrands
  • About & Mission
  • Contact us
  • Privacy Policy
  • Terms and Conditions

Copyright 2025 Manuals.Online. All Rights Reserved.

Non Hold Open (UL Listed)
Hold Open (H) (Not UL Listed)
Copyright © 2016, 2020, ASSA ABLOY Accessories and Door Controls Group, Inc. All rights reserved. Reproduction in whole
or in part without the express written permission of ASSA ABLOY Accessories and Door Controls Group, Inc. is prohibited.
80-9316-2534-020 Rev 2 04/20
J1600 UniTrol®
Non Handed Door Closer
Top Jamb Mount
Sized
(Sizes 3,4)
UNI-J1603BC (H)
UNI-J1604BC (H)
Adjustable
(Sizes 1-6)
UNI-J1601 (H)
Hinge Edge of Door
Hinge Edge of Door
Ce produit peut vous exposer au plomb qui, dans l’état de la Californie,
est reconnu pour causer le cancer, des anomalies congénitales ou d’autres
problèmes de reproduction. Pour plus d’informations, visitez:
www.P65warnings.ca.gov.
This product can expose you to lead which is known to the state of
California to cause cancer and birth defects or other reproductive harm.
For more information go to www.P65warnings.ca.gov.
WARNING
Tools Needed
TO DETERMINE
HAND OF
YOUR DOOR:
LEFT
HAND
DOOR
RIGHT
HAND
DOOR
Right Hand
Reverse
Left Hand
Reverse
To Determine Your Hand of Door: To Identify Your Model:
1-6 = 1601
3 = 1603BC
4 = 1604BC
Included Components (See page 2 for mounting hardware)
UNI-J1600 (H)
Right Hand Door - RH
Left Hand Reverse - LHR
Left Hand Door - LH
Right Hand Reverse - RHR
Sleeve-nut
Rod Unit
(Arm Number Stamp)
Main Arm
Screw
Rod Screws
Forearm
Hold Open Control
Arm Foot
Main Arm
Hold Open1687Drop Plate
For low ceiling
clearance
Optional Components
Hold Open Control
(Hold Open Models)
Hold Open Control
(Hold Open Models)
Copyright © 2016, 2020, ASSA ABLOY Accessories and Door Controls Group, Inc. All rights reserved. Reproduction in whole
or in part without the express written permission of ASSA ABLOY Accessories and Door Controls Group, Inc. is prohibited.
80-9316-2534-020 Rev 2 04/20
2
• For special applications, a separate door and frame
preparation template is packed with these instructions. Use
this instruction sheet for installation sequence and closer
adjustments only.
• Doors should be hung on ball bearing or anti-friction hinges.
• Door and frame must be properly reinforced.
Mounting Hardware Door or Frame Drill
Closer:
1/4-14 x 1-1/2 Oval Flat Head Mach. Screw Wood 3/16" (4.76mm)
Closer:
1/4-20 x 3/4 Oval Flat Head Mach. Screw Metal Drill #7 (.201 dia. or 5.10mm)
Tap 1/4-20
Arm Foot:
Sleeve Nut and Bolt (SNB)
Hollow Metal 9/32" (7.00mm) thru
3/8" (9.50mm) door face opposite to closer
Aluminum or Wood 3/8" (9.50mm) thru
Arm Foot:
Thru Bolt and Grommet Nut (TBGN)
(optional)
All
9/32" (7.00mm) thru
3/8" (9.50mm) dia. x 3/8" (9.500mm) deep,
door face opposite to closer
• Always consult door/frame manufacturer for fastener
compatibility.
• Adjust closing time speed between 4 and 7 seconds from
90° to 0°. Use of door by handicapped, elderly or small
children may require greater closing time.
• These door closers should NOT be installed on exposed side
(weather side) of exterior doors.
• Dimensions are given in inches (millimeters).
ATTENTION:
An incorrectly installed or improperly adjusted door closer can
cause property damage or personal injury. These installation
instructions should be followed to avoid the possibility of
misapplication or misadjustment.
J1600 UniTrol Arm Closer
Closer Adjustments
Latch Backcheck
Use provided 1/8" hex wrench to
turn valves.
NEVER force valves out of closer.
NEVER completely close
backcheck valve. Backcheck
is not a positive stop.
Door must be open to adjust
spring closing power. Refer to
chart.
Do not use a power drill.
Warranty will be void. Sweep
2
3
4
5
6
8
10
11
12
14
To p
Jamb
Do not over tighten
screws
Pinion Cap
Screw pinion cap onto pinion
shaft by hand or with a Phillips
screwdriver.
Copyright © 2016, 2020, ASSA ABLOY Accessories and Door Controls Group, Inc. All rights reserved. Reproduction in whole
or in part without the express written permission of ASSA ABLOY Accessories and Door Controls Group, Inc. is prohibited.
80-9316-2534-020 Rev 2 04/20 3
J1600 UniTrol Arm - Top Jamb Mount Installation (Right Hand Shown)
Notes:
1. IMPORTANT: Installation instructions cover
either non hold open or hold open models.
2. If ceiling clearance is between 1-3/4" and
2-5/8" (44 - 67mm), use 1687 Drop Plate.
Prepare door and frame accordingly.
3. Using dimensions for hold-open or stop
angle desired, mark and drill
• Four (4) holes on frame face for closer
(or drop plate)
• Two (2) holes on door for arm foot
4. UNI1601 ONLY: Set approximate closing
power using “Spring Power Adjustment”
chart on page 2.
9-1/16
(230.2) 3/4
(19.1)
1/2
(13)
3-3/4
(95)
2
(51) 4-1/8
(104.8)
C
L
A
Hinge or Pivot
Opening Dimension A
Hold Open Stop Inches (mm)
85° 90° 9-1/8 (232)
90° 95° 8-3/8 (213)
95° 100° 7-3/4 (197)
100° 105° 7-3/8 (187)
105° 110° 6-3/4 (171)
110° 115° 6-1/2 (165)
Hollow Metal or Wood Openings Template
Aluminum Openings Template
9-1/16
(230.2) 3/4
(19.1)
1/2
(13)
3-3/4
(95)
1
(25) 4-1/8
(104.8)
C
L
A
Hinge or Pivot
1. Prepare door and frame.
Arm Identication (Stamped on Arm)
Reveal Non Hold
Open
Hold
Open
0" - 3/8"
(0 - 10mm) J6600-4 J6600-7
1/2" - 2"
(13 - 50mm) J6200-4 J6200-7
2-1/8" - 3-1/4"
(55 - 83mm) J6100-4 J6100-7
3-3/8" - 4-1/4"
(85 - 108mm) J6400-4 J6400-7
4-3/8" - 5-3/8"
(111 - 137mm) J6500-41 J6500-71
5-1/2" - 6-3/8"
(140 - 162mm) J6500-42 J6500-72
6-1/2" - 7-3/8"
(165 - 187) J6500-43 J6500-73
Arm Foot
Rod Unit
(Arm Number Stamp)
Arm Screw
Forearm
Hold-Open
(Models suffixed “H”)
Main Arm
Power Adjustment Shaft
“BC”
Pinion Cap
Reveal
Arm Foot
Rod Unit
(Arm Number Stamp)
Arm Screw
Forearm
Hold-Open
(Models suffixed “H”)
Main Arm
Power Adjustment Shaft
“BC”
Pinion Cap
Reveal
Norton is a brand associated with ASSA ABLOY Accessories and Door Controls Group, Inc., an ASSA ABLOY Group company.
Copyright © 2016, 2020, ASSA ABLOY Accessories and Door Controls Group, Inc. All rights reserved. Reproduction in whole
or in part without the express written permission of ASSA ABLOY Accessories and Door Controls Group, Inc. is prohibited. 80-9316-2534-020 Rev 2 04/20
Norton Technical Product Support:
Monroe, NC 28112 USA
Phone: 800.438.1951 ext: 6030
TechSupport.Norton@assaabloy.com
nortondoorcontrols.com
You’ve now installed the 1600 UniTrol Arm Closer - Top Jamb Mount.
🛑
Go to page 2 for closer adjustments and decorative cap installation.
S
x4
S and L valves
TOWARD hinge
2. Mount closer. 3b. Install separate arms.
RH and LH:
Position at at S
4. Connect arms and install rod screws. 5. Preload spring and tighten rod screws.
1st
2nd Rotate elbow until
forearm is perpendicular
to frame.
Rotating arm
preloads closer
spring power.
1st
2nd
3a. Remove rod unit
from slide unit.
Aluminum: Rod on bottom
Metal/Wood: Rod on top
Long side of foot always
TOWARD hinge