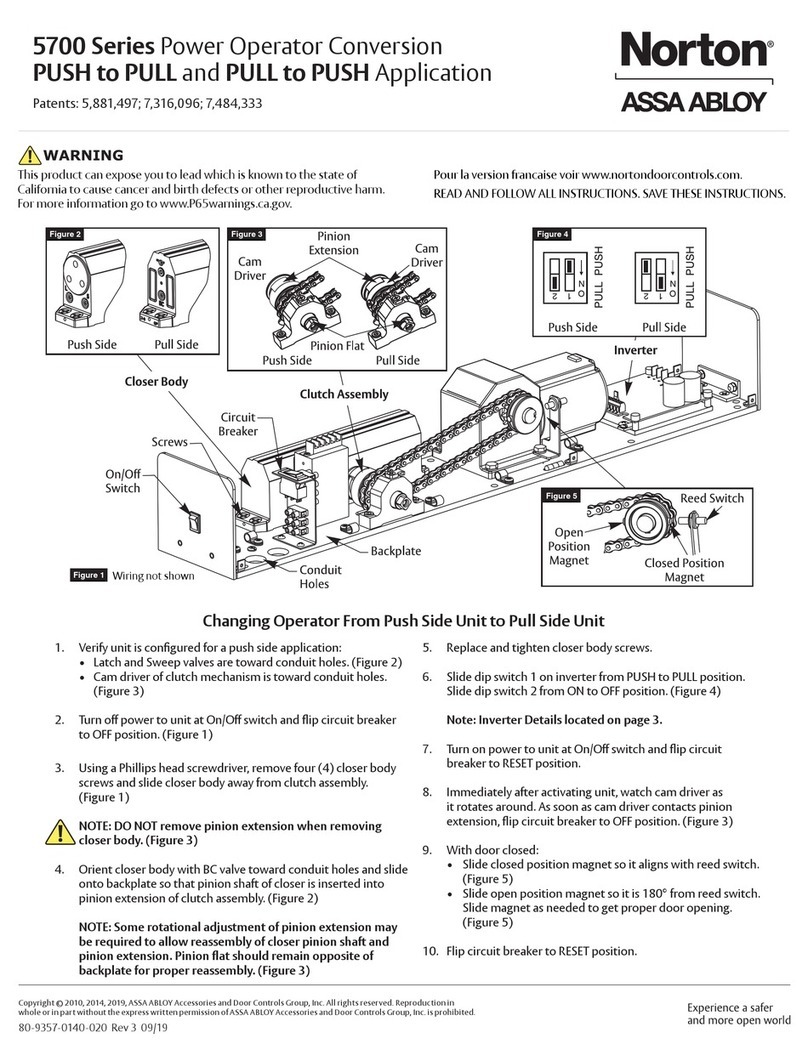
Assa Abloy SARGENT 351 Series User manual
Other Assa Abloy Door Opening System manuals
Assa Abloy
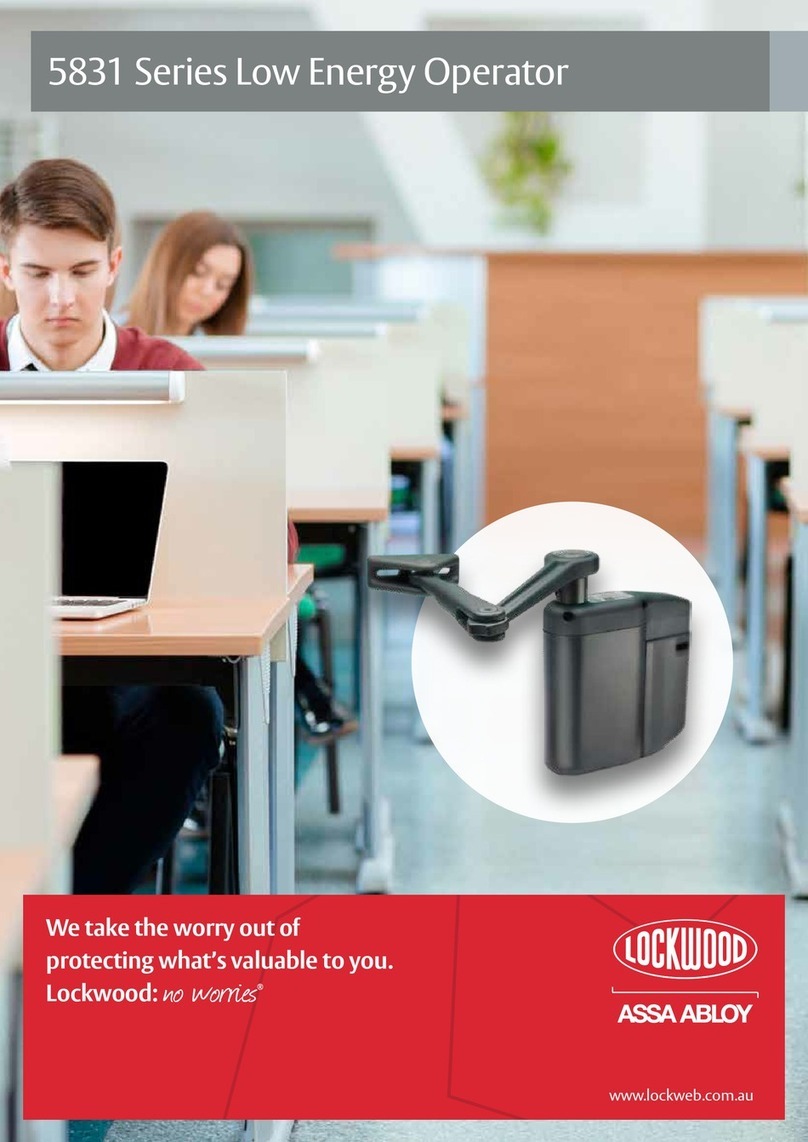
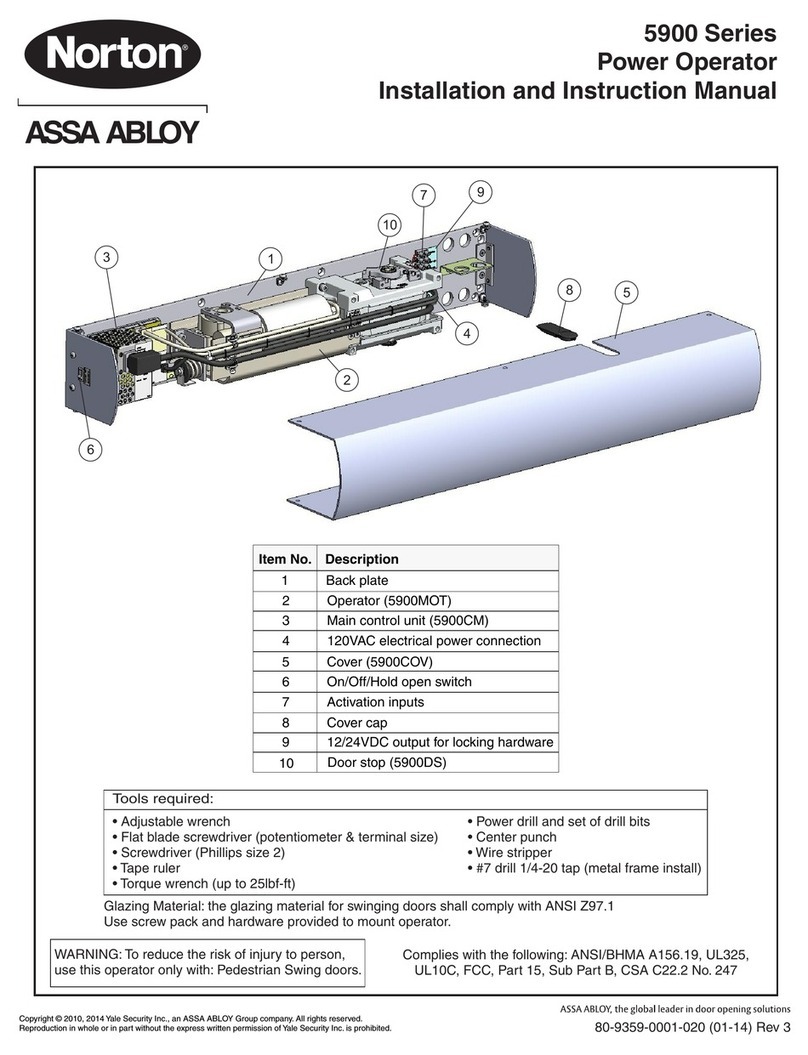
Assa Abloy Norton 5900 Series Quick guide

Assa Abloy
Assa Abloy King 70 Series User manual
Assa Abloy
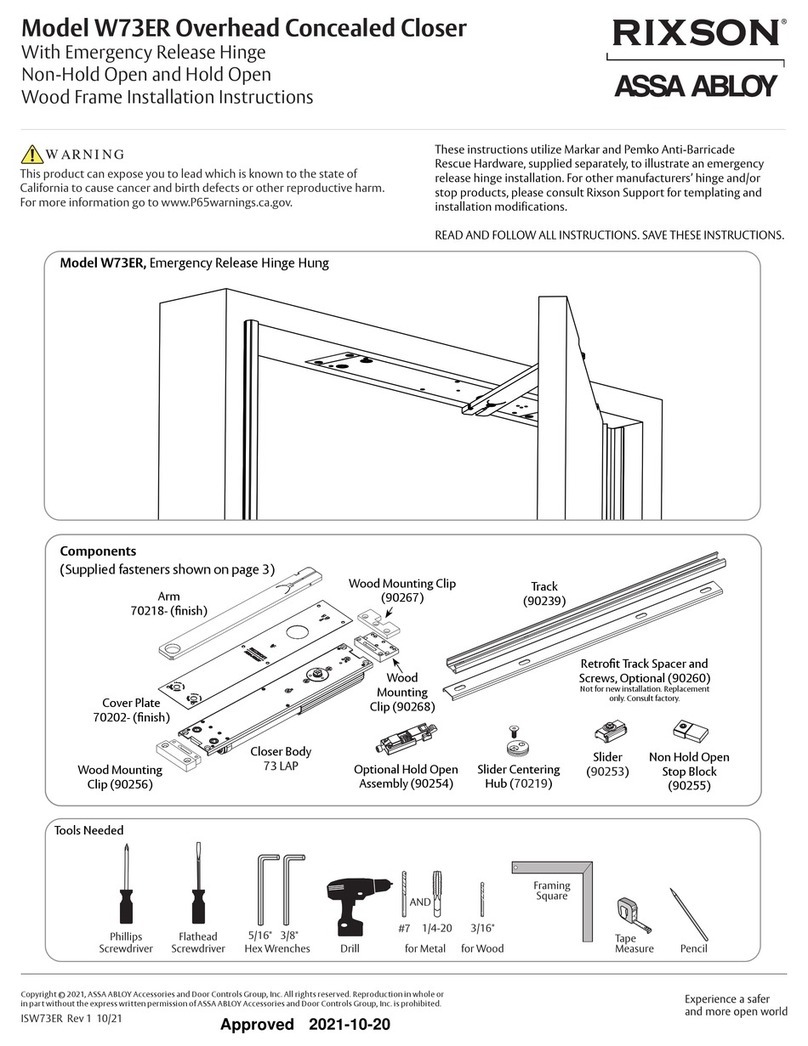
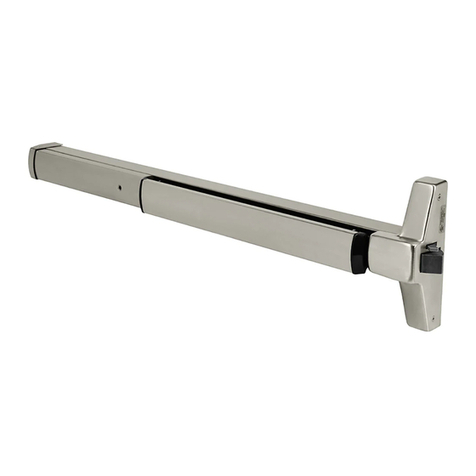
Assa Abloy RIXSON W73ER User manual
Assa Abloy
Assa Abloy Corbin Russwin ED4000 Series User manual

Assa Abloy
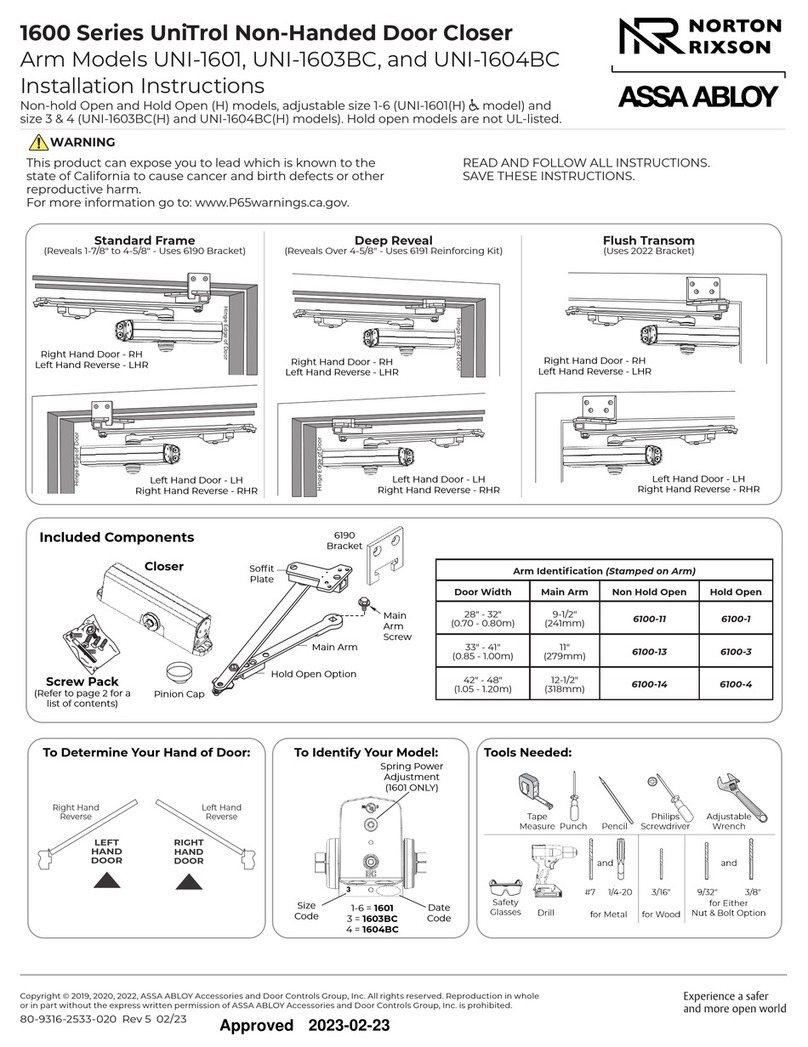
Assa Abloy Norton 1600 User manual
Assa Abloy
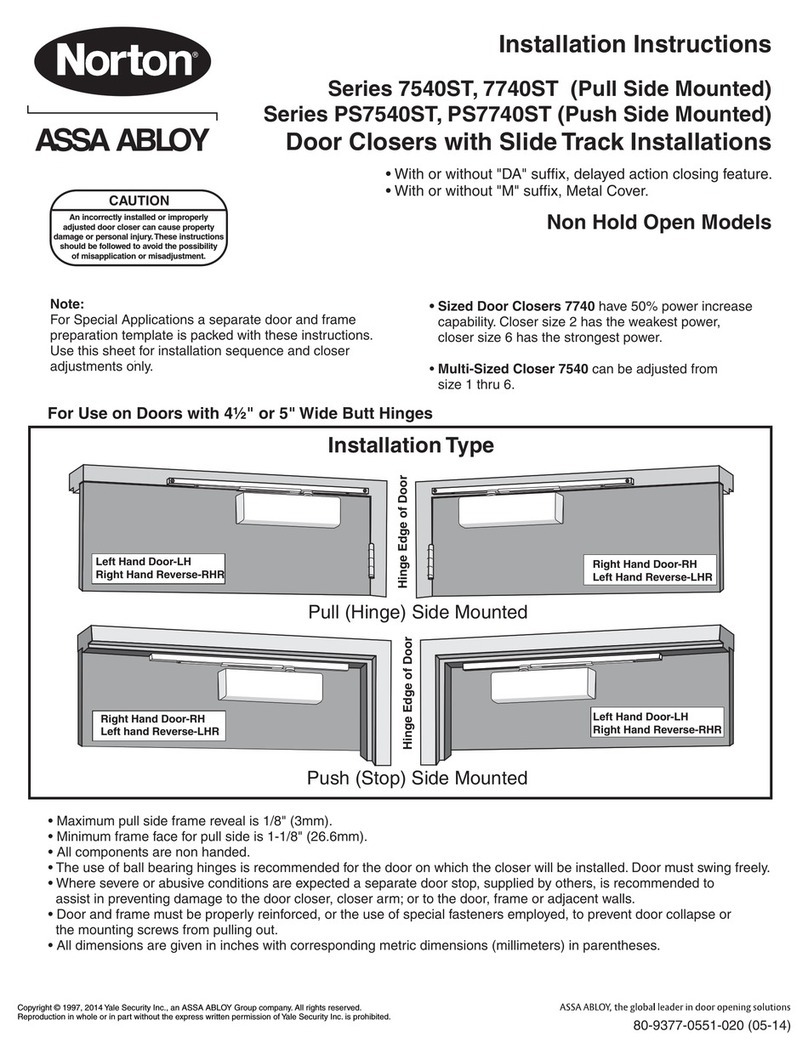
Assa Abloy NORTON RIXSON 1600 Series User manual
Assa Abloy
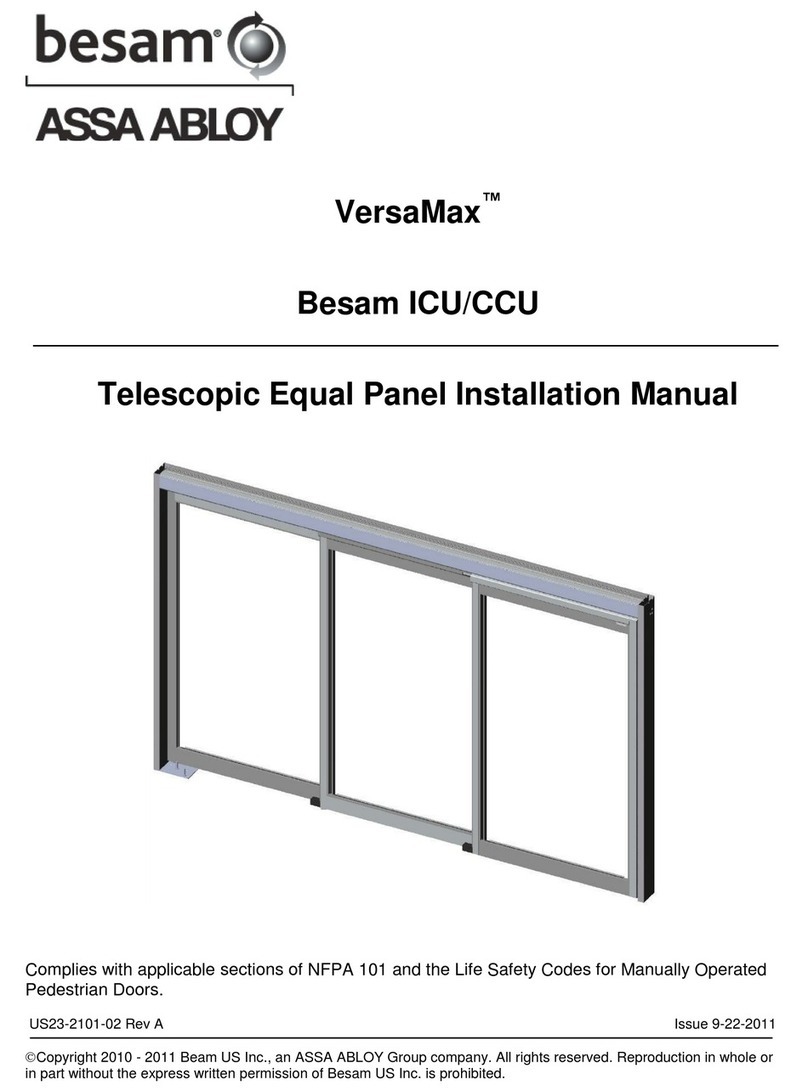
Assa Abloy Norton 7540ST Series User manual
Assa Abloy
Assa Abloy Besam VersaMax ICU User manual

Assa Abloy
Assa Abloy SARGENT 1431 Series User manual
Assa Abloy
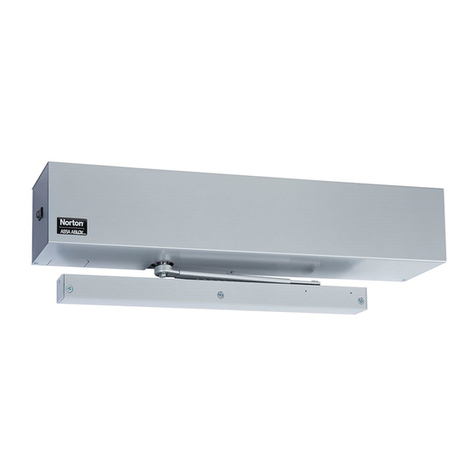
Assa Abloy Norton 5700P Series User manual
Assa Abloy
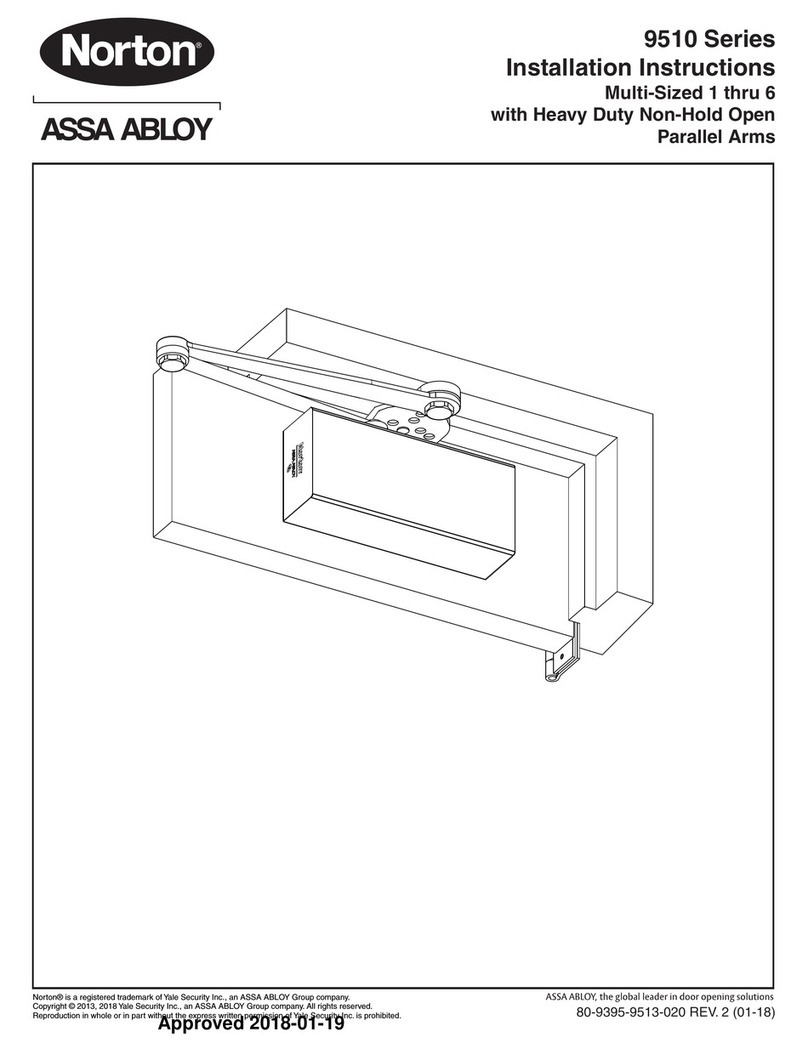
Assa Abloy Norton 9510 Series User manual

Assa Abloy
Assa Abloy 332 Series User manual

Assa Abloy
Assa Abloy Corbin Russwin PED5400 FE User manual

Assa Abloy
Assa Abloy Lockwood 724 Series User manual
Assa Abloy
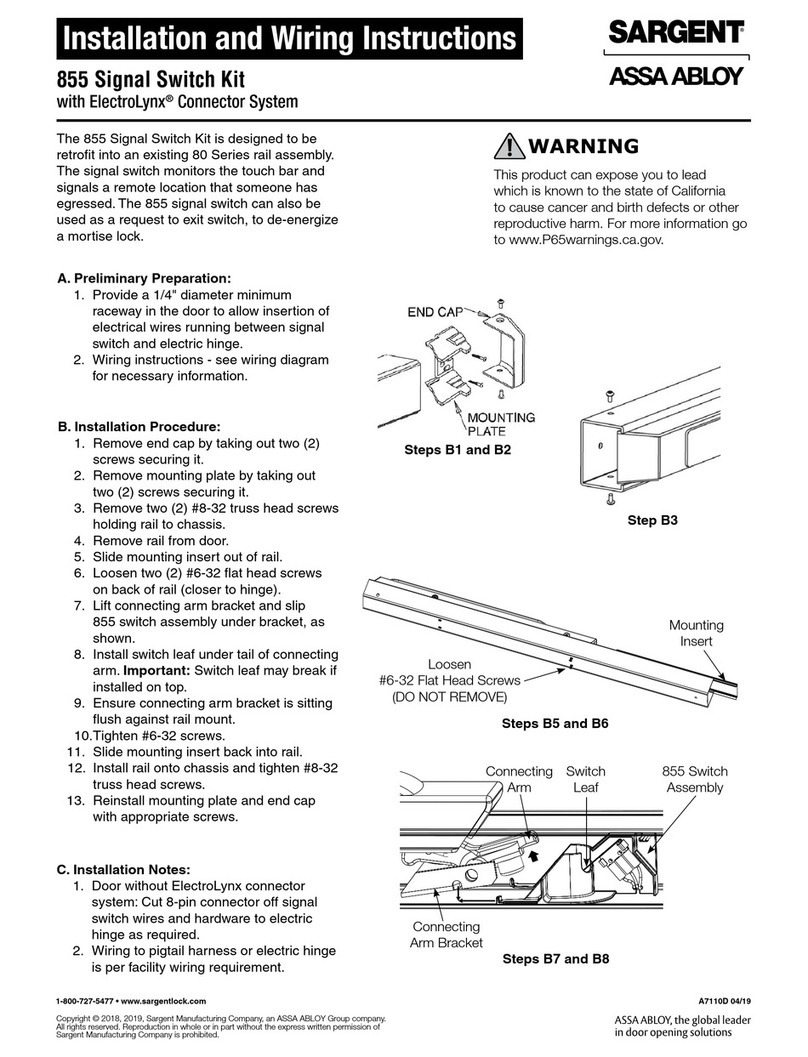
Assa Abloy Sargent 855 Assembly instructions

Assa Abloy
Assa Abloy Norton 9510 Series User manual
Assa Abloy
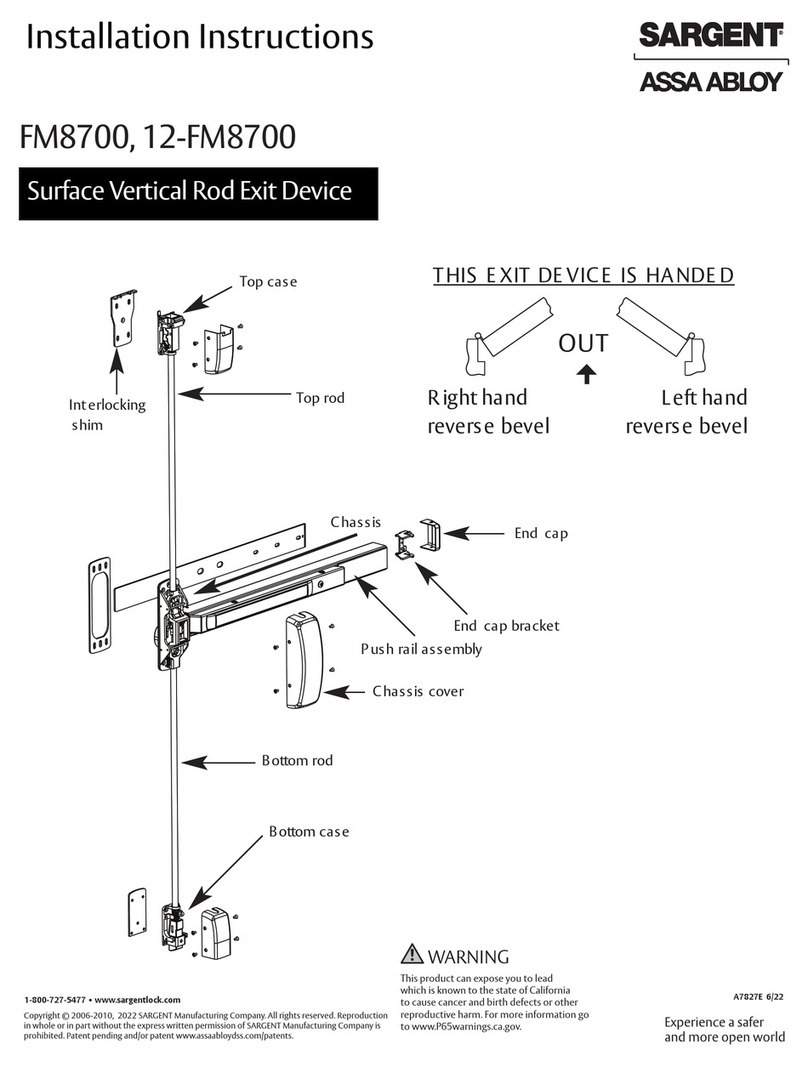
Assa Abloy SARGENT FM8700 User manual
Assa Abloy
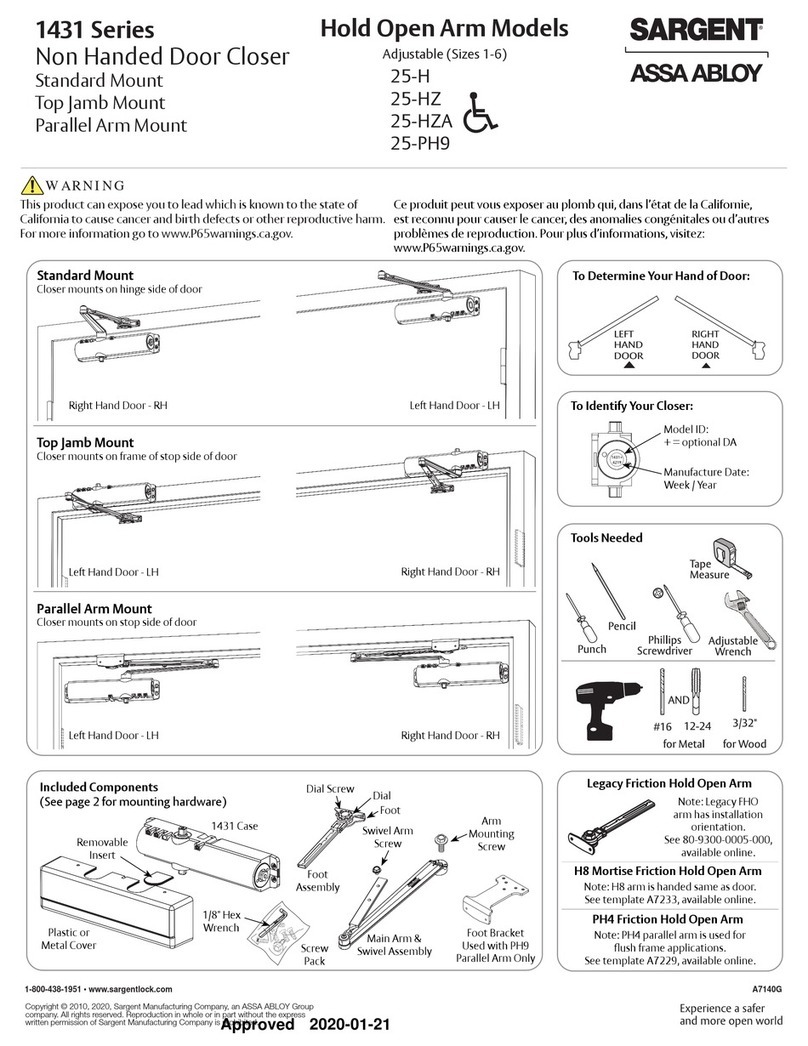
Assa Abloy SARGENT 1431 Series User manual
Assa Abloy
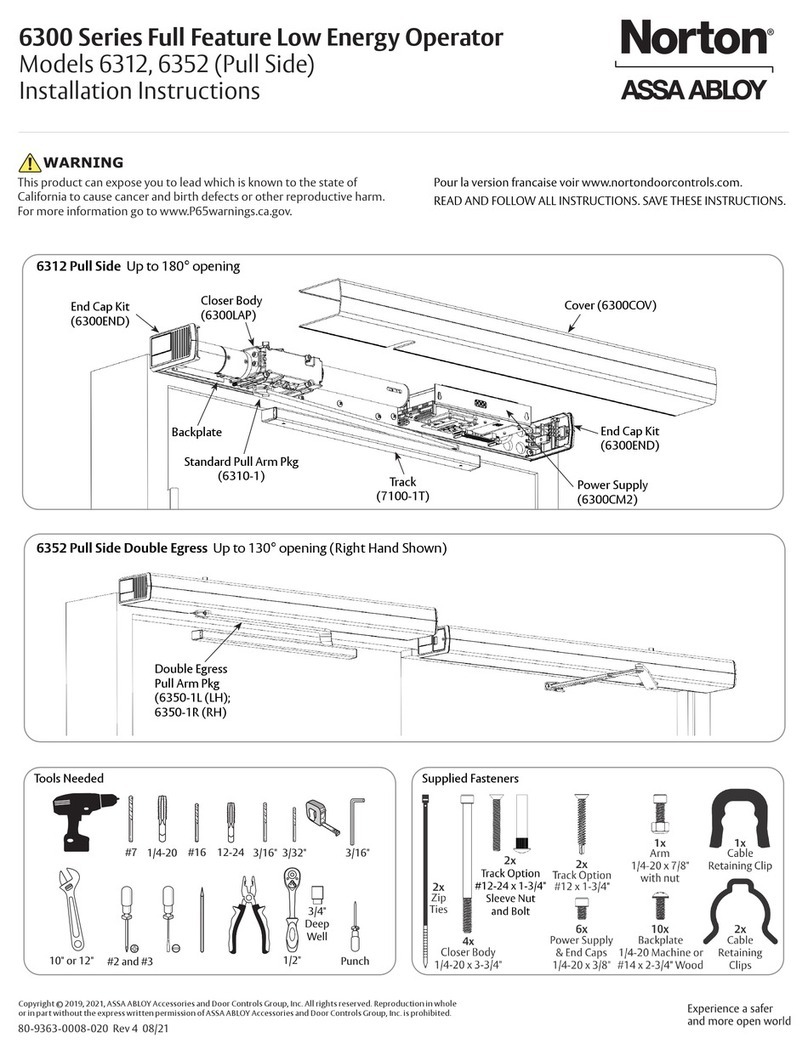
Assa Abloy Norton 6300 Series User manual
Assa Abloy
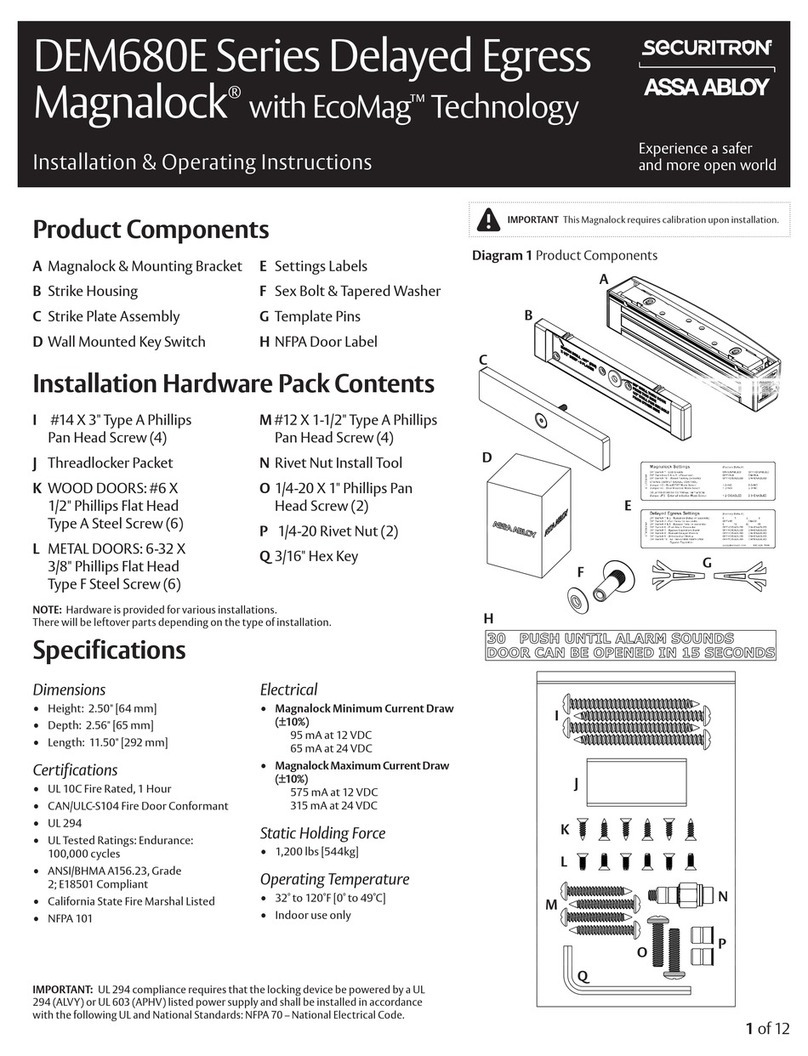
Assa Abloy SECURITRON DEM680E Series Manual
Popular Door Opening System manuals by other brands

Stanley
Stanley MA900ñ Installation and owner's manual

WITTUR
WITTUR Hydra Plus UD300 Instruction handbook

Alutech
Alutech TR-3019-230E-ICU Assembly and operation manual

MPC
MPC ATD ACTUATOR 50 ATD-313186 Operating and OPERATING AND INSTALLATION Manual

GEZE
GEZE ECturn user manual

Chamberlain
Chamberlain T user guide

