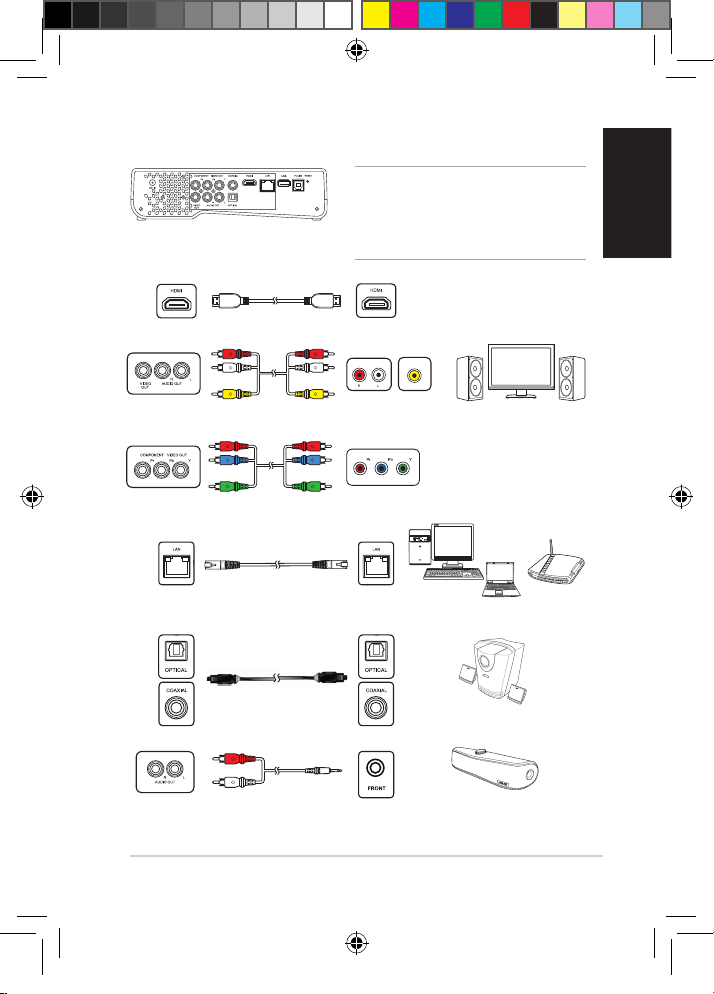
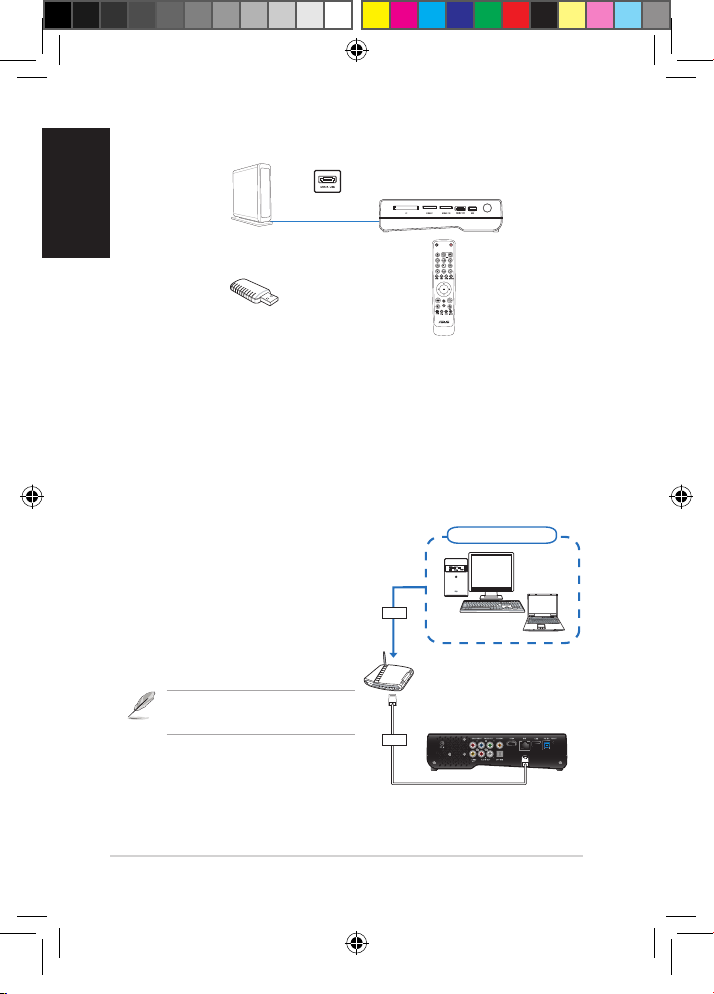
Asus OPLAY HD2 User manual
Other Asus Media Player manuals

Asus
Asus O!PLAY GALLERY User manual

Asus
Asus CAX21 User manual

Asus
Asus HDP-R1 User manual

Asus
Asus OPLAY HD2 User manual

Asus
Asus Nexus Player TV500I User manual

Asus
Asus O!PLAY MINI V2 User manual

Asus
Asus CUBE with Google TV User manual

Asus
Asus Clique R100 User manual

Asus
Asus HDP-R1 User manual

Asus
Asus OPLAY HD2 User manual

Asus
Asus O!PLAY MINI PLUS User manual

Asus
Asus HDP-R3 User manual

Asus
Asus O!Play Live User manual

Asus
Asus ai touchmedia User manual

Asus
Asus O!PLAY GALLERY User manual

Asus
Asus O!PLAY MINI PLUS User manual

Asus
Asus Clique R100 User manual

Asus
Asus OPLAY HD2 User manual

Asus
Asus O!PLAY HD2 E5763 User manual