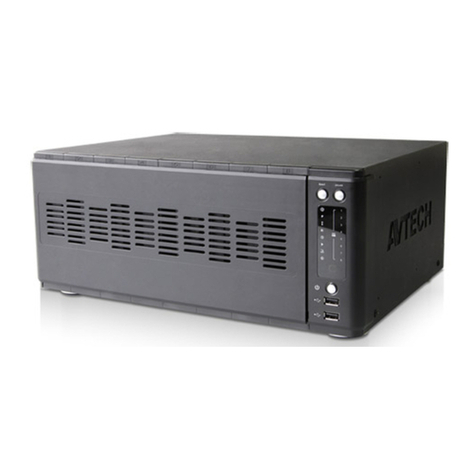
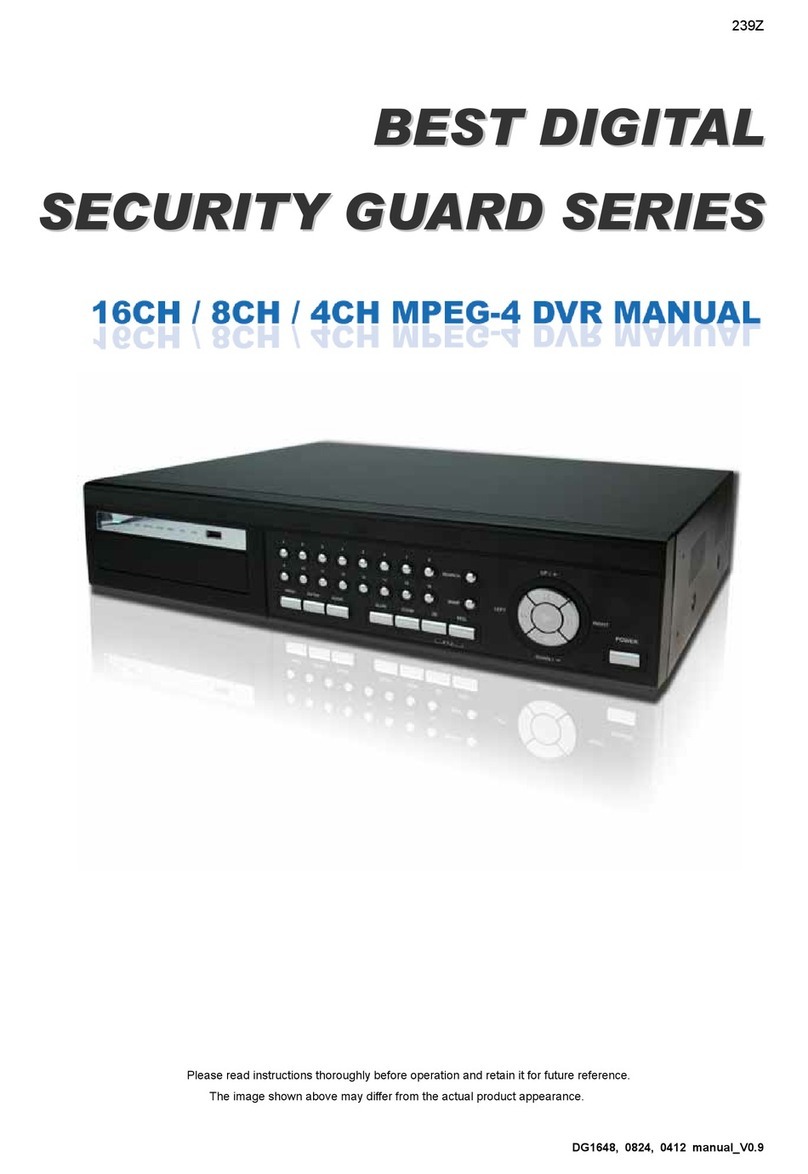
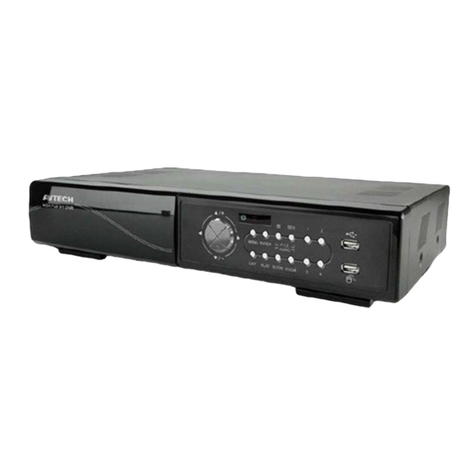
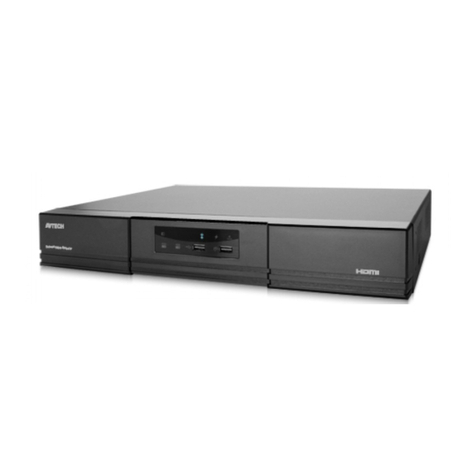
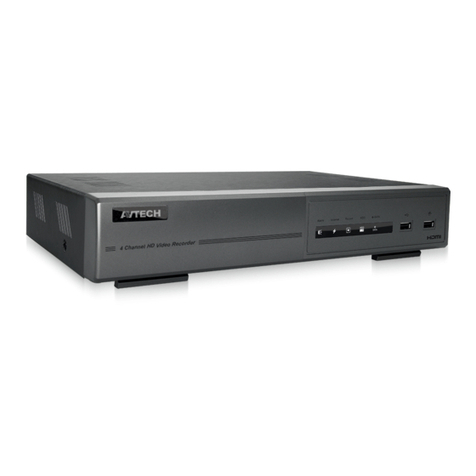
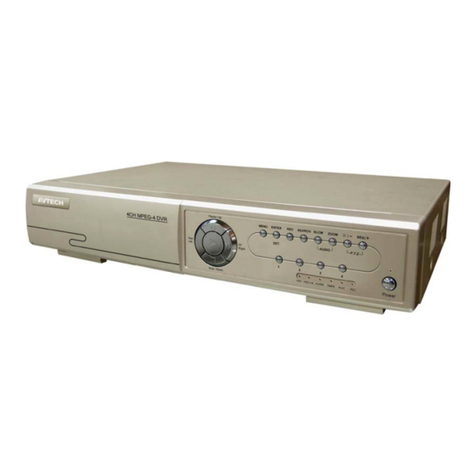
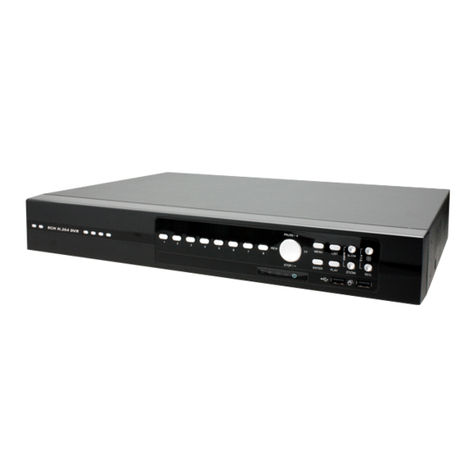
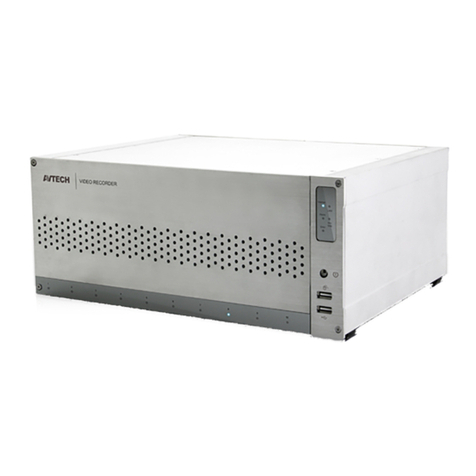
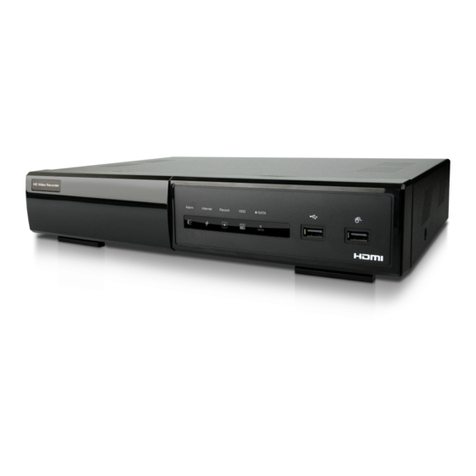
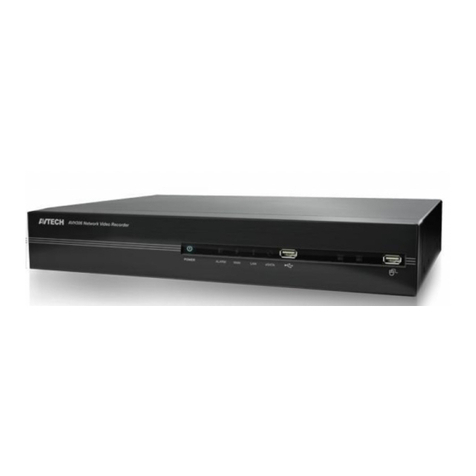
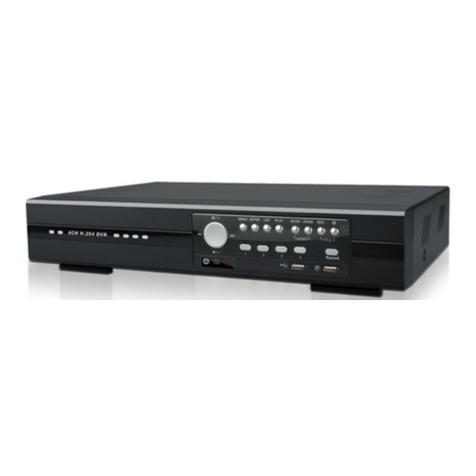
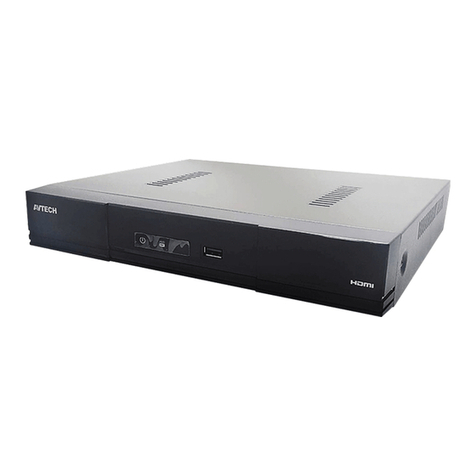
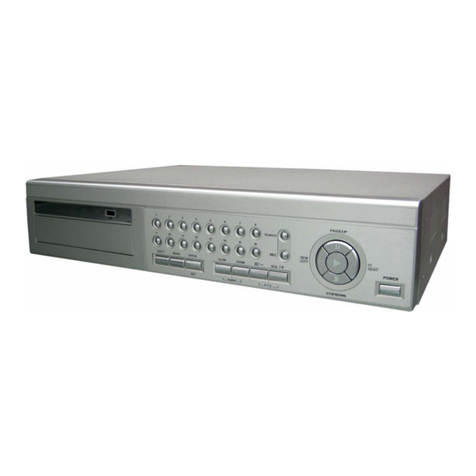
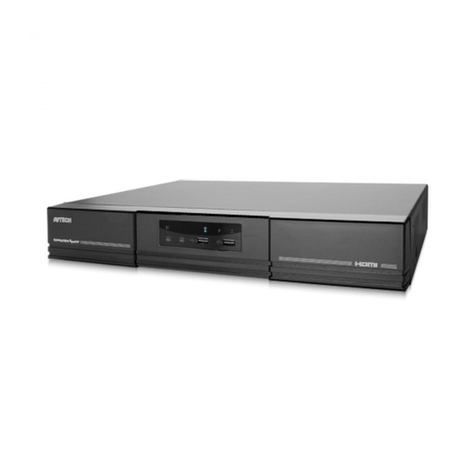
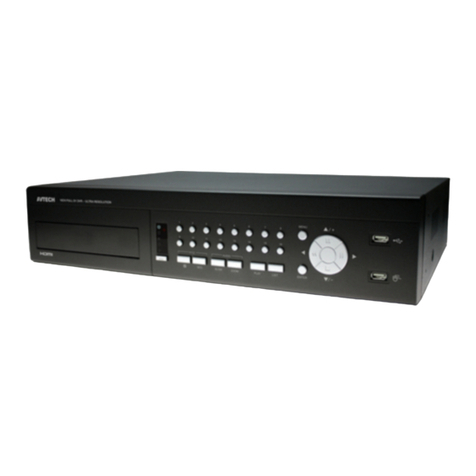
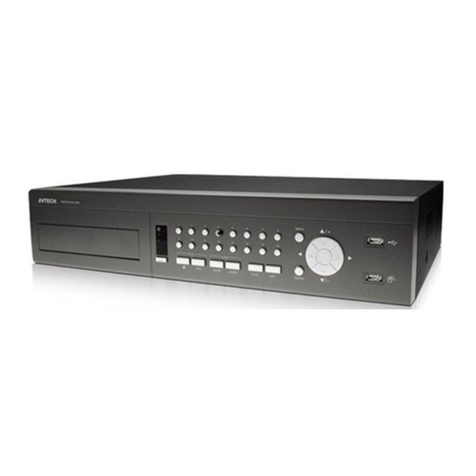
Avtech AVD 714 User manual


Version Information
Manual: V0.9
Firmware: 1227-1012-1032-1018-M1-6C1B
Video Viewer: 0086

Dear Customers,
Thank you for choosing this innovative 3G ACTIVE CALL-OUT digital video
recorder (DVR). From this moment, you are entering into a new era of security
guard, and more convenient and surprising features are presented to suit your
versatile needs.
This DVR is integrated with the 3G technology to increase not only the
instance of notification, but also the mobility of surveillance.
Featuring with the 3G active call-out function, you will be notified of any
event within 5 seconds via your 3G mobile phone and take actions
immediately. To quickly check, for example, what your children are doing at
home, just call back to the DVR via the 3G network.
There are more practical and convenient functions to be discovered for this
3G DVR. We care your safety, and always dedicate to improve the best.

STATEMENT & DECLARATION
CE Marking
This apparatus is manufactured to comply with the radio interference
requirements.
Environmental Policy Declaration
All lead-free products offered by the company comply with the requirements of
the European law on the Restriction of Hazardous Substances (RoHS) directive,
which means our manufacture processes and products are strictly “lead-free”
and without the hazardous substances cited in the directive.
The crossed-out wheeled bin mark symbolizes that within the European Union the
product must be collected separately at the product end-of-life. This applies to
your product and any peripherals marked with this symbol. Do not dispose of
these products as unsorted municipal waste. Contact your local dealer for
procedures for recycling this equipment.
Disclaimer
The information in this manual was current when published. We reserve the right
to revise or remove any content in this manual at any time. We do not warrant or
assume any legal liability or responsibility for the accuracy, completeness, or
usefulness of this manual. The content of this manual is subject to change without
notice.
MPEG4 Licensing
THIS PRODUCT IS LICENSED UNDER THE MPEG4 VISUAL PATENT PORTFOLIO LICENSE
FOR THE PERSONAL AND NON-COMMERCIAL USE OF A CONSUMER FOR (i)
ENCODING VIDEO IN COMPLIANCE WITH THE MPEG4 VISUAL STANDARD (“MPEG4
VIDEO”) AND/OR (ii) DECODING MPEG-4 VIDEO THAT WAS ENCODED BY A
CONSUMER ENGAGED IN A PERSONAL AND NON-COMMERCIAL ACTIVITY
AND/OR WAS OBTAINED FROM A VIDEO PROVIDER LICENSED BY MPEG LA TO
PROVIDE MPEG4 VIDEO. NO LICENSE IS GRANTED OR SHALL BE IMPLIED FOR ANY
OTHER USE. ADDITIONAL INFORMATION INCLUDING THAT RELATING TO
PROMOTIONAL INTERNAL AND COMMERCIAL USES AND LICENSING MAY BE
OBTAINED FROM MPEG LA, LLC. SEE HTTP://WWW.MPEGLA.COM.
GPL Licensing
This product contains codes which are developed by Third-Party-Companies and
which are subject to the GNU General Public License (“GPL”) or the GNU Lesser
Public License (“LGPL”).
The GPL Code used in this product is released without warranty and is subject to
the copyright of the corresponding author.
Further source codes which are subject to the GPL-licenses are available upon
request.
We are pleased to provide our
modifications to the Linux Kernel, as well as a few
new commands, and some tools to get you into the code. The codes are
provided on the FTP site, and please download them from the following site or
you can refer to your distributor:
ftp://ftp.dvrtw.com.tw/GPL/AV071/

SAFETY INSTRUCTIONS
Please read and follow the instructions carefully, and save them for future reference.
Do not spill water or any other liquid onto or into the device.
Do not expose the device to rain or moisture.
Do not expose the device to dust or dirt.
Do not place the device to magnetic fields.
Do not subject the device to heavy shock or vibration.
Before cleaning, unplug the device from the outlet.
Use a dry cloth to clean the device.
The device should be operated from the type of power source indicated on the
label. If you are not sure of the power source type available, consult your dealer
before use.
Do not overload outlets and extension cords as this may result in a risk of fire or
electric shock.
Do not step on the power cord or place heavy objects on top of it. Carefully route
the power cord and any cables away from foot traffic.
Do not attempt to service this device by yourself. You might put yourself into the risk
of electrical shock or other risks. Please consult to your dealer or qualified service
personnel.


CONTENTS
CHAPTER 1: 3G DVR SYSTEM OVERVIEW ...............................................................1
1.1. Concept ....................................................................................................................................1
1.1.1. What’s 3G DVR system combined? ................................................................................................... 1
1.1.2. What’s 3G technology? ........................................................................................................................ 2
1.1.3. What are 3G video call services? ....................................................................................................... 2
1.1.4. How to apply 3G services, including 3G video call services? ...................................................... 2
1.2. What You Can Do With 3G DVR System.............................................................................2
1.2.1. Receive instant event notification by a video call........................................................................... 2
1.2.2. Call Back to DVR for Remote Surveillance ...................................................................................... 3
1.2.3. Secretly inform other people when you’re in danger..................................................................... 3
1.2.4. 3G alarm off notification ..................................................................................................................... 3
1.2.5. System tamper / Power off notification ............................................................................................ 3
1.3. Surveillance via 3G Mobile Phone........................................................................................ 4
1.4. Before Using 3G DVR System ...............................................................................................4
1.4.1. Is Your 3G Environment Ready? ....................................................................................................... 4
1.4.2. Is Your 3G DVR System Ready? ........................................................................................................ 4
CHAPTER 2: DVR PANEL OVERVIEW.........................................................................7
2.1. Front Panel...............................................................................................................................7
2.2. Real Panel.................................................................................................................................9
CHAPTER 3: INSTALLATION & CONNECTION ....................................................11
3.1. Installing HDD......................................................................................................................11
3.2. Connecting to Power Cord & Monitor............................................................................... 12
3.2.1. DVR power.......................................................................................................................................... 12
3.2.2. Connecting Monitor........................................................................................................................... 12
3.3. Connecting Camera.............................................................................................................. 13
3.3.1. Normal Camera .................................................................................................................................. 13
3.3.2. PTZ Camera ........................................................................................................................................ 13
3.3.3. DCC Camera ....................................................................................................................................... 14
3.4. Connecting Human Detection Camera.............................................................................. 15
3.5. Connecting 3G Server........................................................................................................... 15
3.6. Power On ............................................................................................................................... 16
3.7. Setting DVR ...........................................................................................................................16
3.7.1. Date & Time ........................................................................................................................................ 16
3.7.2. Password.............................................................................................................................................. 17
3.7.3. Record .................................................................................................................................................. 17

CONTENTS
CHAPTER 4: CONFIGURING 3G DVR SYSTEM.....................................................19
4.1. Going to Setting Page ........................................................................................................... 19
4.2. Creating An Account............................................................................................................19
4.3. Setting Controller ID ............................................................................................................20
4.4. Setting Notification Methods .............................................................................................. 21
4.4.1. SMS Text .............................................................................................................................................. 21
4.4.2. System Tamper ................................................................................................................................... 22
4.4.3. Ambush................................................................................................................................................ 22
4.4.4. Power Off Notify ................................................................................................................................ 22
4.5. How to Use RFID Controller............................................................................................... 23
4.6. 3G System Testing Procedure..............................................................................................23
4.6.1. 3G Call-Out ......................................................................................................................................... 23
4.6.2. 3G Call-In............................................................................................................................................. 24
CHAPTER 5: BASIC OPERATION ...............................................................................25
5.1. Live Page................................................................................................................................25
5.1.1. Status Display List ............................................................................................................................. 25
5.2. Setting Password...................................................................................................................25
5.3. Key Lock On / Off................................................................................................................. 26
5.3.1. Key Lock On........................................................................................................................................ 26
5.3.2. Key Lock Off ....................................................................................................................................... 27
5.4. Setting Date & Time ............................................................................................................. 27
5.5. Record .................................................................................................................................... 28
5.6. Playback.................................................................................................................................28
5.7. Search .....................................................................................................................................29
5.7.1. Search by List...................................................................................................................................... 29
5.7.2. Search by Time ................................................................................................................................... 29
5.8. Backup....................................................................................................................................30
5.8.1. Via USB Flash Drive........................................................................................................................... 30
5.8.2. Via Disk................................................................................................................................................ 31
CHAPTER 6: OSD NAVIGATION ................................................................................33
6.1. OSD Tree ................................................................................................................................33
6.2. Operating Instructions .........................................................................................................34
CHAPTER 7: DVR OPERATION...................................................................................35
7.1. Quick Start Menu..................................................................................................................35
7.1.1. Status .................................................................................................................................................... 35
CONTENTS
7.1.2. Manual Record ................................................................................................................................... 35
7.1.3. Timer .................................................................................................................................................... 36
7.1.4. Date & Time ........................................................................................................................................ 37
7.2. Advance Menu ...................................................................................................................... 38
7.2.1. ADVANCE CONFIG ......................................................................................................................... 38
7.2.2 SYSTEM INFO ..................................................................................................................................... 45
7.2.3. EVENT LOG ....................................................................................................................................... 47
7.2.4. BACKUP.............................................................................................................................................. 49
CHAPTER 8: VIDEO VIEWER OPERATION .............................................................51
8.1. Installing for the First Time.................................................................................................51
8.1.1. Install Software................................................................................................................................... 51
8.1.2. Access to DVR (via LAN).................................................................................................................. 51
8.2. Control Panel......................................................................................................................... 52
8.3. Basic Operation..................................................................................................................... 53
8.3.1. Record .................................................................................................................................................. 53
8.3.2. Playback............................................................................................................................................... 53
8.3.3. Network Backup................................................................................................................................. 54
8.4. Advanced Operation ............................................................................................................ 55
8.4.1. Address Book...................................................................................................................................... 55
8.4.2. Miscellaneous Control....................................................................................................................... 56
8.4.3. Information ......................................................................................................................................... 74
8.4.4. DVR Control........................................................................................................................................ 74
8.4.5. PTZ Control......................................................................................................................................... 76
CHAPTER 9: WEB BROWSER OPERATION..............................................................77
9.1. Log In .....................................................................................................................................77
9.2. Live Page................................................................................................................................ 78
9.3. System Configuration ..........................................................................................................80
9.4. PTZ Mode ..............................................................................................................................81
CHAPTER 10: QUICKTIME PLAYER OPERATION .................................................83
10.1. Installing QuickTime.......................................................................................................... 83
10.2. Log In ................................................................................................................................... 83
APPENDIX 1 TROUBLESHOOTING ..........................................................................85
APPENDIX 2 SPECIFICATIONS...................................................................................87
APPENDIX 3 COMPATIBLE SATA HDD LIST..........................................................89
APPENDIX 4 COMPATIBLE USB FLASH DRIVE LIST...........................................91

CONTENTS
APPENDIX 5 PIN CONFIGURATION.........................................................................93
APPENDIX 6: USER PERMISSIONS............................................................................95
APPENDIX 7 NETWORK SETTING ............................................................................97
A7.1. Connecting via LAN .........................................................................................................97
A7.2. Static IP ............................................................................................................................... 98
A7.3. DDNS Account...................................................................................................................98
A7.4. PPPOE............................................................................................................................... 100
A7.5. DHCP ................................................................................................................................ 100

System Overview
1
CHAPTER 1: 3G DVR SYSTEM OVERVIEW
1
1.
.1
1.
.
C
Co
on
nc
ce
ep
pt
t
This 3G active DVR system is integrated with the 3G mobile technology to provide seamless
protection at anytime, from anywhere. Mobile surveillance is easy without the need to install
additional software to your 3G mobile phone. When an invasion is taking place, the exclusive
human detection technology will determine the accuracy of this invasion and make a 3G video
call within 5 seconds to show what happened and allow users to make necessary DVR or
camera control. You can also call back at anytime for instant remote surveillance.
1
1.
.1
1.
.1
1.
.
W
Wh
ha
at
t’
’s
s
3
3G
G
D
DV
VR
R
s
sy
ys
st
te
em
m
c
co
om
mb
bi
in
ne
ed
d?
?
3G DVR system is combined with one 3G DVR, one 3G server (optional), one human detection
camera and its RDID controller (optional), at least one 3G WCDMA mobile phone (optional),
and at least two USIM cards (optional).
With one 3G DVR and one 3G server, the mobile surveillance for 3G active call-out can be
achieved easily; when one human detection camera is added, the 3G mobile surveillance is
optimized with the “Ambush” function to allow you actively and secretly inform other people
you’re in danger via a 3G video call.
‧3G server:
You can treat this 3G server as the 3G mobile phone for the 3G DVR. When an event
happened and is detected, the DVR will make a video call to you via this 3G server (Active
3G call-out). You can also make a video call back to the DVR by dialing the phone number
of this 3G server.

System Overview
2
‧Human detection camera & its RFID controller:
The human detection camera is a PIR camera, which is able to detect human beings
accurately with two detection criteria: Movement & temperature frequency. When this
camera works with a RFID controller, you can activate or deactivate the 3G alarm function,
or inform other people when you’re in danger or threatened by a robber by pressing the RFID
controller, and the 3G DVR system will send corresponding notifications to the phone
number(s) set in the 3G system within 5 seconds.
1
1.
.1
1.
.2
2.
.
W
Wh
ha
at
t’
’s
s
3
3G
G
t
te
ec
ch
hn
no
ol
lo
og
gy
y?
?
3G is the third generation of mobile phone standards and technology. This new technology
enables network operators to offer users a wider range of more advanced services while
achieving greater network capacity through improved spectral efficiency. Services include
wide-area wireless voice telephony, video calls, and broadband wireless data, all in a mobile
environment.
1
1.
.1
1.
.3
3.
.
W
Wh
ha
at
t
a
ar
re
e
3
3G
G
v
vi
id
de
eo
o
c
ca
al
ll
l
s
se
er
rv
vi
ic
ce
es
s?
?
3G Video call services are a form of phone calling by using 3G networks, which is capable of
both audio and video duplex transmission.
1
1.
.1
1.
.4
4.
.
H
Ho
ow
w
t
to
o
a
ap
pp
pl
ly
y
3
3G
G
s
se
er
rv
vi
ic
ce
es
s,
,
i
in
nc
cl
lu
ud
di
in
ng
g
3
3G
G
v
vi
id
de
eo
o
c
ca
al
ll
l
s
se
er
rv
vi
ic
ce
es
s?
?
Go to your local network operator, and apply a USIM card which supports 3G services including
video call services. Please make sure your video call services are activated.
The rate for 3G services and video call services may vary, and you may be charged additionally.
For details, check your local network operator.
1
1.
.2
2.
.
W
Wh
ha
at
t
Y
Yo
ou
u
C
Ca
an
n
D
Do
o
W
Wi
it
th
h
3
3G
G
D
DV
VR
R
S
Sy
ys
st
te
em
m
1
1.
.2
2.
.1
1.
.
R
Re
ec
ce
ei
iv
ve
e
i
in
ns
st
ta
an
nt
t
e
ev
ve
en
nt
t
n
no
ot
ti
if
fi
ic
ca
at
ti
io
on
n
b
by
y
a
a
v
vi
id
de
eo
o
c
ca
al
ll
l
When you’re on your vacation, the 3G alarm function can be activated to guard your home. If
there’s any invasion, the DVR will actively make a video call to the 3G phone number you set in
the system within 5 seconds, and the owner of the phone number can take immediate action
to call the police.
The actual timeout for receiving the 3G video call varies depending on your local 3G
environment. For details, please check with your local network operator or service
provider.

System Overview
3
1
1.
.2
2.
.2
2.
.
C
Ca
al
ll
l
B
Ba
ac
ck
k
t
to
o
D
DV
VR
R
f
fo
or
r
R
Re
em
mo
ot
te
e
S
Su
ur
rv
ve
ei
il
ll
la
an
nc
ce
e
When you’re at work and you want to see how your kid is in the school, you can call in to the
DVR in the school, and select the channel which monitors the class of your kid. If the monitoring
camera is a PTZ camera, you can also control it to pan, tilt or zoom to search your kid.
1
1.
.2
2.
.3
3.
.
S
Se
ec
cr
re
et
tl
ly
y
i
in
nf
fo
or
rm
m
o
ot
th
he
er
r
p
pe
eo
op
pl
le
e
w
wh
he
en
n
y
yo
ou
u’
’r
re
e
i
in
n
d
da
an
ng
ge
er
r
When you’re threatened by a robber in the bank, press the “Ambush” button on the RFID
controller, and the DVR will make a video call to the 3G phone number preset by the security
staff in the system within 5 seconds. The robber won’t be aware of the phone calling because
there’s no alarm sound for it.
The RFID controller must be registered first for this function to take effects. For details,
please refer to “4.3. Setting Controller ID” at page 20, or the video demo “Quick Start –
Step7” in the supplied CD.
To know where the “Ambush” button is on the RFID controller, “4.5. How to Use RFID
Controller” at page 23.
1
1.
.2
2.
.4
4.
.
3
3G
G
a
al
la
ar
rm
m
o
of
ff
f
n
no
ot
ti
if
fi
ic
ca
at
ti
io
on
n
When anyone turns off the 3G alarm function by pressing the “Disarm” button on the RFID
controller which monitors the important place such as the safe, you will immediately receive a
SMS message for this event, and make a video call back to the DVR immediately for quick
checking.
The RFID controller must be registered first for this function to take effects. For details,
please refer to “4.3. Setting Controller ID” at page 20, or the video demo “Quick Start –
Step7” in the supplied CD.
To know where the “Disarm” button is on the RFID controller, please refer to “4.5. How
to Use RFID Controller” at page 23.
1
1.
.2
2.
.5
5.
.
S
Sy
ys
st
te
em
m
t
ta
am
mp
pe
er
r
/
/
P
Po
ow
we
er
r
o
of
ff
f
n
no
ot
ti
if
fi
ic
ca
at
ti
io
on
n
When the DVR system is powered off or down because of power outage or man-made causes,
you will immediately receive a SMS message for this event, and resume the power as quick as
possible.

System Overview
4
1
1.
.3
3.
.
S
Su
ur
rv
ve
ei
il
ll
la
an
nc
ce
e
v
vi
ia
a
3
3G
G
M
Mo
ob
bi
il
le
e
P
Ph
ho
on
ne
e
When you receive the video call from the 3G DVR, or you make a video call to the 3G DVR,
press # (MENU) on your phone to enter the menu for DVR control.
1
1.
.4
4.
.
B
Be
ef
fo
or
re
e
U
Us
si
in
ng
g
3
3G
G
D
DV
VR
R
S
Sy
ys
st
te
em
m
You need to make sure your 3G environment and 3G DVR system are ready before using the 3G
DVR system.
It’s recommended to have the qualified personnel installed the whole system for you
before using it.
1
1.
.4
4.
.1
1.
.
I
Is
s
Y
Yo
ou
ur
r
3
3G
G
E
En
nv
vi
ir
ro
on
nm
me
en
nt
t
R
Re
ea
ad
dy
y?
?
You have a 3G WCDMA mobile phone and a USIM card for 3G network services, and
have subscribed 3G network services. For details, please check with your local
network operator or service provider.
You have subscribed 3G video call services, and this function is enabled in your 3G
mobile phone. For details, please check with your local network operator or service
provider.
You're within 3G network coverage. For details, please check with your local network
operator or service provider.
The network mode of your mobile phone is set to the dual mode to automatically
switch between the GSM and 3G networks. For details, please check the user manual
of your mobile phone, or check with your phone distributor or reseller.
1
1.
.4
4.
.2
2.
.
I
Is
s
Y
Yo
ou
ur
r
3
3G
G
D
DV
VR
R
S
Sy
ys
st
te
em
m
R
Re
ea
ad
dy
y?
?
There's at least one HDD in the DVR.
For details, please refer to “3.1. Installing HDD” at page 11, or the video demo “Quick
Start – Step3” in the supplied CD.
The DVR connects to power and a monitor correctly.
For details, please refer to “3.2. Connecting to Power Cord & Monitor” at page 12, or
the video demo “Quick Start – Step3” in the supplied CD.
The 3G server is connected to the DVR correctly with a USIM card inserted, and the
LED indicators work normally. The PIN code of the USIM card should be disabled in
advance.
‧For 3G server connection details, please check with your installer, or check the

System Overview
5
video demo “Quick Start – Step8” in the supplied CD or the user manual of the 3G
server.
‧For disabling the PIN code of the USIM card, taking Sony Ericsson 3G phone as an
example, go to Settings General Security Locks SIM protection
Protection Off.
Different phone brands may have different path for PIN code disabling. For details,
please check the user manual of your mobile phone.
The human detection camera is connected to the DVR correctly, and the RFID
controller is registered.
For details, please check with your installer, or check the video demo “Quick Start –
Step4” and “Quick Start – Step7” in the supplied CD, or the user manual of the human
detection camera.
The 3G DVR system is configured correctly.
For details, please check with your installer, or refer to the chapter “CHAPTER 4:
CONFIGURING 3G DVR SYSTEM” at page 19, or the video demo “Quick Start – Step6-1”
or “Quick Start – Step6-2” in the supplied CD.

System Overview
6

Panel Overview
7
CHAPTER 2: DVR PANEL OVERVIEW
2
2.
.1
1.
.
F
Fr
ro
on
nt
t
P
Pa
an
ne
el
l
AUDIO P.T. Z .
1234
REC
1) LED Indication
The following LEDs will be on when:
DVR is powered on.
The alarm is triggered.
HDD is reading or under recording.
Strength: Signifies the strengths of the 3G signals.
Display the channel number that has been installed to the DVR.
Display the date and time set up in the DVR.
3G system is activated.
R.E.T.R. is activated.
P.T. Z. mode is activated.
Indicates the key-lock.
Guard (3G Alarm) function is activated.
Timer recording is enabled.
2) POWER
Press long enough to turn on/off your DVR.
Under the recording mode, please stop recording before turning off your DVR.
3) Up (PAUSE / +) / Down (STOP / -) / Left (REW) / Right (FF)
‧Press one of these four buttons to move the cursor up/down/left/right.
‧Under the playback mode, press these buttons to pause / stop / fast rewind / fast forward
the playback file.
‧Press ”PAUSE / +” or “STOP / -” button to change the setting in the menu.
4) (USB port)
To quickly backup or upgrade the firmware/OSD, you can insert a compatible USB flash
drive into this USB port. Before using the USB flash drive, please use your PC to format the
USB flash drive as “FAT32” first.
For the list of compatible USB flash drives, please refer to “APPENDIX 4 COMPATIBLE
USB FLASH DRIVE LIST” at page 91.
5) MENU

Panel Overview
8
Press to enter / exit the quick start menu.
In the sub-layer of the advanced setting menu, press this button to confirm the settings and
go back to the upper layer.
6) ENTER
Confirm the password entering.
Under the advanced menu, press to confirm the settings and go back to the upper layer.
7) LIST
To quick search the recorded files by event list, press to show all types of the event lists.
ALARM List the information of the alarm-triggered files.
MANUAL List the information of the manual-recorded files. The DVR will save
one recorded file once any recording setting is changed
MOTION List the information of the motion-triggered files.
SYSTEM List the information of the system-recorded files. The DVR system will
save one recorded file every one hour.
TIMER List the information of the timer-recorded files.
8) PLAY
Press to playback the recorded video.
9) SNAP
Connect a USB flash drive to the USB port on the DVR front panel first, and press to take a
snapshot picture of the current image on the monitor. The taken picture will be saved in the
USB flash drive automatically.
10) SEQ
Full screen sequence
When the DVR is under one channel display, press to enter the full screen
sequence mode. Press again to exit.
11) (Quad display mode)
Press to show the 4-channel display mode.
12) ZOOM
Press to enlarge the image of the selected channel.
13) SLOW
Under the playback mode, press to slowly playback the recorded file (by 1/4 speed or 1/8
speed).
14) GUARD
Press to activate the 3G alarm system after 1 / 3 / 5 / 10 / 20 minutes and simultaneously
activate R.E.T.R.
For details about setting the timeout (GUARD DELAY), please refer to “7.2.2. SYSTEM INFO”
at page 45.
15) 1~4 (for 4CH)
Press one of the buttons to select the channel to display.
16) EJECT
Press to open / close the DVD writer.
17) P.T.Z ( + SEQ.)
Press “ ” + “SEQ.” to enter / exit the PTZ control mode.
18) Audio (SLOW + ZOOM)
Press “SLOW” + “ZOOM“ to select the live or playback sound of the audio channels.

Panel Overview
9
Live audio of the 1st audio channel
Live audio of the 2nd audio channel
Playback audio of the 1st audio channel
Playback audio of the 2nd audio channel
No audio channel selected
If you want to make a video backup with audio, please connect audio cameras to the
channels that support the audio function. For this 3G DVR, the audio channels are CH1
and CH2.
19) KEYLOCK (MENU + ENTER)
Press “MENU”+ “ENTER” on the DVR front panel at the same time to lock keys.
Press any button on the DVR front panel and enter the DVR password to exit the key lock
mode.
The default administrator password is 0000. To change the DVR password, please refer
to “7.2.2. SYSTEM INFO” at page 45.
2
2.
.2
2.
.
R
Re
ea
al
l
P
Pa
an
ne
el
l
IN P TU
HI-IMP EDANC E
LPOO
1
EXTERNAL O/I LNA
AC .T
LI KN
INP TULPOOINPTULPOOINPTU
43
CALLMONITR
O
NI OTU
1
2
1
2
NI
AU OID
LPOO
2
4
RISK O F ELEC TRIC HSKCO
DO ONTO NEP
WARNI GN:TORE CUDETHERIKS OFE LECTRIC SHOC ,K
DO NOT REMO EVCOEVR(ORABCK.)
NO U ESR-ESRVIC BAELEAPRTSINSID .E
REFE R ES RVI CING T QOUALIFIDE
ESRVICE EPRSONNE.L
DC V91DC V91
EXTERNAL O/I
D/VRI
1) 75Ω/ HI-IMPEDANCE
When using LOOP function, set up the impedance switch at your DVR rear panel to
HI-IMPEDANCE to decrease interferences. Otherwise, switch to 75Ω.
The default setting is 75Ω.
2) LOOP / INPUT
LOOP: Video output connector.
INPUT: Connect to video sources, such as cameras.
For this 4CH 3G DVR, the audio channels are CH1 and CH2.
3) MONITOR
Connect to a CRT monitor for video output.
4) CALL
Connect to CALL monitor to show the channel display one by one.
When any alarm is triggered, CALL monitor will show the image of the triggered channel for
a period of time.
5) Audio IN
Connect to audio sources, such as cameras equipped with the audio function.
For this 4CH 3G DVR: Two audio inputs (CH1 and CH2).
When users start recording, the audio input will also be recorded with corresponding video
channel.
If you want to make a video backup with audio, please connect audio cameras to the
channels that support the audio function.

Panel Overview
10
The audio source connected to the “Audio 1” will be recorded with the video of the
“CH1”.
The audio source connected to the “Audio 2” will be recorded with the video of the
“CH2”.
6) Audio OUT
Connect to a monitor or speaker.
For this 4CH 3G DVR: One audio output (Mono).
7) D/V
Connect to a VGA converter.
For the connection of the VGA converter, do not use gender changer.
8) IR
Connect the IR receiver extension line for remote control.
9) EXTERNAL I/O
Insert the supplied DSUB PIN to this port for connecting external devices (external alarm, PTZ
camera, etc).
For detailed I/O port PIN configuration, please refer to “APPENDIX 1 PIN CONFIGURATION”
at page 78.
10) LAN
Connect to Internet by LAN cable.
11) LINK ACT.
When your DVR is connected to the Internet, this LED will be on.
12) DC 19V
Connect to the supplied adapter.
Table of contents
Other Avtech DVR manuals

Avtech
Avtech AVH504P User manual

Avtech
Avtech CPD560 User manual

Avtech
Avtech AVH364 User manual

Avtech
Avtech DG1648 User manual

Avtech
Avtech KPD674 User manual

Avtech
Avtech AVH304 User manual

Avtech
Avtech AVC799B User manual

Avtech
Avtech AVC792PV User manual

Avtech
Avtech AVL683 User manual

Avtech
Avtech AVC798 User manual

Avtech
Avtech H.265 XVR Series User manual

Avtech
Avtech KPD616 User manual

Avtech
Avtech AVC796 User manual

Avtech
Avtech AVC708H User manual

Avtech
Avtech DR163 User manual

Avtech
Avtech AVC700 User manual

Avtech
Avtech AVD715ZC User manual

Avtech
Avtech DG10 Series User manual

Avtech
Avtech AVC792 User manual

Avtech
Avtech avh-312 User manual