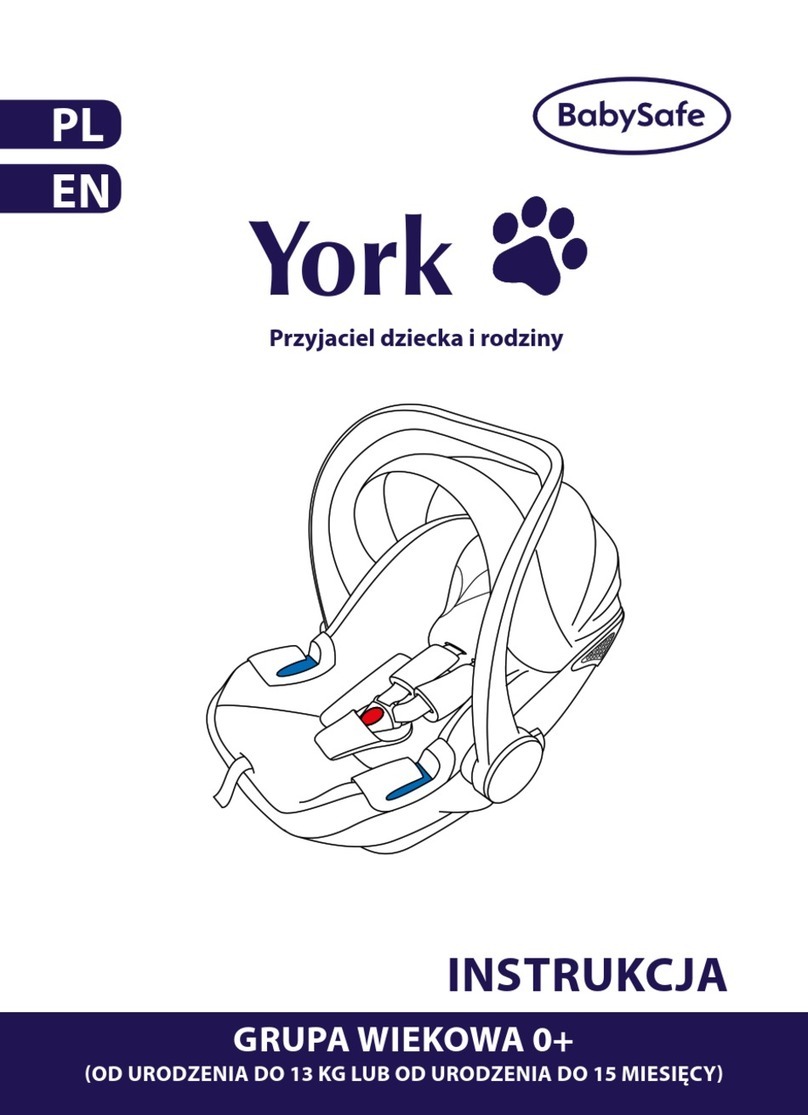
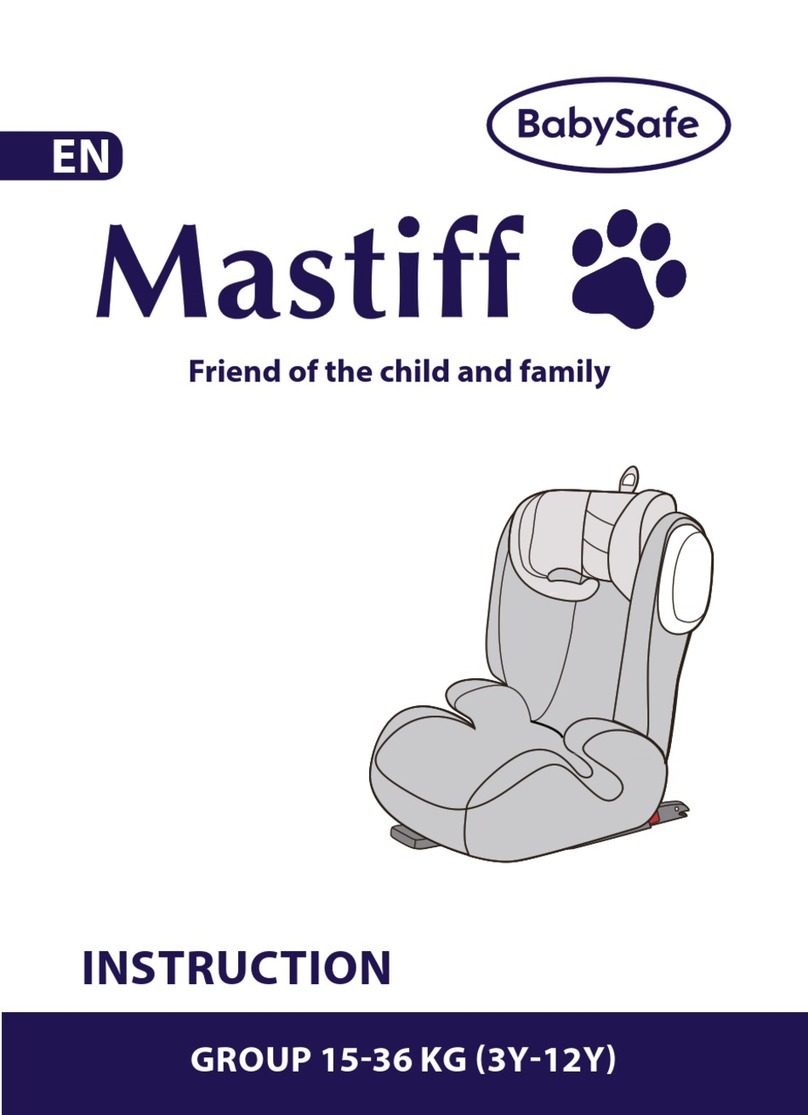
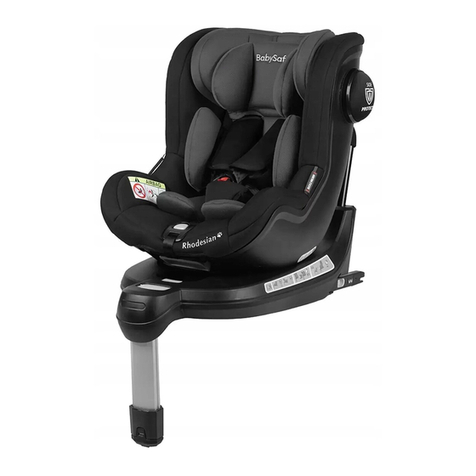
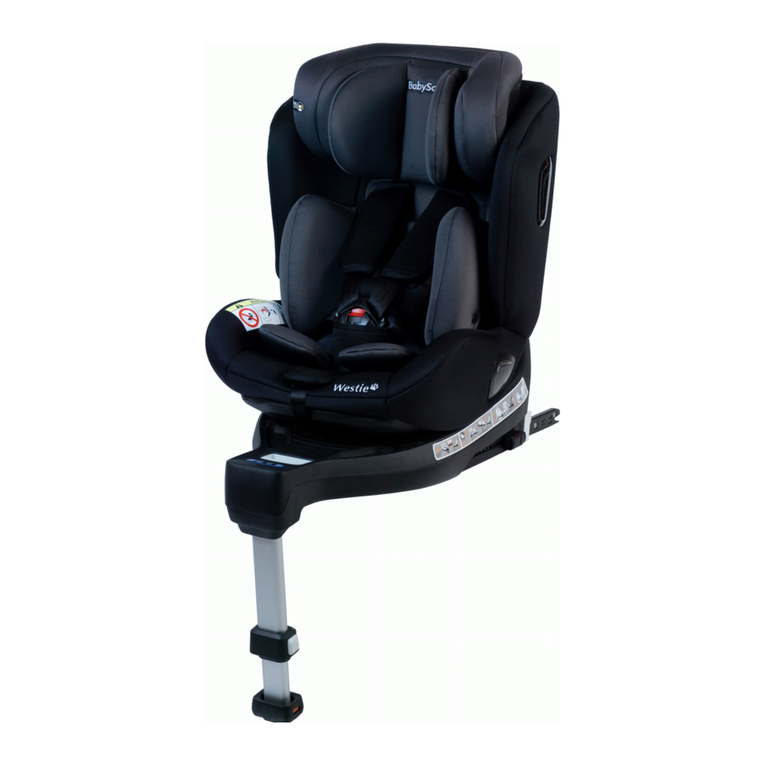
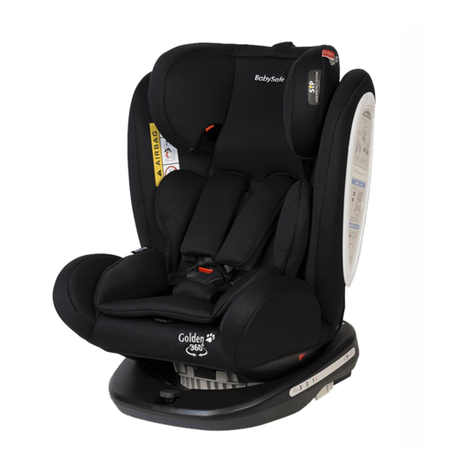
BabySafe Westie User manual

DLA DZIECI O WZROŚCIE 40–105 CM (≤18 kg) • STATURE 40–105 CM (≤18 kg)
SZYBKI START INSTALACJA APLIKACJI FOTELIKA
QUICK START APP INSTALATION
PL
EN


DLA DZIECI O WZROŚCIE 40–105 CM (≤18 kg)
SZYBKI START INSTALACJA APLIKACJI FOTELIKA
PL


3
1. Przygotowanie
2. Instalacja baterii
Odkręć śrubę pokrywy komory bate-
rii, a następnie włóż baterie zgodnie
z oznaczeniami biegunów. Przykręć
pokrywę komory baterii. Włącz fotelik
przyciskiem „Start”.
Po naciśnięciu przycisku Start kontrol-
ka błyśnie 3 razy, a następnie zgaśnie.
Naciśnij przycisk odblokowania ISO-
FIX, aby uruchomić inteligentny sys-
tem wskaźników, po czym zapali się
czerwona lampka.
Uwaga! Istnieje możliwość, że kon-
trolki nie działają prawidłowo po
uruchomieniu. W takim przypadku
konieczne jest naciśnięcie siedzi-
ska (czujnik dziecka w foteliku), aby
uruchomić system.
6 sztuk baterii AA
Śruba pokrywy komory baterii
śrubokręt krzyżakowy
×√
×√
×√
×√
×√
Przycisk „Start”
Informacje dotyczące bezpieczeństwa w użytkowaniu baterii
- baterie nie przeznaczone do ładowania nie mogą być ładowane
- baterie przeznaczone do ładowania powinny być wyjęte z przedziału na baterie przed podłączeniem do ładowania
- baterie przeznaczone do ładowania muszą być ładowane pod nadzorem dorosłych
- nie należy mieszać różnych rodzajów baterii lub nowych i używanych baterii
- baterie należy umieszczać zgodnie z biegunowością
- wyczerpane baterie powinny być wyjęte z urządzenia
- nie łączyć zacisków ze sobą
- nie używać razem baterii alkalicznych oraz zwykłych (karbonowo-cynkowych) lub baterii przeznaczonych do łado-
wania (niklowo-kadmowych)
- nie wrzucać baterii do ognia – grozi to eksplozja lub wyciekiem
Uwaga! Zabronione jest wyrzucanie zużytych baterii do kosza.
Przygotuj 6 sztuk baterii AA i śrubokręt krzyżakowy.


4
3. Wprowadzenie do funkcji systemu
(Zapoznaj się z instrukcją montażu fotelika, aby dowiedzieć się więcej o sposobie
instalacji) Po zainstalowaniu ISOFIX za prawidłową instalację uznaje się, że dioda
ISOFIX zmienia kolor z czerwonego na zielony.
Po wysunięciu i prawidłowym ustawieniu nogi podpierającej, kontrolka zmieni
kolor z czerwonego na zielony.
Po prawidłowym zapięciu klamry, kontrolka zmieni kolor z czerwonego na zielony.
Obróć fotelik samochodowy do właściwej pozycji do przodu lub do tyłu. Po pra-
widłowym ustawieniu fotelika, kontrolka zmieni kolor z czerwonego na zielony.
×√
×√
×√
×√
×√
×√
×√
×√
×√
×√
×√
×√
×√
×√
×√
Status prawidłowego ustawienia nogi podpierającej
Status prawidłowego zapięcia klamry
Status właściwej pozycji do przodu lub do tyłu
×√
×√
×√
×√
×√
Status ISOFIX

5
×√
×√
×√
×√
×√
Po prawidłowym zainstalowaniu wszystkich elementów, wszystkie kontrolki za-
świecą się na zielono i błysną 6 razy, i zgasną. Następnie wszystkie kontrolki prze-
chodzą w stan uśpienia.
Uwaga! Jeśli fotelik nie zostanie prawidłowo zainstalowany w ciągu 5 minut,
zostanie uruchomiony alarm dźwiękowy i przejdzie w stan uśpienia po 30
sekundach.
Kiedy dziecko siedzi w foteliku,
a jakikolwiek element nie jest
zainstalowany prawidłowo, od-
powiadająca za niego kontrolka
zapali się na czerwono i rozlegnie
się alarm dźwiękowy. W takiej
sytuacji należy sprawdzić, czy
fotelik jest prawidłowo zamon-
towany.
Uwaga! Alarm dźwiękowy nie
włączy się, jeżeli dziecko nie
siedzi w foteliku.
Uwaga! Proszę nie kłaść cięż-
kich przedmiotów na sie-
dzeniu fotelika, aby uniknąć
przypadkowego włączenia
alarmu.
×√
×√
×√
×√
×√

6
Fotelik przekazuje do aplikacji w telefonie komórkowym, status zamonto-
wania ISOFIX, podpory nogi, zapięcia klamry, obecności dziecka w foteliku
i pozycji obrotu fotelika, a także informację o temperaturze na siedzisku
fotelika oraz poziomie naładowania baterii zainstalowanych w foteliku.
Telefon komórkowy i fotelik jednocześnie emitują sygnał alarmowy w przy-
padku jakichkolwiek problemów czy nieprawidłowości.
Uwaga! Alarm w aplikacji zostanie aktywowany, gdy użytkownik pozostawi
dziecko w pojeździe, a sam wraz z telefonem wyjdzie z auta.
INSTRUKCJE DOTYCZĄCE APLIKACJI
1. Kody QR.
Aplikację fotelika możesz pobrać bezpłatnie ze sklepów Google Play oraz Apple Store
skanując poniżej zamieszczone kody QR (wybierz właściwy dla Twojego telefonu)
2. Wprowadzenie do głównego interfejsu
Ustawienia
Status zapięcia klamry
Status ustawienia nogi
Stan naładowania baterii
Status wpięcia
lewego ISOFIX
Status informujący o tym,
czy dziecko jest w foteliku
Status powiadomień
w telefonie
Status ustawienia
obrotu fotelika
Temperatura na siedzisku
Status wpięcia
prawego ISOFIX
Status Bluetooth
w telefonie
Android iOS

7
3. Obsługa aplikacji fotelika w telefonie komórkowym
Proszę włączyć Bluetooth i powiadomienia w telefonie oraz uaktywnić połączenie
z Internetem. Przy pierwszym użyciu aplikacji, należy wybrać język, który można
zmienić na ekranie rejestracji lub w menu ustawienia „Ustawienie języka”. Po wej-
ściu na stronę logowania należy zarejestrować konto, a następnie zalogować się.
Po zalogowaniu, na głównym ekranie kliknij ikonę „Ustawienia” w lewym
górnym rogu ekranu. Wybierz „Zarządzanie fotelikiem” i kliknij dodaj fotelik.
Aplikacja zacznie szukać urządzenie. Gdy na ekranie pojawi się urządzenie
oznaczona ciągiem znaków rozpoczynającym się od liter WD należy go klik-
nąć. Aplikacja zidentyfikuje nasz fotelik Westie.

8
Należy zaznaczyć pole wyboru znajdujące się przed nazwą fotelika. Fotelik został
połączony z aplikacją. Wracamy do ekranu głównego aplikacji naciskając strzał-
kę „wróć” w lewym górnym rogu ekranu. Gdy zobaczysz status „podłączony” na
głównym ekranie, oznacza to, że fotelik został pomyślnie połączony z aplikacją.
4. Radzenie sobie z typowymi problemami
Gdy pojawi się alarm, jak pokazano na rysunku, najpierw sprawdź, czy przypad-
kiem nie zostawiłeś dziecka w foteliku. Jeśli nie, kliknij ikonę „potwierdź” pod
komunikatem alarmowym. Gdy chcesz dalej kontynuować bezpieczną jazdę kliknij
ikonę „POŁĄCZ”, aż pojawi się informacja, że Bluetooth został ponownie podłączony.
Uwaga! Musisz wybrać odpowiedni fotelik w menu Ustawienia „Zarządzanie
fotelikiem” w celu ponownego podłączenia Bluetooth.

STATURE 40–105 CM (≤18 kg)
QUICK START APP INSTALATION
EN


3
1. Preparation
2. Install battery & start
Remove the screw at the bottom of
the battery compartment cover to
install the battery,and then press the
start button to start.
After pressing the start button, the in-
dicator light will flash 3 times and then
go out. Press the ISOFIX unlock button
to start the intelligent system, then
the red light is on.
Note: There is a possibility that the
front lights are not working prop-
erly after start up. This is for the
purpose of bringing the intelligent
system to the dormant state after
start up from the product factory
inspection. In this case,it is neces-
sary to press the buckle compart-
ment cover to start the product.
Screw on the battery compartment cover
a cross screwdriver3-6pcs of AA batteries
Prepare 6 pcs of AA batteries and a cross screwdriver.
×√
×√
×√
×√
×√
Start button
Battery safety information
- non-rechargeable batteries cannot be recharged
- batteries to be charged should be removed from the battery compartment before connecting for charging
- rechargeable batteries must be charged under adult supervision
- do not mix different types of batteries or new and used batteries
- Place the batteries with the correct polarity
- exhausted batteries should be removed from the device
- do not connect the terminals together
- do not use alkaline and ordinary (carbon - zinc) or intended batteries together for charging (nickel-cadmium)
- do not throw the batteries into a fire - there is a risk of explosion or leakage
Note: It is forbidden to throw used batteries into the bin.

4
3. Function introduction
(Please check the seat manual for the installation method, no more introduction
here) After installing the ISOFIX, it’s approved to be the correct installation that
ISOFIX light turns from red to green.
After installing the support leg, it’s approved to be the correct installation that
support leg light turns from red to green.
After installing the buckle, it’s approved to be the correct installation that buckle
light turns from red to green.
Rotate the car seat to the correct forward or rearward position. It’s approved to be
the correct installation that rotation light turns from red to green.
×√
×√
×√
×√
×√
×√
×√
×√
×√
×√
×√
×√
×√
×√
×√
Support leg status
Buckle status
Rotation status
×√
×√
×√
×√
×√
ISOFIX status

5
×√
×√
×√
×√
×√
After all the functions are installed correctly, all the indicator lights will turn green
and flash 6 times until it goes out. And then all the lights enters to the dormant
state.
Note: If the seat is not installed within 5 minutes, an alarm will be triggered
and it will go to dormant state after 30 seconds.
When a child is sitting on the
seat, if any function is not in-
stalled properly, the corre-
sponding indicator light will
change from the dormant state
to a steady red light, and an
alarm will sound. At this time,
please check whether the seat is
correctly installed.
It is normal that the alarm
won’t be triggered when the
child is not on the seat and
the function is not working
properly.
Note: Please do not put
heavy objects on the seat to
avoid triggering the alarm
by mistake. It is normal that
the alarm won’t be triggered
when the child is not on the
seat and the functioin is not
working properly.
×√
×√
×√
×√
×√

6
APP INSTRUCTIONS
1. Download address
You can download the seat application for free from Google Play and Apple Store
by scanning the QR codes below (select the correct one for your phone)
2. Introduction of main interface
Settings
Buckle status
Support leg status
Battery capacity status
ISOFIX status
(left) Child status
Rotation status
Temerature on the seat
ISOFIX status
(right)
Bluetooth connection
status Notification status
Android iOS

7
3. Operation procedure
Switch Bluetooth, notification and Internet connection into status on. When you
initially use the APP, you will need to select the language, which can be changed
in the settings later. After entering the login page, register an account and log in.
After logging in, on the main screen, click the „Settings” icon in the top left corner
of the screen. Select „Chair Management” and click add a seat. The application will
search for the device. When a device with a string beginning with the letters WD
appears on the screen, click it. The app will identify our Westie car seat.

8
Please tick the box in front of the seat name. The seat has been linked to the app.
We return to the main application screen by pressing the „back” arrow in the up-
per left corner of the screen. When you see the „connected” status on the main
screen, the seat has been successfully connected to the app
4. Treatment of common problems
When the alarm appears as shown in this figure,please firstly check if you left the
child. If not, please click the “confirm” icon under the alarm message,then click
“add chair” icon until the bluetooth was reconnected under the guarantee of safe
driving.
Note: You have to select the corresponding chair from the setting of “Chair
manage” to reconnect the bluetooth.


LOGIS S.A.
ul. Mszczonowska
96-200 Rawa Mazowiecka
POLAND
Tel.: +48 46 814 73 13
Fax: +48 46 814 73 00
E-mail: [email protected]
www.babysafe.eu
Other manuals for Westie
2
Table of contents
Languages:
Other BabySafe Car Seat manuals

BabySafe
BabySafe Corso User manual

BabySafe
BabySafe Husky Limited User manual

BabySafe
BabySafe Alaskan User manual

BabySafe
BabySafe Corgi User manual

BabySafe
BabySafe Chart User manual

BabySafe
BabySafe York User manual

BabySafe
BabySafe Collie User manual

BabySafe
BabySafe Westie User manual

BabySafe
BabySafe Booster cushion unit User manual

BabySafe
BabySafe Mastiff User manual