manuals.online logo
Brands
  1. Home
  2. •
  3. Brands
  4. •
  5. Bayco
  6. •
  7. Work Light
  8. •
  9. Bayco 675 User manual

Bayco 675 User manual

Bayco Products, Inc. • 640 South Sanden Blvd. • Wylie, TX 75098 • 1-800-233-2155 • 1-469-326-9400 • www.baycoproducts.com
INS-SL-675-677-18
Instruction Manual
Models 675 / 676 / 677
13 Watt Fluorescent Work Lights
Electrical Rating - All models use 125 Volts 60 Hz
CAUTION - TO REDUCE THE RISK OF ELECTRIC SHOCK AND FIRE - PULL
PLUG
WHEN SERVICING, OR WHEN RE-LAMPING - USE ONLY 13 WATT OR SMALLER
BULB
CAUTION
DO NOT use in explosive atmospheres, near ammable liquids, or where explosion
proof lamps are required.
DO NOT use in the proximity of vehicles or equipment when there is a risk of
ammable liquids coming into contact with the hand lamp.
DO NOT immerse in water.
DO NOT use in areas where water can accumulate or in rain or mist.
CAUTION: Risk of Electric Shock – For Light Duty Dry Location Use Only.
IMPORTANT SAFETY INSTRUCTIONS:
This product has a polarized plug (one blade is wider than the other). As a safety
feature, this plug will t in a polarized outlet only one way. If the plug does not t fully in
the outlet, reverse the plug. If it still does not t, contact a qualied electrician. Never use
with an extension cord unless the plug can be fully inserted. Do not attempt to defeat
this safety feature.
WARNING: NOT FOR USE IN HAZARDOUS LOCATIONS
CAUTION: DO NOT USE IN HAZARDOUS LOCATIONS AS REQUIRED BY THE
CANADIAN ELECTRICAL CODE, PART I
OPERATION
Plug into 120 Volt 60 Hz polarized outlet. Notice the polarized plug and insert
properly. Operate switch. Lamp may ash several times before lighting.
BULB REPLACEMENT
1. Disconnect the light from electrical outlet
2. Remove the plastic cover from the cord end of the light.
3. Use the edge of a knife blade to lift out the plastic rivet at the top of the handle.
4. Carefully pull the tube from around the bulb-holder. The bulb will remain in the socket.
5. Carefully pull up on bulb to remove and discard the old bulb.
6. Insert new bulb in socket in bulb holder. Be sure bulb is properly seated against the
bulb-holder.
7. Slide the tube assembly over the bulb and insert top of bulb into the oval slot in the
top of the bulb holder. Bulb should just penetrate slot.
8. Align the holes in the tube with the holes in the bulb-holder handle and install both
plastic rivets. Press rmly until seated.
9. Replace the plastic cover aligning the cover to t over the on / off switch.
10. Restore power connection and test lamp by pressing the power switch.
NOTE: EVEN NEW LAMPS WILL FLASH SEVERAL TIMES BEFORE LIGHTING.
REPLACEMENT BULBS
Use PL-13 twin-tube uorescent bulb.
A replacement lamp may be obtained from Bayco products.
WARRANTY
1 YEAR WARRANTY
Bayco Products, Inc. warrants this product to be free from defects in workmanship
and materials to the original purchaser for 1 year from the date of purchase, and includes
the LEDs, housing, lenses, electronics, switches, rechargeable batteries and chargers.
Bulbs (other than LEDs) are covered for 90 days from the date of purchase.
We will repair or replace this product should we determine it to be defective. This is the
only warranty, expressed or implied, including any warranty of merchantability or tness for
a particular purpose.
For a complete copy of the warranty, go to www.baycoproducts.com/bayco-product-
support/warranties. Retain your receipt for proof of purchase.
Instructions Pour les
Modèles 675 / 676 / 677
13 Watt Lampes de Travail Fluorescente
Caractéristiques électriques - Tous les modèles utilisent 125 volts 60Hz
ATTENTION - POUR RÉDUIRE LE RISQUE DE CHOC ÉLECTRIQUE ET INCENDIE
- RETIRER LA FICHE
LORS DE L’ENTRETIEN, OU LORS D’UNE NOUVELLE LAMPING - UTILISER
SEULEMENT 13 WATTS OU MOINS AMPOULE
ATTENTION
NE PAS utiliser dans des atmosphères explosives, près de liquides inammables,
ou lorsque des lampes antidéagrantes sont nécessaires.
NE PAS utiliser à proximité de véhicules ou d’équipement quand il ya un risque de
liquides inammables entrent en contact avec la lampe de poche.
Ne pas plonger dans l’eau.
NE PAS utiliser dans les zones où l’eau peut s’accumuler ou dans la pluie ou le
brouillard.
ATTENTION: Risque de choc électrique - Pour la lumière endroit sec Duty Utilisez
uniquement.
CONSIGNES DE SÉCURITÉ IMPORTANTES
Ce produit a une che polarisée (une lame est plus large que l’autre). Par mesure
de sécurité, cette che ne rentre dans une prise polarisée que dans un sens. Si la che
n’entre pas complètement dans la prise, inverser la che. Si elle ne convient toujours
pas, contactez un électricien qualié. Ne pas utiliser avec une rallonge si la che peut
être insérée à fond. Ne pas essayer de contourner ce dispositif de sécurité.
ATTENTION: NE PAS UTILISER DANS DES ENDROITS DANGEREUX
ATTENTION: NE PAS UTILISER DANS DES ENDROITS DANGEREUX AS REQUIS
PAR LE CODE ELECTRIQUE CANADIEN, PARTIE I
Bayco Products, Inc. • 640 South Sanden Blvd. • Wylie, TX 75098 • 1-800-233-2155 • 1-469-326-9400 • www.baycoproducts.com
INS-SL-675-677-18
FONCTIONNEMENT
Branchez dans une prise polarisée de 120 V, 60 Hz. Insérez correctement la che
polarisée.
AMPOULE DE RECHANGE
1. Débrancher la lumière de la prise électrique
2. Retirez le couvercle en plastique de la n du cordon de la lumière.
3. Utilisez le bord d’une lame de couteau pour soulever le rivet en plastique au sommet
de la poignée.
4. Retirez délicatement le tube à travers le bulbe titulaire. L’ampoule restera dans le
prise.
5. Tirez doucement sur l’ampoule pour enlever et jeter la vieille ampoule.
6. Insérez la nouvelle ampoule dans la prise en support de l’ampoule. Soyez sûr
ampoule est correctement placé contre le bulbe-titulaire.
7. Faites glisser le tube sur l’ampoule et insérez haut de l’ampoule dans la fente ovale
dans le haut de la douille de lampe. Ampoule devrait juste pénètrent sous.
8. Alignez les trous dans le tube avec les trous dans le manche bulbe titulaire et
installer les deux rivets en plastique. Appuyez fermement jusqu’à assis.
9. Remettez le couvercle en plastique alignant le couvercle pour s’adapter sur le
bouton marche / arrêt.
10. Rétablissez la connexion d’alimentation et lampe de test en appuyant sur
l’interrupteur d’alimentation.
REMARQUE: MÊME LES AMPOULES NEUVES CLIGNOTERONT À PLUSIEURS
REPRISES AVANT DE S’ALLUMER.
AMPOULES DE RECHANGE
Utilisez une ampoule uorescente à deux tubes PL-13.
Bayco offre des ampoules de rechange.
GARANTIE
GARANTIE LIMITÉE DE 1 AN
Bayco Products, Inc. garantit que ce produit est exempt de défauts de matériaux
et de fabrication à l’acheteur original pour une période d’un (1) an à partir de la date
d’achat, et inclut les DEL, les boîtiers, les lentilles, les électroniques, les interrupteurs,
les batteries rechargeables et les chargeurs. Les ampoules (autres que les DEL) sont
couvertes pour une période de 90 jours à partir de la date d’achat.
Ce produit sera réparé ou remplacé si nous déterminons qu’il est défectueux. Ceci
est la seule garantie explicite ou implicite, y compris toute garantie de qualité marchande
ou d’adéquation à un usage particulier.
Pour une copie détaillée de la garantie, vous rendre sur le site www.baycoproducts.
com/bayco-product-support/warranties. Gardez ce reçu comme preuve d’achat.
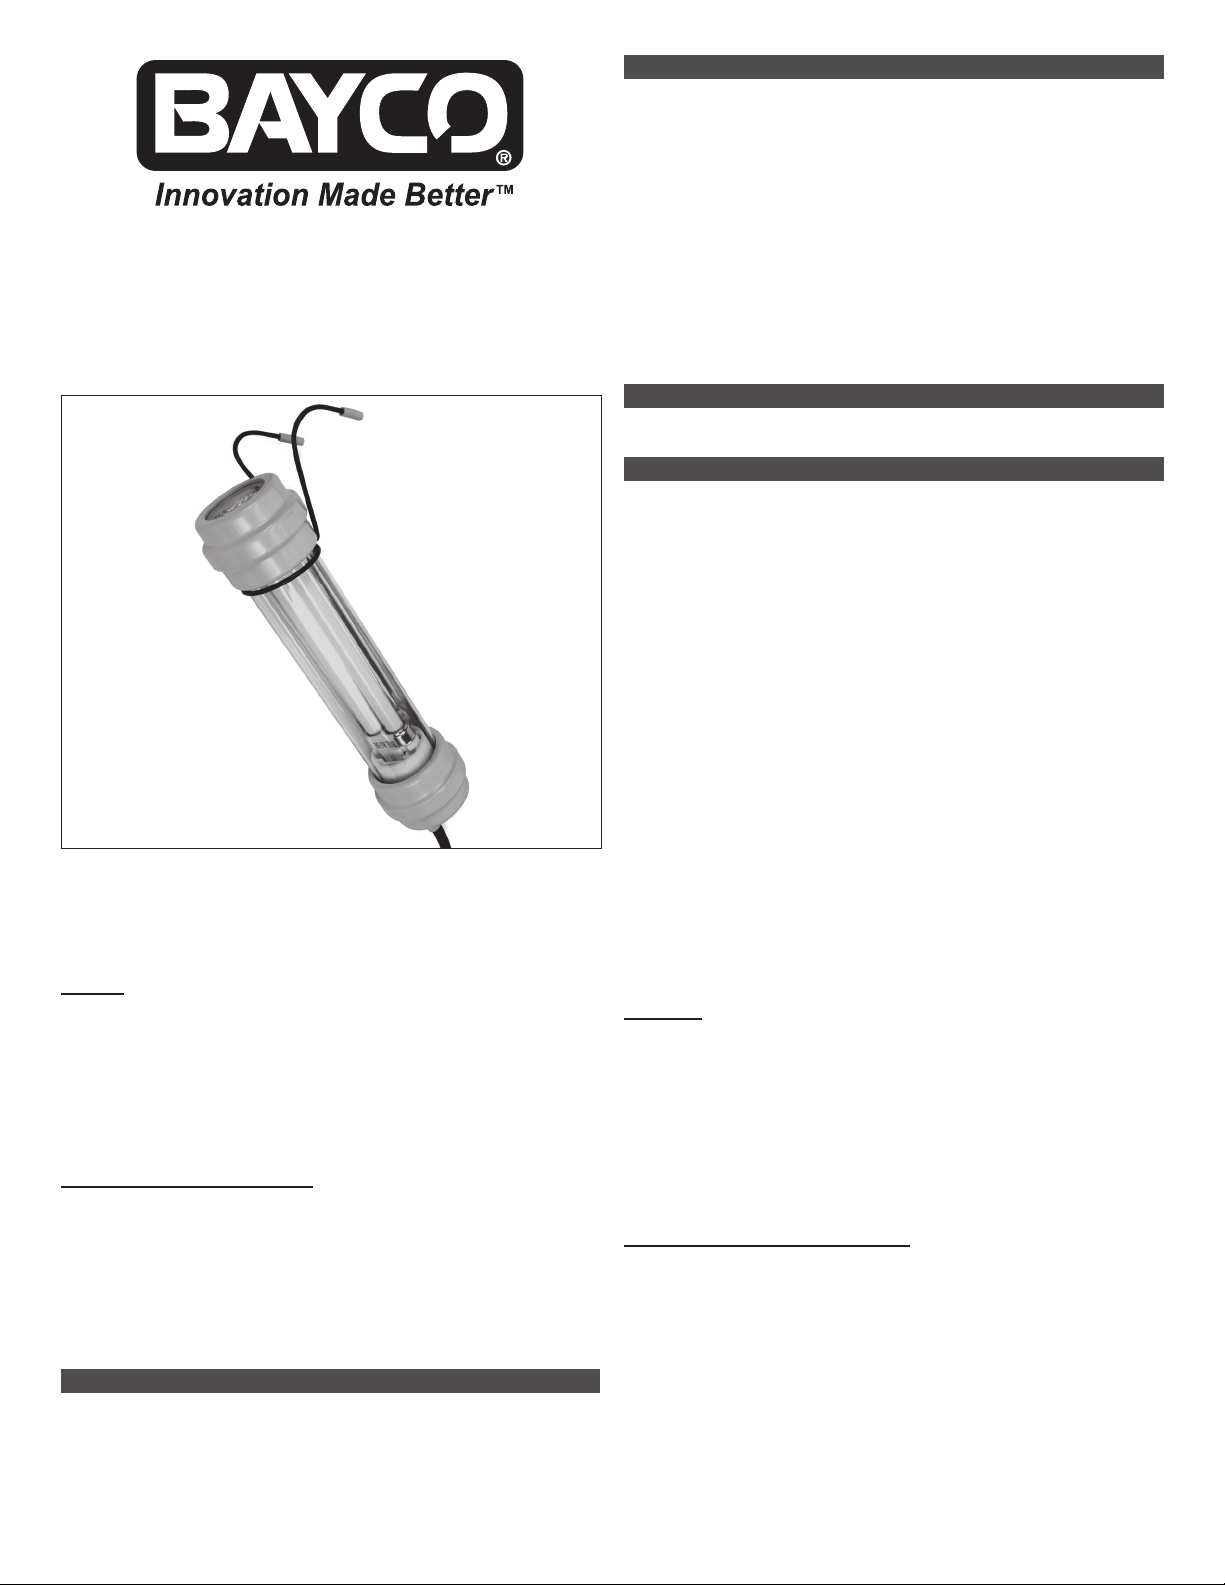
Instrucciones Para Los
Modelos 675 / 676 / 677
13 Watt Luces Fluorescentes de Trabajo
Clasicación eléctrica - Todos los modelos usan 125 voltios 60 Hz
ADVERTENCIA - PARA REDUCIR EL RIESGO DE DESCARGAS ELÉCTRICAS Y
FUEGO - PULL ENCHUFE AL DAR
SERVICIO O CUANDO CAMBIO DE LA LÁMPARA - UTILICE SÓLO 13 VATIOS O
MENOR BOMBILLA
PRECAUCIÓN
NO lo use en atmósferas explosivas, cerca de líquidos inamables, o donde las
lámparas a prueba de explosión son obligatorios.
NO lo use en la proximidad de vehículos o equipos cuando hay un riesgo de líquidos
inamables entren en contacto con la lámpara de mano.
No lo sumerja en agua.
NO lo use en áreas donde el agua se puede acumular o en la lluvia o la niebla.
PRECAUCIÓN: Riesgo de descarga eléctrica - For Light lugar seco Deber uso
exclusivo.
INSTRUCCIONES DE SEGURIDAD
Este producto tiene un enchufe polarizado (una pata es más ancha que la otra).
Como medida de seguridad, este enchufe calzará en un tomacorriente polarizado de
una sola manera. Si el enchufe no encaja completamente en el tomacorriente, invierta
el enchufe. Si aún así no encaja, póngase en contacto con un electricista calicado.
Nunca utilice con un cable de extensión a menos que el enchufe pueda insertarse
completamente. No intente anular esta característica de seguridad.
ADVERTENCIA: NO PARA USO EN LUGARES PELIGROSOS
PRECAUCIÓN: NO UTILICE EN LUGARES PELIGROSOS QUE PRESCRIBE EL
CÓDIGO ELÉCTRICO CANADIENSE, PARTE I
FUNCIONAMIENTO
Conectar a 120 voltios 60 Hz polarizado. Aviso de la clavija polarizada e insertar
correctamente. Operar el interruptor. Lámpara puede parpadear varias veces antes de
encender.
BOMBILLA DE REPUESTO
1. Desconectar la luz de la toma de corriente eléctrica
2. Quite la cubierta de plástico del extremo del cordón de la luz.
3. Utilice el borde de la hoja de un cuchillo para levantar el plástico del remache en la
parte superior del mango.
4. Saque con cuidado el tubo de alrededor de la bombilla del titular. La bombilla se
mantendrá en el zócalo.
5. Con cuidado, tire hacia arriba de goma para retirar y desechar la lámpara vieja.
6. Inserte la nueva bombilla en el zócalo en el portalámparas. Asegúrese de bulbo está
bien asentada en contra de la bombilla del titular.
7. Deslice el conjunto del tubo sobre el bulbo y la inserción superior del bulbo en la
ranura oval en la parte superior del soporte de la bombilla. Bombilla sólo deben penetrar
en la ranura.
8. Alinear los agujeros en el tubo con los agujeros de la manija de bulbo titular e instale
remaches de plástico. Presione con rmeza hasta que se asiente.
9. Vuelva a colocar la cubierta de plástico alineación de la cubierta para caber en el
interruptor on / off.
10. Restaurar la conexión eléctrica y una lámpara de prueba pulsando el interruptor de
encendido
NOTA: A PESAR DE LAS NUEVAS LÁMPARAS PARPADEA VARIAS VECES
ANTES DE ENCENDER.
BOMBILLAS DE REPUESTO
Use PL-13 de doble tubo tubo uorescente.
Una lámpara de repuesto se pueden obtener a partir de productos Bayco.
GARANTÍA
GARANTÍA LIMITADA DE 1 AÑO
Bayco Products, Inc. garantiza que este producto está libre de defectos de mano
de obra y materiales para el comprador original durante un año a partir de la fecha de
compra e incluye los LED, la carcasa, los lentes, la electrónica, los interruptores, las
pilas recargables y los cargadores. Las bombillas (excepto los LED) están cubiertas
durante 90 días a partir de la fecha de compra.
Repararemos o reemplazaremos este producto si lo determinamos como
defectuoso. Esta es la única garantía, expresa o implícita, incluyendo cualquier garantía
de comerciabilidad o idoneidad para un propósito particular.
Para obtener una copia completa de la garantía, visite www.baycoproducts.com/
bayco-product-support/warranties. Conserve su recibo para comprobar la compra.

This manual suits for next models

2

Other Bayco Work Light manuals

Bayco Night Stick NSR-2492 User manual

Bayco

Bayco Night Stick NSR-2492 User manual

Bayco 2134 User manual

Bayco

Bayco 2134 User manual

Bayco SL-1002 User manual

Bayco

Bayco SL-1002 User manual

Bayco BAR-2134 User manual

Bayco

Bayco BAR-2134 User manual

Bayco 2116 User manual

Bayco

Bayco 2116 User manual

Bayco 450 Series User manual

Bayco

Bayco 450 Series User manual

Bayco Nightstick NSR 2166 Series User manual

Bayco

Bayco Nightstick NSR 2166 Series User manual

Bayco SL-864 User manual

Bayco

Bayco SL-864 User manual

Bayco BAR-2372 User manual

Bayco

Bayco BAR-2372 User manual

Bayco Nightstick 2166 User manual

Bayco

Bayco Nightstick 2166 User manual

Bayco 2134 User manual

Bayco

Bayco 2134 User manual

Bayco 623 User manual

Bayco

Bayco 623 User manual

Bayco SL-1512 User manual

Bayco

Bayco SL-1512 User manual

Bayco 623 User manual

Bayco

Bayco 623 User manual

Bayco Night Stick NSP-1202 User manual

Bayco

Bayco Night Stick NSP-1202 User manual

Bayco 651 User manual

Bayco

Bayco 651 User manual

Bayco SL-1514 User manual

Bayco

Bayco SL-1514 User manual

Bayco SL-864 User manual

Bayco

Bayco SL-864 User manual

Bayco SL-1006 User manual

Bayco

Bayco SL-1006 User manual

Bayco INS-1005-12 User manual

Bayco

Bayco INS-1005-12 User manual

Bayco SL-2135 User manual

Bayco

Bayco SL-2135 User manual

Bayco 825 User manual

Bayco

Bayco 825 User manual

Bayco SL-1514 User manual

Bayco

Bayco SL-1514 User manual

Bayco SL-1504 User manual

Bayco

Bayco SL-1504 User manual

Popular Work Light manuals by other brands

Conrad Electronic 2435654 operating instructions

Conrad Electronic

Conrad Electronic 2435654 operating instructions

Steren LAM-232 instruction manual

Steren

Steren LAM-232 instruction manual

Anslut 018813 operating instructions

Anslut

Anslut 018813 operating instructions

DÖRR DSL-224 LED instruction manual

DÖRR

DÖRR DSL-224 LED instruction manual

LED World QL-F3528A60T-HA-24 instructions

LED World

LED World QL-F3528A60T-HA-24 instructions

ANSMANN FL2000R manual

ANSMANN

ANSMANN FL2000R manual

Sealey LED3601.V2 Series instructions

Sealey

Sealey LED3601.V2 Series instructions

Surefire EDCL1-T user manual

Surefire

Surefire EDCL1-T user manual

Osram LEDinspect FAST CHARGE PRO 500 manual

Osram

Osram LEDinspect FAST CHARGE PRO 500 manual

Velleman CHLS17RGB/2 user manual

Velleman

Velleman CHLS17RGB/2 user manual

Perel EWL422NW-R user manual

Perel

Perel EWL422NW-R user manual

TOPRO LED Lamp Rollator Mounting instructions

TOPRO

TOPRO LED Lamp Rollator Mounting instructions

GE LED2W-C9a-75 manual

GE

GE LED2W-C9a-75 manual

Ledix RUBI Installation and operation manual

Ledix

Ledix RUBI Installation and operation manual

Sealey LED1R manual

Sealey

Sealey LED1R manual

UNILITE SLR-1750 quick start guide

UNILITE

UNILITE SLR-1750 quick start guide

Vision & Control SLB-500-W5K7-P-24V Instructions for use

Vision & Control

Vision & Control SLB-500-W5K7-P-24V Instructions for use

Heitronic 28666 Installation and operating instructions

Heitronic

Heitronic 28666 Installation and operating instructions

manuals.online logo
manuals.online logoBrands
  • About & Mission
  • Contact us
  • Privacy Policy
  • Terms and Conditions

Copyright 2025 Manuals.Online. All Rights Reserved.