manuals.online logo
Brands
  1. Home
  2. •
  3. Brands
  4. •
  5. Bayco
  6. •
  7. Work Light
  8. •
  9. Bayco BAR-2372 User manual

Bayco BAR-2372 User manual

Other Bayco Work Light manuals

Bayco 2134 User manual

Bayco

Bayco 2134 User manual

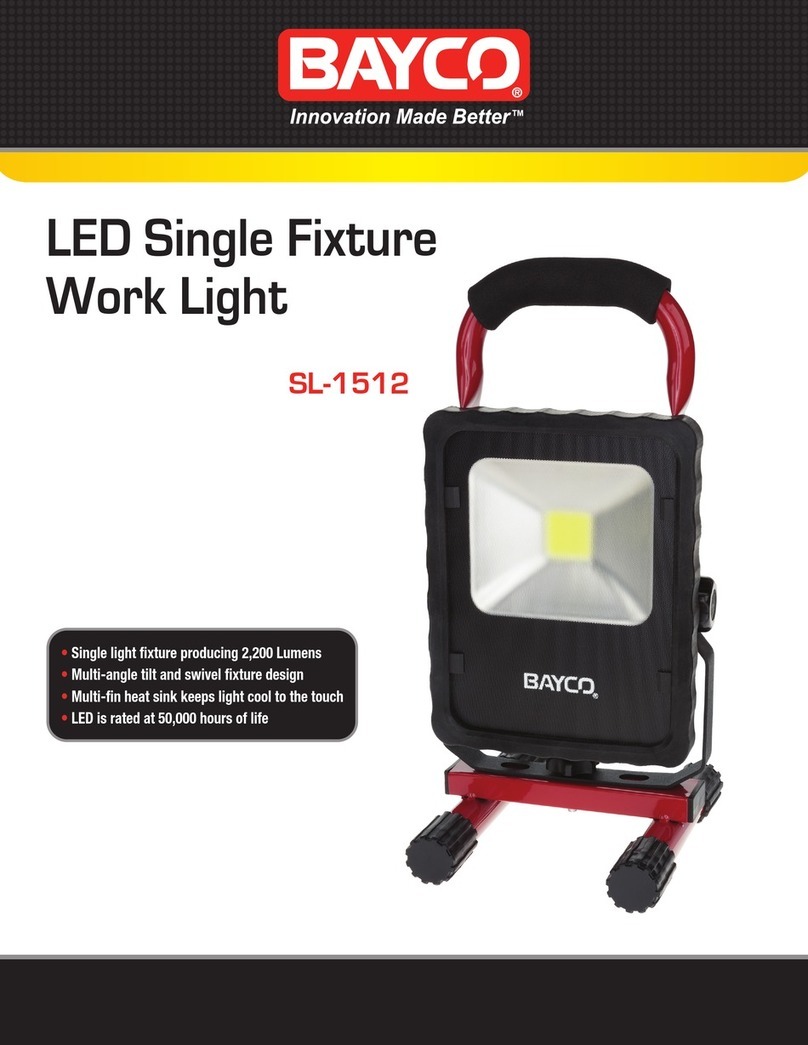
Bayco SL-1512 User manual

Bayco

Bayco SL-1512 User manual

Bayco CT-964 User manual

Bayco

Bayco CT-964 User manual

Bayco SL-1514 User manual

Bayco

Bayco SL-1514 User manual

Bayco 623 User manual

Bayco

Bayco 623 User manual

Bayco SL-866 User manual

Bayco

Bayco SL-866 User manual

Bayco HIPower SLR-2134 User manual

Bayco

Bayco HIPower SLR-2134 User manual

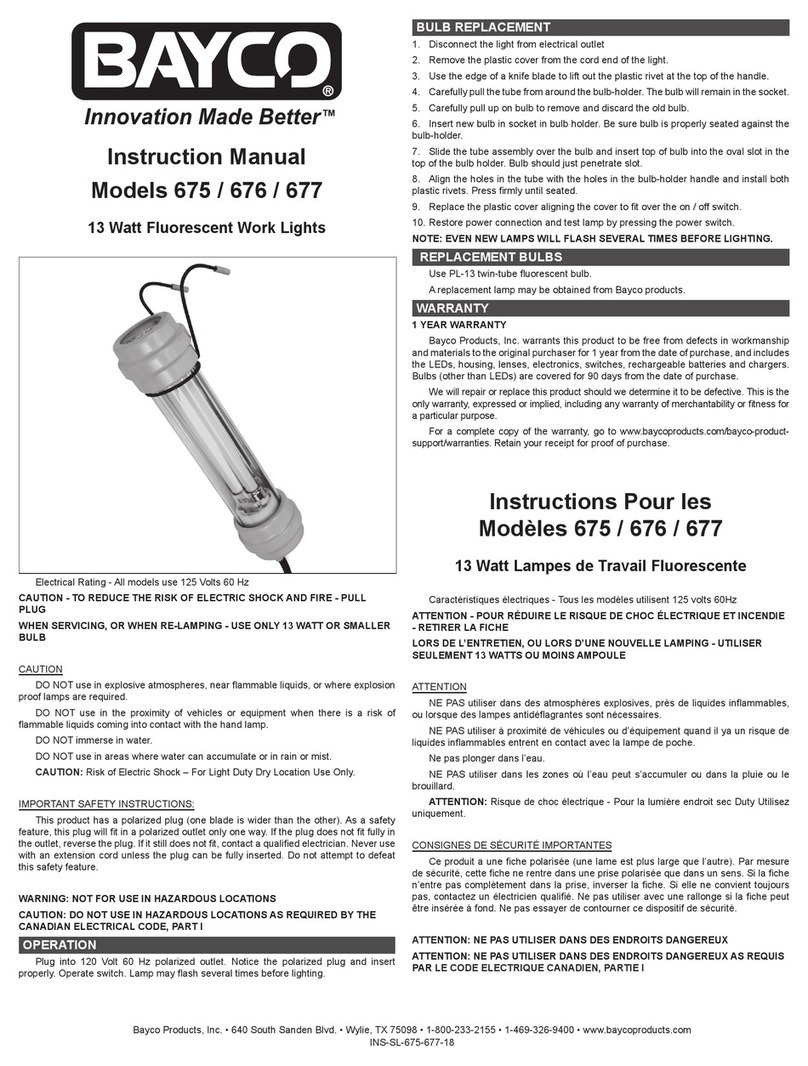
Bayco 675 User manual

Bayco

Bayco 675 User manual

Bayco SL-1522 User manual

Bayco

Bayco SL-1522 User manual

Bayco BAR-2134 User manual

Bayco

Bayco BAR-2134 User manual

Bayco 918 User manual

Bayco

Bayco 918 User manual

Bayco SL-1504 User manual

Bayco

Bayco SL-1504 User manual

Bayco 821 User manual

Bayco

Bayco 821 User manual

Bayco SL-868 User manual

Bayco

Bayco SL-868 User manual

Bayco 825 User manual

Bayco

Bayco 825 User manual

Bayco SL-1006 User manual

Bayco

Bayco SL-1006 User manual

Bayco BAR-2392 User manual

Bayco

Bayco BAR-2392 User manual

Bayco Night Stick NSR-2492 User manual

Bayco

Bayco Night Stick NSR-2492 User manual

Bayco NightStick XPR-5580G User manual

Bayco

Bayco NightStick XPR-5580G User manual

Bayco 9000 User manual

Bayco

Bayco 9000 User manual

Bayco 506-507-520-550 User manual

Bayco

Bayco 506-507-520-550 User manual

Bayco SL-864 User manual

Bayco

Bayco SL-864 User manual

Bayco BAR-2372 User manual

Bayco

Bayco BAR-2372 User manual

Bayco 623 User manual

Bayco

Bayco 623 User manual

Popular Work Light manuals by other brands

Conrad 77 70 78 operating instructions

Conrad

Conrad 77 70 78 operating instructions

EBS Seeberg 1 Operation manual

EBS

EBS Seeberg 1 Operation manual

Pelican 9460 user manual

Pelican

Pelican 9460 user manual

Anslut 425-080 User instructions

Anslut

Anslut 425-080 User instructions

Govee H6071 user manual

Govee

Govee H6071 user manual

LumX INSPEC LED instruction manual

LumX

LumX INSPEC LED instruction manual

LED2WORK TECLED User instructions

LED2WORK

LED2WORK TECLED User instructions

ANSMANN POWERLIGHT 5.1 operating instructions

ANSMANN

ANSMANN POWERLIGHT 5.1 operating instructions

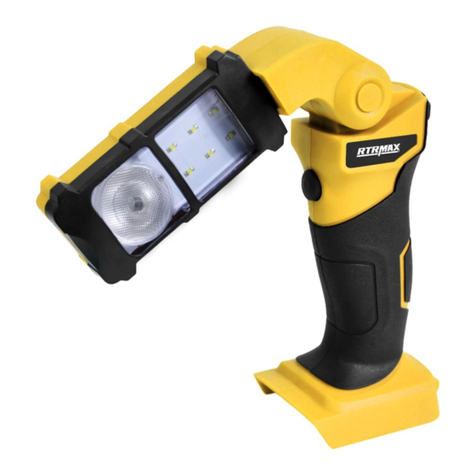
RTRMAX RTX1868 instruction manual

RTRMAX

RTRMAX RTX1868 instruction manual

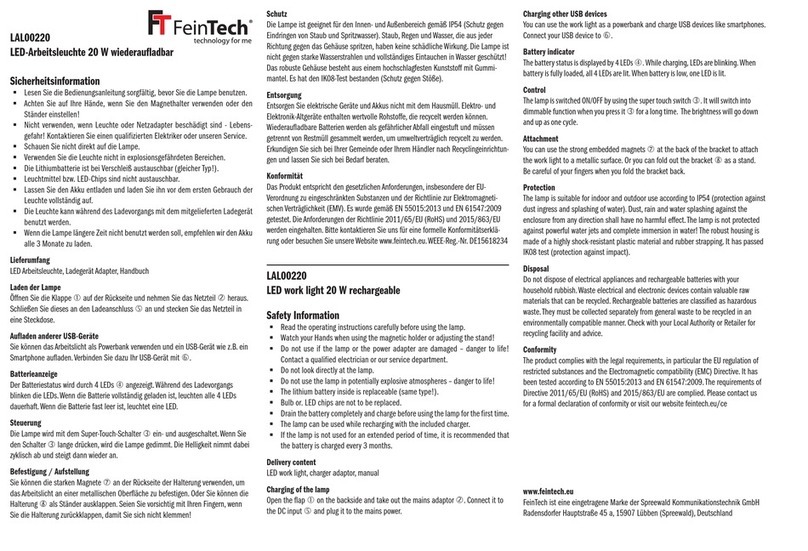
FeinTech LAL00220 quick start guide

FeinTech

FeinTech LAL00220 quick start guide

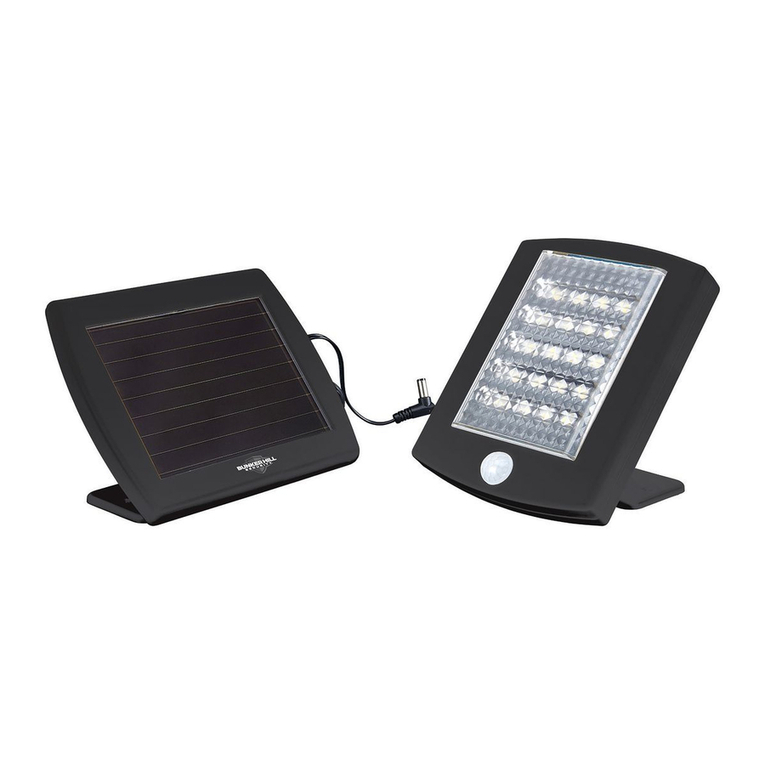
Bunker Hill Security 64735 user manual

Bunker Hill Security

Bunker Hill Security 64735 user manual

Goobay 30450 user manual

Goobay

Goobay 30450 user manual

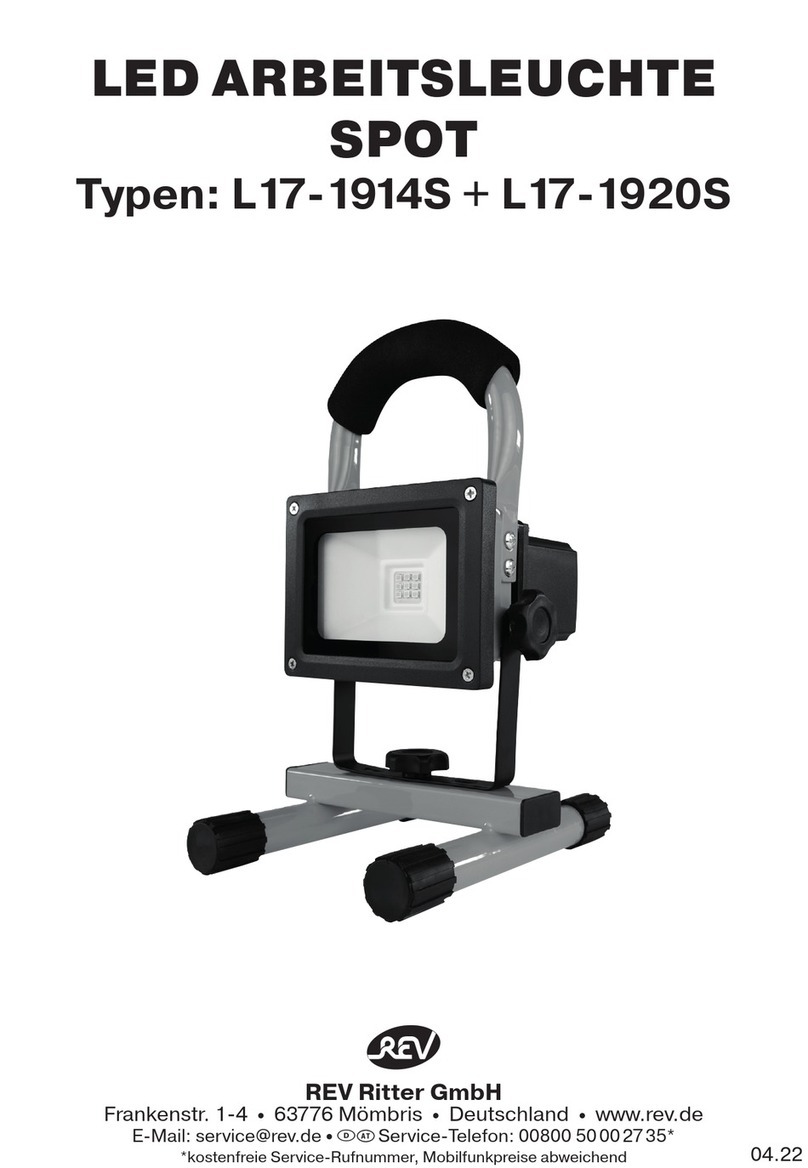
REV Ritter SPOT Assembly and operating instructions

REV Ritter

REV Ritter SPOT Assembly and operating instructions

Ignition Stagepix Line 100 IP user manual

Ignition

Ignition Stagepix Line 100 IP user manual

SCANGRIP DUO CONNECT manual

SCANGRIP

SCANGRIP DUO CONNECT manual

Bosch GLI 18 V operating instructions

Bosch

Bosch GLI 18 V operating instructions

EUFAB SMD LED 8+1 operating instructions

EUFAB

EUFAB SMD LED 8+1 operating instructions

DeWalt DCL510 Original instructions

DeWalt

DeWalt DCL510 Original instructions

manuals.online logo
manuals.online logoBrands
  • About & Mission
  • Contact us
  • Privacy Policy
  • Terms and Conditions

Copyright 2025 Manuals.Online. All Rights Reserved.

Bayco Products, Inc. • 640 South Sanden Blvd. • Wylie, TX 75098 • 1-800-233-2155 • 1-469-326-9400 • www.mybayco.com
INS-BAR-2372-18
Instruction Manual
BAR-2372
THANK YOU FOR PURCHASING THE BAR-2372 RECHARGEABLE WORK LIGHT.
SAVE THESE INSTRUCTIONS.
Please read these instructions before using your work light. Be sure to charge the
work light before the fi rst use.
•CAUTION: Do not use this work light in explosive atmospheres, near  ammable
liquids, or where explosion-proof lamps are required. Do not immerse in water.
•CAUTION: For light duty work only.
CHARGING
Initial Use
Fully charge the work light before the fi rst use. If the battery is new or has been
unused for several months, several charge and discharge cycles may be needed to
reach full battery capacity. To reach maximum performance, run the light to completely
discharge the battery and then recharge. Each charge cycle will extend the operation
time until maximum capacity is achieved. The charge time for maximum capacity is
approximately 6 hours.
Regular Use
•Use only the supplied AC or DC charging adapter.
•For best performance, charge the work light when the LED’s start to dim.
•Connect the AC power adapter to the light. The red indicator will light.
•The red light indicates the work light is being charged. The red light remains on until
the battery is fully charged. At full charge, the light turns off. The total time to full charge
varies depending on the remaining charge in the battery pack.
•Keep the work light plugged into the charger to maintain a trickle charge.
TIPS TO EXTEND BATTERY LIFE
•The work light NiMH internal battery pack does not have a memory effect. Charging
the work light often helps extend its useful life.
•A new work light or one that has not been used for a long period of time may not
accept a full charge initially. This is normal and does not indicate a problem. Fully
discharge and then charge the unit several times to condition the battery pack for full
capacity. As the battery pack capacity increases the charge time shortens.
•Charge the unit after each use, whether the work light is fully discharged or not.
•Store the work light at room temperature
OPERATION
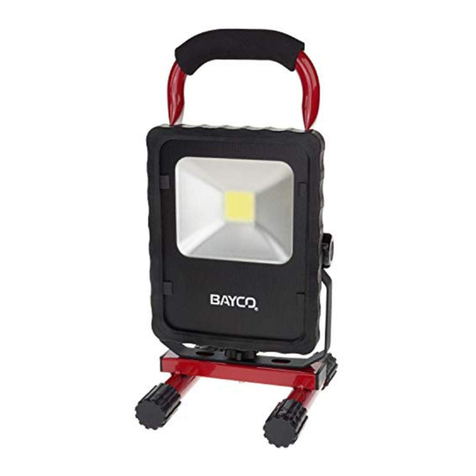
The work light has a single button located on the back of the handle to activate the
Spotlight, Floodlight and Dual-Light Modes. Pushing the button in succession will cycle
the user though all three modes in that order. The fourth press will turn the work light off.
WARRANTY
1 YEAR WARRANTY
Bayco Products, Inc. warrants this product to be free from defects in workmanship
and materials to the original purchaser for 1 year from the date of purchase, and includes
the LEDs, housing, lenses, electronics, switches, rechargeable batteries and chargers.
Bulbs (other than LEDs) are covered for 90 days from the date of purchase.
We will repair or replace this product should we determine it to be defective. This is the
only warranty, expressed or implied, including any warranty of merchantability or fi tness for
a particular purpose.
For a complete copy of the warranty, go to www.baycoproducts.com/bayco-product-
support/warranties. Retain your receipt for proof of purchase.
Mode d’emploi
BAR-2372
MERCI D’AVOIR ACHETÉ LA BALADEUSE BAR-2372 RECHARGEABLE.
VEUILLEZ CONSERVER CES INSTRUCTIONS.
Veuillez lire ces instructions avant d’utiliser ce produit. Veillez à charger la baladeuse
avant de l’utiliser pour la première fois.
•AVERTISSEMENT : Ne pas utiliser ce produit dans une atmosphère explosive,
à proximité de liquides in ammables, ou dans des endroits exigeant un éclairage
antidé agrant. Ne pas immerger dans l’eau.
•AVERTISSEMENT : uniquement pour les travaux légers.
CHARGE
Utilisation initiale
Chargez la baladeuse à bloc avant la première utilisation. Si la batterie est neuve
ou n’a pas été utilisée depuis plusieurs mois, il est possible qu’il faille plusieurs cycle de
charge et décharge pour que la batterie atteigne sa capacité maximale. Pour obtenir les
meilleurs résultats possibles, utilisez la baladeuse de façon à complètement décharger
la batterie puis rechargez-la. Chaque cycle de recharge prolongera la durée d’utilisation
jusqu’à ce que la capacité maximale soit atteinte. La durée maximale de charge requise
est d’environ 6 heures.
Utilisation normale
•Utilisez exclusivement l’adapteur de chargeur c.a ou c.c fourni.
•Pour de meilleurs résultats, chargez la baladeuse quand les LEDs commencent à
s’affaiblir.
•Connectez l’adapteur de courant c.a. à la baladeuse. Le voyant rouge s’allumera.
•Le voyant rouge indique que la baladeuse est en train de charger. Le voyant reste
rouge jusqu’à ce que la batterie soit complètement chargée. Une fois complètement
chargée, le voyant s’éteint. La durée totale de charge varie en fonction de la charge
qui reste dans la batterie.
•Conservez la baladeuse branchée dans le chargeur pour obtenir une charge
d’entretien.
CONSEILS POUR PROLONGER LA VIE DE LA BATTERIE
•La batterie interne NiMH n’a pas d’effet de mémoire de recharge. Recharger souvent
la batterie contribue à prolonger sa durée de vie.
•Une nouvelle baladeuse, ou une baladeuse qui n’a pas été utilisée pendant
longtemps, n’accepte pas initialement de charge complète. Cela est normal et
n’indique pas de problème. Déchargez complètement puis chargez la baladeuse
plusieurs fois pour permettre à la batterie d’atteindre sa capacité maximale. Le temps
de charge devient plus bref au fur et à mesure que la capacité de la batterie augmente.
•Chargez la batterie après chaque utilisation, que la baladeuse soit complètement
déchargée ou non.
•Stockez la baladeuse à température ambiante.
FONCTIONNEMENT
La baladeuse comprend un seul bouton derrière la poignée, permettant d’activer
les modes faisceau étroit, projecteur et double. Appuyer sur le bouton de façon répétée
permet de passer d’un mode à l’autre dans cet ordre. La quatrième pression permet
d’éteindre la baladeuse.
GARANTIE
GARANTIE LIMITÉE DE 1 AN
Bayco Products, Inc. garantit que ce produit est exempt de défauts de matériaux
et de fabrication à l’acheteur original pour une période d’un (1) an à partir de la date
d’achat, et inclut les DEL, les boîtiers, les lentilles, les électroniques, les interrupteurs,
les batteries rechargeables et les chargeurs. Les ampoules (autres que les DEL) sont
couvertes pour une période de 90 jours à partir de la date d’achat.
Bayco Products, Inc. • 640 South Sanden Blvd. • Wylie, TX 75098 • 1-800-233-2155 • 1-469-326-9400 • www.mybayco.com
INS-BAR-2372-18
Ce produit sera réparé ou remplacé si nous déterminons qu’il est défectueux. Ceci
est la seule garantie explicite ou implicite, y compris toute garantie de qualité marchande
ou d’adéquation à un usage particulier.
Pour une copie détaillée de la garantie, vous rendre sur le site www.baycoproducts.
com/bayco-product-support/warranties. Gardez ce reçu comme preuve d’achat.
Manual de Instrucción
BAR-2372
GRACIAS POR COMPRAR LA LINTERNA DE TRABAJO RECARGABLE BAR-
2372. GUARDE ESTAS INSTRUCCIONES.
Por favor, lea estas instrucciones antes de utilizar su linterna de trabajo. Asegúrese
de cargar la linterna de trabajo antes del primer uso.
•PRECAUCIÓN: No utilice esta linterna de trabajo en atmósferas explosivas, cerca
de líquidos inamables o donde se requieren lámparas a prueba de explosión. No la
sumerja en agua.
•PRECAUCIÓN: Para trabajo liviano solamente.
CARGANDO
Uso Inicial
Cargue completamente la linterna de trabajo antes del primer uso. Si la batería es
nueva o no se ha utilizado durante varios meses, varios ciclos de carga y descarga
pueden ser necesarios para alcanzar la capacidad total de la batería. Para alcanzar
el máximo rendimiento, deje prendida la linterna hasta que se descargue por
completo la batería y después recargarla. Cada ciclo de carga extenderá el tiempo de
funcionamiento hasta que se consiga la máxima capacidad. El tiempo de carga para la
capacidad máxima es de aproximadamente 6 horas.
Uso Regular
•Utilice sólo el adaptador de carga AC o CC suministrado.
•Para un mejor rendimiento, cargue la linterna de trabajo, cuando el LED sea tenue.
•Conecte el adaptador de alimentación de AC a la linterna. El indicador rojo se
encenderá.
•La luz roja indica que la linterna de trabajo se está cargando. La luz roja permanece
encendida hasta que la batería está completamente cargada. A plena carga, la
linterna se apaga. El tiempo total de carga completa varía dependiendo de la carga
restante en la batería.
•Mantenga la linterna de trabajo conectada en el cargador para mantener una carga
de mantenimiento.
CONCEJOS PARA PROLONGAR LA DURACIÓN DE LA BATERÍA
•El paquete de la batería interna de la linterna de trabajo NiMH no tiene un efecto
de memoria. El cargar la linterna de trabajo a menudo ayuda a prolongar su vida útil.
•Una nueva linterna de trabajo o una que no se ha utilizado durante un largo período
de tiempo no pueden aceptar una carga completa inicial. Esto es normal y no indica un
problema. Descargue completamente y después cargue la unidad varias veces para
preparar la batería para máxima capacidad. A medida que la capacidad de la batería
aumenta el tiempo de carga se acorta.
•Cargue la unidad después de cada uso, aunque la linterna de trabajo se encuentre
completamente descargada o no.
•Guarde la linterna de trabajo a temperatura ambiente
FUNCIONAMIENTO
La linterna de trabajo tiene un único botón situado en la parte posterior de la manija
para activar el Reector, el Reector y Dual-Light Modes. Al pulsar el botón en sucesión,
iniciará un ciclo al usuario a través de los tres modos en ese orden. La cuarta pulsación
apagará la linterna de trabajo.
GARANTÍA
GARANTÍA LIMITADA DE 1 AÑO
Bayco Products, Inc. garantiza que este producto está libre de defectos de mano
de obra y materiales para el comprador original durante un año a partir de la fecha de
compra e incluye los LED, la carcasa, los lentes, la electrónica, los interruptores, las
pilas recargables y los cargadores. Las bombillas (excepto los LED) están cubiertas
durante 90 días a partir de la fecha de compra.
Repararemos o reemplazaremos este producto si lo determinamos como
defectuoso. Esta es la única garantía, expresa o implícita, incluyendo cualquier garantía
de comerciabilidad o idoneidad para un propósito particular.
Para obtener una copia completa de la garantía, visite www.baycoproducts.com/
bayco-product-support/warranties. Conserve su recibo para comprobar la compra.