manuals.online logo
Brands
  1. Home
  2. •
  3. Brands
  4. •
  5. Bayco
  6. •
  7. Work Light
  8. •
  9. Bayco 623 User manual

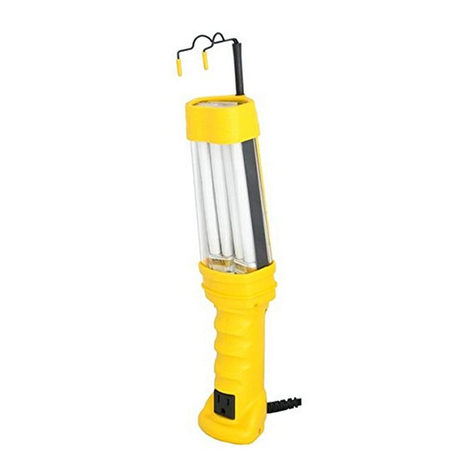
Bayco 623 User manual

Bayco Products, Inc. • 640 South Sanden Blvd. • Wylie, TX 75098 • 1-800-233-2155 • 1-469-326-9400 • www.mybayco.com
INS-623-18
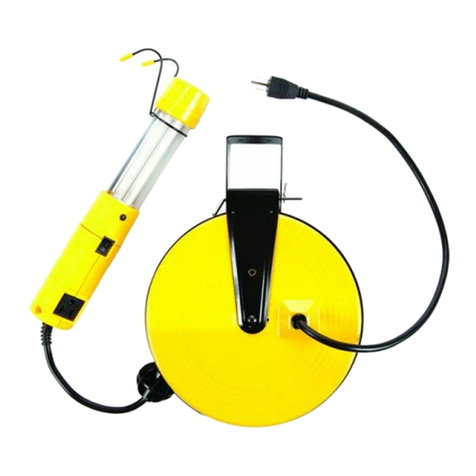
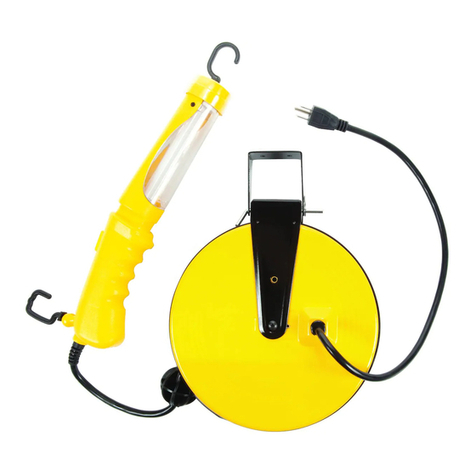
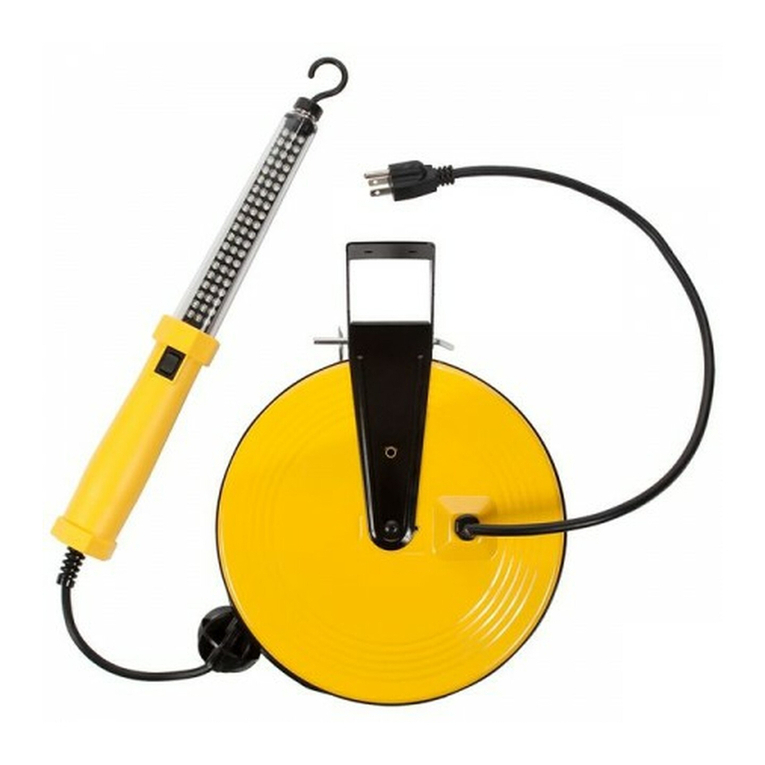
Instructions for Model 623
15 Watt Fluorescent Light
Electrical Rating - All models use 125 Volts 60 HZ
CAUTION
TO REDUCE THE RISK OF ELECTRIC SHOCK AND FIRE - PULL PLUG WHEN
SERVICING, OR WHEN RE-LAMPING - USE ONLY 13 WATT OR SMALLER BULB
• DO NOT use in explosive atmospheres, near ammable liquids, or where explosion
proof lamps are required.
• DO NOT use in the proximity of vehicles or equipment when there is a risk of
ammable liquids coming into contact with the hand lamp
• DO NOT immerse in water
• DO NOT use in areas where water can accumulate or in rain or mist
•CAUTION: Risk of Electric Shock – For Light Duty Dry Location Use Only
IMPORTANT SAFETY INSTRUCTIONS
This product has a polarized plug (one blade is wider than the other). As a safety
feature, this plug will t in a polarized outlet only one way. If the plug does not t fully in
the outlet, reverse the plug. If it still does not t, contact a qualied electrician. Never use
with an extension cord unless the plug can be fully inserted. Do not attempt to defeat
this safety feature.
WARNING: NOT FOR USE IN HAZARDOUS LOCATIONS
CAUTION: DO NOT USE IN HAZARDOUS LOCATIONS AS REQUIRED BY THE
CANADIAN ELECTRICAL CODE, PART
OPERATION
Plug into 120 Volt 60 Hz polarized outlet. Notice the polarized plug and insert
properly. Operate switch. Lamp may ash several times before lighting.
1. Turn on the right hand switch button and then push the left-hand primer switch
2. Hold for several seconds until the lamp begins to light at each end.
3. Release the primer switch and the lamp will come on.
4. NOTE: The switch must be on and the primer depressed to start the lamp
5. Release the primer with the switch on to start the lamp.
6. Even new lamps will take several seconds to prime
BULB REPLACEMENT
Do not remove work light ends while unit is plugged in
1. Unplug the work light before changing the bulb
2. Remove the lens cover black plastic rivets located on each end of the tube lens.
3. Pull the far end plate socket from the lens end.
4. Carefully slide the lens over and away from the bulb.
5. Carefully pull the tube bulb from the bulb socket.
6. Carefully insert new bulb in the handle socket. Be sure bulb is properly seated.
7. Push the lens back into place on the lamp bottom, align the rivet boles and replace
the rivet.
8. Push the far end plate into the lens end and over the two lamp terminals.
9. Be sure the far end plate socket is properly aligned with the terminals.
10. Align the lens and far lens cover rivet holes, and replace the rivet.
11. Make sure both ends are seated and the rivets are tight
12. Plug in the light and test by pressing the power switch and the primer
NOTE: Even new lamps will ash several times before lighting.
REPLACEMENT BULBS
Use PL- 15 Quad pin Type-T uorescent bulbs. Replacement bulbs are available
from Bayco.
WARRANTY
1 YEAR WARRANTY
Bayco Products, Inc. warrants this product to be free from defects in workmanship
and materials to the original purchaser for 1 year from the date of purchase, and includes
the LEDs, housing, lenses, electronics, switches, rechargeable batteries and chargers.
Bulbs (other than LEDs) are covered for 90 days from the date of purchase.
We will repair or replace this product should we determine it to be defective. This is the
only warranty, expressed or implied, including any warranty of merchantability or tness for
a particular purpose.
For a complete copy of the warranty, go to www.baycoproducts.com/bayco-product-
support/warranties. Retain your receipt for proof of purchase.
Instructions D’utilisation du Modèle 623
15 Watt Lampes de Travail Fluorescente
Caractéristiques électriques - Tous les modèles utilisent 125 volts 60Hz
ATTENTION
POUR REDUIRE LE RISQUE DE CHOC ÉLECTRIQUE ET INCENDIE - RETIRER LE
BOUCHON LORS DE L’ENTRETIEN OU QUAND REMPLACEMENT DES LAMPES -
UTILISER SEULEMENT 13 WATTS OU MOINS AMPOULE
•NE PAS utiliser dans des atmosphères explosives, près de liquides inammables, ou
lorsque des lampes antidéagrantes sont nécessaires.
• NE PAS utiliser à proximité de véhicules ou d’équipement quand il ya un risque de
liquides inammables entrent en contact avec la lampe de poche
• Ne pas plonger dans l’eau
• NE PAS utiliser dans les zones où l’eau peut s’accumuler ou dans la pluie ou le
brouillard
• ATTENTION: Risque de choc électrique - Pour la lumière endroit sec Duty Utilisez
uniquement
CONSIGNES DE SÉCURITÉ IMPORTANTES
Ce produit a une che polarisée (une lame est plus large que l’autre). Par mesure
de sécurité, cette che ne rentre dans une prise polarisée que dans un sens. Si la che
n’entre pas complètement dans la prise, inverser la che. Si elle ne convient toujours
pas, contactez un électricien qualié. Ne pas utiliser avec une rallonge si la che peut
être insérée à fond. Ne pas essayer de contourner ce dispositif de sécurité.
ATTENTION: NE PAS UTILISER DANS DES ENDROITS DANGEREUX
ATTENTION: NE PAS UTILISER DANS DES ENDROITS DANGEREUX AS REQUIS
PAR LE CODE ELECTRIQUE CANADIEN, PARTIE I
FONCTIONNEMENT
Branchez dans une prise polarisée de 120 V, 60 Hz. Insérez correctement la che
polarisée.
1. Actionnez le bouton de mise en marche sur le côté droit et appuyez sur l’interrupteur
d’amorce sur le côté gauche.
2. Tenez-le pendant plusieurs secondes jusqu’à ce que l’ampoule commence à
s’allumer aux deux extrémités.
3. Relâchez l’interrupteur d’amorce et la lumière allumera.
4. NOTE : Pour allumer la lumière, le bouton de mise en marche doit être en position
de marche et l’interrupteur d’amorce doit être abaissé.
5. Lorsque l’interrupteur de mise en marche est en position de marche, relâchez
l’interrupteur d’amorce pour allumer la lumière
6. Les baladeuses neuves peuvent prendre plusieurs secondes à s’amorcer.
AMPOULE DE RECHANGE
Ne retirez pas les extrémités de la lumière lorsqu’elle est branchée.
1. Débranchez la baladeuse avant de changer l’ampoule.
2. Retirez les rivets en plastique noir situés à chaque extrémité de la lentille protectrice.
3. Retirez le contact plat situé à l’opposé de la douille.
4. Faites glisser délicatement la lentille sur et loin de l’ampoule.
Bayco Products, Inc. • 640 South Sanden Blvd. • Wylie, TX 75098 • 1-800-233-2155 • 1-469-326-9400 • www.mybayco.com
INS-623-18
5. Retirez doucement le tube d’ampoule de la douille.
6. Insérez doucement une ampoule neuve dans la douille du manche. Assurez-vous
que l’ampoule est correctement insérée.
7. Remettez la lentille protectrice en place, alignez les trous du rivet et replacez le rivet.
8. Poussez le contact plat à l’opposé de la douille dans la lentille et faites-le passer
par-dessus les deux bornes de l’ampoule.
9. Assurez-vous que le contact plat à l’opposé est correctement aligné avec les bornes.
10. Alignez la lentille et les trous du rivet de la lentille et replacez le rivet.
11. Assurez-vous que les deux extrémités sont xées et que les rivets sont serrés.
12. Branchez la baladeuse et vériez son fonctionnement en appuyant sur le bouton de
mise en marche et l’interrupteur d’amorce.
REMARQUE: Même les ampoules neuves clignoteront à plusieurs reprises avant
de s’allumer.
AMPOULES DE RECHANGE
Utilisez les ampoules uorescentes Type T PL-15 à prise quadruple.
Bayco offre des ampoules de rechange.
GARANTIE
GARANTIE LIMITÉE DE 1 AN
Bayco Products, Inc. garantit que ce produit est exempt de défauts de matériaux
et de fabrication à l’acheteur original pour une période d’un (1) an à partir de la date
d’achat, et inclut les DEL, les boîtiers, les lentilles, les électroniques, les interrupteurs,
les batteries rechargeables et les chargeurs. Les ampoules (autres que les DEL) sont
couvertes pour une période de 90 jours à partir de la date d’achat.
Ce produit sera réparé ou remplacé si nous déterminons qu’il est défectueux. Ceci
est la seule garantie explicite ou implicite, y compris toute garantie de qualité marchande
ou d’adéquation à un usage particulier.
Pour une copie détaillée de la garantie, vous rendre sur le site www.baycoproducts.
com/bayco-product-support/warranties. Gardez ce reçu comme preuve d’achat.
Manual De Instrucciones Los Modelo 623
15 Watt Luces Fluorescentes de Trabajo
Clasicación eléctrica - Todos los modelos usan 125 voltios 60 Hz
PRECAUCIÓN
PARA REDUCIR EL RIESGO DE DESCARGAS ELÉCTRICAS Y FUEGO - RETIRE EL
TAPÓN DURANTE EL MANTENIMIENTO, O CUANDO CAMBIO DE LA LÁMPARA -
UTILICE SÓLO 13 VATIOS O MENOR BOMBILLA
•NO lo use en atmósferas explosivas, cerca de líquidos inamables, o donde las lámparas
a prueba de explosión son obligatorios.
• NO lo use en la proximidad de vehículos o equipos cuando hay un riesgo de líquidos
inamables entren en contacto con la lámpara de mano
• No lo sumerja en agua
• NO lo use en áreas donde el agua se puede acumular o en la lluvia o la niebla
• PRECAUCIÓN: Riesgo de descarga eléctrica - For Light lugar seco Deber uso
exclusivo
INSTRUCCIONES IMPORTANTES DE SEGURIDAD
Este producto tiene un enchufe polarizado (una pata es más ancha que la otra).
Como medida de seguridad, este enchufe calzará en un tomacorriente polarizado de
una sola manera. Si el enchufe no encaja completamente en el tomacorriente, invierta
el enchufe. Si aún así no encaja, póngase en contacto con un electricista calicado.
Nunca utilice con un cable de extensión a menos que el enchufe pueda insertarse
completamente. No intente anular esta característica de seguridad.
ADVERTENCIA: NO PARA USO EN LUGARES PELIGROSOS
PRECAUCIÓN: NO UTILICE EN LUGARES PELIGROSOS QUE PRESCRIBE EL
CÓDIGO ELÉCTRICO CANADIENSE, PARTE I
FUNCIONAMIENTO
Conectar a 120 voltios 60 Hz polarizado. Aviso de la clavija polarizada e insertar
correctamente. Operar el interruptor. Lámpara puede parpadear varias veces antes de
encender.
1. Encienda el botón derecho del interruptor de la derecha y luego pulsar el interruptor
manual de la izquierda
2. Mantenga esta posición durante varios segundos hasta que la luz comienza a la luz
en cada extremo.
3. Suelte el interruptor de imprimación y la lámpara se enciende.
4. NOTA: El interruptor debe estar en el primer y deprimido como para encender la
lámpara
5. Liberación de la cartilla con el interruptor para encender la lámpara.
6. Incluso las lámparas nuevas tardar varios segundos en primer
BOMBILLA DE REPUESTO
1. Desconectar la luz el trabajo antes de cambiar la bombilla
2. Retire la tapa de la lente de plástico negro remaches situados en cada extremo de
la lente del tubo.
3. Tire de la toma de la placa nal lejos de la nal de la lente.
4. Deslice con cuidado el lente sobre y fuera de la bombilla.
5. Saque con cuidado la bombilla del tubo de la toma de la bombilla.
6. Introduzca con cuidado la nueva bombilla en el identicador de socket. Asegúrese
de bulbo está bien asentado.
7. Empujar la lente en su lugar en la parte inferior de la lámpara, alinear los troncos de
remaches y reemplazar el remache.
8. Empuje la placa de extremo en el extremo del objetivo y en los dos terminales de la
lámpara.
9. Asegúrese de que la toma de la placa nal lo está alineada con los terminales.
10. Alinee el objetivo y lo objetivo cubrir los agujeros de remache, y vuelva a colocar el
remache.
11. Asegúrese de que ambos extremos están sentados y los remaches están apretados
12. Conecte la luz y la prueba pulsando el interruptor de encendido y la cartilla de la
NOTA: A pesar de las nuevas lámparas parpadea varias veces antes de encender.
BOMBILLAS DE REPUESTO
Uso PL-15 pin tipo Quad-T bombillas uorescentes. Bombillas de repuesto están
disponibles a partir de Bayco
GARANTÍA
GARANTÍA LIMITADA DE 1 AÑO
Bayco Products, Inc. garantiza que este producto está libre de defectos de mano
de obra y materiales para el comprador original durante un año a partir de la fecha de
compra e incluye los LED, la carcasa, los lentes, la electrónica, los interruptores, las
pilas recargables y los cargadores. Las bombillas (excepto los LED) están cubiertas
durante 90 días a partir de la fecha de compra.
Repararemos o reemplazaremos este producto si lo determinamos como
defectuoso. Esta es la única garantía, expresa o implícita, incluyendo cualquier garantía
de comerciabilidad o idoneidad para un propósito particular.
Para obtener una copia completa de la garantía, visite www.baycoproducts.com/
bayco-product-support/warranties. Conserve su recibo para comprobar la compra.

Other Bayco Work Light manuals

Bayco 918 User manual

Bayco

Bayco 918 User manual

Bayco SL-866 User manual

Bayco

Bayco SL-866 User manual

Bayco Night Stick NSR-2492 User manual

Bayco

Bayco Night Stick NSR-2492 User manual

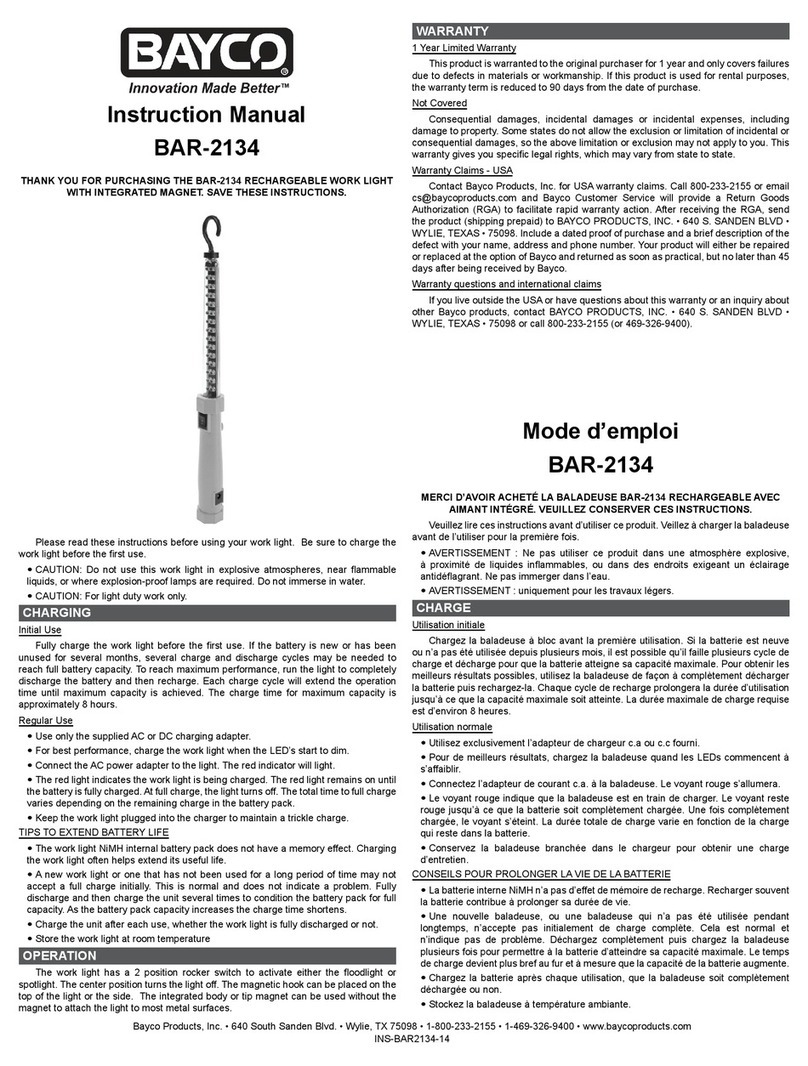
Bayco BAR-2134 User manual

Bayco

Bayco BAR-2134 User manual

Bayco SL-864 User manual

Bayco

Bayco SL-864 User manual

Bayco SL-1002 User manual

Bayco

Bayco SL-1002 User manual

Bayco SL-1512 User manual

Bayco

Bayco SL-1512 User manual

Bayco SL-864 User manual

Bayco

Bayco SL-864 User manual

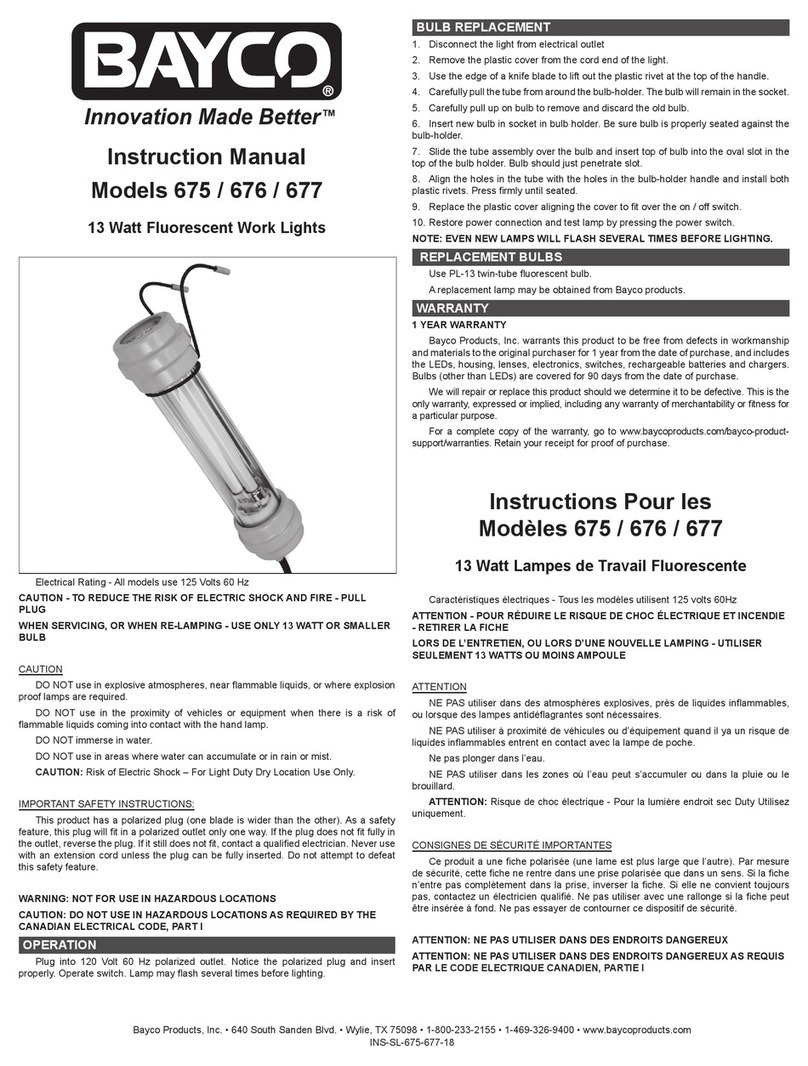
Bayco 675 User manual

Bayco

Bayco 675 User manual

Bayco 821 User manual

Bayco

Bayco 821 User manual

Bayco 825 User manual

Bayco

Bayco 825 User manual

Bayco 827 User manual

Bayco

Bayco 827 User manual

Bayco SL-1006 User manual

Bayco

Bayco SL-1006 User manual

Bayco 2116 User manual

Bayco

Bayco 2116 User manual

Bayco BAR-2372 User manual

Bayco

Bayco BAR-2372 User manual

Bayco SL-868 User manual

Bayco

Bayco SL-868 User manual

Bayco 908 User manual

Bayco

Bayco 908 User manual

Bayco 2134 User manual

Bayco

Bayco 2134 User manual

Bayco 623 User manual

Bayco

Bayco 623 User manual

Bayco 506-507-520-550 User manual

Bayco

Bayco 506-507-520-550 User manual

Bayco SL-1514 User manual

Bayco

Bayco SL-1514 User manual

Bayco BAR-2392 User manual

Bayco

Bayco BAR-2392 User manual

Bayco 9000 User manual

Bayco

Bayco 9000 User manual

Bayco SL-1504 User manual

Bayco

Bayco SL-1504 User manual

Popular Work Light manuals by other brands

Omega 94301 operating instructions

Omega

Omega 94301 operating instructions

Sealey LED36012V quick start guide

Sealey

Sealey LED36012V quick start guide

REV Ritter TORCH Assembly and operating instructions

REV Ritter

REV Ritter TORCH Assembly and operating instructions

DOTLUX 3944-027IP205M user manual

DOTLUX

DOTLUX 3944-027IP205M user manual

GE 99386 manual

GE

GE 99386 manual

LED Group Robus RATR6P03038-01 quick start guide

LED Group

LED Group Robus RATR6P03038-01 quick start guide

Reliable UBERLIGHT 3000TL instruction manual

Reliable

Reliable UBERLIGHT 3000TL instruction manual

Jefferson Professional Tools & Equipment JEFWLT40WTEL-230 user guide

Jefferson Professional Tools & Equipment

Jefferson Professional Tools & Equipment JEFWLT40WTEL-230 user guide

LVS CEPS-36W installation instructions

LVS

LVS CEPS-36W installation instructions

Peak PKC0TR owner's manual

Peak

Peak PKC0TR owner's manual

Ryobi P700 Operator's manual

Ryobi

Ryobi P700 Operator's manual

Oase LunAqua 3 LED operating instructions

Oase

Oase LunAqua 3 LED operating instructions

Westfalia Star Curtain quick start guide

Westfalia

Westfalia Star Curtain quick start guide

Craftsman CMXELAYMPL1032 instruction manual

Craftsman

Craftsman CMXELAYMPL1032 instruction manual

Atexor Slam Hornet 1x18W Instructions for safe use

Atexor

Atexor Slam Hornet 1x18W Instructions for safe use

F.F. Group CL 12V PLUS Original instructions

F.F. Group

F.F. Group CL 12V PLUS Original instructions

ANCEL M3 user manual

ANCEL

ANCEL M3 user manual

HAZET-WERK HAZET 1979-7 instruction manual

HAZET-WERK

HAZET-WERK HAZET 1979-7 instruction manual

manuals.online logo
manuals.online logoBrands
  • About & Mission
  • Contact us
  • Privacy Policy
  • Terms and Conditions

Copyright 2025 Manuals.Online. All Rights Reserved.