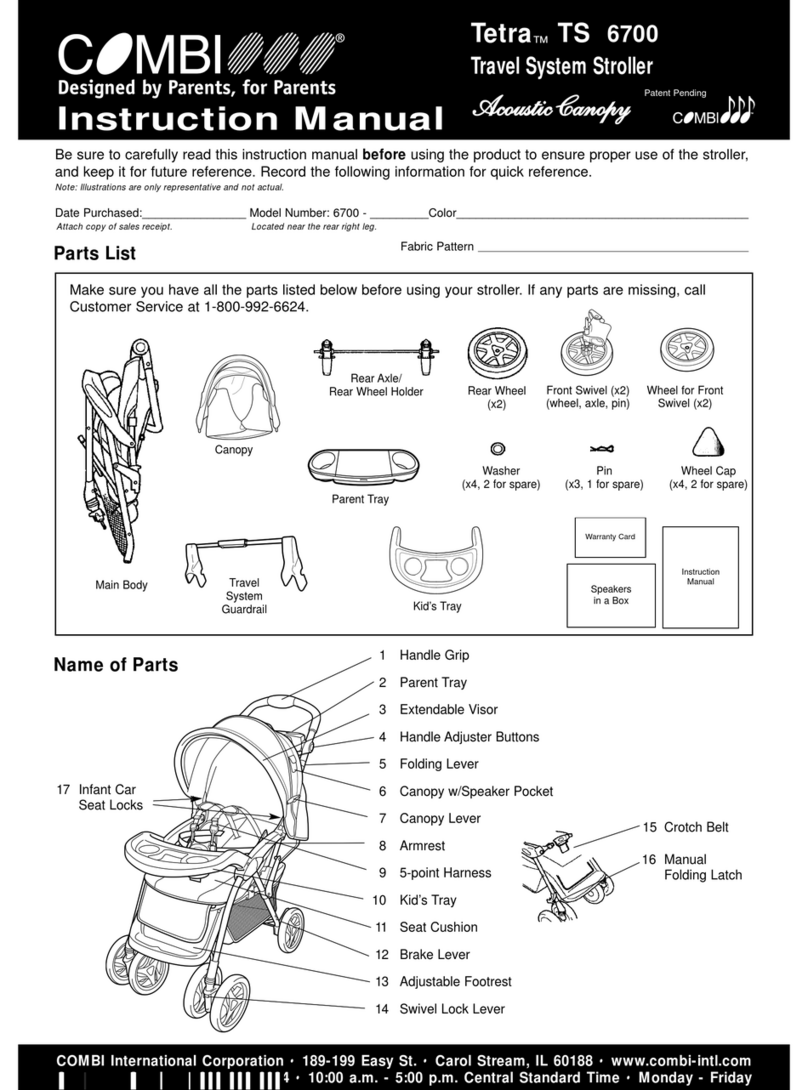
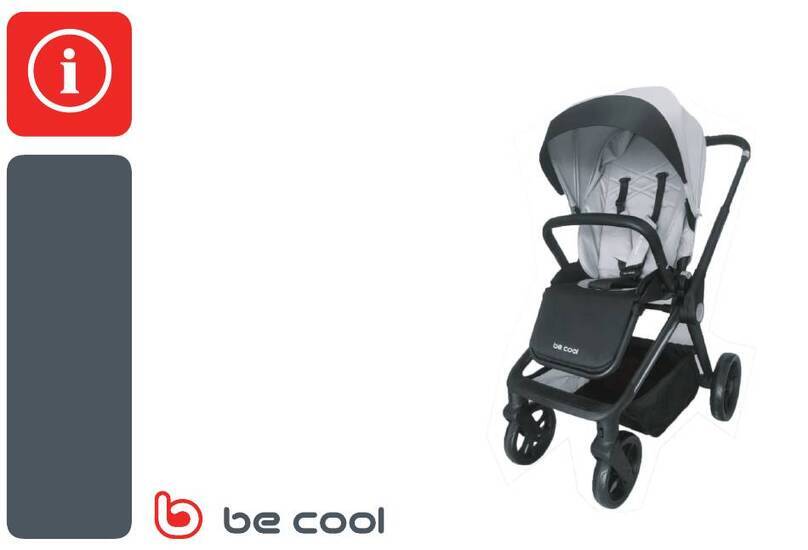
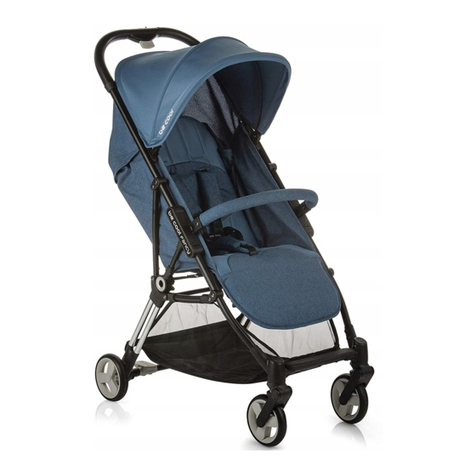
Be Cool ultimate User manual

Silla de paseo apta desde recién nacido
Pushchair suitable for use from birth


LANGUAGES
03
ESPAÑOL 14
ENGLISH 17
FRANÇAIS 21
PORTUGUÊS 25
ITALIANO 29

PARTLIST
04
1 2
3
4
56

05
PARTLIST
1. Folded pushchair
2. Front wheels
3. Rear wheels
4. Hood
5. Bumper bar
6. Handlebar with functions
1. Silla plegada
2. Ruedas delanteras
3. Ruedas traseras
4. Capota
5. Protector
6. Manillar con funciones
1. Poussette pliée
2. Roues avant
3. Roues arrière
4. Capote
5. Protecteur
6. Guidon avec fonctions
ESPAÑOL ENGLISH
FRANÇAIS
1. Passeggino chiuso
2. Ruote anteriori
3. Ruote posteriori
4. Capottina
5. Protezione
6. Manubrio con funzioni
1. Carrinho fechado
2. Rodas dianteiras
3. Rodas traseiras
4. Capota
5. Protetor
6. Guiador com funções
PORTUGUÊS ITALIANO

PARTLIST
06
1 a
1
A
2
2 a 2 b 2 c

07
PARTLIST
3
3 c 4 4 a
3 a 3 b

INSTRUCTIONS
08
4 b
5
4 c
5 a 5 b

INSTRUCTIONS
09
7
6
7 a
6 a
7 b
6 b

INSTRUCTIONS
10
8
9
8 a 8 b
9 a 9 b

INSTRUCTIONS
11
11
10
11a
10a
11b
10b

ES
12

ES
13
ADVERTENCIAS 14
INSTRUCCIONES DE MONTAJE Y UTILIZACIÓN 15
MANTENIMIENTO 16
INFORMACIÓN SOBRE LA GARANTÍA 16

ES
14
¡IMPORTANTE! Guarde estas instruccio-
nes para consultas futuras
ADVERTENCIA: Debe accionarse el dispositivo de
frenado durante la carga y descarga de los niños.
ADVERTENCIA: Cualquier carga jada al manillar
y/o a la parte trasera del respaldo y/o a los laterales
del vehículo afectará a la estabilidad de éste.
ADVERTENCIA: Solo deben utilizarse los repuestos
suministrados o recomendados por el distribuidor
o BE COOl.
ADVERTENCIA: No dejar nunca al niño desatendido.
ADVERTENCIA: Asegúrese que todos los dispositi-
vos de bloqueo están engranados antes del uso.
ADVERTENCIA: Para evitar lesiones asegúrese de
que el niño se mantiene alejado cuando se pliega y
despliega este producto.
ADVERTENCIA: No permita que el niño juegue con
este producto.
ADVERTENCIA: Use un arnés tan pronto como el
niño se pueda sentar por sí mismo.
ADVERTENCIA: Usar siempre el sistema de reten-
ción.
ADVERTENCIA: Este producto no es adecuado para
correr o patinar.
No utilice nunca accesorios que no hayan sido
aprobados por BE COOL.
Este cochecito sólo puede ser usado por un niño.
La masa máxima permitida de la cestilla portaob-
jetos nunca puede superar lo indicado en la cestilla
(4 kg).
Tenga cuidado al bajar escaleras mecánicas, ya que
podría desbloquearse el seguro trasero.
ADVERTENCIA: No utilice nunca la tira entrepiernas
sin el cinturón abdominal.
ADVERTENCIA: Mover la posición del arnés según
la edad del niño, utilizar la posición más baja del
respaldo y ajustar ambos para niños menores de
6 meses.
Este vehiculo es para niños desde 0 meses y hasta
22kg.

ES
15
CUMPLE CON LAS NORMAS DE SEGURIDAD EURO-
PEA UNE-EN 1888-2:2018
ADVERTENCIA Comprobar que los dispositivos
de sujeción del capazo, del asiento o de la silla de
coche están correctamente activados antes de su
uso.
INSTRUCCIONES DE MONTAJE Y UTILIZACIÓN
1. CÓMO DESPLEGAR EL PRODUCTO
Con el dedo índice, desplace hacia afuera el enganche para
desbloquear el chasis y desplieguelo. 1
Con una mano, sujete y tire del manillar hasta que se
despliegue por completo y escuche un “clic”, 1.a
2. CÓMO PLEGAR EL PRODUCTO
Con una mano deslice el segundo botón de bloqueo hacia la
derecha y después presione el botón de plegado. 2
Sujete el conjunto del manillar (desbloqueado) con una mano
y empújelo hacia delante, hacia las patas delanteras. 2.a
Desde el medio de la correa de mano, levántelo hacia el techo.
2.b
Sujete la correa de mano y agítela ligeramente hasta que el
enganche de plegado se coloque automáticamente. 2.c
3. CÓMO COLOCAR O RETIRAR LAS RUEDAS DELANTERAS
Sujete la pata delantera con la mano derecha y el conjunto
de la rueda con la izquierda e intrudúzcalo hasta que
escuche un “clic” 3
Sujete el conjunto de la rueda con la mano derecha, presione
el botón de desbloqueo inmediato con un dedo de la mano
izquierda y tire hacia abajo para retirar la rueda delantera.
Véase imagen. 3.a
Levante la lengüeta de bloqueo de la rueda delantera para
permitir el movimiento giratorio. La rueda delantera puede
girar 360 grados. Véase imagen. 3.b
Presione la lengüeta de bloqueo para impedir que la rueda
gire. 3.c
4. CÓMO COLOCAR O RETIRAR LAS RUEDAS TRASERAS,
FUNCIÓN DEL FRENO
Sujete el conjunto de la rueda trasera con la mano izquierda
y el chasis con la mano derecha. Alinee el oricio del eje y
empuje hacia delante hasta escuchar un “clic”. 4
Sujete el conjunto de la rueda con una mano, desplace hacia
abajo el botón de desbloqueo inmediato con la otra mano y tire
hacia afuera para retirar el conjunto de la rueda trasera. 4.a
Pise el pedal del freno para activarlo. 4.b
Levante el pedal del freno hacia arriba para desbloquearlo. 4.c
5. FUNCIONAMIENTO DEL REPOSAPIÉS
Mantenga pulsados simultáneamente los dos botones de
plegado situados a ambos lados del reposapiés.Levántelo para
regularlo a la altura deseada. 5 / 5.a
Mantenga pulsados simultáneamente los dos botones de
plegado situados a ambos lados del reposapiés.Bájelo para
modicar el ángulo del mismo. 5.b
6. COLOCACIÓN SEGURA DEL CIERRE
Para colocarlo correctamente, introduzca los saliente de
ambos lados en el cierre central. 6
Mantenga pulsada la pestaña de seguridad situada sobre el cierre.
6.a
Regule la longitud del cinturón de seguridad para que el niño
esté más cómodo. 6.b

ES
16
7. REGULACIÓN DEL RESPALDO
Tire de la anilla de ajuste del respaldo con el dedo corazón
de la mano derecha y levántelo para ajustar el ángulo del
respaldo. 7 / 7.a
Presione el botón de ajuste del respaldo con la mano derecha
y muévalo hacia abajo para bajar el respaldo hasta el ángulo
deseado. 7.b
8. REGULACIÓN DEL MANILLAR
Sujete el manillar con ambas manos y utilice el dedo corazón
para presionar el botón y subir el manillar hacia arriba una
posición. 8 / 8.a
Sujete el manillar con ambas manos y utilice el dedo corazón
para presionar el botón y bajar el manillar una posición. 8.b
Nota: El manillar tiene tres posiciones de regulación (una
arriba, una abajo y una central)
9. INSTALACIÓN Y FUNCIONAMIENTO DE LA CAPOTA
Alinee el cierre de la capota con la arandela ja y presione
los dos laterales interiores del chasis a la vez para montar la
capota. 9
Saque simultáneamente los cierres para retirar la capota. 9.a.
La capota frontal puede desplegarse con una mano (existen 4
posiciones de regulación para la capota), 9.b
10. DESPLEGAR LA CAPOTA
Tras colocar la capota, suba la cremallera para cerrarla y bájela
para desplegar la segunda sección. 10.
Tras abrir completamente la cremallera central, la tercera
sección de la capota puede regularse hacia delante y hacia
atrás. 10.a.
Abroche la capota a los lados de la tela del asiento para
completar el montaje de la capota. 10.b
11. CÓMO COLOCAR O RETIRAR LA BARRA DE SEGURIDAD
DELANTERA
Sujete la barra frontal con ambas manos, presione los botones
(botón de desbloqueo inmediato) y tire hacia afuera para
retirarla. 11 / 11.a
Sujete la barra frontal con ambas manos e introdúzcala hasta
escuchar un “clic”. 11.b
MANTENIMIENTO
Mantenga las piezas metálicas limpias y bien secas para evitar
oxidación. Engrase regularmente las partes móviles y mecanismos
con un spray a base de siliconas. No usar aceite o grasa. Para
limpiar las piezas de plástico use solo detergente suave y agua
templada. No exponga el tapizado al sol durante largos periodos.
Ilimpiar las piezas de plástico use solo detergente suave y agua
templada. No exponga el tapizado al sol durante largos periodos.
INFORMACIÓN SOBRE LA GARANTÍ
Este artículo dispone de garantía según lo estipulado en el R.D.
Legislativo 1 / 2015 de 24 de julio.
Quedan excluidos de la presente garantía todos los
defectos o averías producidos por un uso inadecuado del artículo o por
el incumplimiento de las normas de
seguridad o mantenimiento descritas en las instrucciones.Es
imprescindible la presentación de la factura de compra con la fecha
para justicar la validez de la garantía.

EN
17
WARNINGS 18
ASSEMBLY AND USE INSTRUCTIONS 19
MAINTENANCE 20
INFORMATION ABOUT THE GUARANTEE 20

EN
18
¡IMPORTANT! Keep these instructions
for future reference
WARNING! Never leave your child unattended.
WARNING! Ensure that all the locking devices are
enganged before use.
WARNING! To avoid injury ensure that your child is
kept away when unfolding and folding this product.
WARNING! Do not let your child play with this product.
WARNING! Use a harness as soon as your child can sit
unaided.
WARNING! Always use the restraint system.
WARNING! Check that the pram body or seat unit or
car seat attachment devices are correctly engaged
before use.
WARNING! This product is not suitable for running or
skating.
Suitable for children under 6 months old only with
accessories approved by BE COOL.
This pushchair may only be used by one child at the
same time.
The maximum load carried in the basket must never
exceed the limit indicated on the basket (4 kg).
Take care when going down escalators as the rear
safety catch may come undone.
COMPLIES WITH EUROPEAN SAFETY STANDARD EN
1888-2:2018.
The parking device shall be engaged when placing
and removing the children.
Any load attached to the handle and/or on the back
of the backrest and/or on the sides of the vehicle will
affect the stability of the vehicle.
Only replacement parts supplied or recommended by
BE COOL shall be used.
WARNING: Move the position of the harness according
to the child’s age and use the lowest, tightest position
for children under 6 months old.
This vehicle is intended for children from 0 months
and up to 22 kg.
WARNING: Never use the strap between the legs
without using the lap belt.

EN
19
ASSEMBLY AND USE INSTRUCTIONS
1. FRAME EXPANSION OPERATION
Dial out the hook to unlock the frame with single index
nger,then expanse the frame, 1
One hand hold and pull the handle up to straighten, hear
“click” to nish , 1.a
2. FRAME FOLDING OPERATION
One hand slide the second lock button to the right and then
press the folding button and pinch it up, 2
Pinch the handle assembly (unlocked) with one hand and
push it forward to the front foot tube, 2.a
Lift up to the ceiling with the middle of the hand strap, 2.b
Grab the hand strap and shake it gently until the folding hook
is automatically hung, 2.c
3. FRONT WHEEL INSTALLATION
Hold the front foot with right hand, hold the front wheel set
with left hand and pile up , hear “click” to nish installation, 3
Hold the front wheel set with right hand, press the quick
release button with your left nger then pull down to remove
the front wheel, 3.a
Press up the front wheel orientation to release the orientation,
the front wheel can be rotated 360 degrees, 3.b
Press down the front wheel orientation to straight forward and
non-rotatable, 3.c
4. REAR WHEEL INSTALLATION, BRAKE FUNCTION
Take the rear wheel assembly with your left hand and take the
frame assembly with your right hand. Align the shaft hole and
push it forward ,hear”click” to complete the assembl, 4
Hold the rear wheel assembly in one hand, pull down the quick
release button with the other hand and pull out to remove the
rear wheel set, 4.a
Step the brake pedal down with one foot to brake, 4.b
Push the brake pedal up with one foot to unlock the brake, 4.c
5. FOOTREST OPERATION
Simultaneously press and hold on both sides of the footrest
bend button, ip up to adjust the appropriate height, 5 / 5.a
Simultaneously press and hold on both sides of the footrest
bend button, ip down to lower the angle, 5.b
6. SAFETY BUCKLE INSTALLATION
Snap the buckles on both sides to the middle button to install
it, 6
Press and hold the safety hook to buckle over the buckle, 6.a
Adjust the length of safety belt to make your baby more
comfortable. 6.b
7. BACKREST ADJUSTMENT OPERATION
Pull the backrest adjustment ring with your right middle nger
and lift it up to raise the proper angle of the backrest, 7 / 7.a
Press the backrest adjustment button with your right hand
and move down to lower the backrest at an appropriate angle.
7.b
8. HANDLEBAR ADJUSTMENT GEAR OPERATION
Hold the handlebar with both hands and use the middle nger
to press the button inward and turn it up one position, 8 / 8.a
Hold the handlebar with both hands and use the middle nger
to press the button inward and turn it down one position, 8.b
Note: The handlebar has three- position adjustment (one le
up, one le down, one le in the middle)

EN
20
9. CANOPY INSTALLATION AND OPERATION
Align the canopy buckle with the xed washer,press the
two inner sides of the frame synchronously to assemble the
canopy, 9
Simultaneously pull out the xed buckle to remove the canpy,
9.a.
The front canopy can be unfolded with one hand operation (4
stages to adjust the appropriate position of canopy), 9.b
10. CANOPY GLUE OPERATION
After assembling the canopy, pull the zipper head up to close it
and pull the zipper down to unfold the second section, .10.
After the middle zipper of the canopy is pulled open, the third
section of the canopy can be adjusted forward and backward,
10.a.
Fasten back glue of the canopy to the sides of the seat cloth to
complete the canopy assembly, 10.b
11. FRONT BAR ASSEMBLY OPERATION
Hold the front bar in both hands, press the buttons (fast
release button) and pull out to remove it, 11 / 11.a
Hold the front bar with both hands and insert it, hear “click” to
nish installation, 11.b
MAINTENANCE
Do not expose the upholstery material to the sun during long
periods. Wash plastic parts with warm water and soap, then dry
all components thoroughly. Regularly check the brakes, harnesses
and fastening elements that may suffer wear and tear through
use.
GUARANTEE INFORMATION
This article comes with guarantee in accordance with Royal
Legislative Decree 1 / 2015 of 24 July.
Keep your receipt as proof of purchase, you need to show it at the
store where you purchased the product to prove validity in the
event of any type of claim.
This guarantee does not cover any faults or breakages caused
by misuse of the article or by not following the safety and
maintenance information listed in the instructions and on the
care labels.
Table of contents
Languages:
Other Be Cool Stroller manuals
Be Cool
Be Cool Bandit User manual
Be Cool
Be Cool CABIN User manual
Be Cool
Be Cool bi-baby User manual
Be Cool
Be Cool ATTIC User manual

Be Cool
Be Cool STREET User manual
Be Cool
Be Cool quantum User manual
Be Cool
Be Cool outback User manual
Be Cool
Be Cool walhy User manual
Be Cool
Be Cool Bubble User manual

Be Cool
Be Cool Pleat Convert User manual
Be Cool
Be Cool ZAS User manual
Be Cool
Be Cool slide flex User manual
Be Cool
Be Cool LIGHT User manual

Be Cool
Be Cool CLUB User manual
Be Cool
Be Cool stratos User manual
Be Cool
Be Cool WAVE User manual

Be Cool
Be Cool LIGHT User manual
Be Cool
Be Cool stratos cot User manual
Be Cool
Be Cool trolley User manual
Be Cool
Be Cool fancy User manual
