manuals.online logo
Brands
  1. Home
  2. •
  3. Brands
  4. •
  5. Benthin
  6. •
  7. Window Blind
  8. •
  9. Benthin IQ2-Motor RTS Reference guide

Benthin IQ2-Motor RTS Reference guide

Other Benthin Window Blind manuals

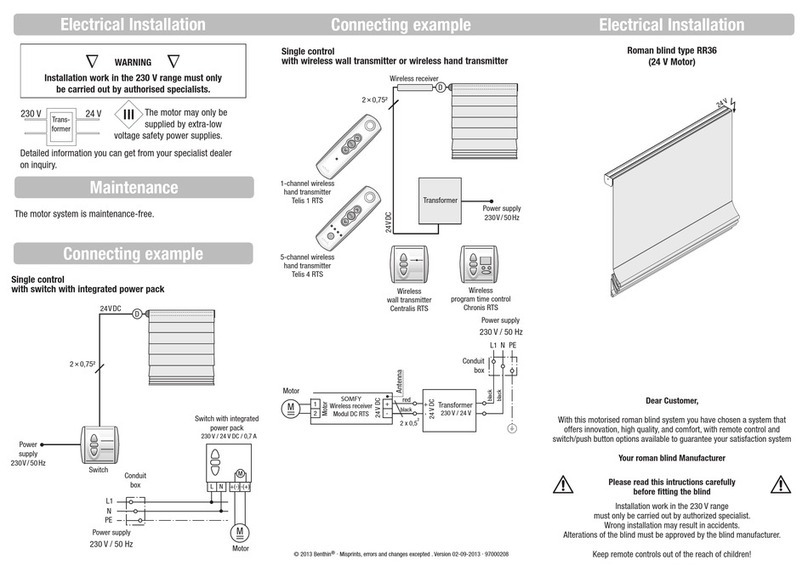
Benthin RR36 User manual

Benthin

Benthin RR36 User manual

Benthin RM11-Duo-Design User manual

Benthin

Benthin RM11-Duo-Design User manual

Benthin P1614 User manual

Benthin

Benthin P1614 User manual

Benthin RM10 User manual

Benthin

Benthin RM10 User manual

Benthin ROMAN User manual

Benthin

Benthin ROMAN User manual

Benthin RM07 User manual

Benthin

Benthin RM07 User manual

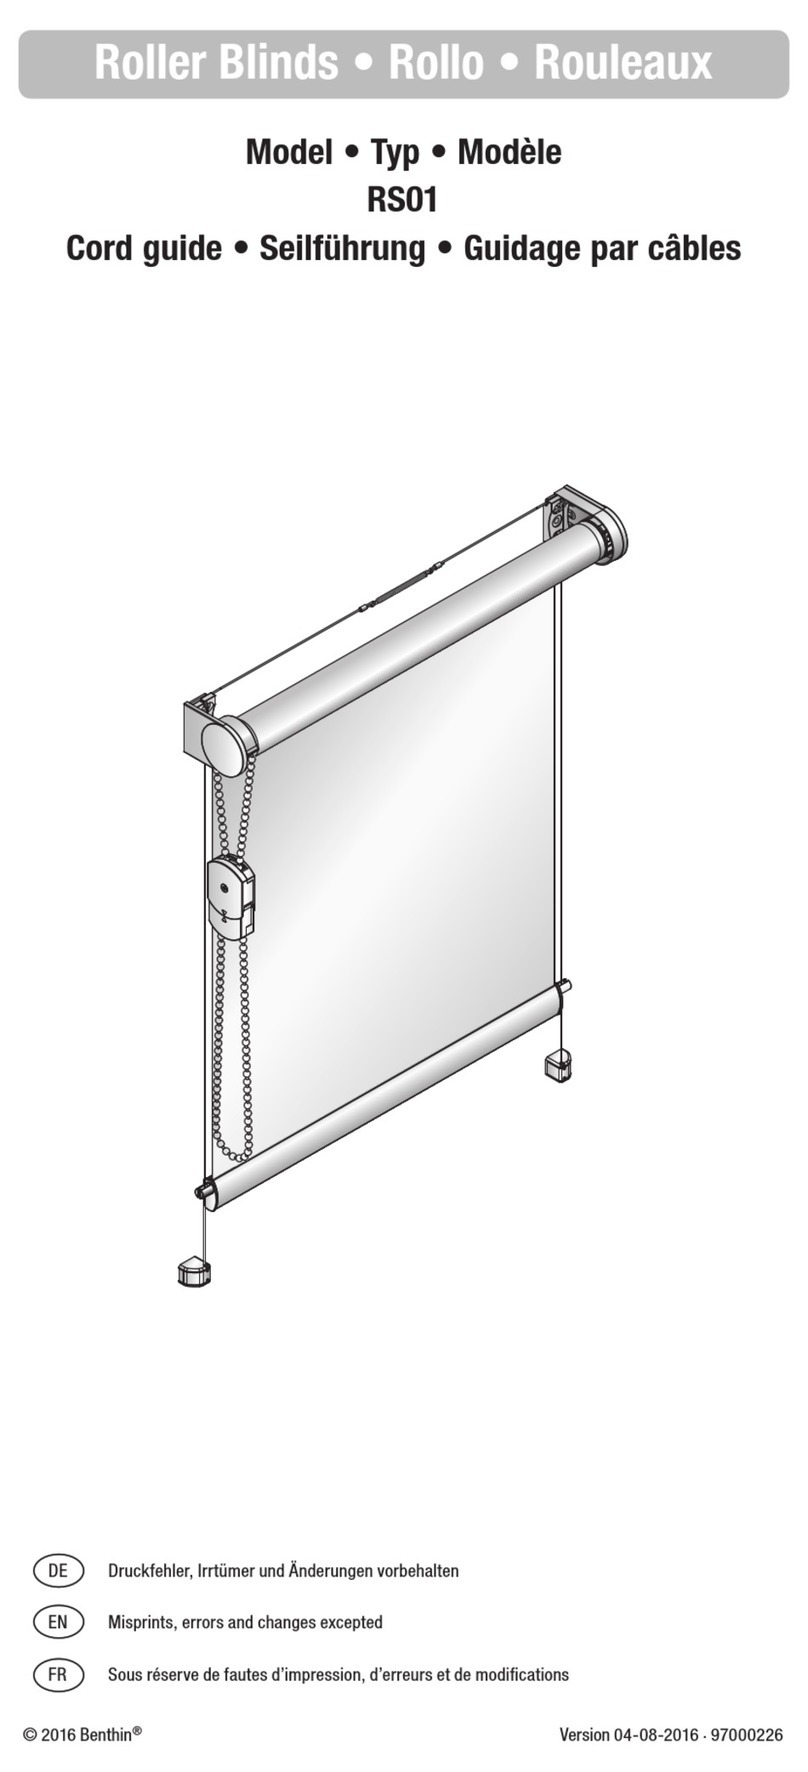
Benthin RS01 User manual

Benthin

Benthin RS01 User manual

Benthin M3000 User manual

Benthin

Benthin M3000 User manual

Benthin RM11-Duo User manual

Benthin

Benthin RM11-Duo User manual

Benthin P8700 User manual

Benthin

Benthin P8700 User manual

Benthin RL01 User manual

Benthin

Benthin RL01 User manual

Benthin RL61 User manual

Benthin

Benthin RL61 User manual

Benthin RS02 User manual

Benthin

Benthin RS02 User manual

Benthin M4000 User manual

Benthin

Benthin M4000 User manual

Benthin DF16 User manual

Benthin

Benthin DF16 User manual

Benthin RL11 User manual

Benthin

Benthin RL11 User manual

Benthin P2600 Parts list manual

Benthin

Benthin P2600 Parts list manual

Benthin RM01 User manual

Benthin

Benthin RM01 User manual

Benthin RM01-Metall User manual

Benthin

Benthin RM01-Metall User manual

Benthin RM16-Duo-Akkudesign User manual

Benthin

Benthin RM16-Duo-Akkudesign User manual

Benthin Vertical Blinds Parts list manual

Benthin

Benthin Vertical Blinds Parts list manual

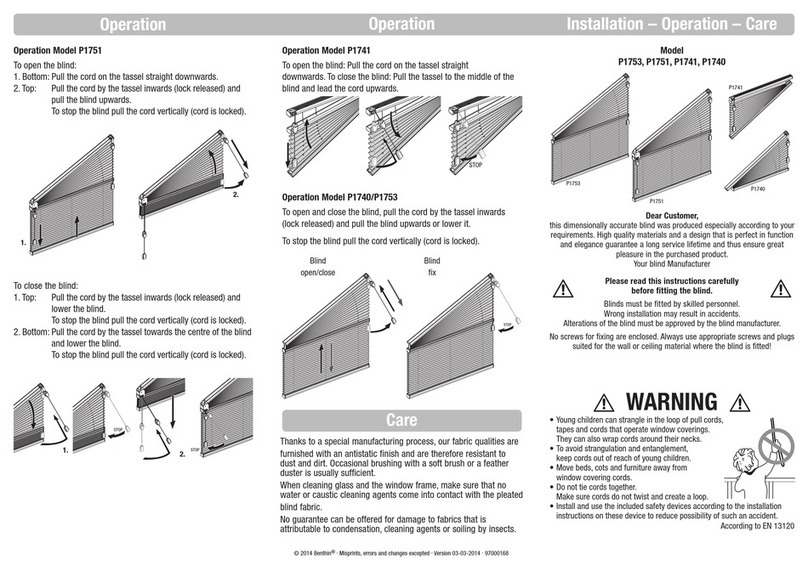
Benthin P1753 Parts list manual

Benthin

Benthin P1753 Parts list manual

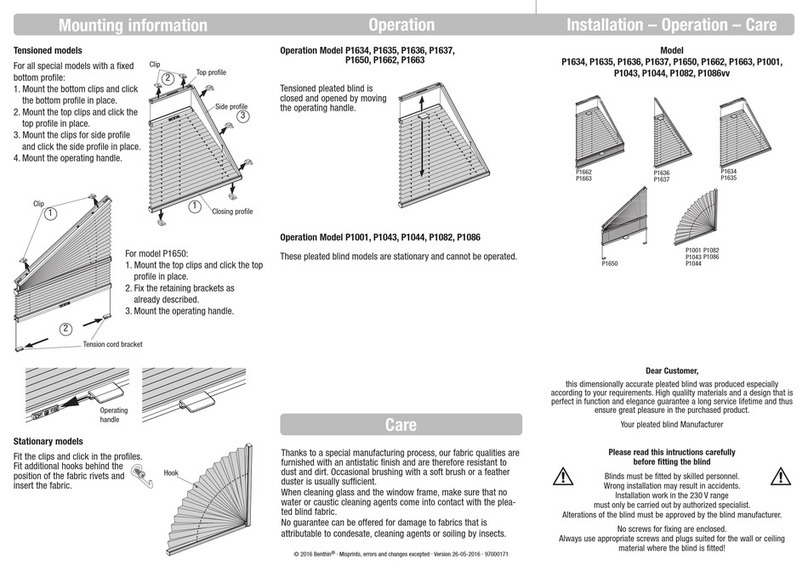
Benthin P1634 Parts list manual

Benthin

Benthin P1634 Parts list manual

Popular Window Blind manuals by other brands

Windhager PLUS 100x120 cm quick start guide

Windhager

Windhager PLUS 100x120 cm quick start guide

Rollos S-Nanorollo V2 Assembly and operating instruction

Rollos

Rollos S-Nanorollo V2 Assembly and operating instruction

IKEA KADRILJ manual

IKEA

IKEA KADRILJ manual

Teptron Move user manual

Teptron

Teptron Move user manual

Renson Outdoor Loggia Manual Installation

Renson

Renson Outdoor Loggia Manual Installation

rollease acmeda Easy Spring Air Assembly and installation manual

rollease acmeda

rollease acmeda Easy Spring Air Assembly and installation manual

Hallis Hudson Rolls Super glide instructions

Hallis Hudson

Hallis Hudson Rolls Super glide instructions

Jysk ROGEN manual

Jysk

Jysk ROGEN manual

SOMFY 1241752 instructions

SOMFY

SOMFY 1241752 instructions

MV LINE CLARA 015 Installing instructions

MV LINE

MV LINE CLARA 015 Installing instructions

Project Source CDLF2342W quick start guide

Project Source

Project Source CDLF2342W quick start guide

Current E-WAND Installation manual and user's guide

Current

Current E-WAND Installation manual and user's guide

weinor VertiTex ZipR Maintenance Instructions and Directions for use for the end user

weinor

weinor VertiTex ZipR Maintenance Instructions and Directions for use for the end user

Roto ZAR M R4/R7 Mounting instructions

Roto

Roto ZAR M R4/R7 Mounting instructions

MDT KNX Smart 55 BE-JTA5504.01 Technical manual

MDT

MDT KNX Smart 55 BE-JTA5504.01 Technical manual

Victoria M SYSTEM VS 1 Original instructions

Victoria M

Victoria M SYSTEM VS 1 Original instructions

SOMFY Movelite WT Series instructions

SOMFY

SOMFY Movelite WT Series instructions

IKEA ENJE manual

IKEA

IKEA ENJE manual

manuals.online logo
manuals.online logoBrands
  • About & Mission
  • Contact us
  • Privacy Policy
  • Terms and Conditions

Copyright 2025 Manuals.Online. All Rights Reserved.

IQ2-Motor RTS brief instruction
IQ2-Motor
Electrical installation
Your
Vertical Blinds
Manufacturer
Vertical Blinds
© 2014 Benthin®. Misprints, errors and changes excepted . Version 15-05-2014 . 97000245
Dear customer,
The IQ2-Motor solution offers greater intelligence. In addition to the
well-known function of sideways blind travel and 180° rotation, the
IQ2- Motor is equipped with a decorative setting and an intermediate
stop function.
Overload detection offers maximum safety. The version with an
integrated RTS receiver optimises Somfy compatibility.
1. Initial programming of an RTS radio transmitter
Δ! The PROG button for the drive electronics must be used.
3. Deprogramming a RTS-radio transmitter
Δ! Using a radio transmitter in the drive that has already been programmed.
Biiip BipBip
ABiiip Bip
ABiiip BipBip
BBiiip Bip
ABiiip BipBip
BBiiip Bip
Biiip
Biiip BiiipBiiip
Biiip BipBiiip
Biiip Bip
Biiip
Biiip Bip Bip Biiip Biiip Bip
Biiip Biiip Bip
Biiip
Biiip
press PROG-keypad for approx. 2 sec.
only for programmed end positions
open and close quickly
only for programmed end positions
open and close quickly
2. Programming another RTS radio transmitter
Δ! Using a radio transmitter in the drive that has already been programmed.
Biiip BipBip
ABiiip Bip
ABiiip BipBip
BBiiip Bip
ABiiip BipBip
BBiiip Bip
Biiip
Biiip BiiipBiiip
Biiip BipBiiip
Biiip Bip
Biiip
Biiip Bip Bip Biiip Biiip Bip
Biiip Biiip Bip
Biiip
Biiip
only for programmed end positions
open and close quickly
only for programmed end positions
open and close quickly
Biiip BipBip
ABiiip Bip
ABiiip BipBip
BBiiip Bip
ABiiip BipBip
BBiiip Bip
Biiip
Biiip BiiipBiiip
Biiip BipBiiip
Biiip Bip
Biiip
Biiip Bip Bip Biiip Biiip Bip
Biiip Biiip Bip
Biiip
Biiip
only for programmed end positions
open and close quickly
only for programmed end positions
open and close quickly
4. Cancel learing ability
Biiip BipBip
ABiiip Bip
ABiiip BipBip
BBiiip Bip
ABiiip BipBip
BBiiip Bip
Biiip
Biiip BiiipBiiip
Biiip BipBiiip
Biiip Bip
Biiip
Biiip Bip Bip Biiip Biiip Bip
Biiip Biiip Bip
Biiip
Biiip
5. Programming "my" position
Biiip BipBip
ABiiip Bip
ABiiip BipBip
BBiiip Bip
ABiiip BipBip
BBiiip Bip
Biiip
Biiip BiiipBiiip
Biiip BipBiiip
Biiip Bip
Biiip
Biiip Bip Bip Biiip Biiip Bip
Biiip Biiip Bip
Biiip
Biiip
6. Delete a "my" position
Biiip BipBip
ABiiip Bip
ABiiip BipBip
BBiiip Bip
ABiiip BipBip
BBiiip Bip
Biiip
Biiip BiiipBiiip
Biiip BipBiiip
Biiip Bip
Biiip
Biiip Bip Bip Biiip Biiip Bip
Biiip Biiip Bip
Biiip
Biiip
7. Delete all settings
Biiip BipBip
ABiiip Bip
ABiiip BipBip
BBiiip Bip
ABiiip BipBip
BBiiip Bip
Biiip
Biiip BiiipBiiip
Biiip BipBiiip
Biiip Bip
Biiip
Biiip Bip Bip Biiip Biiip Bip
Biiip Biiip Bip
Biiip
Biiip
only for programmed end positions
open and close quickly
move to new
"my"position using the
UP or DOWN button
until
move to
"my"
position
until
press the PROG button for approx.
12 sec. until the last bip has faded
until until until
until
Up to 12 handheld radio transmitter can be programmed following this pattern
press PROG-keypad for approx. 0.5 sec.
press PROG-keypad for approx. 2 sec.
press PROG-keypad for approx. 0.5 sec.
press PROG-keypad for approx. 2 sec.
press PROG-keypad for approx. 0.5 sec.
press "my" button for approx. 5 sec.
press "my" button for approx. 0.5 sec.
Operation/Maintenance
Installation – Vertical-System Basic installation IQ2-Motor with RTS
Control switch with strip terminal
Δ Important! Do not apply voltage until all installation work has
been completed.
Please take the information for installation from the leaflet
“Installation – Operation – Care”, which describes all the
installation procedures in detail.
Cable colours:
BK - (black) - (GND)
BN - (brown) - (GND)
GN - (green) - (close)
WH - (white) - (close)
YE - (yellow) - (open)
Set jumper connectins - between terminals 1 + 3
The Vertical Blinds system with motor is controlled by a control
switch and/or remote control.
The louvres are run to the closed and open positions by pressing
the keys 1 and 2. The motor is additionally equipped with an
automatic function that allows it to be moved to the end position.
Briefly pressing the key again interrupts the automatic control
mode.
The motor system is maintenance-free.
ΔWARNING Δ
Installation work in the 230 V range must only be carried out
by authorised specialists.
Electrical installation
Installation procedure
1. Connect the control cable to the terminal in the control switch.
2 Connect the control cable to the terminal in the plug.
3. Connect the control cable and the motor.
4. Establish a connection with the main connection cable.
Control switch
21
3
1
2
4
5
Track
IQ2-Motor
Control cable
(cut goods)
BK/BN
GN/WH
YE
Current supply
cabel 230 V AC
1.
2.
4.
3.
BK/BN
GN/WH
YE
Δ Important! Do not apply voltage until all installation work has
been completed.
ΔImportant! The motor must not be removed from the track.
Installation procedure
1. Establish a connection with the main connection cable.
2. Teach-in Somfy radio transmitter
(see IQ2-Motor RTS brief instruction)
Telis Mod / Var RTS Pure
Wireless hand transmitter
Current supply
cabel 230 V AC
IQ2-Motor
Track
ΔImportant! The motor must not be removed from the track.