manuals.online logo
Brands
  1. Home
  2. •
  3. Brands
  4. •
  5. Benthin
  6. •
  7. Window Blind
  8. •
  9. Benthin ROMAN User manual

Benthin ROMAN User manual

© 2017 Benthin®.Misprints, errors and changes excepted .Version 10-10-2017 .97000205
Safety Installation - Operation - Care
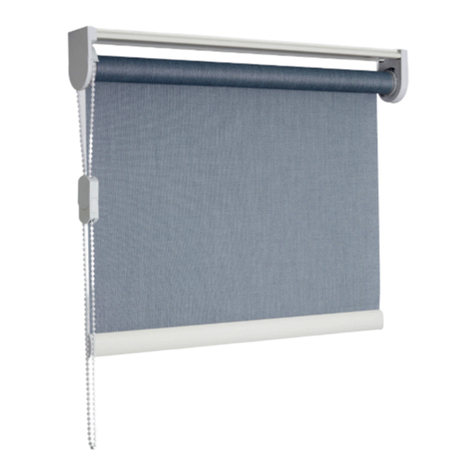
Roman blind type RR31
Operation
Closing or opening
covering
Installations with a chain
mechanism are closed/ope-
ned by pulling on the front
or rear chain.
In the case of motor
operation, follow the
additional instructions.
Care
Thanks to a special manufacturing process, our fabrics have an
antistatic finish, making them resistant to dust and dirt.
Occasional cleaning with a soft brush or feather duster will
generally suffice.
Preparing fabric for washing
A Only for fabrics labelled as washable!
Follow washing instructions for fabric!
Follow the instructions for removing/attaching the panel of fabric
on the next few pages.
Put the pull-cords round as shown and hook in with the groove in
the cord clip at the top. This will prevent the cords from getting
caught during washing. Alternatively, bundle the clips up and put
them in a washing bag.
Dear Customer,
this dimensionally accurate blind was produced especially according to your
requirements. High quality materials and a design that is perfect in function
and elegance guarantee a long service lifetime and thus ensure great
pleasure in the purchased product.
Your blind Manufacturer
Please read this instructions carefully
before fitting the blind.
Blinds must be fitted by skilled personnel.
Wrong installation may result in accidents.
Alterations of the blind must be approved by the blind manufacturer.
No screws for fixing are enclosed. Always use appropriate screws and plugs
suited for the wall or ceiling material where the blind is fitted!
WARNING
• Young children can strangle in the loop of pull cords,
tapes and cords that operate window coverings.
They can also wrap cords around their necks.
• To avoid strangulation and entanglement,
keep cords out of reach of young children.
• Move beds, cots and furniture away from
window covering cords.
• Do not tie cords together.
Make sure cords do not twist and create a loop.
• Install and use the included safety devices according to the installation
instructions on these device to reduce possibility of such an accident.
According to EN 13120
min. 0,60 m
6kg
Clip mounting
Clip
„Click”
Width in mm
38
10 36
21
2
16
250 – 1199 1200 – 2399 2400 – 3000
234
3
38
135
2
7
Clip
1
2
3
dismounting
1
1
2
2
1
2
2
1
34
Clip mounting
Number of clips
Recommendation for wood or plastic windows:
DIN 7981 Ø 3,9 x 16 mm
(On other materials depending on base.
Use plugs if necessary.)
In the case of ceiling mounting, the gap to the wall must be at least
10 mm. Position the screws in the oblong hole right at the front (1).
Insert the profile in the clip diagonally with the lug at the top (2),
then swivel it into the clip until it clicks into place (3).
Ceiling mounting
Insert the profile in the clip diagonally with the lug at the bottom (2),
then swivel it into the clip until it clicks into place (3).
Position the screws in the oblong hole right at the top (1).
Wall mounting 2
Wall mounting
Profile
Profile
„Click”
dismounting
Removing/attaching panel of fabric
Removing/attaching cassette
To remove the cassette, pull it forwards off the cassette holder (1)
and unhook from the profile at the top (2).
To attach the cassette, hook it diagonally into the groove in the
profile at the top (2) and press onto the cassette holder until it
clicks into place (1).
Removing/attaching fabric
The fabric attaches to the hook
profile on the cassette by means
of loop tape. To remove, pull the
fabric carefully to the side from
above. To reattach the fabric,
press the loop tape evenly onto
the hook tape.
Cassette holder
Cassette
„Click”
Cassette
Removing/attaching panel of fabric
Removing/attaching pull-cords
Before removing the pull-cords, let the blind right down and remo-
ve the cassette. First take the pull-cords out of the cord guide (1),
then pull the cord clip (2) out of the opening in the cone (3) with a
gentle tug on the cord.
To attach the cord clip (2) for the pull-cords, press it into the ope-
ning in the cone (3) until it clicks into place (4). Press the pull-cords
into the cord guide on the cone (1). Make sure that the cords hang
vertically.
„Click”
cord clip
cone
Cord guide
pull-cord
opening
in the cone

This manual suits for next models

1

Other Benthin Window Blind manuals

Benthin RM10 User manual

Benthin

Benthin RM10 User manual

Benthin RL11 User manual

Benthin

Benthin RL11 User manual

Benthin M4000 User manual

Benthin

Benthin M4000 User manual

Benthin RS01 User manual

Benthin

Benthin RS01 User manual

Benthin P8700 User manual

Benthin

Benthin P8700 User manual

Benthin M3000 User manual

Benthin

Benthin M3000 User manual

Benthin P1634 Parts list manual

Benthin

Benthin P1634 Parts list manual
Benthin P2600 Parts list manual

Benthin

Benthin P2600 Parts list manual

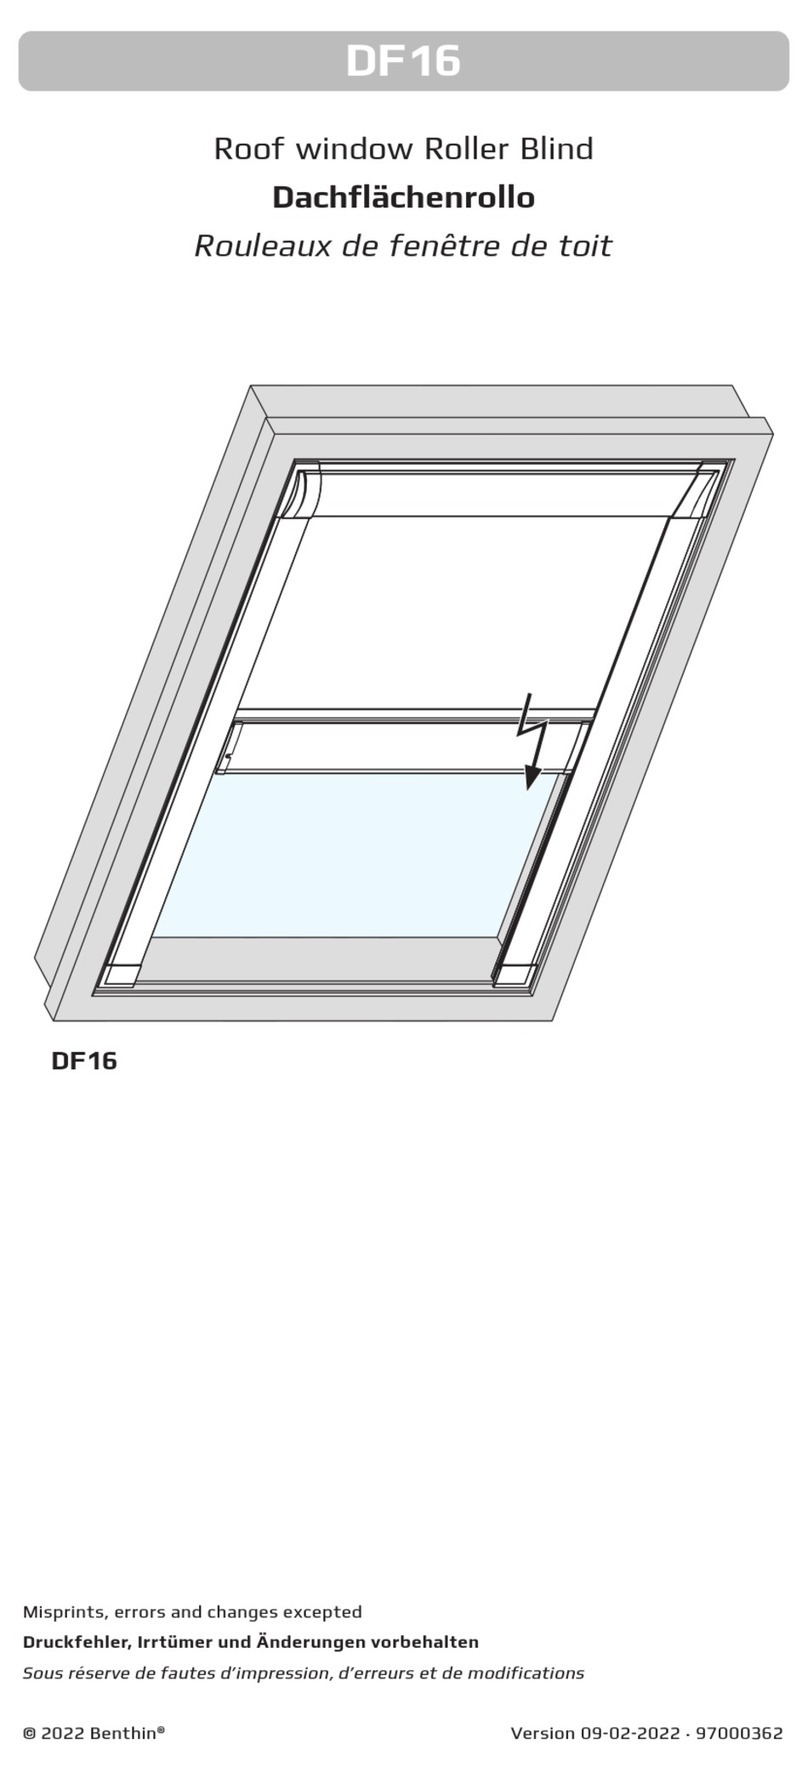
Benthin DF16 User manual

Benthin

Benthin DF16 User manual

Benthin RM07 User manual

Benthin

Benthin RM07 User manual

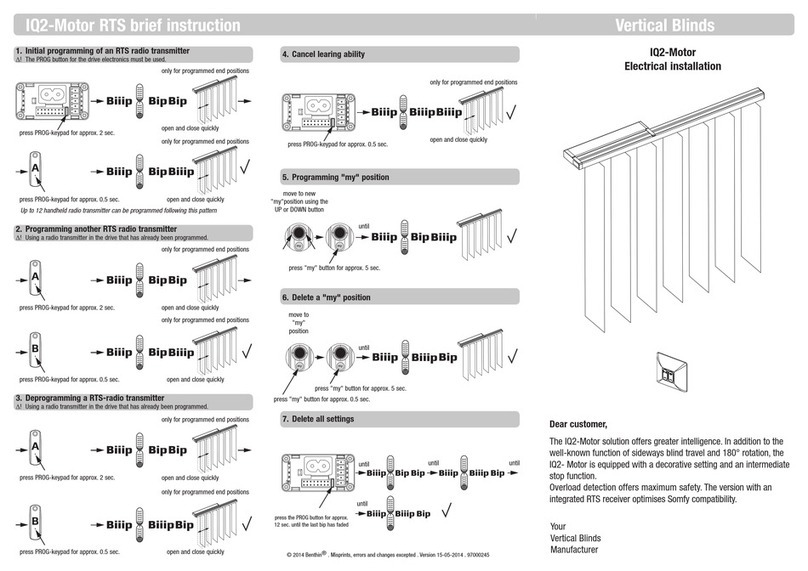
Benthin IQ2-Motor RTS Reference guide

Benthin

Benthin IQ2-Motor RTS Reference guide

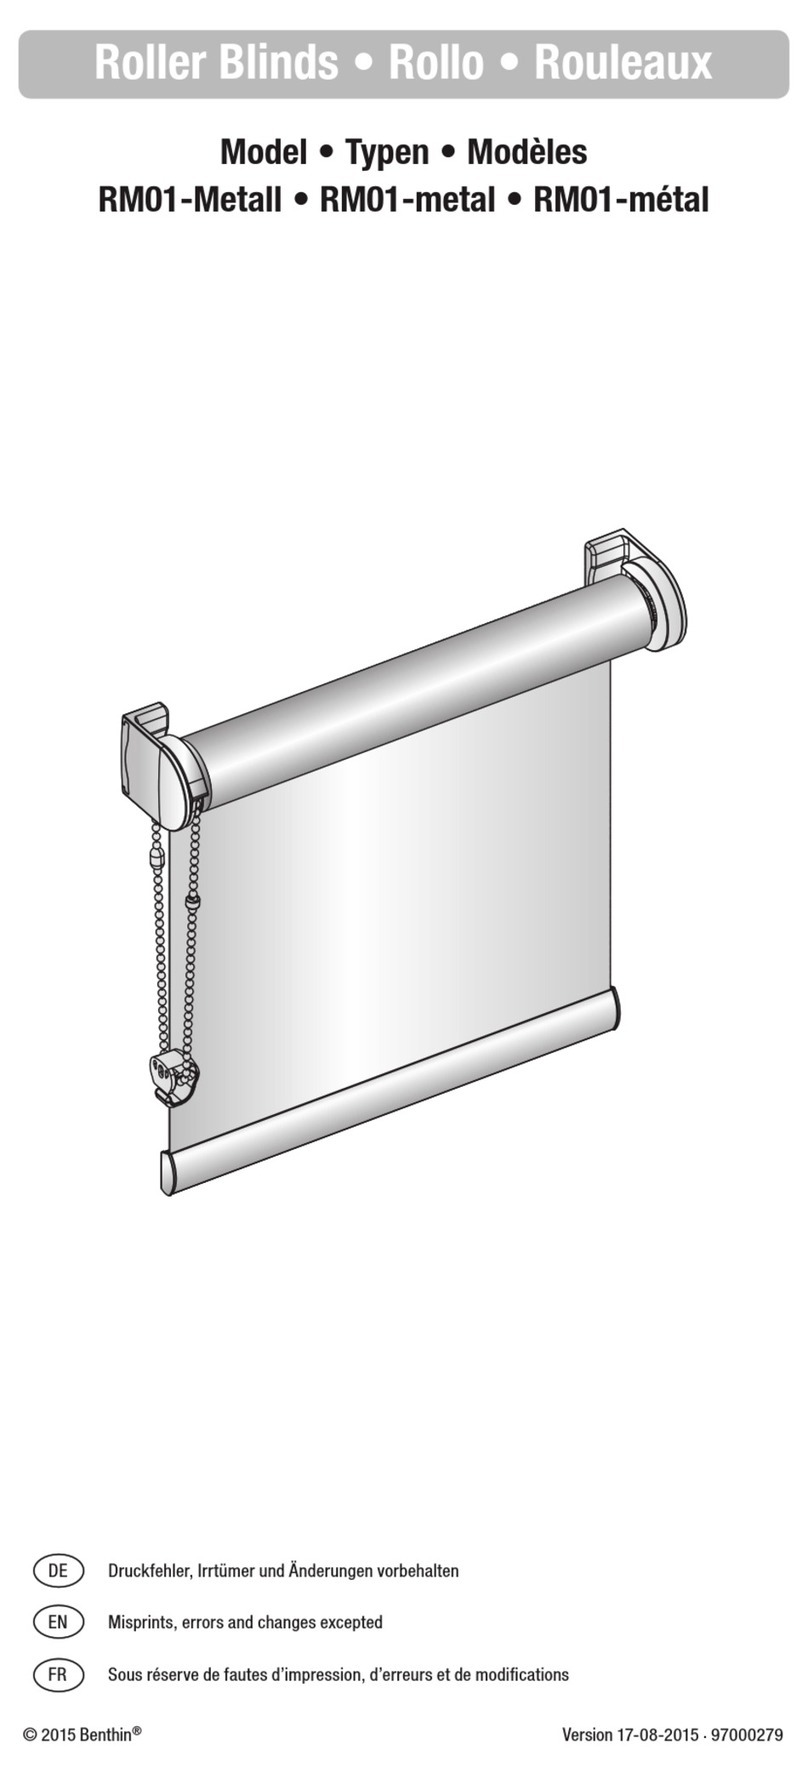
Benthin RM01-Metall User manual

Benthin

Benthin RM01-Metall User manual

Benthin P1753 Parts list manual

Benthin

Benthin P1753 Parts list manual

Benthin Vertical Blinds Parts list manual

Benthin

Benthin Vertical Blinds Parts list manual

Benthin RM01 User manual

Benthin

Benthin RM01 User manual

Benthin RR36 User manual

Benthin

Benthin RR36 User manual
Benthin P1614 User manual

Benthin

Benthin P1614 User manual

Benthin RS02 User manual

Benthin

Benthin RS02 User manual

Benthin RL01 User manual

Benthin

Benthin RL01 User manual

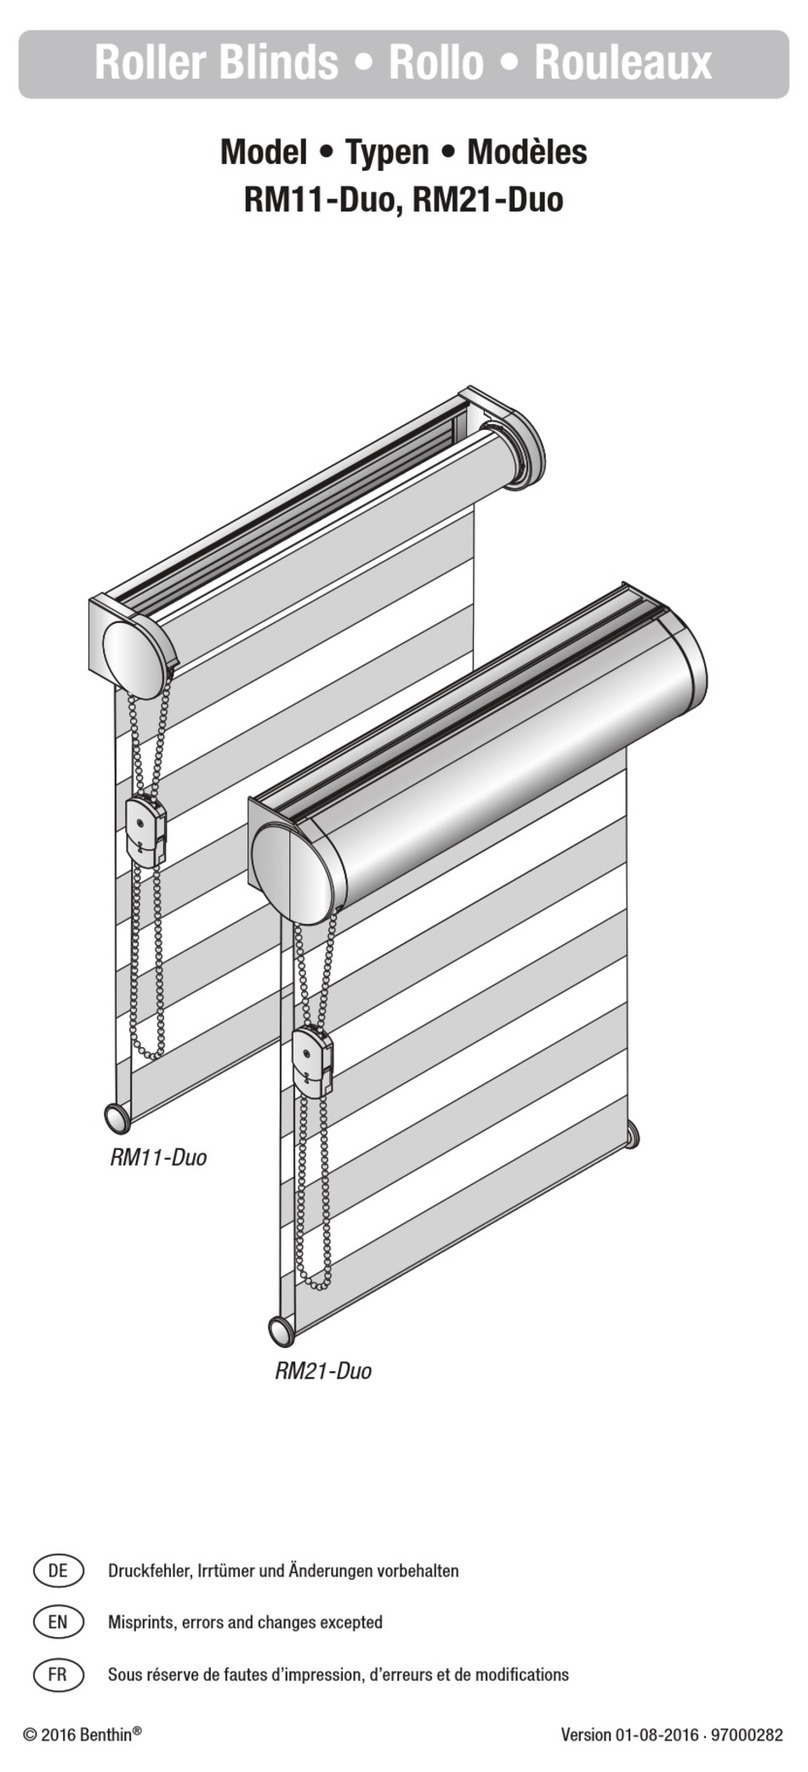
Benthin RM11-Duo User manual

Benthin

Benthin RM11-Duo User manual

Benthin RL61 User manual

Benthin

Benthin RL61 User manual

Benthin RM11-Duo-Design User manual

Benthin

Benthin RM11-Duo-Design User manual

Benthin RM16-Duo-Akkudesign User manual
Benthin

Benthin RM16-Duo-Akkudesign User manual

Popular Window Blind manuals by other brands

Creation Baumann PLITRIC F SLOPE 1 Assembly instruction

Creation Baumann

Creation Baumann PLITRIC F SLOPE 1 Assembly instruction

Louvolite Vision 32 Open Cassette Fitting & operating instructions

Louvolite

Louvolite Vision 32 Open Cassette Fitting & operating instructions

CHICOLOGY FAUX WOOD BLINDS manual

CHICOLOGY

CHICOLOGY FAUX WOOD BLINDS manual

SOMFY 1241752 instructions

SOMFY

SOMFY 1241752 instructions

VENETA 65101-50725-D How to install

VENETA

VENETA 65101-50725-D How to install

SunSetter EasyShade Vertical Roll up manual

SunSetter

SunSetter EasyShade Vertical Roll up manual

Marinello TENDE Novara installation manual

Marinello TENDE

Marinello TENDE Novara installation manual

Hella VN Installation instructions and instructions for use

Hella

Hella VN Installation instructions and instructions for use

Portos SHUTTERS SN5000 installation manual

Portos

Portos SHUTTERS SN5000 installation manual

Cosiflor VS 2 Assembly instruction

Cosiflor

Cosiflor VS 2 Assembly instruction

English Blinds Faux Wood Blinds installation guide

English Blinds

English Blinds Faux Wood Blinds installation guide

Victoria M SYSTEM VS 2 Original instructions

Victoria M

Victoria M SYSTEM VS 2 Original instructions

Victoria M MINI ROLLO installation instructions

Victoria M

Victoria M MINI ROLLO installation instructions

Graywind 58502 user guide

Graywind

Graywind 58502 user guide

LF Style Selections 70628-70649 manual

LF

LF Style Selections 70628-70649 manual

IKEA KADRILJ manual

IKEA

IKEA KADRILJ manual

Westfalia 80 01 16 instruction manual

Westfalia

Westfalia 80 01 16 instruction manual

Isotra Plisse PL 32 Assembly manual

Isotra

Isotra Plisse PL 32 Assembly manual

manuals.online logo
manuals.online logoBrands
  • About & Mission
  • Contact us
  • Privacy Policy
  • Terms and Conditions

Copyright 2025 Manuals.Online. All Rights Reserved.