manuals.online logo
Brands
  1. Home
  2. •
  3. Brands
  4. •
  5. BluDot
  6. •
  7. Indoor Furnishing
  8. •
  9. BluDot Modu-licious 3 User manual

BluDot Modu-licious 3 User manual

HARDWARE INVENTORY BLU DOT DESIGN AND MANUFACTURING, INC. copyright 2007.
www.bludot.com / t. 612.782.1844 / f. 612.782.1845
24 cams 24 cam posts 4 long screws
MODULICIOUS 3
Assembly Notes
Assemble on carpet or protective mat.
Before beginning, familiarize yourself with using cam connectors. (see insert right corner)
First screw a cam post into the small hole on the side of each foot . Place two cams in the
stretcher so that the arrow points towards the end of the stretcher and turn the cams to the
right until snug. Now, you know how cams work (a valuable skill). Locate the bottom panel . This
panel has holes drilled on both faces (the top panel has holes on only one side). Find the side
with the groove. Place this side face down. Now with the other side facing up, screw cam posts
into all four holes. Place cams into the four holes on the feet . Attach feet/stretcher assembly to
bottom panel by turning cams until snug. Push foot tacks into bottom side of the feet . Turn this
whole assembly over so it faces right side up, install six cam posts into the grooved side of the
bottom panel and set aside.
Locate the two side panels (the sides have grooves on the back long edge). Screw cam posts into
the three holes in the middle of each side panel. Locate the shelf . IMPORTANT: With panels
1
2
3
4
oriented as in Sketch 2, fasten the shelf to one side panel by tightening cams. Attach the other side
panel to the shelf and tighten cams. You should now have an "H" shaped assembly. IT IS IMPORTANT
TO NOT MOVE THE "H" SHAPED ASSEMBLY UNTIL THE BACK PANELS, TOP AND BOTTOM ARE
INSTALLED.
Install the black grommets into the holes in the white back panels by squeezing them into place.
Kinky, No? Slide the two white back panels into grooves as shown in Sketch 3.
Once the back panels are fully seated, take the bottom that you had set aside and attach it as shown
in Sketch 4. Next attach the top which is the only panel with no holes on one side. Tighten the cams.
With a hammer, tap the swedish brackets into the holes on the top of the base, bottom of top panel
and both sides of the shelf. Tip the cabinet upright...Now the fun part!
4 mag catches
4 plastic washers
4 rubber bumpers
A
B
A
C
C
12
4
Tie one
F
E
E
D
I
A
B
A
C
D
4 black grommets 8 short screws
4 foot tacks 4 swedish brackets
E
F
H
3
G
hand
H
G
I
HOW TO USE CAM CONNECTERS
1
With a Phillips
head screw
drive r, screw
cam post into
the pre-drilled
hole .
2
Insert the cam
into the larger
hole with the
arrow on the
cam pointing to
the cam post.
3
Slide the panel
with the cam
down onto the
installed cam
post. Tighten
the cam by
turning it
clock-wise with
the Phillips
head screw
driver until you
feel the cam
"lock in".
Z
Y
X
X
Y
Z
behind
y o u r
back
G
REV 1 05.14.2007
PAG E 1
WOOD COLOR OVER TIME: Air and daylight will naturally change the color of the wood.
For most woods, this change is gradual and very slight. During the first several months,
while the patina is developing, items placed on the wood should be rotated to different
locations to prevent uneven coloration. Over time an even patina will develop.
BLU DOT DESIGN AND MANUFACTURING, INC. copyright 2007.
www.bludot.com / t. 612.782.1844 / f. 612.782.1845
MODULICIOUS 3
Assembly Notes
5
It is now time to put in the vertical dividers . The Swedish brackets slide into the grooves on the
edges of the small dividers. Slide the divider in until the front edge is flush with the rest of the
cabinet. Confused? See sketch 5. After the dividers are installed, use the eight short screws to
fasten the mag catches to the vertical dividers as shown.Screw black rubber bumpers into the
small predrilled holes on the outsides of the shelf using the four long screws.
Lay out your steel doors on the floor face up to form the pattern shown in sketch 6. It is now time
to install... Start with the upper left door.
5
6
7
8
Take the door and slide the rod through both steel tubes on the back side of the door as shown in
sketch 7. Slide a white plastic washer under the bottom tube on the door. Hold the rod and washer
flush to the bottom of the tube with your index finger. Place the top of the rod into the hole on the
underside of the top panel. Swing the bottom of the door into the cabinet.
Align the rod and the washer over the bottom hole as shown in sketch 8 and drop the rod into the
hole. Repeat for the remaining doors. Each door must have a white plastic washer on the bottom for
proper door operation.
Untie your arm and look at yourself in the doors. Happy?
67
K
Slide In
Slide In
Swedish Brackets
J
J
J2nd - swing door
to rod hole
1st - Push rod up
steel tube
on back
o f d o o r
plastic
washer
8
L
L
REV 1 05.14.2007
PAG E 2
K
x4
Metal faces out

Other manuals for Modu-licious 3

1

Other BluDot Indoor Furnishing manuals
BluDot 11 Series Quick start guide

BluDot

BluDot 11 Series Quick start guide
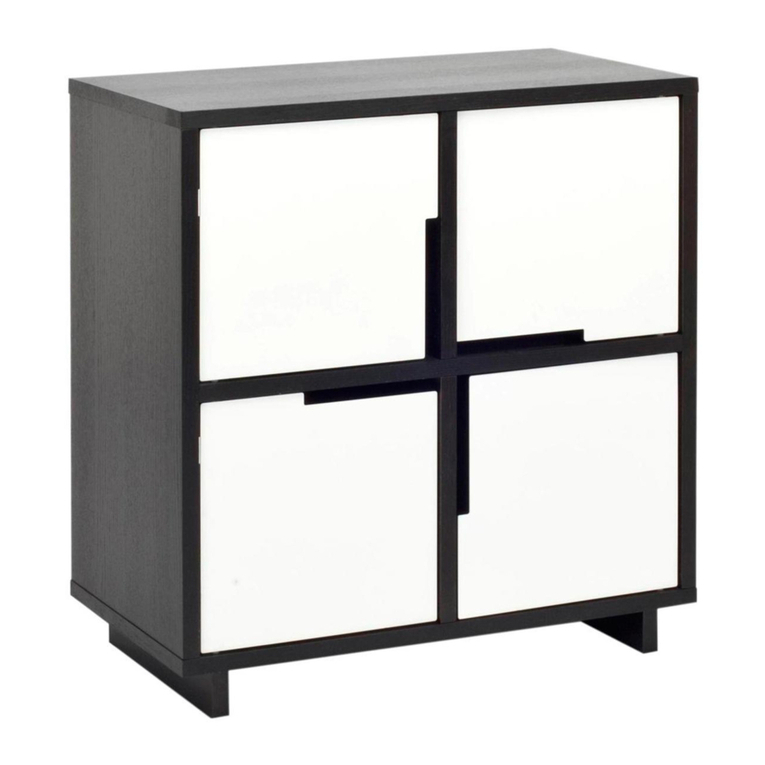
BluDot Modu-licious 3 Quick start guide

BluDot

BluDot Modu-licious 3 Quick start guide

BluDot Station Bed User manual

BluDot

BluDot Station Bed User manual

BluDot Cat's Pajamas Lounge Chair Quick start guide
BluDot

BluDot Cat's Pajamas Lounge Chair Quick start guide

BluDot Clad Series Quick start guide

BluDot

BluDot Clad Series Quick start guide

BluDot Uphold Wall Hook User manual

BluDot

BluDot Uphold Wall Hook User manual
BluDot Circula Dining Table Quick start guide

BluDot

BluDot Circula Dining Table Quick start guide

BluDot Lid Storage Bed LI1-KSTORG-SD User manual

BluDot

BluDot Lid Storage Bed LI1-KSTORG-SD User manual

BluDot Minimalista Quick start guide

BluDot

BluDot Minimalista Quick start guide
BluDot Nook Bed User manual

BluDot

BluDot Nook Bed User manual

BluDot Ridge User manual

BluDot

BluDot Ridge User manual
BluDot DODU BED-TWIN Quick start guide
BluDot

BluDot DODU BED-TWIN Quick start guide

BluDot Lake 72" Dining Table Quick start guide
BluDot

BluDot Lake 72" Dining Table Quick start guide

BluDot Modu-licious 5 Quick start guide
BluDot

BluDot Modu-licious 5 Quick start guide

BluDot Chicago 8 Box Quick start guide
BluDot

BluDot Chicago 8 Box Quick start guide

BluDot Superchoice Collection Quick start guide
BluDot

BluDot Superchoice Collection Quick start guide

BluDot Furrow Table Mirror User manual
BluDot

BluDot Furrow Table Mirror User manual

BluDot Second Best Dining Table Quick start guide
BluDot

BluDot Second Best Dining Table Quick start guide

BluDot Candid Wall Shelf with Hooks User manual
BluDot

BluDot Candid Wall Shelf with Hooks User manual

BluDot INTRO SHELVING SINGLE User manual

BluDot

BluDot INTRO SHELVING SINGLE User manual

BluDot Hunker Bed HU1-KINGBD-GY Quick start guide

BluDot

BluDot Hunker Bed HU1-KINGBD-GY Quick start guide

BluDot Open Plan Desk Quick start guide

BluDot

BluDot Open Plan Desk Quick start guide

BluDot Open Plan Quick start guide

BluDot

BluDot Open Plan Quick start guide

BluDot Construct Bench Quick start guide

BluDot

BluDot Construct Bench Quick start guide

Popular Indoor Furnishing manuals by other brands

baby&child Chesterfield RH58KBK manual

baby&child

baby&child Chesterfield RH58KBK manual

Duorest D3 Series user guide

Duorest

Duorest D3 Series user guide

Grand Mirrors RM 130 installation manual

Grand Mirrors

Grand Mirrors RM 130 installation manual

Dunelm Lopez instructions

Dunelm

Dunelm Lopez instructions

modway EEI-5703 Assembly instructions

modway

modway EEI-5703 Assembly instructions

OSP Designs 105 operating instructions

OSP Designs

OSP Designs 105 operating instructions

Furniture of America Bianca CM7734Q Assembly instructions

Furniture of America

Furniture of America Bianca CM7734Q Assembly instructions

Alice's Home LOFT ILFTV120 manual

Alice's Home

Alice's Home LOFT ILFTV120 manual
New Classic Furniture POTOMAC D4832-60S-REC Assembly instructions

New Classic Furniture

New Classic Furniture POTOMAC D4832-60S-REC Assembly instructions

Amart Furniture 53174 Assembly instruction

Amart Furniture

Amart Furniture 53174 Assembly instruction

Songmics VASAGLE LTV39 instructions

Songmics

Songmics VASAGLE LTV39 instructions

Glas Italia SUBLIMAZIONE Assembling and use instruction

Glas Italia

Glas Italia SUBLIMAZIONE Assembling and use instruction

Golden Elite Melrose installation instructions

Golden Elite

Golden Elite Melrose installation instructions

Walker Edison W60C73-MT Assembly instructions

Walker Edison

Walker Edison W60C73-MT Assembly instructions

Canadel QUI2SACZ095 Assembly instructions

Canadel

Canadel QUI2SACZ095 Assembly instructions

Pfister COCOON 91666 manual

Pfister

Pfister COCOON 91666 manual

VIBO Globe 041-PGT-452G Assembling instructions

VIBO

VIBO Globe 041-PGT-452G Assembling instructions

PATIOJOY HW67182 quick start guide

PATIOJOY

PATIOJOY HW67182 quick start guide

manuals.online logo
manuals.online logoBrands
  • About & Mission
  • Contact us
  • Privacy Policy
  • Terms and Conditions

Copyright 2025 Manuals.Online. All Rights Reserved.