Manual code 119RF60 - version 2- 02/2013
© CAME Cancelli Automatici S.p.A. - The data and information reported in this installation manual are susceptible to change at any time and without obligation to notify users.
Description
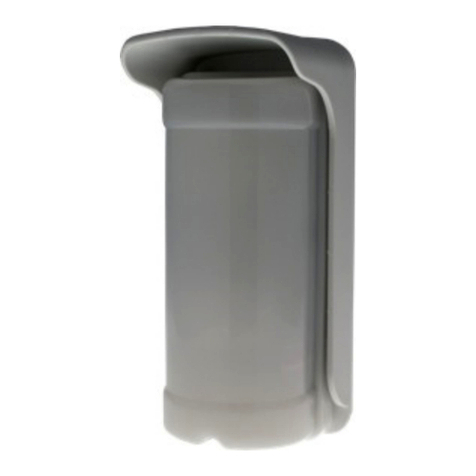
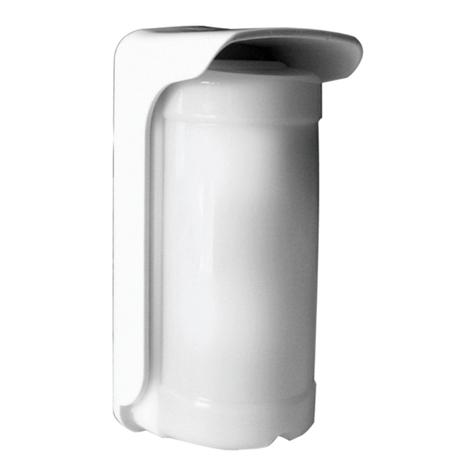
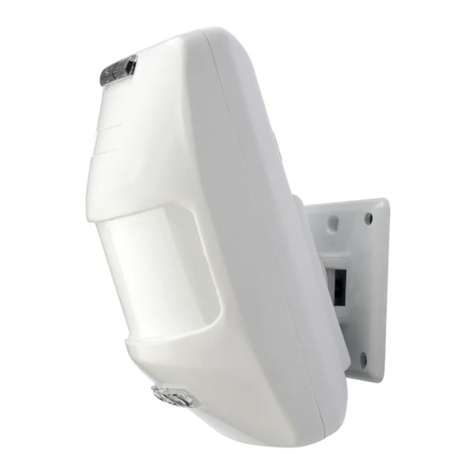
Détecteurs à infrarouge passif à appliquer
dans des contextes résidentiels, avec len-
tilles optiques pigmentées pour résister aux
interférences de la lumière blanche. Dotés
d'un support pour le montage au plafond,
au mur ou en angle. Le modèle SIR310PT
incorpore la fonction PET Immunitaire pour
animaux de petite taille.
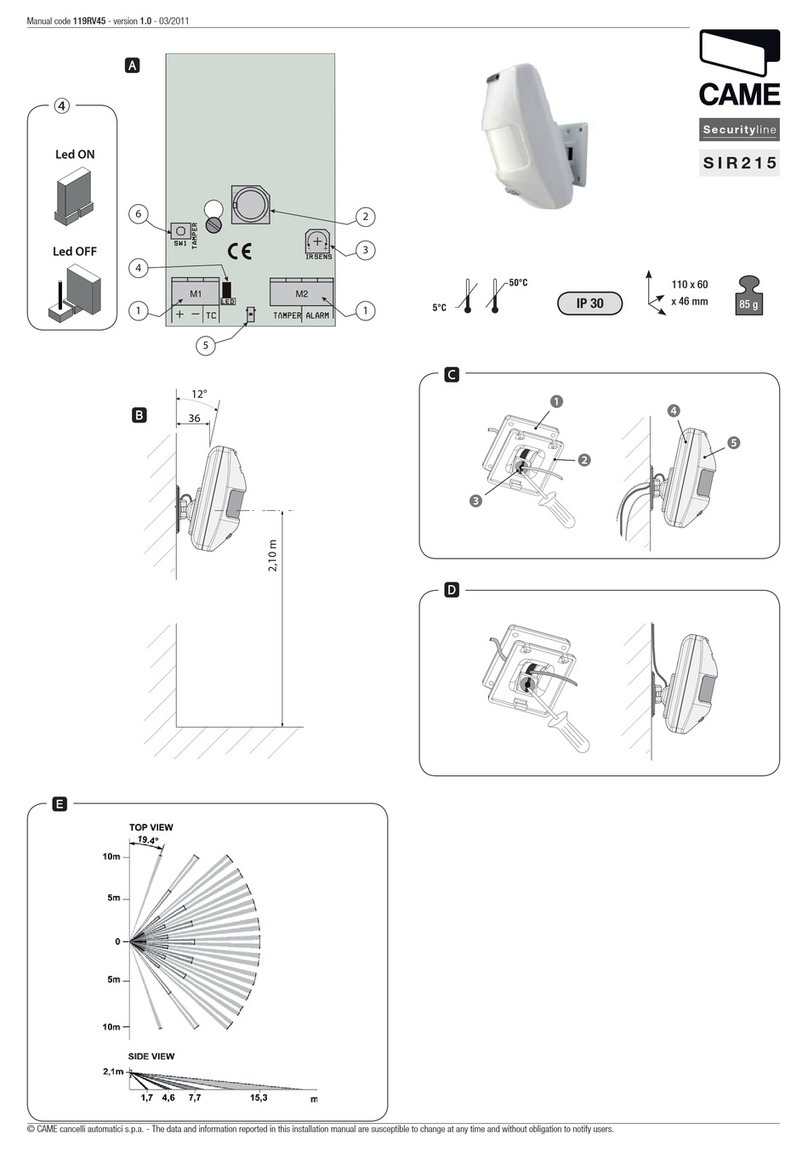
Principaux composants
①Connexion alarme anti-eraction
②Entrée câbles
③LED alarme de sécurité
④Connexion alimentation
⑤ Cavalier ON/OFF LED alarme de sécurité
⑥Encoche réglage portée
⑦Cavalier réglage sensibilité capteur
⑧Capteur
⑨Vis fixation carte
⑩Dispositif anti-eraction
⑪Connexion alarme sécurité
Installation
Choisir la position de montage pour la zone
à protéger en évitant l'exposition directe à
la lumière du soleil, toute proximité à des
sources de chaleur et tout obstacle constitué
par des meubles, des murs ou des plantes.
Ouvrir le logement frontal à l'aide d'un
tournevis. Se servir des adaptations prévues
pour l'entrée des câbles ②et effectuer les
connexions ①, ④et ⑪; remettre le pan-
neau frontal à sa place.
Alimenter l'unité, attendre environ 2 minutes
pour le chauffage et contrôler le bon fon-
ctionnement : régler portée et sensibilité si
nécessaire.
Pour désactiver la LED de l'alarme de sécu-
rité, positionner le cavalier LED ⑤sur OFF.
Réglages
- Pour une distance de détection inférieu-
re à 6 m, modifier la position de l'encoche ⑥
en desserrant la vis de fixation de la carte ⑨
et la déplacer jusqu'au mot SHORT.
- Pour augmenter la sensibilité de détec-
tion, positionner le cavalier PULSE ⑦sur 1 ;
pour la réduire, le positionner sur 3.
Données techniques
Type SIR310 / SIR310PT
Tension de
service 9-16 V CC
Courant <20 mA
12 V DC
Contact NF
alarme
max. 100 V DC
500 mA
10 W
Contact NF anti-
eraction 24 V DC
500 mA
Durée alarme 2,2 s
Caractéristiques
RFI 22 Vm
1O Mhz <--> 1 Ghz
Hauteur
d'installation 2,5 mètres
Conformité
Directives
CEM 2004/108/CE
LVD 2006/95/CE
RoHS 202/95/CE
FR 001SIR310
001SIR310PT
Capteur volumétrique
à infrarouge
Descripción
Detectores de infrarrojo pasivo para aplica-
ciones en contextos residenciales que cuen-
tan con lentes ópticas pigmentadas para
resistir a las interferencias de la luz blanca.
Con pletina para el montaje de techo, de
pared o de rincón. El modelo SIR310PT in-
tegra la función PET Immunity para animales
pequeños.
Principales componentes
①Conexión alarma anti-manipulación
②Entrada cables
③LED alarma intrusión
④Conexión alimentación
⑤ Jumper ON/OFF LED alarma intrusión
⑥Muesca regulación capacidad
⑦Jumper regulación sensibilidad sensor
⑧Sensor
⑨Tornillo fijación tarjeta
⑩Dispositivo anti-manipulación
⑪Conexión alarma intrusión
Instalación
Elegir la posición de montaje para la zona a
proteger, evitando la exposición directa a luz
del sol, obstáculos constituidos por muebles,
paredes o plantas y cercanía a fuentes de
calor.
Abrir el alojamiento frontal utilizando un de-
stornillador. Utilizando los preajustes para la
entrada de cables ②efectuar las conexio-
nes ①, ④y ⑪; Volver a ubicar la placa.
Alimentar la unidad, esperar unos 2 minu-
tos para que se efectúe el calentamiento y
verificar si el funcionamiento es correcto: si
fuera necesario, regular la capacidad y la
sensibilidad.
Para desactivar el LED alarma intrusión, po-
ner el Jumper LED ⑤en posición OFF.
Regulaciones
- Para una distancia de detección infe-
rior a 6 m, hay que cambiar la posición de la
muesca ⑥aflojando la fijación de la tarjeta
⑨y desplazándola hasta que aparezca la
inscripción SHORT.
- Para aumentar la sensibilidad de de-
tección, poner el Jumper PULSE ⑦en la
posición 1; para disminuirla en la posición 3.
Datos técnicos
Tipo SIR310 / SIR310PT
Tensión de
trabajo 9-16 V DC
Corriente <20 mA
12 V DC
Contacto nc
alarma
máx 100 V DC
500 mA
10 W
Contacto
NC anti-
manipulación
24 V DC
500 mA
Duración alarma 2,2 s
Características
RFI 22 Vm
1O Mhz <--> 1 Ghz
Altura de
instalación 2,5 metros
Conformidad
Directivas
EMC 2004/108/CE
LVD 2006/95/CE
RoHS 202/95/CE
ES 001SIR310
001SIR310PT
Sensor volumétrico
de infrarrojos
Descrição
Identificadores com infravermelho passivo
para aplicações em locais residenciais, do-
tados de lentes ópticas pigmentadas para
resistir às interferências da luz branca. Com
suporte para montagem no tecto, na parede
ou no canto. O modelo SIR310PT contém a
função PET Immunity para animais de pe-
queno porte.
Componentes principais
①Ligação de alarmeanti-invasão
②Entrada de cabos
③Led alarme invasão
④Ligação da alimentação
⑤ Jumper ON/OFF LED alarme invasão
⑥Marcação de regulação de capacidade
⑦Jumper de regulação de sensibildade do
sensor
⑧Sensor
⑨Parafuso de fixação da placa
⑩Dispositivoanti-invasão
⑪Ligação de alarme de invasão
Instalação
Escolha a posição de montagem para a área
a ser protegida, a evitar a exposição direc-
ta à luz do sol, obstáculos constituídos por
móveis, paredes ou plantas, perto de fontes
de calor.
Abra o sítio frontal a usar uma chave de fen-
das. Usando as preparações para a entrada
dos cabos ②efectue as ligações ①, ④e
⑪; Recoloque a parte frontal.
Alimente a unidade, aguarde cerca de 2 mi-
nutos para o aquecimento e verifique o fun-
cionamento correcto: se necessário, regule a
capacidade e sensibilidade.
Para desactivar o Led de alarme de invasão,
coloque o Jumper Led ⑤na posição OFF.
Regulações
- Para uma distância de identificação me-
nor do que 6 m, é preciso mudar a posição
da marcação ⑥a afrouxar a fixação da
placa ⑨e a deslocar até encontrar escrito
SHORT.
- Para aumentar a sensibilidade de iden-
tificação, coloque o Jumper PULSE ⑦na
posição 1; para diminir, na posição 3.
Dados técnicos
Tipo SIR310 / SIR310PT
Tensão de
funcionamento 9-16 V DC
Corrente <20 mA
12 V DC
Contacto NC
alarme
max 100 V DC
500 mA
10 W
Contacto NC
anti-invasão 24 V DC
500 mA
Duração de
alarme 2,2 seg
Características
RFI
22 Vm
1O Mhz <--> 1 Ghz
Altura de instala-
ção. 2,5 metros
Conformidade
com Directivas
EMC 2004/108/CE
LVD 2006/95/CE
RoHS 202/95/CE
PT 001SIR310
001SIR310PT
Sensor volumétrico
com infravermelho
Описание
Пассивные инфракрасные извещатели пред-
назначены для домашнего использования и
оснащены специальными оптическими лин-
зами, устойчивыми к воздействию белого
света. Устройства оснащены кронштейном
для крепления к потолку, стене или в углу
помещения. Модель SIR310PT имеет встро-
енную функцию иммунитета к мелким жи-
вотным.
Основные компоненты
①Колодка подключения датчика вскрытия
корпуса
②Отверстие для прокладки кабелей
③Светодиодный индикатор тревожной
сигнализации
④Колодка подключения электропитания
⑤ Перемычка ВКЛ/ВЫКЛ светодиодного
индикатора охранной сигнализации
⑥Селектор дальности обнаружения
⑦Перемычка регулирования чувствитель-
ности извещателя
⑧Извещатель
⑨Саморез крепления платы
⑩Устройство защиты против взлома
⑪Колодка подключения охранной сигна-
лизации
Монтаж
Выберите оптимальное место для установ-
ки извещателя на охраняемой территории.
Оно должно располагаться вдали от прямых
солнечных лучей, препятствий в виде мебе-
ли, стен или растений, а также источников
тепла.
Откройте переднюю крышку с помощью
отвертки. Используя специально предусмо-
тренное отверстие для прокладки кабелей
②, выполните электрические подключения
①, ④и ⑪; установите крышку обратно.
Подайте напряжение на устройство, подо-
ждите около 2 минут для разогрева и про-
верьте исправность работы. При необходи-
мости отрегулируйте дальность действия и
чувствительность извещателя.
Для дезактивации светодиодного индикато-
ра охранной сигнализации установите пере-
мычку индикатора ⑤в положение OFF.
Регулировки
- Чтобы уменьшить дальность обнаруже-
ния до 6 м, необходимо изменить положение
селектора ⑥, предварительно отвернув са-
морезы платы ⑨и переместив селектор до
надписи "SHORT" ("КОРОТКИЙ").
- Чтобы увеличить чувствительность об-
наружения, установите перемычку PULSE
⑦в положение 1; чтобы уменьшить чув-
ствительность, установите перемычку в по-
ложение 3.
Технические характеристики
Тип SIR310 / SIR310PT
Рабочее напряжение =9-16 В
Макс. потребление
тока <20 мA
=12 В
Выход тревоги (Н.З.) макс. =100 В
500 мA
10 Вт
Выход датчика
вскрытия (Н.З.) =24 В
500 мA
Продолжительность
тревожного сигнала 2,2 с
Показатели по
радиочастотным
помехам
22 Вм
1O МГц <--> 1 ГГц
Высота монтажа 2,5 м
Соответствие
директивам
EMC 2004/108/CE
LVD 2006/95/CE
RoHS 202/95/CE
RU 001SIR310
001SIR310PT
Инфракрасный извещатель


