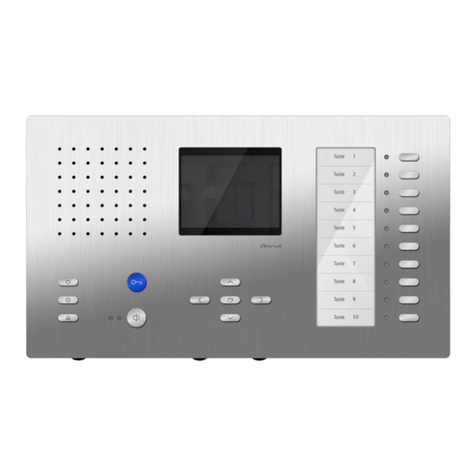
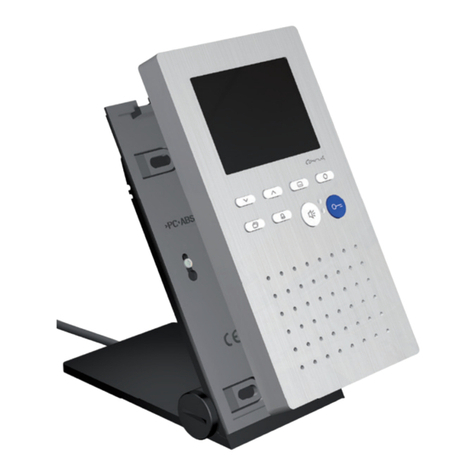
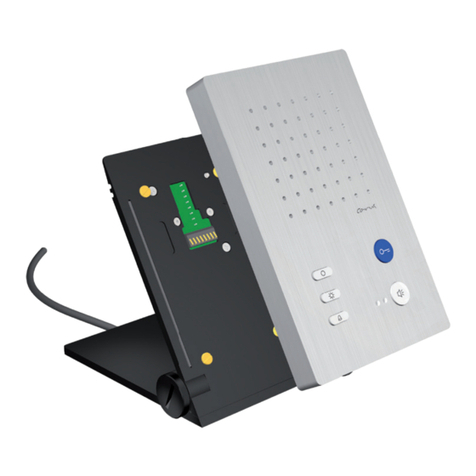
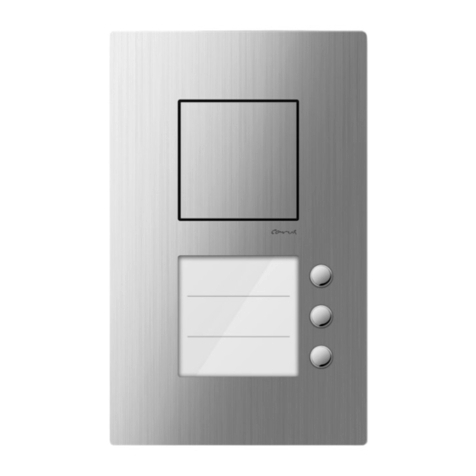
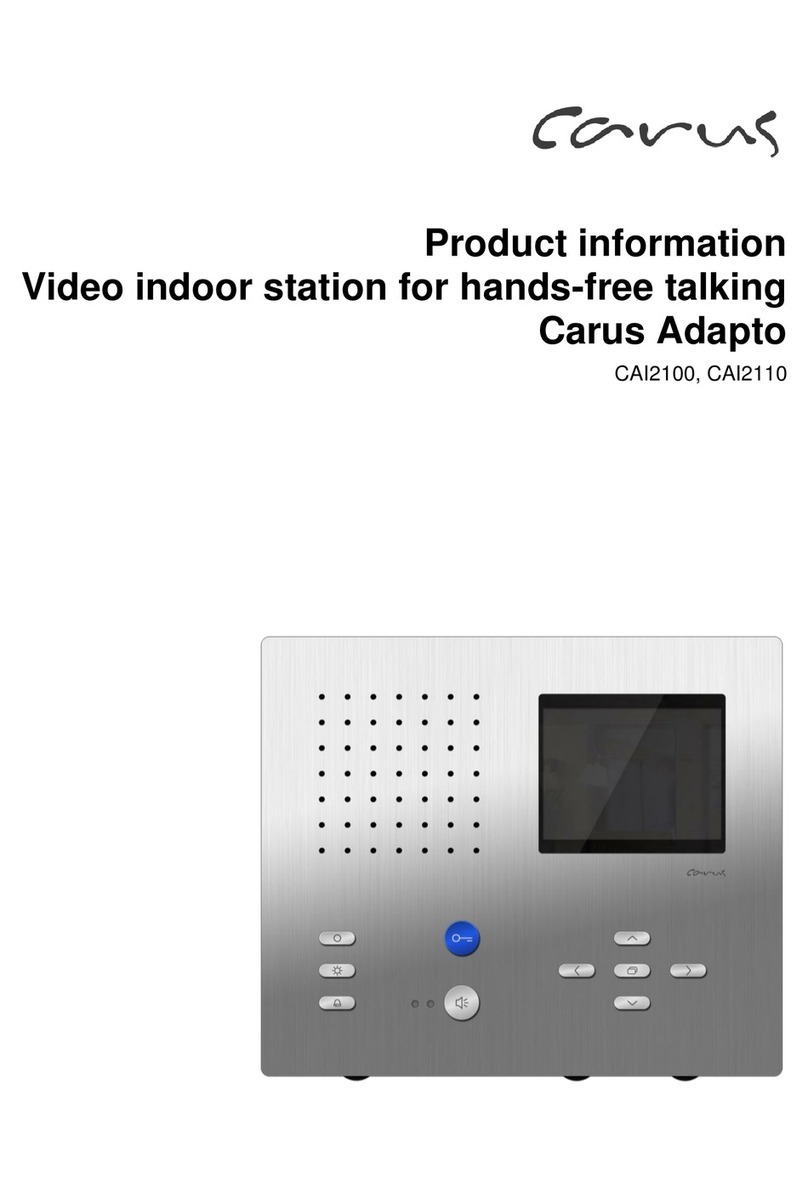
Carus IRIS User manual

Product information
CARUS IRIS
Video front-door station for surface-
mount
CAE200x-015x

2

Table ofcontents
Scope of delivery..........................................................................................................................................................4
introduction..................................................................................................................................................................4
Notes on this product information ...........................................................................................................................................................................4
Further used symbols ................................................................................................................................................................................................4
Safety instructions.......................................................................................................................................................5
General safety regulations.........................................................................................................................................................................................5
requirements to protect against lightning..............................................................................................................................................................5
Product description .....................................................................................................................................................6
Intended use.................................................................................................................................................................................................................6
Short description .........................................................................................................................................................................................................6
Device overview............................................................................................................................................................................................................7
Technical data ..............................................................................................................................................................................................................8
Mounting and installation ............................................................................................................................................9
Installation ....................................................................................................................................................................................................................9
Installation site............................................................................................................................................................................................................................9
Opening the device......................................................................................................................................................................................................................9
Installing the bottom shell .......................................................................................................................................................................................................11
Connecting the lines .................................................................................................................................................................................................................11
Fixing the top shell....................................................................................................................................................................................................................12
Labelling the nameplate..........................................................................................................................................................................................................13
Closing the device .....................................................................................................................................................................................................................13
Connecting the lines..................................................................................................................................................................................................14
General information .................................................................................................................................................................................................................14
Example circuit ..........................................................................................................................................................................................................14
Initial operation..........................................................................................................................................................15
Settings........................................................................................................................................................................................................................15
Setting the volume of the system tone ...................................................................................................................................................................................15
Setting the volume of the loudspeaker ..................................................................................................................................................................................15
Setting the illumination............................................................................................................................................................................................................15
Programming the bell buttons..................................................................................................................................16
Basic principle............................................................................................................................................................................................................16
Cleaning .....................................................................................................................................................................18
Conformity .................................................................................................................................................................19
Information on disposal.............................................................................................................................................19
Warranty ....................................................................................................................................................................19
Service........................................................................................................................................................................20
3
Scope of delivery
1 x IRIS front-door station
1 x slot screwdriver
1 x hexagon ballpoint screwdriver with 2.5 mm wrench size
1 x installation kit (universal dowel 6 x 35 mm and chipboard screw PZ 3.5 x 40 mm)
2 x laser film foil matt, format DIN A4 for name plates
1 x product information
introduction
Notes on this product information
This product information refers exclusively to qualified electricians.
The product information contains important notes on intended use, installation and initial operation. Please keep the
product information in a suitable place, where it is easily accessible for maintenance and repair reasons.
You will find all product information in the download area at www.carus-concepts.com .
Used symbols and warning notices
Symbol
signal word
Explanation
DANGER!
The signal word describes an endangering with a high level of risk. Failure to observe this
warning will result in death or very serious injury.
WARNING!
The signal word describes an endangering with a medium level of risk. Failure to observe this
warning could result in death or very serious injury.
CAUTION!
The signal word describes an endangering with a low level of risk. Failure to observe this warn-
ing could result in a minor or moderate injury.
ATTENTION!
The signal word indicates, that damages on equipment, environment and property can occur.
Further used symbols
important note or important information
►
Step
cross reference: For further information on this topic, refer to source
•
list, list entry 1 level
‐
list, list entry 2 level
a)
Explanation
4

Safety instructions
General safety regulations
Assembly, installation, commissioning and repair of electronic devices must be carried out by qualified
electricians.
Observe the latest regulations and standards for system installations.
WARNING!
Danger to life from electric shock
Observe the safety regulations according to DIN VDE 0100, when working on main power connections of
230 V.
When installing TCS:BUS systems the general safety regulations for telecommunication systems ac-
cording to VDE 0800 must be observed. Inter alia:
•separated cable routing of high and low voltage lines,
•minimum distance of 10 cm in case of a common cable routing,
•use of separators between high and low voltage lines within shared cable ducts,
•use of standard telecommunication lines, e.g. J-Y (St) Y with 0.8 mm diameter,
•already existing lines (modernisation) with deviating cross-sections can be used in compliance with
the loop resistance.
requirements to protect against lightning
ATTEN-
TION!
Device damage due to overvoltage.
By suitable lightning protection measures it has to be ensured that the electric voltage of 32 V DC at each
connection is not to be exceeded.
5

Product description
Intended use
The CAE200x-015x video front-door stations are suitable for outdoor use.
They are suitable for surface-mount.
For applications, which differ from the intended use or goes beyond it, the manufacturer accepts no
liability.
Short description
•Front-door station for surface-mount
•for up to 3 flats
•housing made of solid aluminium
•surface with hand-made grinding and elaborate finishing (colour: black or silver)
•illuminated and chrome-plated bell buttons made of metal with maintenance-free contacts
•per bell button 2 indoor stations can be allocated
•durable and energy-saving name plate illumination
•name plate illumination is controlled by twilight switch
•threshold of the twilight switch can be adjusted manually
•acknowledgement tone when pressing the bell button
•volume system tones can be adjusted manually
•conversation time ex works: 56 seconds / can be adjusted with service device TCSK
•any bell button can be used to switch lights
•volume loudspeaker can be adjusted manually
•R-terminal for connection of an extended function
door release
•door release time at R-terminal ex works: 3 seconds / can be adjusted with configuration software configoTM
•door call standby time (to control the short-term memory in indoor stations) ex works: 56 seconds / can be ad-
justed with configuration software configoTM
•voice connection in door call standby time / can be adjusted with service device and configuration software confi-
goTM
•CMOS camera with 1.3 mega pixel
•wide-angle lens, horizontal detecting angle ( F.O.V) 180°
•focal length F2.0
•digital image correction
•video signal output symmetric 1 Vss FBAS
•based on the TCS video system with 6-wire technique
6

Device overview
front
back
1
top shell
3
volume control system tones
2
camera
4
volume control loudspeaker
13
bell button
5
LED error indication
14
nameplate
6
controller light sensor (twilight switch)
15
release screw for name plate holder
7
connection terminal (a, b, R, P, M, V1 and V2)
16
loudspeaker
8
type label
9
locking hexagon socket screw
10
label connections and operation
11
connection for service device
12
microphone
7

Technical data
supply voltage
+24 V ± 8 % (power supply and control unit)
input current in stand-by
3-wire operation:
I(a) = 0.1 mA, I(P) = 103 mA
max. input current:
I(a
max
) = 14.8 mA , I(P
max
) = 120 mA
housing
aluminium, anodised natural / silver or black
nameplate glass
acrylic glass
dimensions (in mm)
H 330 x W 150 x D 27
weight
2160 g
acceptable ambient temperature
-20 °C … + 50 °C
degree of protection
IP44
camera
colour camera
1.3 mega pixel CMOS sensor
detection angle
180°
6-wire technique necessary!
8

Mounting and installation
Installation
For installing the bottom shell use the installation kit (enclosed in the delivery).
•
Condensed water must be able to escape and evaporate. Avoid closing the opening for condensed
water.
•Do not seal the device with silicone rubber under any circumstances.
Installation site
For an optimal operation we recommend a mounting height of 160
cm (camera above ground, ill. 1).
For changing the nameplate pull the nameplate holder (1)
downwards.
Observe a free space of at least 13 cm.
To achieve a high quality of the video image, the camera
must not be oriented towards direct sunlight.
•solar radiation
•strong sources of light
•light or strongly reflecting walls.
Fig. 1: mounting height
Opening the device
The nameplate holder (2)
is screwed to the housing
(1)
with an hexa-
gon socket screw (3)
.
►
Remove the hexagon socket screw
(3)
by using the allen key
(4)
(ill. 2).
The nameplate holder is secured from falling down by two
solenoids.
Fig. 2: Opening the front-door station
9

►Pull out the nameplate holder (1) (ill. 3).
►
Place the nameplate holder on a clean and dry surface.
Fig. 3: Removing nameplate holders
►
Remove the top shell (1) from the bottom shell (2) (ill. 5).
►
Place the top shell on a clean and dry surface.
Fig. 5: Removing the top shell
The top shell is connected to the bottom shell with another hexagon
socket screw.
►
Loosen the hexagon socket screw
(1)
by using the allen key (ill. 4).
Fig. 4: Loosen the top shell
[1]
[2]
10

Installing the bottom shell
►
Puncture the cellular rubber seal with a pointed object at the posi-
tion of the cable gland.
►
Guide the connection cable
(3)
through the cable gland
(2)
of the
bottom shell (ill. 6).
►
Install the bottom shell with 4 screws
(1)
(enclosed in the delivery)
to the wall.
Observe the installation position of the bottom shell.
The installation position of the bottom shell is marked by
two arrows as well as the designation
Oben Top
.
Fig. 6: Fixing the bottom shell on the wall
Connecting the lines
►
Draw off the connection terminal
(2)
from the circuit board.
►
Strip the lines.
►
Connect the lines (a, b, P, M, V1 and V2) according to the labelling
(1)
(ill. 7).
►
Fix the lines by using the screwdriver
(3)
(enclosed in the delivery).
Observe the example circuit on page 14.
Fig. 7: Connecting the lines
►Pin the connecting terminal (1) on the circuit board again (ill. 8).
Fig. 8: Pin the connecting terminal
11

Fixing the top shell
►
Put on the top shell
(1)
on the bottom shell
(2)
(ill. 9). The fixing
brackets have to latch over the upper edge of the bottom shell.
►
Turn down the top shell on the bottom shell.
►
Fix the top shell with the hexagon socket screw
(1)
at the bottom
shell (ill. 10).
Fig. 9: Installation of the top shell
Fig. 10: Secure the top shell
12

Labelling the nameplate
Labelling templates as WORD files are available for down-
load at
www.carus-concepts.com .
►
Enter the required names into the labelling template.
►
Print the nameplates on the special foil (enclosed in the delivery)
by using a laser printer.
►
Alternatively label the special foil with a waterproof marker.
►
Cut out the foil along the marking (W x H 72 x 77 mm).
►
Push the nameplate from the side into the gab in the nameplate
glass (ill. 11).
we recommend to print the nameplates onto a durable spe-
cial foil.
►You can order replacement foils directly under
in-
fo@carus-concepts.com.
Fig. 11: Replacing nameplates
Closing the device
►
Push the nameplate holder into the front-door station (see p. 10,
ill. 3).
►
Fix the nameplate holder with the hexagon socket screw M3x10
(ill. 12).
Fig. 12: Closing the device
13

Connecting the lines
General information
•Use the small slot screwdriver (enclosed in the delivery) to connect lines. Avoid damaging the device.
•Ensure that no lines are clamped on the backside of the front-door station or between top and bottom
shell.
Example circuit
Fig. 13: Example circuit
For further information see TCS system manual. The TCS system manual can be downloaded at www.tcsag.de.
14

Initial operation
►Install the devices of the system completely.
►Proof the a-, b- and P-wire against each other on short-circuit.
►V1 and V2 must not be connected with the P-, a- or b-wire.
►When connecting the video wires V1 (+) and V2 (−) the polarity must be observed.
►Switch on the mains voltage.
Settings
•For setting the volume use the enclosed slot screwdriver.
•The volumes are set on an average value ex works. A change is not always required.
Setting the volume of the system tone
►
Turn the control
(1)
right to increase the volume of the key tone.
►
Turn the control
(1)
left to reduce the volume of the key tone.
Fig. 14: Setting the volume of the system tone
Setting the volume of the loudspeaker
►
Turn the control
(2)
right to increase the volume of the voice out-
put.
►
Turn the control
(2)
left to reduce the volume of the voice output.
Fig. 15: Setting the volume of the loudspeaker
Setting the illumination
By using the twilight switch you can control the illumination of the
front
-door station. The threshold is set to middle twilight ex works.
►
Turn the control
(3)
right to increase the threshold.
►
Turn the control
(3)
left to reduce the threshold.
If the front-door station should be illuminated permanently,
turn the control to the left until the stop.
Fig. 16: Setting the illumination
15

Programming the bell buttons
Basic principle
All devices at the TCS:BUS have an unique serial number.
The serial number of the indoor station is allocated to the bell button of the front-door station. The allocation is
stored in the EEPROM of the front-door station.
Requirements for the programming:
►Ensure that the access to the indoor station in the flat is granted.
►Check if the indoor station is connected to the TCS:BUS.
►Switch on the mains voltage. The operating LED at the power supply and control unit is on.
►Check if a programming lock is set.
Manual TCSK
.
If a programming lock is set, you cannot program any bell button.
To deactivate the programming lock you need a Service Device TCSK or the configuration software con-
figo™.
1
power supply and control unit Switch on the programming mode of the system
Shortly press
a)
the
RUN/PROG button.
The LED blinks.
The programming mode of the system is switched
ON.
2
Deleting bell buttons
b)
Press the button which should be deleted for 6 seconds
until an acknowledgement tone sounds.
c)
Release the bell button.
Repeat step 2 to delete
further bell buttons.
16

3
Programming via voice communication
Establish a voice commu-
nication to the front-door
station.
d)
Press the bell button
which should be
programmed.
A ring tone sounds at the front-door and indoor sta-
tion.
c)
Terminate the voice
communication.
4
power supply and control unit Switch off the programming mode of the system
Shortly press the
RUN/PROG button. The LED is on.
The programming mode of the system is switched
OFF.
e)
a)
Do not press the RUN/PROG button longer than 5 seconds. Otherwise you will activate the light switch function of the front-door station. The
bell button cannot be programmed. The LED blinks. Shortly press the RUN/PROG button to switch off the programming mode. Shortly press
the RUN/PROG button to switch on the programming mode. Program the bell button.
b)
If the light switch function is activated, you can switch the lights by pressing the door release button of the indoor station, if no voice communi-
cation is established. Switch on the programming mode. Press the RUN/PROG button longer than 5 seconds until the LED lights up. The light
switch function is deactivated.
c)
Not necessary, if the bell buttons have not been programmed, see product information of the front-door station.
d)
If there sounds a Progsperr tone (long high tone followed by long low tone) instead, the front-door station is equipped with a programming
lock. You can deactivate the programming lock only with the service device TCSK or the configuration software configo™.
e)
An acknowledgement tone sounds at front-door stations (as of 2009) if the serial number of the indoor station was received (see product
information of the front-door station).
f)
device specific indication modes of the front-door station see product information of the font-door station
17

Cleaning
ATTEN-
TION!
Loss of function due to short-circuit and corrosion.
Water and cleaning agents can enter the device. Electronic elements can get damaged due to short-
circuit or corrosion.
Avoid water and detergents from entering the device! Clean the device with a dry or slightly wet cloth.
ATTEN-
TION!
Damages on the surface of the device
Abrasive or scratching detergents damage the surface of the device.
Do not use any abrasive detergents! Remove strongerstains with a pH neutral household cleaner.
18

Conformity
Declarations of conformity are available for download under www.tcsag.de.
Information on disposal
Dispose the device separately from domestic waste via a collection point for electronic scrap. Ask your
county administration for the responsible collection point.
Dispose the parts of the packaging in collecting tanks for cardboard and paper resp. plastics.
Warranty
We offer
a simplified processing
in case of warranty for qualified electricians.
•Please contact the
TCS HOTLINE
under
hotline@tcsag.de
.
•Our
standard terms and conditions of sale
you'll find under www.tcsag.de.
19

Service
Please send your questions and inquiries to
Headquarters
TCS TürControlSysteme AG, Geschwister-Scholl-Str. 7, 39307 Genthin | Germany
FON: +49 (0) 3933/8799-10, FAX: +49 (0) 3933/879911, www.tcsag.de
Subject to technical changes.
TCS Hotline Germany
FON: +49 41 94 / 9 88 11 88, Fax: +49 41 94/ 9 88 129 Mail: hotline@tcsag.de
time of printing: 06/2015
PI_CAE200x-015x_uk 1 A
20
Table of contents
Other Carus Intercom System manuals

Carus
Carus IRIS CAE100 Series User manual

Carus
Carus ARGOS CAE3 02-IP-015 Series User manual

Carus
Carus Adapto CAI1200 User manual

Carus
Carus ARGOS User manual

Carus
Carus CAI 2010 User manual

Carus
Carus CAI2300-015X User manual

Carus
Carus CAI 1100 User manual

Carus
Carus Adapto CAI2100 User manual

Carus
Carus ARGOS User manual

Carus
Carus Adapto CAI1100 User manual