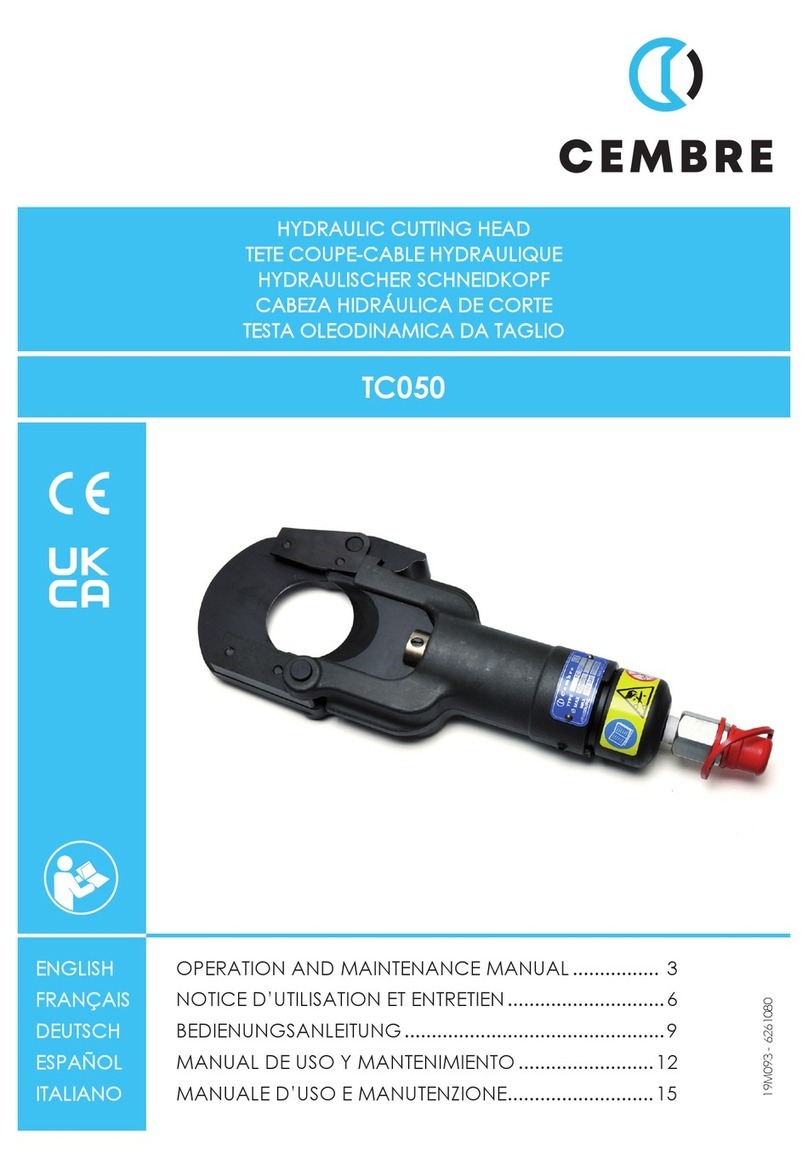
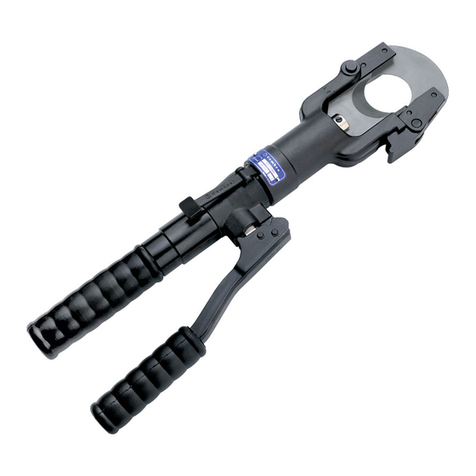
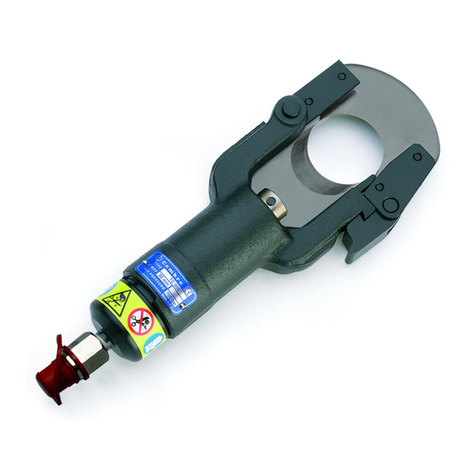
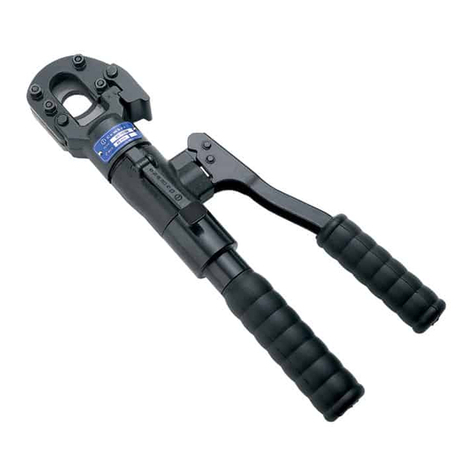
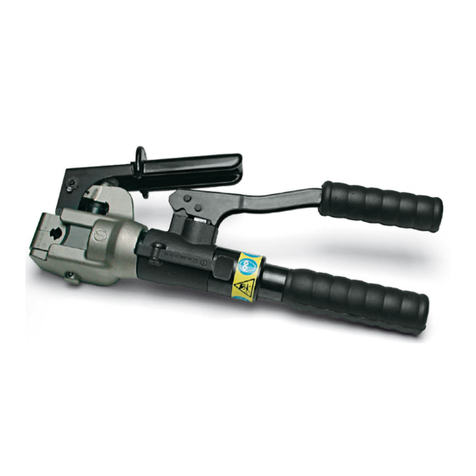
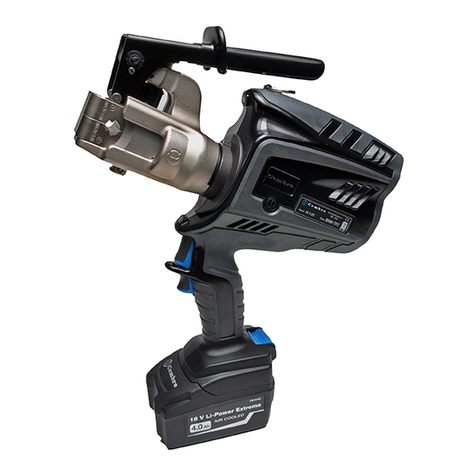
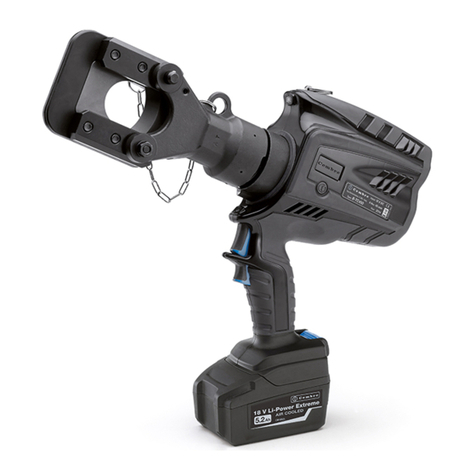
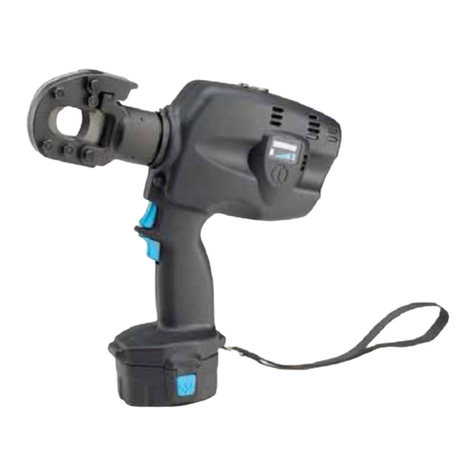
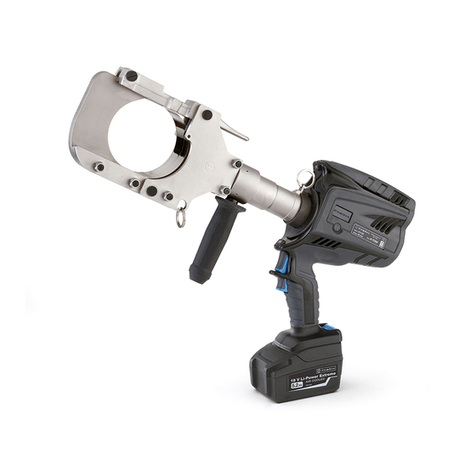
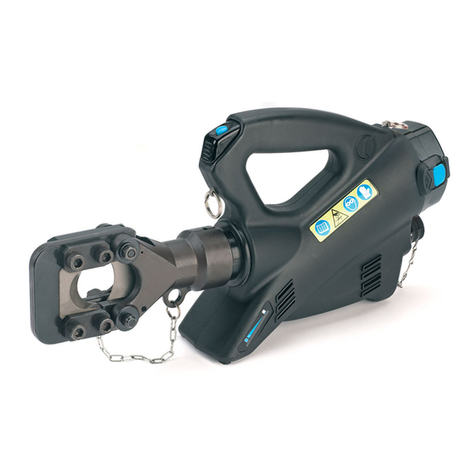
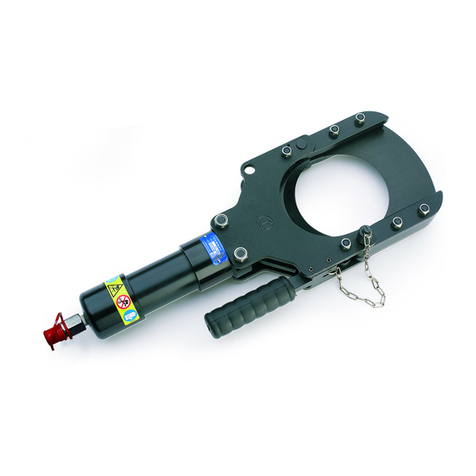
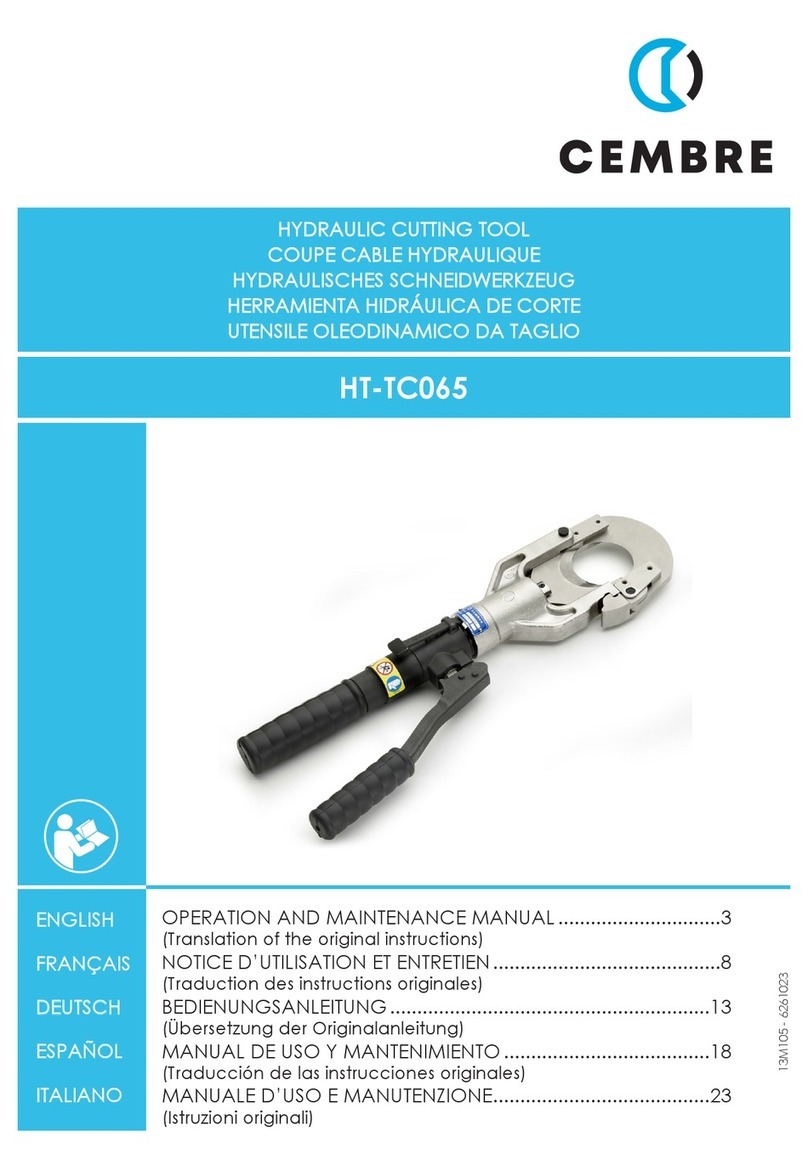
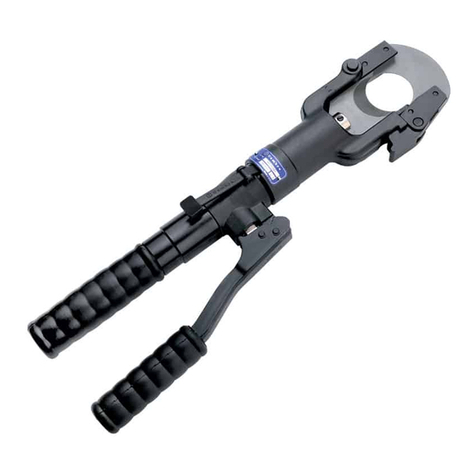
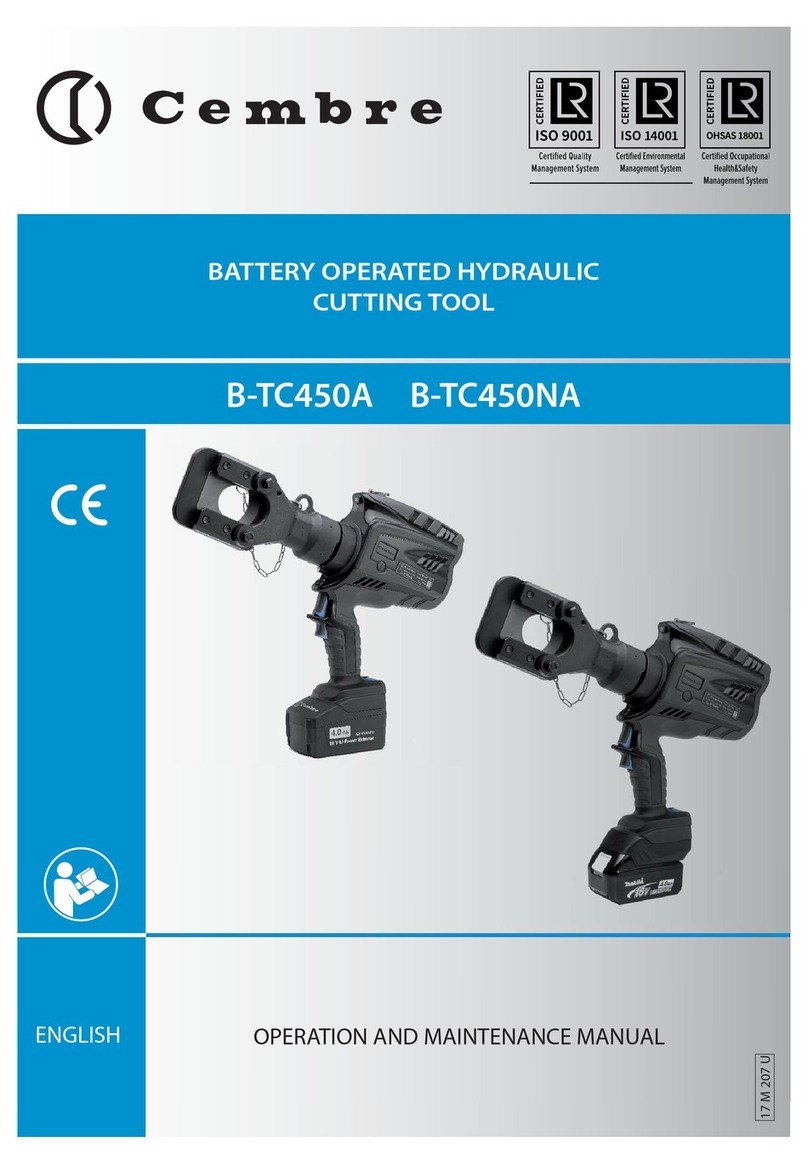
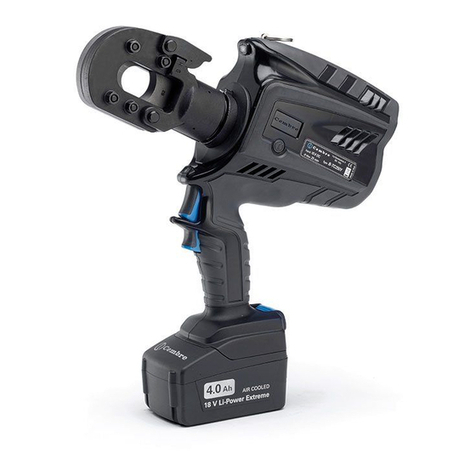
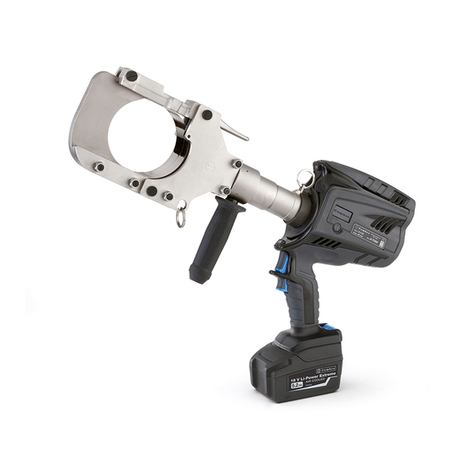
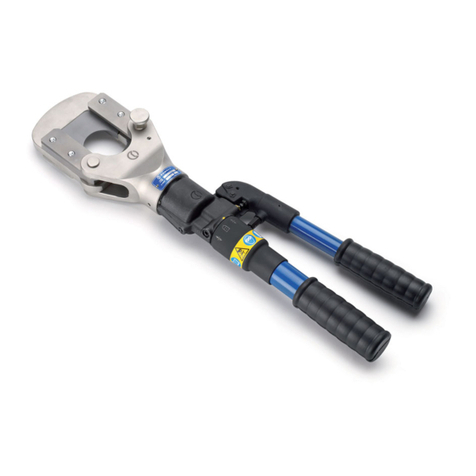
Cembre B-TC500ND-SCA User manual

1
OPERATION AND MAINTENANCE MANUAL................................... 5
NOTICE D’UTILISATION ET ENTRETIEN........................................... 10
BEDIENUNGSANLEITUNG................................................................... 15
MANUAL DE USO Y MANTENIMIENTO........................................... 20
MANUALE D’USO E MANUTENZIONE............................................. 25
19 M 121
BATTERY OPERATED HYDRAULIC CUTTING TOOL
COUPE-CÂBLE HYDRAULIQUE SUR BATTERIE
HYDRAULISCHES AKKU-SCHNEIDWERKZEUG
HERRAMIENTA HIDRÁULICA DE CORTE A BATERíA
UTENSILE OLEODINAMICO DA TAGLIO A BATTERIA
B-TC500ND-SC B-TC500ND-SCA B-TC500ND-SCE B-TC500ND-SCT
ENGLISH
FRANÇAIS
DEUTSCH
ESPAÑOL
ITALIANO

2
5
FIG. / BILD 1
Cu Al
Ø MAX. 52,5 mm
(2”)
Low battery
Batterie déchargée
Akku leer
Batería descargada
Batteria scarica
9
Battery
Batterie
Akku
Batería
Batteria
FIG. / BILD 2
FIG. / BILD 3
5
4
– Do not cut Steel.
– Ne pas couper l'acier
– Keinen Stahl schneiden.
– No cortar acero.
– Non tagliare acciaio.

3
1
BLADE GUIDE / GUIDE LAME / MESSERFÜHRUNG / GUIA CUCHILLA / GUIDA LAMA
2
BLADE / LAME / SCHNEIDMESSER / CUCHILLA / LAMA
3
RUBBER HANDGRIP / POIGNEE EN CAOUTCHOUC / GUMMIMANSCHETTE / EMPUÑADURA DE GOMA /
IMPUGNATURA IN GOMMA
4
LED WORKLIGHT / ECLAIRAGE PAR LED / LED-BELEUCHTUNG / LUCES LED / ILLUMINAZIONE LED
5
OPERATING BUTTON / GÂCHETTE DE COMMANDE / STARTKNOPF / BOTÓN DE ACCIONAMIENTO /
PULSANTE DI AZIONAMENTO
6
HANDLE / POIGNEE / GRIFF / EMPUÑADURA / IMPUGNATURA
7
BATTERY / BATTERIE / AKKU / BATERÍA / BATTERIA
8
WRIST STRAP / DRAGONNE / HANDTRAGERIEMEN / CORREA PARA LA MUÑECA / CINTURINO DA POLSO
9
BATTERYRELEASE/DEBLOCAGEBATTERIE/AKKUENTRIEGELUNG /DESBLOQUEOBATERÍA/SBLOCCOBATTERIA
10
PRESSURE RELEASE BUTTON / GÂCHETTE DE DECOMPRESSION / DRUCKABLASSKNOPF / BOTÓN DE DESBLO-
QUEO PRESIÓN / PULSANTE DI RILASCIO
3
8
10
7
9
2
1
2
6
FIG. / BILD 4
5
4

4
(
(
(
(
(
(
(
(
WARNING SYMBOLS - SYMBOLES D'AVERTISSEMENT - WARNSYMBOLE -
SÍMBOLOS DE ADVERTENCIA - SIMBOLI DI AVVERTENZA
Tool - Outil - Werkzeug - Herramienta - Utensile
– Before using the tool, carefully read the instructions in this manual.
– Avant d'utiliser cet outil, lire attentivement les instructions de cette notice.
– Vor Inbetriebnahme unbedingt die Bedienungsanleitung durchlesen.
– Antes de utilizar la herramienta, leer atentamente las instrucciones en este manual.
– Prima di utilizzare l'utensile, leggere attentamente le istruzioni riportate in questo manuale.
– Keep hands clear of cutting blades.
– Lors de la coupe tenir les mains éloignées des lames.
– Während des Schneidens nicht mit den Händen in den Gefahrenbereich gelangen.
– Durante el corte, tener las manos alejadas de las cuchillas.
– Durante il taglio, tenere le mani lontane dalle lame.
– Never throw batteries into re or water.
– Jamais jeter les batteries dans le feu ou dans l'eau.
– Werfen Sie Akkus nicht ins Feuer oder Wasser.
– Nunca tire las baterías al fuego o al agua.
– Mai gettare le batterie nel fuoco o in acqua.
– Always recycle the batteries.
– Recycler toujours les batteries.
– Verbrauchte Akkus stets dem Recycling zuführen.
– Reutilizar siempre las baterías.
– Riciclare sempre le batterie.
– Do not discard batteries into domestic refuse or waste disposal.
– Ne pas jeter de batteries dans une poubelle ou autre lieu non prévu à cet eet.
– Verbrauchte Akkus nicht der allgemeinen Abfallentsorgung zuführen.
– No tirar las baterías al cubo de basura o lugar parecido.
– Non buttate le batterie fuori uso nei cestini della spazzatura o luoghi simili.
– User information (Directives 2011/65/EU and 2012/19/EU), see page 9.
– Information pour les utilisateurs (Directives 2011/65/EU et 2012/19/EU) voir page 14.
– Information für den Benutzer (Richtlinien 2011/65/EU und 2012/19/EU) siehe Seite 19.
– Informe para los usuarios (Directivas 2011/65/EU y 2012/19/EU) vease página 24.
– Informazione agli utenti (Direttive 2011/65/EU e 2012/19/EU) vedere pagina 29.
Battery - Batterie - Akku - Batería - Batteria
– Do not cut Steel.
– Ne pas couper l'acier
– Keinen Stahl schneiden.
– No cortar acero.
– Non tagliare acciaio.
– Always wear safety glasses and gloves when operating this tool.
– Porter toujours les lunettes de protection et les gants de travail.
– Das Werkzeug immer mit Schutzbrille und Handschuhen betätigen.
– Trabajar siempre con las gafas y guantes de seguridad.
– Operare sempre con occhiali di protezione e guanti da lavoro.

5
1. GENERAL CHARACTERISTICS
Application range suitable for cutting Copper, Aluminium
or telephone cables
Max. cutting diameter mm (inches) 52,5 (2”)
Dimensions (ref. to Fig. 6) mm (inches) 526 x 152 x 81 (20.7 x 6 x 3.2)
Weight with battery kg (lbs) 3,9 (8.6)
Motor V 18
Operating temperature °C (°F) -15 to +50 (+5 to +122)
Recommended oil TOTAL DIEKAN 1640 or equivalents
Operating speed twin speed operation and automatic switching from a rapid
advancing speed of the ram to a slower, more powerful speed
Safety maximum pressure valve
Rechargeable battery V / Ah / Wh 18 / 2.0 / 36
Type CB1820L (Li-Ion)
Weight kg (lbs) 0,4 (0.9)
Acoustic noise
(1)
L
pA
dB (A)
67,7
L
pCPeak
dB (C) 89,2
L
WA
dB (A) 74,2
Vibration
(2)
m/s
2
a
hv
0,724
ENGLISH
(1) Directive 2006/42/EC, annexe 1, point 1.7.4.2 letter u
LpA = weighted continuous acoustic pressure level equivalent.
LpCPeak = maximum value of the weighted acoustic displacement pressure at the work place.
LWA = acoustic power level emitted by the machine.
(2) Directive 2006/42/EC, annexe 1, point 2.2.1.1
Weighted root mean square in frequency of the acceleration the upper limbs are exposed to for each biodynamic
reference axis. Tests carried out in compliance with the indications contained in EN ISO 5349-1/2 and UNI EN 28662-1
Standards, and under operating conditions much more severe than those normally found.
B-TC500ND-SC B-TC500ND-SCE B-TC500ND-SCT B-TC500ND-SCA
Battery charger
Input
type
ASC30-36-EU ASC30-36-UK ASC30-36
-AUS/NZ
ASC30-36
-USA/CAN
V / Hz 220-240 / 50-60
115 / 60
W85

6
ENGLISH
WARNING
This tool has been specically designed for cutting Copper or Aluminium cables.
DO NOT ATTEMPT TO CUT STEEL ROPES OR STEEL REINFORCED CONDUCTORS.
Do not use the tool for purposes other than those intended by Cembre.
Theoperatorshouldconcentrateontheworkbeingperformedandbecarefultomaintain balanced
working position.
Work in a clean, uncluttered area. Keep persons away from immediate work area.
Inspect the blades before each use. Do not use damaged blades.
Damaged blades can break and cause injury or damage to the tool.
Before each use, verify the integrity of the tool; replace any worn, possibly damaged or missing
parts with original Cembrespares.
Wear eye protection. Metal chips can y from blades when cutting.
Do not cut live cables or conductors.
The tool is unsuitable for continuous use and should be allowed to cool down following uninter
rupted, successive cutting operations; for instance, having exhausted a fully charged battery in
one session, delay battery replacement for a few minutes.
Protectthetoolfromrainandmoisture.Waterwilldamagethetoolandbattery. Electro-hydraulic
tools should not be operated in pouring rain.
The part reference includes the following:
Hydraulic cutting tool.
Li-Ion rechargeable battery (2 pcs).
Battery charger (model depends on the tool
version).
Shoulder strap.
Carrying case.
USB cable (Ref. to § 5).
2. INSTRUCTIONS FOR USE
The tool can be easily carried using either the main handle (6) or the shoulder strap attached to the
two eyelets of the wrist strap (8) (Ref. to Fig. 4).
The tool can be held in one hand while positioning the conductor with the other.
ENGLISH

7
Before starting any work, check the battery charge (Ref. to § 2.7) and recharge if necessary,
following the instructions in the battery charger user manual.
To replace the battery, remove it by pressing the release button (9) (Ref. to Fig. 1), then insert the
new battery, sliding it into the guides until it locks.
2.1) Head rotation
For ease of operation, the tool head can rotate through 180°, allowing the operator to work in
the most comfortable position (Ref. to Fig. 2).
Do not attempt to rotate the head when the hydraulic circuit is pressurised.
2.2) Setting
Insert the conductor between the blades up to the desired cutting point (Ref. to Fig. 2).
2.3) Blade advancement
Press the operating button (5) (Ref. to Fig. 2) to activate the motor-pump, the ram will gradually
move forward until the blades touch the conductor.
To halt the advancement, release the push-button (06) and the motor will cut out.
Make sure the blade is exactly positioned on the desired cutting point otherwise re-open the
blade following instructions as per § 2.6 and reposition it.
2.4) Cutting
Firmly hold the tool and operate the button (5) to gradually move the lower blade (4) to cut
through the conductor.
When the cut is performed, release the button (5), otherwise after the maximum pressure relief
valve has activated the motor will stop automatically.
2.5) LED Worklights
Whilst the tool is in operation, the work area is illuminated by four high luminosity LED Worklights
that switch o automatically at the end of the cycle.
2.6) Blade retraction
By operating the pressure release button (10), the ram will retract and open the blades.
In the event that the blades become blocked by conductor strands. Carefully remove
the blockage with, if necessary, a few gentle taps of a rubber hammer on the blades, then press
the release button to open the blades.
ENGLISH

8
ENGLISH
2.7) Battery status
The battery is equipped with LED indicators that indicate the
remaining battery life at any time by pressing the adjacent
button (P):
4 LEDs illuminated: fully charged
2 LEDs illuminated: 50 % capacity
1 LED flashing: minimum charge, replace the battery.
Worklights (4) illuminated combined with an alarm audible when the operating button (5)
is pressed (Ref. to Fig. 3), indicate that the battery voltage has dropped below a minimum
safety threshold. Under these conditions the tool will not start, and it is necessary to recharge
or replace the battery. The approximate time to fully recharge a battery is about 40 minutes.
2.8) Using the battery charger
Carefully follow the instructions in the battery charger user manual.
3. MAINTENANCE
The tool is robust, completely sealed and requires very little daily maintenance. Compliance with
the following points should help to maintain its optimum performance:
3.1) Thorough cleaning
Dust, sand and dirt are a danger for any hydraulic device. Every day, after use, the tool must be
wiped with a clean cloth, taking care to remove any residue, especially close to pivots and move-
able parts.
Do not use hydrocarbons to clean the rubber parts.
Regularly lubricate the moving parts and pivot pins of the head with a few drops of oil.
3.2) Cleaning of the rubber handgrip
To avoid the accumulation of swarf inside the rubber handgrip, (3) periodically fold back the
handgrip near the blades and carefully brush out any debris.
3.3) Storage case
When not in use, the tool should be stored and transported in the metal case to prevent damage.
Metal case: VAL-P59, size 620x360x138 mm (24.4x14.2x5.6 in.), weight 2,4 kg (5.3 lbs).
3.4) Routine maintenance
When the tool reaches the predetermined number of hours worked, it will signal that routine
maintenance is recommended.
The tool will continue to work, however 15 sec. after use an alarm comprising 3 beeps com-
bined with illumination of the worklights will signal that its return to Cembrefor service is
recommended (see § 6).
ENGLISH
P

9
4. BLADE REPLACEMENT (Ref. to Fig. 5)
When changing blades, the battery must rst be removed from the tool.
After extended use, the blades may lose their cutting edge.
Replace the blades as follows:
Operate the motor so to advance the ram until the pins (12) of the blades are visible (Fig. 5a) and
then remove the battery.
Remove circlips (13) and extract the pins (12); to ease the operation it may be necessary to fold
back the rubber hand grip (3).
Remove the nut (15), 2 spacers (17), 2 pins (18) so to extract the central pin (19) and free the blades.
Disassemble the blade guide (1) keeping aside the screw (14).
Assemble the new blades (2) the pivot (19) and pins (18).
Lock the pin (19) with the nut (15) washer (16) and spacer.
Assemble the 2 pins (12) and lock them with circlips (13).
Assemble the blade guide (1).
At the end of the operation, press on the pressure release button to withdraw the ram.
5. CONNECTION TO COMPUTER (Smartool thecnology)
Thememorycardintegratedinthetoolrecordsoperatingdata fortransferviatheUSBcablesupplied.
To view and manage this data, go to www.cembre.com and register in the dedicated area, then
download the free Cembre software CEM_SWBT01.
Keeping the Firmware of the tool updated, via free of charge download from here, will optimise
the tool’s performance.
6. RETURN TO Cembre FOR OVERHAUL
In the case of a breakdown contact our Area Agent who will advise you on the problem and give
you the necessary instructions on how to dispatch the tool to our nearest service Centre; if possible,
attach a copy of theTest Certicate supplied by Cembretogether with the tool or ll in and attach
the form available in the“ASSISTANCE”section of the Cembre website.
---------------------------------------------------------------------------------------------------------------------------------------
Following information applies in member states of the European Union:
USER INFORMATION in accordance with“Directives 2002/95/EU and 2002/96/EU.
The ‘Not in the bin’ symbol above when shown on equipment or packaging means that the equip-
ment must, at the end of its life, be disposed of separately from other waste.
The separate waste collection of such equipment is organised and managed by the manufacturer.
Users wishingto disposeof such equipment mustcontact the manufacturerand follow theprescribed
guidelines for its separate collection. Appropriate waste separation, collection, environmentally com-
patible treatment and disposal is intended to reduce harmful environmental eects and promote
the reuse and recycling of materials contained in the equipment. Unlawful disposal of such equip-
ment will be subject to the application of administrative sanctions provided by current legislation.
ENGLISH

10
1. CARACTERISTIQUES GENERALES
Domaine d'application conçu pour sectionner des câbles
en cuivre, aluminium ou téléphoniques
Diamètre maxi. de coupe mm (inches) 52,5 (2”)
Dimensions (voir Fig. 6) mm (inches) 526 x 152 x 81 (20.7 x 6 x 3.2)
Poids avec batterie kg (lbs) 3,9 (8.6)
Moteur V 18
Température de fonction-
nement: °C (°F) -15 à +50 (+5 à +122)
Huile recommandée: TOTAL DIEKAN 1640 ou équivalents
Avance rapide:
l’outil passe automatiquement de la vitesse rapide
à la vitesse lente de coupe
Sécurité valve de surpression
Batterie rechargeable V / Ah / Wh 18 / 2.0 / 36
Type CB1820L (LI-Ion)
Poids kg (lbs) 0,4 (0.9)
Bruit aérien sonore
(1)
L
pA
dB (A) 67,7
L
pCPeak
dB (C) 89,2
L
WA
dB (A) 74,2
Vibrations
(2)
m/s
2
a
hv
0,724
FRANÇAIS
(1) Directive 2006/42/CE, annexe 1, point 1.7.4.2, lettre u
LpA = niveau de pression sonore continue équivalente pondérée A sur le poste de travail.
LpCPeak = valeur de pression sonore instantanée pondérée C sur le poste de travail.
LWA = niveau de puissance acoustique dégagée par la machine.
(2) Directive 2006/42/CE, annexe 1, point 2.2.1.1
Valeur quadratique moyenne pondérée en fréquence de l'accélération à laquelle sont exposés les membres supérieurs
pour chaque axe biodynamique de référence. Relevés réalisés suivant les indications des Normes EN ISO 5349-1/2
et UNI EN 28662-1, dans des conditions de service largement représentatives des conditions d'emploi normales.
B-TC500ND-SC B-TC500ND-SCE B-TC500ND-SCT B-TC500ND-SCA
Chargeur de
batterie
Alimentation
type
ASC30-36-EU ASC30-36-UK ASC30-36
-AUS/NZ
ASC30-36
-USA/CAN
V / Hz 220-240 / 50-60
115 / 60
W85

11
FRANÇAIS
AVERTISSEMENT
Cet outil a été étudié spéciquement pour la coupe des câbles en cuivre ou aluminium.
NE JAMAIS COUPER DE CÂBLE EN ACIER, ALMELEC OU ALUMINIUM-ACIER.
Ne pas utiliser cet outil à des ns diérentes que celles prévues par le constructeur.
Restezbienattentiftout aulongdutravail, nesoyezpas distrait,neperdez pasl’équilibre pendant
l'utilisation.
Travailler dans un espace propre et ordonné. Eloigner les personnes de la zone de travail.
Contrôler les lames avant chaque utilisation. Ne pas utiliser l’outil avec une lame endommagée.
Les lames endommagées peuvent abîmer l’outil.
Remplacer les pièces usagées et éventuellement endommagées ou manquantes avec des pièces
de rechange originales Cembre.
Toujours porter une visière de protection pendant les opérations de coupe, car de petits éclats de
câbles peuvent être propulsés.
Ne pas couper de câble sous tension électrique.
L’outil n’est pas conçu pour une utilisation en continu; après avoir eectué une quantité de coupe
consécutives à partir d’une batterie complètement chargée, au moment du remplacement de la
batterie, nous suggérons d’observer une période d’arrêt pour permettre le refroidissement de
l’outil.
Protéger l’outil de la pluie et de l’humidité. L’eau pourrait endommager l’outil et la batterie, les
outils hydro-électriques ne doivent pas être utilisés sous la pluie.
L' ensemble comprend:
Coupe-câble hydraulique.
Batterie rechargeable Li-Ion (2 pcs).
Chargeur de batterie (diérent en fonction de
la version de l'outil).
Bandoulière.
Coret de rangement.
Câble USB ( Voir § 5).
2. INSTRUCTIONS D'UTILISATION
L'outil peut être facilement transporté en utilisant la poignée principale (6) ou la bandoulière xée
aux deux oeillets de la dragonne (8) (Voir Fig. 4).
L'outil peut être tenu dans une main tout en positionnant le conducteur avec l'autre.

12
Avant de commencer toute opération, contrôler l’état de charge de la batterie (voir § 2.7) et,
si nécessaire, la recharger en suivant les instructions contenues dans le manuel d’utilisation
du chargeur de batteries.
Pour remplacer la batterie, la retirer en appuyant sur le mécanisme de déblocage (9) (Réf. a Fig. 1)
puis introduire la nouvelle batterie en la faisant coulisser sur les guides jusqu’au blocage complet.
2.1) Rotation de la tête
La tête de l'outil pivote de 180° par rapport au corps, permettant à l'utilisateur de travailler dans
la meilleure position (Réf. a Fig. 2).
Ne pas forcer la rotation de la tête, lorsque le circuit hydraulique est sous pression.
2.2) Préparation
Positionner le câble entre les lames de façon à ce qu'elles soient en correspondance avec la
position de coupe souhaitée (Réf. a Fig. 2).
2.3) Avance des lames
Appuyer sur la gâchette de commande (5) (Réf. a Fig. 2) pour mettre en marche le groupe moteur-
pompe; le piston amène rapidement les lames (35) au contact du câble à couper.
La gâchette de commande relâchée, le moteur et l'avance des lames cessent immédiatement.
S'assurer que les lames sont bien positionnées sur la zone à couper, sinon desserrer les lames
en suivant les instructions du § 2.6 et repositionner le câble.
2.4) Coupe
Tenir l'outil fermement et appuyer sur la gâchette de commande (5) pour mettre en marche le
moteur; le piston fait avancer les lames progressivement jusqu’à ce que le câble soit coupé com-
plètement.
Relâchez la gâchette de commande (5) lorsque la coupe est eectuée.
2.5) Led
Lors de l’actionnement de l’outil, la zone de travail est éclairée au moyen de quatre LED haute
luminosité qui s’éteignent automatiquement à la n du cycle.
2.6) Réouverture des lames
En appuyant à fond sur la gâchette de déblocage (10), on provoque le retour du piston et par
conséquent l'ouverture des lames.
Il peut arriver parfois qu’en appuyant sur la gâchette de déblocage (10), les lames restent
bloquées par des brins de câbles. Il faudra alors les débloquer en donnant des petits coups
avec un maillet en caoutchouc; appuyez à nouveau sur la la gâchette de déblocage.
FRANÇAIS

13
FRANÇAIS
2.7) Autonomie de la batterie
La batterie est équipée d’indicateurs à LED qui permettent de
contrôler,àtoutmoment,sonautonomierésiduelleenappuyant
sur le bouton (P):
4 led allumées: autonomie maximale
2 led allumées: autonomie à 50 %
1 led clignotante: autonomie minimale, remplacer la batterie.
L'éclairage des quatre Led (4) associé à l’avertisseur sonore lorsqu'on appuie sur le bouton
de déclenchement (5) (Réf. a Fig. 3) indique que la batterie est déchargée et que sa
tension est descendue au-dessous du seuil minimal de sécurité; dans cette situation,
l’outil ne démarre pas, il est donc nécessaire de recharger ou de remplacer la batterie.
À titre indicatif, le délai de recharge complète de la batterie correspond à environ 40 min.
2.8) Utilisation du chargeur de batterie
Suivre attentivement les instructions indiquées sur le manuel.
3. ENTRETIEN
L'outil est robuste, complètement scellé et ne nécessite aucune préoccupation ou attention parti-
culière. Les recommandations qui suivent sont néanmoins souhaitables pour assurer une longévité
optimum:
3.1) Nettoyage élémentaire
Veiller à protéger l'outil de la poussière, du sable et de la boue qui sont un danger à tout système
hydraulique. Chaque jour après utilisation, l'outil doit être nettoyé à l'aide d'un chion propre,
tout particulièrement aux endroits de pièces mobiles.
Ne jamais utiliser d’hydrocarbures pour le nettoyage des parties en caoutchouc.
Lubrier régulièrement les parties mobiles et les axes de la tête avec quelques gouttes d’huile.
3.2) Nettoyage de la poignée en caoutchouc
Pour éviter le cumul des déchets de cisaillement dans la poignée en caoutchouc (3) nous suggé-
rons un nettoyage soigné périodique en repliant le bord de la poignée à proximité des lames et
en retirant les éventuels dépôts.
3.3) Rangement
Au repos, pour protéger l'outil des chocs accidentels et de la poussière, il convient de le ranger
dans le coret métallique. Ce coret type VAL-P59 a comme dimensions 620x360x138 mm
(24.4x14.2x5.4 in.) et un poids de 2,4 kg (5.3 lbs).
3.4) Entretien de routine
Lorsqu'on atteint le nombre prédéterminé d'heures de travail, l'outil va signaler la nécessité d'eec-
tuer l'entretien de routine.
Après 15 secondes de l'exécution du dernier cycle, la nécessité de procéder à l'entretien de
routine est signalée par allumages intermittents répétés trois fois des LED associé à l’aver-
tisseursonore.L'outilcontinueparailleursà travaillernormalement;maisilest recommandé
de le renvoyer à Cembrepour une révision complète (voir § 6).
P

14
4. CHANGEMENT DES LAMES (Voir Fig. 5)
Le changement des lames doit être eectué avec l’outil dépourvu de batterie.
Il peut arriver qu' une utilisation prolongée ou non appropriée cause la perte d’aûtage des lames
ou leur endommagement. Le changement des lames est cependant très simple.
Mettre le moteur en marche jusqu’à ce que les axes de rotation des lames (12) soient visibles
(Fig. 5a) et enlever la batterie.
Démonter les anneaux (13) et retirer les axes (12).
L’opération peut être facilitée en écrasant légèrement la protection en caoutchouc (3).
Démonter l’écrou (15) en récupérant la rondelle (16), l’entretoise (17) et les 2 goupilles (18) pour
pouvoir retirer l’axe (19), libérant ainsi les lames.
Démonter le guide lame (1) et récupérer la vis.
Introduire les nouvelles lames (2) et remonter l’axe (19) avec les goupilles (18).
Bloquer l’axe (19) avec l’écrou (15), la rondelle (16) et l’entretoise (17).
Monter les 2 axes (12) et les bloquer par les anneaux (13).
Remonter le guide lame (1).
Une fois ces opérations terminées, actionner la gâchette de décompression pour ramener le
piston en position de repos.
5. CONNEXION A L’ORDINATEUR (Smartool technology)
Le chier de mémoire intégré dans l’outil permet d’enregistrer les paramètres de fonctionnement et
de pouvoir les transférer vers un ordinateur par l’intermédiaire du câble USB fourni. Pour visualiser
et gérer les données mémorisées, le logiciel Cembre CEM_SWBT01 est disponible gratuitement
aprèsenregistrement dans le domaineréservédu site www.cembre.com.Dans cedomaine réservé,
il sera alors possible de trouver les mises à jour éventuelles des rmwares permettant à vos propres
outils une meilleure ecacité et d’améliorer leurs performances.
6. ENVOI EN REVISION A Cembre
En cas de dysfonctionnement de l’appareil, merci de vous adresser à notre Agent Régional qui vous
conseillera et le cas échéant vous donnera les instructions nécessaires pour envoyer l’appareil à
notre Centre de Service le plus proche. Dans ce cas, joindre une copie du Certicat d’Essai livré par
Cembreavec l’appareil ou remplir et joindre le formulaire disponible dans la section“ASSISTANCE”
du site web Cembre.
---------------------------------------------------------------------------------------------------------------------------------------
Les informations suivantes sont destinées aux pays membres de l'Union Européenne:
INFORMATION POUR LES UTILISATEURS aux termes des“Directives 2011/65/EU et 2012/19/EU.
Le symbole“poubelle barrée”apposé sur l’appareil ou sur son emballage indique que le produit, à la
n de sa vie utile, doit être recueilli séparément des autres déchets.
La collecte sélective du présent appareil en n de vie est organisée et gérée par le producteur. L’uti-
lisateur qui voudra se défaire du présent appareil devra par conséquent contacter le constructeur et
suivre la procédure que celui-ci a adopté pour consentir la collecte séparée de l’appareil en n de vie.
La collecte sélective adéquate pour l’envoi successif de l’appareil destiné au recyclage, au traitement
et à l’élimination compatible avec l’environnement contribue à éviter les eets négatifs possibles
sur l’environnement et sur la santé et favorise la réutilisation ou le recyclage des matériaux dont
l’appareil est composé. L’élimination abusive du produit par le détenteur comporte l’application des
sanctions administratives prévues par les lois en vigueur.
FRANÇAIS

15
1. ALLGEMEINE EIGENSCHAFTEN
Anwendungsbereich Geeignet zum Schneiden von Kupfer-, Aluminium-
und Telefonkabeln
Max. Schneiddurchmesser mm (inches) 52,5 (2”)
Abmessungen (siehe Bild 6) mm (inches) 526 x 152 x 81 (20.7 x 6 x 3.2)
Gewicht inkl. Akku kg (lbs) 3,9 (8.6)
Motor V 18
Betriebstemperatur: °C (°F) -15 bis +50 (+5 bis +122)
Empfohlenes Öl: TOTAL DIEKAN 1640 oder ähnlich
Kolbenvorschub:
Das Werkzeug ist mit einer Doppelkolbenhydraulik
ausgerüstet. Beim Beginn des Arbeitsvorganges wird auto-
matisch auf den langsameren Arbeitshub umgeschaltet
Sicherheit: Überdruckventil
Wiederauadbarer Akku V / Ah / Wh 18 / 2.0 / 36
Typ CB1820L (Li-Ion)
Gewicht kg (lbs) 0,4 (0.9)
Lärmschutzbestimmung
(1)
L
pA
dB (A)
67,7
L
pCPeak
dB (C) 89,2
L
WA
dB (A) 74,2
Vibrationen
(2)
m/s
2
a
hv
0,724
DEUTSCH
(1) Richtlinie 2006/42/EG, Anhang 1, Nummer 1.7.4.2, Buchstabe u
LpA = Stufe konstanter Emissionsschalldruckpegel entsprechend Gewichtung A am Arbeitsplatz.
LpCPeak = maximaler Emissionsschalldruckpegel entsprechend Gewichtung C am Arbeitsplatz.
LWA = Emissionsschalldruckpegel durch das Gerät
(2) Richtlinie 2006/42/EG, Anhang 1, Nummer 2.2.1.1
Der durchschnittliche Schwingungsgesamtwertdem die oberenKörpergliedmaßenausgesetzt sind,wurde technisch
vergleichbar nach EN ISO 5349-1/2 und UNI EN 28662-1 an einer repräsentativen Maschine ermittelt und übersteigt
nicht den vorgeschriebenen Wert.
B-TC500ND-SC B-TC500ND-SCE B-TC500ND-SCT B-TC500ND-SCA
Akkuladegerät
Spannung
Typ
ASC30-36-EU ASC30-36-UK ASC30-36
-AUS/NZ
ASC30-36
-USA/CAN
V / Hz 220-240 / 50-60
115 / 60
W85

16
HINWEISE
Das Werkzeug ist zum Schneiden von Kupfer-, Aluminium- und Telefonkabeln geeignet.
NIEMALS STAHLSEILE ODER ALUMUNIUM-STAHL SEILE SCHNEIDEN.
Verwenden Sie das Akkuwerkzeug ausschließlich für den vom Hersteller vorgesehenen Anwen-
dungszweck.
Arbeiten Sie konzentriert und lassen Sie sich während des Einsatzes nicht ablenken. Nehmen Sie
zur Arbeit eine sichere und standfeste Arbeitsposition ein!
Halten Sie den Arbeitsbereich immer sauber. Weitere Personen vom Arbeitsbereich fernhalten.
Überprüfen Sie die Schneidmesser vor jedem Gebrauch. Verwenden Sie nie ein Werkzeug mit
beschädigtenSchneidmessern.DefekteSchneidmesserkönntendasWerkzeugstarkbeschädigen.
VorjederBenutzungdieUnversehrtheitdesKopfesüberprüfen.Verschleißteile, beschädigteoder
fehlende Teile durch Originalersatzteile von Cembreersetzen.
Tragen Sie immer eine Schutzbrille, da sich während des Schneidvorganges Metallsplitter lösen
könnten.
Es dürfen keine unter Spannung stehenden Teile geschnitten werden.
Die Akkuwerkzeuge sind nicht für einen Dauereinsatz geeignet. Wenn ein voll geladener Akku
durch hintereinander ausgeführte Schnitte getauscht werden muss, empfehlen wir, vor dem
Akkuwechsel das Werkzeug eine angemessene Zeit abkühlen zu lassen.
Das Werkzeug vor Regen und Feuchtigkeit schützen. Wasser könnte das Werkzeug und den Akku
beschädigen.ElektrohydraulischeWerkzeugesolltennichtimRegenoderunterießendemWasser
eingesetzt werden.
Zum Lieferumfang gehören folgende Teile:
Hydraulisches Akku-Schneidwerkzeug.
2 wiederaufladbare Li-Ion Akkus.
Ladegerät(entsprechendderLänderkongura-
tion).
Trageriemen.
Kunststoffkoffer.
USB-Kabel (siehe Punkt 5).
2. BEDIENUNGSHINWEISE
Das Werkzeug kann bequem getragen werden, entweder am Gri (6), oder am Handtrageriemen
(8) (siehe Bild 4). Das Werkzeug kann in einer Hand gehalten werden, während das Kabel mit der
anderen Hand positioniert wird.
DEUTSCH

17
Überprüfen Sie vor jedem Arbeitsvorgang den Ladezustand der Akkus (siehe Pkt. 2.7).
Laden Sie bei Bedarf die Akkus entsprechend den Anweisungen in der Bedienungsanleitung
des Akkuladegerätes auf.
Drücken Sie für den Austausch des Akkus auf die Entriegelung (9) (siehe Bild 1) und führen Sie den
neuen Akku bis zum Einrasten ein.
2.1) Drehbewegung des Kopfes
DasWerkzeugistmiteinem Kopfausgerüstet,derum 180° drehbarist undsomitein komfortables
Arbeiten ermöglicht (siehe Bild 2).
Der Kopf darf keinesfalls in eine andere Position gedreht werden, während das Werkzeug
unter Druck steht.
2.2) Vorbereitung
Das zu schneidende Kabel am gewünschten Schnittpunkt zwischen den Schneidmessern posi-
tionieren (siehe Bild 2).
2.3) Schneidvorgang
Durch Drücken des Startknopfes (5) (siehe Bild 2) wird der Pumpenmotor gestartet, wobei sich
die Schneidmesser dem Kabel annähern.
Das Zusammenfahren der Schneidmesser kann durch Loslassen des Startknopfes (5) gestoppt
werden.
AufdieseWeisekannkontrolliertwerden,obsichdie Schneidmessergenauamgewünschten
Schnittpunkt benden. Ist dies nicht der Fall, sind die Schneidmesser zu önen (siehe Pkt.
2.6) und erneut zu positionieren.
2.4) Schneiden
Halten Sie das Werkzeug gut fest. Durch Drücken des Startknopfes (5), beginnen Motor und
Pumpe zu arbeiten und der Kolben lässt das Schneidmesser allmählich zusammenfahren, bis das
Kabel vollständig geschnitten ist.
IstderSchnittausgeführt,denStartknopf(5)loslassen.WirdderStartknopfweiterbetätigt,arbeitet
das Werkzeug weiter, bis zum automatischen Abschalten des Motors durch das Überdruckventil.
2.5) LED
Während der Betätigung des Werkzeugs, wird der Schneidbereich von vier LED-Leuchten mit
hoher Leuchtkraft ausgeleuchtet, die sich am Zyklusende automatisch abschalten.
2.6) Zurückfahren der Schneidmesser
Drücken Sie kräftig den Druckablassknopf (10), der sich unterhalb des Startknopfes (5) bendet.
Dadurch fährt der Kolben zurück und die Schneidmesser geben das Kabel frei.
Manchmal kann es beim Betätigen des Druckablassknopfes (10) vorkommen, dass sich
die Schneidmesser nicht wieder önen. Dies, aufgrund von feinen Kabellitzen, die zwischen
den Schneidmessern klemmen. Die blockierten Schneidmesser vorsichtig lösen, durch ein
paar leichte Schläge mit einem Gummihammer. Drücken Sie dann den Druckablassknopf, um die
Schneidmesser zu önen.
DEUTSCH

18
2.7) Akkuladung
Der Akku ist mit LED-Anzeigen ausgestattet, der jederzeit über
die verbleibende Akkulaufzeit Auskunft gibt, indem man auf
die Taste (P) drückt:
4 LED eingeschaltet: Maximale Ladung
2 LED eingeschaltet: Ladung zu 50 %
1 LED blinkend: Minimale Ladung, Akku austauschen bzw.
auaden.
Ist der Akku nicht mehr ausreichend geladen, signalisieren die LED-Leuchten (4) beim
Betätigen des Startknopfes (5), zusammen mit einem akustischen Signal, das Erreichen
des Mindestsicherheitsniveaus. Unter diesen Bedingungen kann das Werkzeug nicht in
Betrieb genommen werden. Laden Sie den Akku auf oder tauschen Sie ihn aus. Ein vollständiger
Ladevorgang eines leeren Akkus dauert etwa 40 Minuten.
2.8) Verwendung des Ladegerätes
Die in der Bedienungsanleitung angegebenen Hinweise sind zu beachten.
3. WARTUNG
Das Werkzeug ist robust und benötigt keine spezielle Pege.
Zur Erhaltung der Garantieansprüche beachten Sie folgende Hinweise:
3.1) Pege
Dieses hydraulischeWerkzeug sollte vor starkerVerschmutzung wie Staub, Sand, Schmutz geschützt
werden, da dies für ein hydraulisches System gefährlich ist. Nach jeder täglichen Anwendung,
sollte das Werkzeug mit einem Tuch von Schmutz und Staub gereinigt werden, besonders die
beweglichen Teile. Verwenden Sie keine Kohlenwasserstoe (z.B. Teilereiniger, Bremsenreiniger)
zum Reinigen der Gummiteile.
Alle beweglichen Teile und Bolzen regelmäßig mit einem Tropfen Öl einölen.
3.2) Reinigung der Gummimanschette
UmeineeinwandfreieFunktiondesWerkzeugeszugewährleisten,istinregelmäßigenAbständen
die Gummimanschette (3) zu reinigen. Es ist dabei auch auf Rückstände in der Manschette, in
den Ecken und Rillen zu achten.
3.3) Lagerung
Wird das Werkzeug nicht benötigt, sollte es zum Schutz vor Stößen und Staub, gut verschlossen
in den dafür vorgesehenen Kunststokoer aufbewahrt werden.
Der Kunststokoer (TypVAL -P59) hat folgende Abmessungen: 620x360x138 mm (24.4x14.2x5.4 in.)
und ein Gewicht von 2,4 kg (5.3 lbs).
3.4) Wartung
IstdievorgegebeneAnzahldermaximalenArbeitsstundeneinmalerreicht,signalisiertdasWerkzeug
die damit fällige Wartung.
15SekundennachAusführungdesletztenZyklus,wirdeinebevorstehendeWartung,dreimal
hintereinanderdurch ein unterbrechendesAufblinkenderLED's,zusammenmit einemakus-
tischen Warnsignal angekündigt.
Das Werkzeug wird weiterhin normal arbeiten. Es wird das Einsenden des Werkzeuges an Cembre
empfohlen, für eine komplette Überholung (siehe Pkt. 6).
DEUTSCH
P

19
4. AUSTAUSCH DER SCHNEIDMESSER (siehe Bild 5)
Der Austausch der Schneidmesser muss immer mit ausgebautem Akku erfolgen.
NachlängeremGebrauchderMesseroderbeiAnwendungsfehlern,kanneszuAbnutzungenführen
(Beschädigung, Stumpfheit). Bei einemWechsel der Messer sollten Sie deshalb wie folgt vorgehen:
Den Kolben durch betätigen des Startknopfes vorfahren, so dass die Messerbolzen (12) zu sehen
sind (Bild 5a) und den Akku entfernen.
Entfernen Sie den Sicherungsring (13) und ziehen den Bolzen (12) raus. Dazu ist es hilfreich
den Gummimanschette (3) nach hinten zu ziehen.
EntfernenSiedie Mutter(15) undentnehmendanndie Unterlegscheiben(16) unddenAbstandhalter(17).
Entfernen Sie die beiden Stifte (18) am Bolzen (19), anschließend können die Messer vollständig gelöst werden.
Entfernen Sie die Messerführung (1) und legen die Schraube (14) auf die Seite.
Setzen Sie die neuen Schneidmesser (2) ein und führen den Bolzen (19) mit den Stiften (18) ein.
Sichern Sie den Bolzen (19) durch Montage der Mutter (15), zusammen mit der Scheibe (16) und
dem Abstandshalter (17).
Montieren Sie die zwei Bolzen (12) mit den Sicherungsringen (13).
Montieren Sie die Messerführung (1).
Als letztes den Druckablassknopf betätigen, so dass der Kolben komplett des Schneidkopfes
komplett zurückfährt.
5. ANSCHLUSS AN EINEN COMPUTER (Smartool Technology)
Die imWerkzeug integrierte Speicherkarte, ermöglicht die Betriebsparameter zu speichern und mit
dem mitgelieferten USB-Kabel auf einen Computer zu übertragen.
Um die Daten vomWerkzeug zu übertragen und zu verwalten, müssen Sie unter www.cembre.com
die Cembre Software CEM_SWBT01 nach einer Registrieung downloaden.
Hier nden Sie auch mögliche Firmware Updates für die Platine desWerkzeuges, um eine bestmög-
liche Leistung und Ezienz des Werkzeuges zu ermöglichen.
6. EINSCHICKEN AN Cembre ZUR ÜBERPRÜFUNG
Sollten an dem Gerät Fehler auftreten, wenden Sie sich bitte an unsere Gebietsvertretung, die
Sie gerne beraten und Ihnen alle nötigen Informationen zum Einsenden des Gerätes an unseren
Hauptsitz geben wird. Wenn vorhanden, legen Sie dem Gerät bitte eine Kopie des von Cembre
mitgelieferten Zertikates bei oder füllen das, unter dem Bereich“SUPPORT“ der CembreWebsite,
verfügbare Formular aus und fügen es bei.
---------------------------------------------------------------------------------------------------------------------------------------
Die folgenden Hinweise gelten für Mitglieder der Europäischen Union:
INFORMATION FÜR DEN BENUTZER gemäß der“Richtlinien 2011/65/EU und 2012/19/EU.
Das durchkreuzte Zeichen des Mülleimers, das auf dem Gerät oder seiner Verpackung angebracht
ist, zeigt an, dass das Produkt am Ende seiner Lebenszeit von der allgemeinen Abfallentsorgung
getrennt werden muss. Die getrennte Sammlung des vorliegenden, zu entsorgenden Gerätes, wird
vom Hersteller organisiert und verwaltet. Der Eigentümer, der das Gerät zu entsorgen wünscht, muss
sich daher mit dem Hersteller in Verbindung setzen und die von ihm ausgewählte Methode, für die
getrennte Sammlung des zu entsorgenden Gerätes, befolgen.
Eine angemessene getrennte Sammlung zurVorbereitung des Altgerätes für Recycling, Aufbereitung
und für eine umweltfreundliche Entsorgung, trägt dazu bei, mögliche negative Auswirkungen auf die
Umwelt und auf den Gesundheitszustand zu vermeiden, und begünstigt dieWiederverwertung und
das Recycling der Materialien des Gerätes. Bei widerrechtlicher Entsorgung des Produktes durch den
Benutzer, werden die vom Gesetz vorgesehene Verwaltungssanktionen angewandt.
DEUTSCH

20
1. CARACTERíSTICAS GENERALES
Campo de aplicación: idónea para cortar cables de cobre,
aluminio así como de telecomunicaciones
Diámetro max. de corte
mm (inches) 52,5 (2”)
Dimensiones (Ref. a Fig. 6) mm (inches) 526 x 152 x 81 (20.7 x 6 x 3.2)
Peso con batería kg (lbs) 3,9 (8.6)
Motor V 18
Temp. de funcionamiento °C (°F) -15 a +50 (+5 a +122)
Aceite recomendado TOTAL DIEKAN 1640 ó equivalentes
Velocidad de avance son dos: una rápida y otra más lenta de trabajo.
El paso de una a otra velocidad es automático
Seguridad válvula de sobrepresión
Batería recargable V / Ah / Wh 18 / 2.0 / 36
Tipo CB1820L (Li-Ion)
Peso kg (lbs) 0,4 (0.9)
Ruido aéreo
(1)
L
pA
dB (A) 67,7
L
pCPeak
dB (C) 89,2
L
WA
dB (A) 74,2
Vibraciones
(2)
m/s2a
hv
0,724
ESPAÑOL
(1) Directiva Europea 2006/42/CE, anexo 1, punto 1.7.4.2, letra u
LpA = nivel de presión acústica contínua equivalente ponderado A en el puesto de trabajo.
LpCPeak = valor máximo de la presión acústica instantánea ponderada C en el puesto de trabajo.
LWA = nivel de potencia acústica emitida por la máquina.
(2) Directiva Europea 2006/42/CE, anexo 1, punto 2.2.1.1
Valor cuadrático medio ponderado en frecuencia, de la aceleración a la que están expuestos los miembros superiores
paracadaejebiodinámicodereferencia.MedidasrealizadassegúnlasindicacionesdelasNormasENISO5349-1/2yUNI
EN28662-1,encondicionesdeutilizaciónampliamenterepresentativasrespectoalasqueseencuentrannormalmente.
B-TC500ND-SC B-TC500ND-SCE B-TC500ND-SCT B-TC500ND-SCA
Cargador de
batería
Alimentación
type
ASC30-36-EU ASC30-36-UK ASC30-36
-AUS/NZ
ASC30-36
-USA/CAN
V / Hz 220-240 / 50-60
115 / 60
W85
This manual suits for next models
3
Table of contents
Languages:
Other Cembre Cutter manuals

Cembre
Cembre TC04N User manual

Cembre
Cembre B-TC04 User manual

Cembre
Cembre B-TC950A User manual

Cembre
Cembre TC050Y-KV User manual

Cembre
Cembre HT-TFC User manual

Cembre
Cembre TC050 User manual

Cembre
Cembre HT-TC065 User manual

Cembre
Cembre B-TC095 User manual

Cembre
Cembre HT-TC055 Installation guide

Cembre
Cembre B-TC04 User manual

Cembre
Cembre B-TC250BS User manual

Cembre
Cembre HT-TC041N User manual

Cembre
Cembre HT-TC026 User manual

Cembre
Cembre B-TC250 User manual

Cembre
Cembre HT-TC051Y User manual

Cembre
Cembre HT-TC051 User manual

Cembre
Cembre TC050Y User manual

Cembre
Cembre B-TC250NDA User manual

Cembre
Cembre HT-TC051 User manual

Cembre
Cembre HT-TC026 User manual