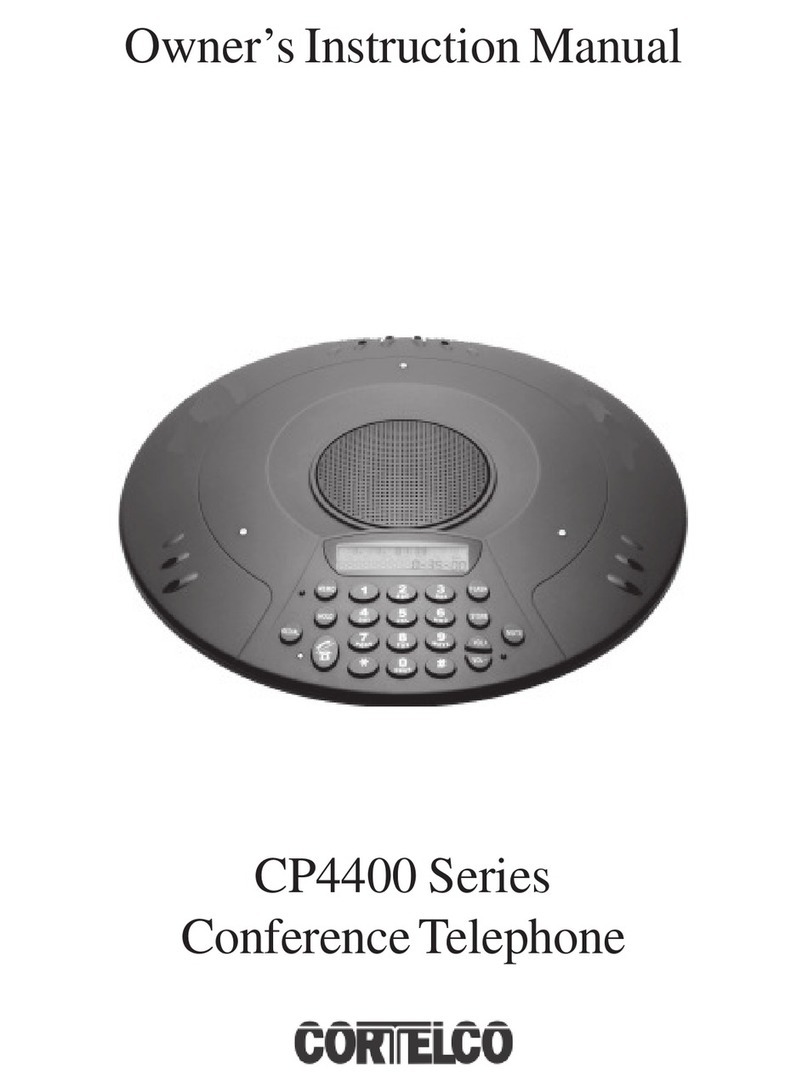
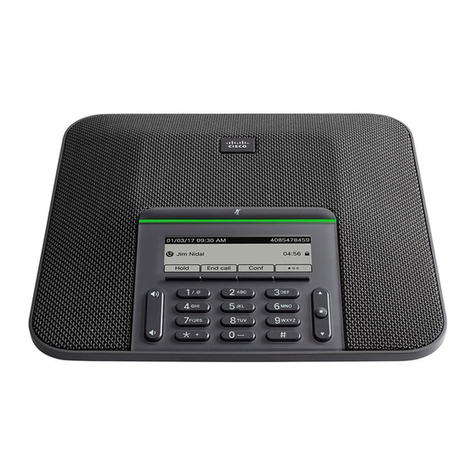
Cisco 8832 User manual

Cisco IP Conference Phone 8832 User Guide
First Published: 2017-09-15
Last Modified: 2020-11-18
Americas Headquarters
Cisco Systems, Inc.
170 West Tasman Drive
San Jose, CA 95134-1706
USA
http://www.cisco.com
Tel: 408 526-4000
800 553-NETS (6387)
Fax: 408 527-0883

THE SPECIFICATIONS AND INFORMATION REGARDING THE PRODUCTS IN THIS MANUAL ARE SUBJECT TO CHANGE WITHOUT NOTICE. ALL STATEMENTS,
INFORMATION, AND RECOMMENDATIONS IN THIS MANUAL ARE BELIEVED TO BE ACCURATE BUT ARE PRESENTED WITHOUT WARRANTY OF ANY KIND,
EXPRESS OR IMPLIED. USERS MUST TAKE FULL RESPONSIBILITY FOR THEIR APPLICATION OF ANY PRODUCTS.
THE SOFTWARE LICENSE AND LIMITED WARRANTY FOR THE ACCOMPANYING PRODUCT ARE SET FORTH IN THE INFORMATION PACKET THAT SHIPPED WITH
THE PRODUCT AND ARE INCORPORATED HEREIN BY THIS REFERENCE. IF YOU ARE UNABLE TO LOCATE THE SOFTWARE LICENSE OR LIMITED WARRANTY,
CONTACT YOUR CISCO REPRESENTATIVE FOR A COPY.
The following information is for FCC compliance of Class A devices: This equipment has been tested and found to comply with the limits for a Class A digital device, pursuant to part 15
of the FCC rules. These limits are designed to provide reasonable protection against harmful interference when the equipment is operated in a commercial environment. This equipment
generates, uses, and can radiate radio-frequency energy and, if not installed and used in accordance with the instruction manual, may cause harmful interference to radio communications.
Operation of this equipment in a residential area is likely to cause harmful interference, in which case users will be required to correct the interference at their own expense.
The following information is for FCC compliance of Class B devices: This equipment has been tested and found to comply with the limits for a Class B digital device, pursuant to part 15 of
the FCC rules. These limits are designed to provide reasonable protection against harmful interference in a residential installation. This equipment generates, uses and can radiate radio
frequency energy and, if not installed and used in accordance with the instructions, may cause harmful interference to radio communications. However, there is no guarantee that interference
will not occur in a particular installation. If the equipment causes interference to radio or television reception, which can be determined by turning the equipment off and on, users are
encouraged to try to correct the interference by using one or more of the following measures:
• Reorient or relocate the receiving antenna.
• Increase the separation between the equipment and receiver.
• Connect the equipment into an outlet on a circuit different from that to which the receiver is connected.
• Consult the dealer or an experienced radio/TV technician for help.
Modifications to this product not authorized by Cisco could void the FCC approval and negate your authority to operate the product.
The Cisco implementation of TCP header compression is an adaptation of a program developed by the University of California, Berkeley (UCB) as part of UCB’s public domain version of
the UNIX operating system. All rights reserved. Copyright ©1981, Regents of the University of California.
NOTWITHSTANDING ANY OTHER WARRANTY HEREIN, ALL DOCUMENT FILES AND SOFTWARE OF THESE SUPPLIERS ARE PROVIDED "AS IS" WITH ALL FAULTS.
CISCO AND THE ABOVE-NAMED SUPPLIERS DISCLAIM ALL WARRANTIES, EXPRESSED OR IMPLIED, INCLUDING, WITHOUT LIMITATION, THOSE OF
MERCHANTABILITY, FITNESS FOR A PARTICULAR PURPOSE AND NONINFRINGEMENT OR ARISING FROM A COURSE OF DEALING, USAGE, OR TRADE PRACTICE.
IN NO EVENT SHALL CISCO OR ITS SUPPLIERS BE LIABLE FOR ANY INDIRECT, SPECIAL, CONSEQUENTIAL, OR INCIDENTAL DAMAGES, INCLUDING, WITHOUT
LIMITATION, LOST PROFITS OR LOSS OR DAMAGE TO DATA ARISING OUT OF THE USE OR INABILITY TO USE THIS MANUAL, EVEN IF CISCO OR ITS SUPPLIERS
HAVE BEEN ADVISED OF THE POSSIBILITY OF SUCH DAMAGES.
Any Internet Protocol (IP) addresses and phone numbers used in this document are not intended to be actual addresses and phone numbers. Any examples, command display output, network
topology diagrams, and other figures included in the document are shown for illustrative purposes only. Any use of actual IP addresses or phone numbers in illustrative content is unintentional
and coincidental.
All printed copies and duplicate soft copies of this document are considered uncontrolled. See the current online version for the latest version.
Cisco has more than 200 offices worldwide. Addresses and phone numbers are listed on the Cisco website at www.cisco.com/go/offices.
Cisco and the Cisco logo are trademarks or registered trademarks of Cisco and/or its affiliates in the U.S. and other countries. To view a list of Cisco trademarks, go to this URL:
https://www.cisco.com/c/en/us/about/legal/trademarks.html. Third-party trademarks mentioned are the property of their respective owners. The use of the word partner does not imply a
partnership relationship between Cisco and any other company. (1721R)
©2017–2020 Cisco Systems, Inc. All rights reserved.
CONTENTS
Your Phone 1
CHAPTER 1
Your Cisco IP Conference Phone 8832 and 8832NR 1
Feature Support 2
New and Changed Information 2
New and Changed Information for Firmware Release 12.8(1) 2
New and Changed for Firmware Release 12.7(1) 2
New and Changed Information for Firmware Release 12.6(1) 3
New and Changed Information for Firmware Release 12.5(1)SR3 3
New and Changed Information for Firmware Release 12.5(1)SR2 3
New and Changed Information for Firmware Release 12.5(1)SR1 3
New and Changed Information for Firmware Release 12.5(1) 3
New and Changed Information for Firmware Release 12.1(1) 3
Phone Setup 4
Connect to the Network 4
Set Up Wi-Fi Client 6
Connect to a Preconfigured Wi-Fi Network 6
Connect with Activation Code Onboarding 7
Connect to Expressway 7
Install the Wired Expansion Microphones 7
Install the Wireless Expansion Microphones 8
Pair a Wireless Microphone 9
Unpair a Wireless Microphone 9
Install the Wireless Microphone Charging Cradle 10
Charge a Wireless Microphone 11
Daisy Chain Mode 11
Install the Conference Phone in Daisy Chain Mode 11
Cisco IP Conference Phone 8832 User Guide
iii

Replace Your Existing Phone with a New Phone 13
Self Care Portal 14
Speed-Dial Numbers 15
Cisco IP Conference Phone 8832 Buttons and Hardware 16
Conference Phone Navigation 17
Conference Phone Softkeys 17
Phone Icons 17
Phone Keypad Characters 18
Clean the Phone Screen 19
Wired Expansion Microphone 19
Wireless Expansion Microphone 19
Phone Firmware and Upgrades 20
Postpone a Phone Upgrade 21
View the Progress of a Phone Firmware Upgrade 21
Energy Savings 21
Turn On Your Phone 22
Additional Help and Information 22
Accessibility Features 22
Hearing-Impaired Accessibility Features 22
Vision-Impaired and Blind Accessibility Features 24
Mobility-Impaired Accessibility Features 26
Third-Party Accessibility Applications 27
Troubleshooting 28
Find Information About Your Phone 28
Report Call Quality Issues 28
Report All Phone Issues 29
Lost Phone Connectivity 29
Cisco One-Year Limited Hardware Warranty Terms 29
Calls 31
CHAPTER 2
Make Calls 31
Make a Call 31
Make a Call with a Phone Address 31
Redial a Number 32
Cisco IP Conference Phone 8832 User Guide
iv
Contents

Speed Dial 32
Make a Speed-Dial Call with Your Conference Phone 32
Make a Call With a Speed-Dial Code 33
Get Notified When a Contact is Available 33
Dial an International Number 33
Secure Calls 33
Answer Calls 34
Answer a Call 34
Answer Call Waiting on Your Conference Phone 34
Decline a Call 34
Turn On Do Not Disturb 34
Answer a Call Within Your Hunt Group 35
Sign In and Out of a Hunt Group 35
View the Call Queue in a Hunt Group 35
Trace a Suspicious Call 36
Mute Your Call 36
Hold Calls 36
Put a Call on Hold 36
Answer a Call Left on Hold for Too Long 36
Swap Between Active and Held Calls 37
Call Park 37
Place a Call on Hold with Call Park 37
Retrieve a Call on Hold with Call Park 38
Forward Calls 38
Transfer Calls 38
Transfer a Call to Another Person 39
Consult Before You Complete a Transfer 39
Conference Calls and Meetings 39
Add Another Person to a Call 40
Swap Between Calls Before You Complete a Conference 40
View and Remove Conference Participants 40
Contacts 41
CHAPTER 3
Corporate Directory 41
Cisco IP Conference Phone 8832 User Guide
v
Contents

Dial a Contact in the Corporate Directory 41
Personal Directory 41
Sign In and Out of a Personal Directory 42
Add a New Contact to Your Personal Directory 42
Search for a Contact in Your Personal Directory 42
Call a Contact in Your Personal Directory 43
Assign a Fast-Dial Code to a Contact 43
Call a Contact with a Fast-Dial Code 43
Edit a Contact in Your Personal Directory 44
Remove a Contact from Your Personal Directory 44
Delete a Fast-Dial Code 44
Cisco Web Dialer 45
Recent Calls 47
CHAPTER 4
Recent Calls List 47
View Your Recent Calls 47
Return a Recent Call 47
Clear the Recent Calls List 48
Delete a Call Record 48
Voicemail 49
CHAPTER 5
Voicemail 49
Check for New Voice Messages 49
Access Your Voicemail Messages 50
Settings 51
CHAPTER 6
Change the Ringtone 51
Adjust the Phone Ringer Volume 51
Adjust the Volume During a Call 52
Phone Display Language 52
Applications 53
CHAPTER 7
Available Applications 53
View Active Applications 53
Cisco IP Conference Phone 8832 User Guide
vi
Contents

Switch to Active Applications 53
Close Active Applications 54
Product Safety and Security 55
CHAPTER 8
Compliance Statements 55
Compliance Statements for the European Union 55
CE Marking 55
Compliance Statements for Canada 55
FCC Compliance Statements 56
FCC Part 15.21 Statement 56
FCC RF Radiation Exposure Statement 56
FCC Receivers and Class B Digital Statement 56
Cisco Product Security Overview 56
Important Online Information 57
Cisco IP Conference Phone 8832 User Guide
vii
Contents

Cisco IP Conference Phone 8832 User Guide
viii
Contents

CHAPTER 1
Your Phone
•Your Cisco IP Conference Phone 8832 and 8832NR, on page 1
•New and Changed Information, on page 2
•Phone Setup, on page 4
•Self Care Portal, on page 14
•Cisco IP Conference Phone 8832 Buttons and Hardware, on page 16
•Phone Firmware and Upgrades, on page 20
•Energy Savings, on page 21
•Additional Help and Information , on page 22
Your Cisco IP Conference Phone 8832 and 8832NR
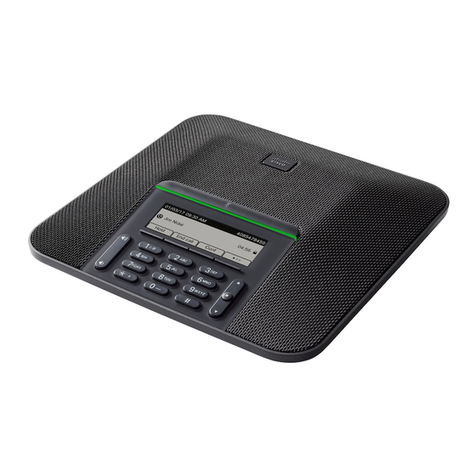
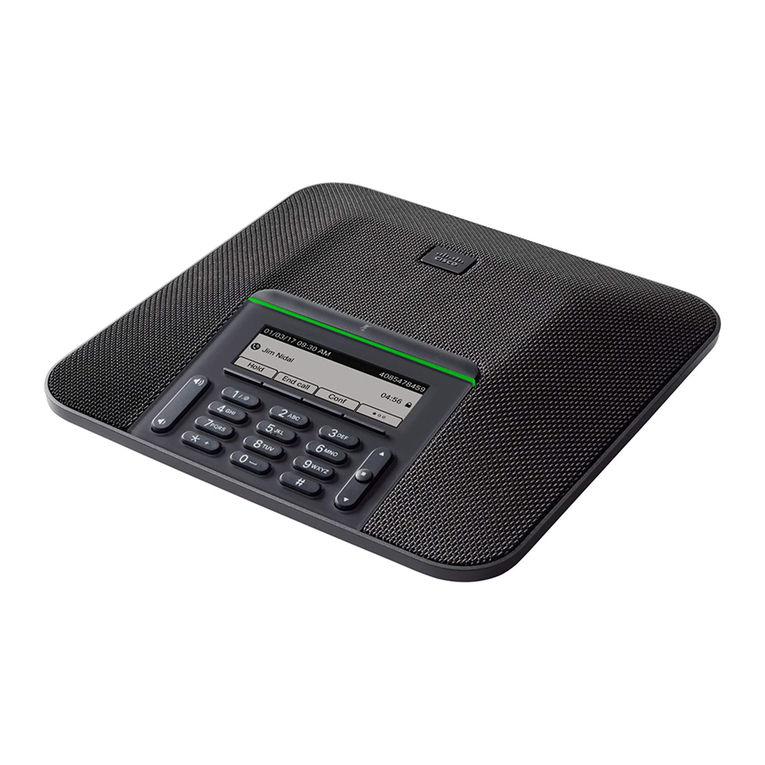
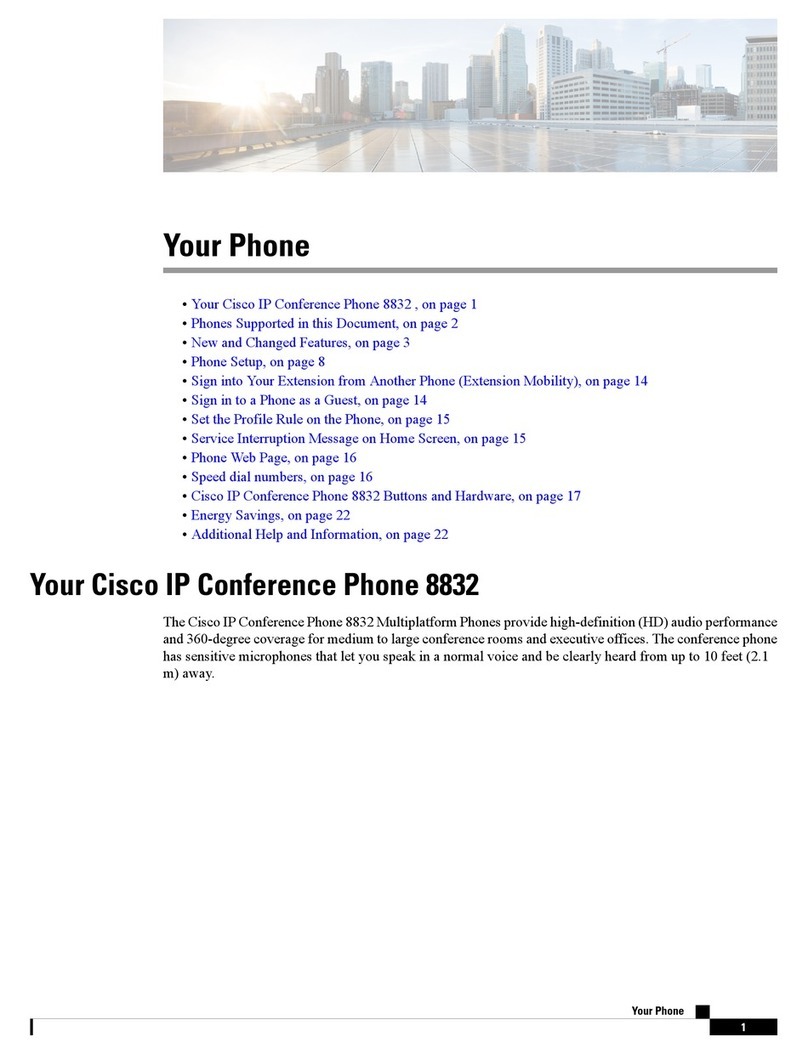
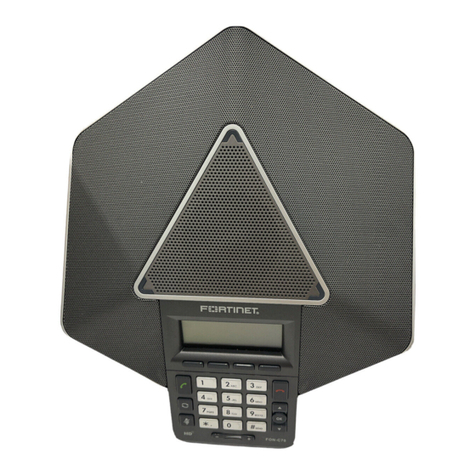
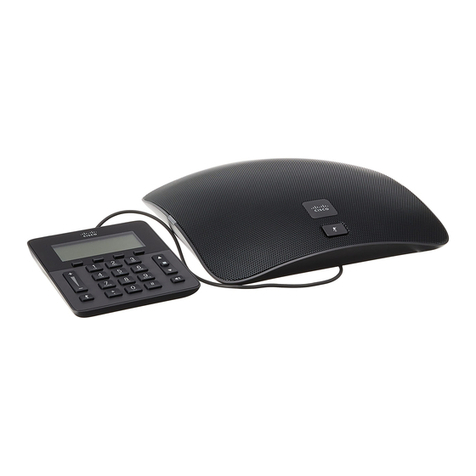
The Cisco IP Conference Phone 8832 and 8832NR provide high-definition (HD) audio performance and
360-degree coverage for medium to large conference rooms and executive offices. The conference phone has
sensitive microphones that let you speak in a normal voice and be clearly heard from up to 10 feet (2.1 m)
away.
Figure 1: Cisco IP Conference Phone 8832
Cisco IP Conference Phone 8832 User Guide
1

You can connect two wired expansion microphones to the phone to increase coverage in larger conference
rooms.
The phone also supports an optional set of two wireless expansion microphones.
The Cisco IP Conference Phone 8832NR (non-radio) version does not support Wi-Fi or wireless expansion
microphones.
The phone can be used for a 20 x 20 foot (6.1 x 6.1 m) room and up to 10 people. When you add the expansion
microphones, coverage extends to a 20 x 34 foot (6.1 x 10 m) room and up to 22 people.
You can connect two base units to increase the coverage for a room. This configuration requires the optional
Daisy Chain kit and can support two expansion microphones (either wired or wireless, but not a mixed
combination). If you are using wired microphones with the Daisy Chain kit, the configuration provides coverage
for a room up to 20 x 50 feet (6.1 x 15.2 m) and up to 38 people. If you are using wireless microphones with
the Daisy Chain kit, the configuration provides coverage for a room up to 20 x 57 feet (6.1 x 17.4 m) and up
to 42 people.
Feature Support
This document describes all the features that the device supports. However, not all features may be supported
with your current configuration. For information on supported features, contact your administrator.
New and Changed Information
You can use the information in the following sections to understand what has changed in the document. Each
section contains the major changes.
New and Changed Information for Firmware Release 12.8(1)
Table 1: New and Changed Information for Firmware Release 12.8(1)
New or Changed ContentFeature
Replace Your Existing Phone with a New Phone, on
page 13
Phone Data Migration
New and Changed for Firmware Release 12.7(1)
The following table shows the changes made for Firmware Release 12.7(1).
Table 2: Cisco IP Conference Phone 8832 User Guide Revisions for Firmware Release 12.7(1)
Updated SectionRevision
Answer a Call Within Your Hunt Group, on page 35Updated for hunt group calls on Call Alert
Cisco IP Conference Phone 8832 User Guide
2
Your Phone
Feature Support

Updated SectionRevision
In certain circumstances, users who dialed a number
that was busy received the reorder tone. With this
release, the user hears the busy tone.
New sections Conference Phone Navigation, on page
17,Conference Phone Softkeys, on page 17,Phone
Icons, on page 17, and Clean the Phone Screen, on
page 19.
General changes
New and Changed Information for Firmware Release 12.6(1)
No user guide updates were required for Firmware Release 12.6(1).
New and Changed Information for Firmware Release 12.5(1)SR3
The following table shows the changes that were made for Firmware Release 12.5(1)SR3.
Table 3: Cisco IP Conference Phone 8832 User Guide Revisions for Firmware Release 12.5(1)SR3
New or Updated SectionRevision
Phone Keypad Characters, on page 18New topic
New and Changed Information for Firmware Release 12.5(1)SR2
No User Guide updates were required for Firmware Release 12.5(1)SR2.
Firmware Release 12.5(1)SR2 replaces Firmware Release 12.5(1) and Firmware 12.5(1)SR1. Firmware
Release 12.5(1) and Firmware Release 12.5(1)SR1 have been deferred in favor of Firmware Release 12.5(1)SR2.
New and Changed Information for Firmware Release 12.5(1)SR1
No updates were required for Firmware Release 12.5(1)SR1.
New and Changed Information for Firmware Release 12.5(1)
No updates were required for Firmware Release 12.5(1).
New and Changed Information for Firmware Release 12.1(1)
The following table shows the changes that were made for Firmware Release 12.1(1).
Cisco IP Conference Phone 8832 User Guide
3
Your Phone
New and Changed Information for Firmware Release 12.6(1)

Table 4: Cisco IP Conference Phone 8832 User Guide Revisions for Firmware Release 12.1(1)
New or Updated SectionRevision
Connect to the Network, on page 4Updates to support for Cisco IP Conference
Phone 8832 PoE Injector
•Your Cisco IP Conference Phone 8832 and 8832NR, on
page 1
•Wireless Expansion Microphone, on page 19
•Install the Wireless Expansion Microphones, on page 8
•Pair a Wireless Microphone, on page 9
•Unpair a Wireless Microphone, on page 9
•Install the Wireless Microphone Charging Cradle, on page
10
•Charge a Wireless Microphone, on page 11
Support for Wireless Microphone
•Your Cisco IP Conference Phone 8832 and 8832NR, on
page 1
•Daisy Chain Mode, on page 11
Support for Daisy Chain
Connect to the Network, on page 4Support for Cisco IP Conference Phone
8832 Non-PoE Ethernet Injector
•Connect to the Network, on page 4
•Set Up Wi-Fi Client, on page 6
•Connect to a Preconfigured Wi-Fi Network, on page 6
Support for Wi-Fi
•Connect to the Network, on page 4
•Connect to Expressway, on page 7
Support for Mobile and Remote Access
Through Expressway
Calls That Require a Billing Code or Authorization CodeSupport for CMC and FAC
Phone Setup
Your administrator sets up your phone and connects it to the network. If your phone is not set up and connected,
contact your administrator for instructions.
Connect to the Network
You need to connect the phone to the network.
• Wired network connection—All wired network connections use one of the following:
Cisco IP Conference Phone 8832 User Guide
4
Your Phone
Phone Setup

•PoE deployment: Connect the phone to the Cisco IP Conference Phone 8832 PoE Injector
(CP-8832-POE) and connect the injector to the network with an Ethernet cable.
•Non-PoE deployment: Connect the phone to the Cisco IP Conference Phone 8832 Non-PoE
EthernetInjector(CP-8832-ETH or CP-8832-ETH-WW). Then, connect the injector to the network
with an Ethernet cable and plug the injector into the electric outlet.
• Wireless connection—The Cisco IP Conference Phone 8832 can connect to a Wireless Access Point
using Wi-Fi. This deployment requires the power supply (CP-8832-PWR or CP-8832-PWR-WW).
Mobile and Remote Access Through Expressway—If your administrator sets up Mobile and Remote Access
Through Expressway and you connect your phone to the network, it connects to the Expressway server.
CP-8832-ETH and CP-8832-PWR are for North America. CP-8832-ETH-WW and CP-8832-PWR-WW are
for other locations.
Note
Figure 2: PoE Deployment
Figure 3: Non-PoE Deployment
Cisco IP Conference Phone 8832 User Guide
5
Your Phone
Connect to the Network

Figure 4: Wi-Fi Network Connection
Set Up Wi-Fi Client
The Cisco IP Conference Phone 8832 can access a Wi-Fi network. You need a power adapter to power the
phone. The Cisco IP Conference Phone 8832NR cannot be used with a Wi-Fi network.
Before you begin
Your administrator needs to configure settings on the call control system to enable Wi-Fi access.
Procedure
Step 1 If the phone is plugged into the Ethernet, unplug the Ethernet cable.
Step 2 Press Settings.
Step 3 Navigate to Admin settings >Network setup >Wi-Fi client setup.
Step 4 Navigate to Wireless and press On.
Step 5 Press Apply to save the changes, or press Revert to cancel the changes.
Step 6 Navigate to Network name.
Step 7 When the phone finishes scanning the SSID, choose a network to join.
Step 8 Enter your Wi-Fi credentials and press Connect.
Connect to a Preconfigured Wi-Fi Network
You can connect your Cisco IP Conference Phone 8832 to the network using Wi-Fi, but, for security, enter
your username and password. But, the Cisco IP Conference Phone 8832NR does not support Wi-Fi.
Depending upon how your phone is configured, you could be required to sign in when you join a Wi-Fi
network or when your phone powers up.
You cannot dismiss the Wi-Fi sign-in window without entering the correct username and password.
Cisco IP Conference Phone 8832 User Guide
6
Your Phone
Set Up Wi-Fi Client

Procedure
Step 1 Enter your Wi-Fi credentials when prompted.
Step 2 Select Sign-in.
Connect with Activation Code Onboarding
If your network has been configured to support this feature, then you can use Activation Code Onboarding
to connect to your company's phone network.
Enter an Activation Code
Activation codes are used to set up your new phone. They can only be used once, and expire after 1 week.
Contact your administrator if you don't know your code or if you need a new one.
Procedure
Step 1 Enter your activation code on the activation screen.
Step 2 Press Submit.
Connect to Expressway
You can use Mobile and Remote Access Through Expressway to connect to your corporate network when
you are working away from your office.
Procedure
Step 1 Reset service mode through Settings >Admin Settings >Reset Settings >Service mode.
Step 2 Press Select when prompted to change the service mode.
Step 3 Enter the service domain and press Continue.
Step 4 Enter your username and password.
Step 5 Select Sign in.
Install the Wired Expansion Microphones
The phone supports an optional kit with two wired expansion microphones. You can extend the microphones
up to 7 feet (2.13m) from the phone. For best results, place the microphones between 3 feet (0.91 m) and 7
feet (2.1 m) away from the phone.
Cisco IP Conference Phone 8832 User Guide
7
Your Phone
Connect with Activation Code Onboarding

Procedure
Step 1 Plug the end of the microphone cable into the port on the side of the phone.
Step 2 Extend the microphone cable to the desired position.
The following figure shows installation of a wired expansion microphone.
Figure 5: Wired Expansion Microphone Installation
Related Topics
Wired Expansion Microphone, on page 19
Install the Wireless Expansion Microphones
The conference phone provides the option of connecting two wireless expansion microphones.
You must use either two wired microphones or two wireless microphones with the phone, but not a mixed
combination.
Note
When the phone is in a call, the LED on the expansion microphone is lit green. To mute the expansion
microphone, press the Mute key. When the microphone is muted, the LED is lit red. When the battery in the
microphone is low, the battery indication LED blinks rapidly.
Before you begin
Disconnect the wired expansion microphones before you install wireless expansion microphones. You cannot
use both wired and wireless expansion microphones at the same time.
Cisco IP Conference Phone 8832 User Guide
8
Your Phone
Install the Wireless Expansion Microphones

Procedure
Step 1 Position the table mount plate on the table surface location where you want to place the microphone.
Step 2 Remove the adhesive for the double-stick tape on the bottom of the table mount plate. Place the table mount
plate to adhere to the table surface.
Step 3 Attach the microphone to the table mount plate. Magnets are embedded in the microphone to snap the unit
into place.
You can move the microphone and attached table mount to a different location on the table surface as needed.
Use care when moving to protect the unit.
Related Topics
Wireless Expansion Microphone, on page 19
Install the Wireless Expansion Microphones, on page 8
Pair a Wireless Microphone
Before you begin
Unplug any wired microphones.
Procedure
Step 1 Press Settings.
Step 2 Select Admin Settings >Microphones >Wireless microphones.
Step 3 Select either Microphone 1 or Microphone 2 and press Pair.
If a microphone is already linked to a particular channel, the phone screen shows that the microphone is paired.
Step 4 Press Mute on the wireless microphone until the microphone LED blinks white.
If the pairing succeeds, the phone screen displays a success message.
Step 5 (Optional) Press Cancel to revert to the Wireless microphones menu.
Related Topics
Wireless Expansion Microphone, on page 19
Unpair a Wireless Microphone
Procedure
Step 1 Press Settings.
Step 2 Select Admin Settings >Microphones >Wireless microphones.
Cisco IP Conference Phone 8832 User Guide
9
Your Phone
Pair a Wireless Microphone

Step 3 Select either Microphone 1 or Microphone 2.
If the selected channel is paired, the Unpair softkey displays on the phone screen.
Step 4 Press Unpair.
Related Topics
Wireless Expansion Microphone, on page 19
Install the Wireless Microphone Charging Cradle
You use the charging cradle to charge the wireless microphone battery.
Procedure
Step 1 Plug the charging cradle power adapter into an electrical outlet.
Step 2 Plug one end of the USB-C cable to the charging cradle and the other end into the power adapter.
The following figure shows installation of a wireless microphone charging cradle.
Figure 6: Wireless Microphone Charging Cradle Installation
Related Topics
Wireless Expansion Microphone, on page 19
Cisco IP Conference Phone 8832 User Guide
10
Your Phone
Install the Wireless Microphone Charging Cradle

Charge a Wireless Microphone
Before you begin
Install the wireless microphone charging cradle. For more information, see Install the Wireless Microphone
Charging Cradle, on page 10.
Procedure
Step 1 Place the microphone in the charging cradle.
Step 2 If the LED on the cradle is not white, remove the microphone and replace it in the cradle.
Related Topics
Wireless Expansion Microphone, on page 19
Daisy Chain Mode
You can connect two conference phones using a Smart Adapter and the USB-C cables that are provided in
the daisy chain kit to expand the audio coverage area in a room.
In daisy chain mode, both units receive power though the Smart Adapter which is connected to a power
adapter. You can use only one external microphone per unit. You can use either a pair of wired microphones
with the units or a pair of wireless microphones with the units, but not a mixed combination of the microphones.
When a wired microphone is connected to one of the units, it unpairs any wireless microphones that are
connected to the same unit. Whenever there is an active call, the LEDs and the menu options on the phone
screen of both units are synchronized.
Install the Conference Phone in Daisy Chain Mode
The daisy chain kit contains a Smart Adapter, a short LAN cable, two long, thicker USB-C cables, and a
shorter, thinner USB-C cable. In daisy chain mode, the conference phones require external power from an
electrical outlet. You must use the Smart Adapter to connect the phones together. The long USB-C cables go
to the phone and the short one goes to the power adapter. Refer to the following figure when you connect the
power adapter and the LAN port to the Smart Adapter.
Figure 7: Smart Adapter Power Port and LAN Port
You can use only one microphone per unit.
You must use either two wired microphones or two wireless microphones with the phone, but not a mixed
combination.
Note
Cisco IP Conference Phone 8832 User Guide
11
Your Phone
Charge a Wireless Microphone

The USB-C cable for the power adapter is thinner than the USB-C cables that connect to the phone.
Procedure
Step 1 Plug the power adapter into the electrical outlet.
Step 2 Connect the short, thinner USB-C cable from the power adapter to the Smart Adapter.
Figure 8: Smart Adapter USB Port Connected to the Power Outlet
Step 3 Required: Connect the Ethernet cable to the Smart Adapter and the LAN port.
Figure 9: Smart Adapter LAN Port Connected to the LAN Port on the Wall Outlet
Step 4 Connect the first phone to the Smart Adapter using the longer, thicker USB-C cable.
Step 5 Connect the second phone to the Smart Adapter using a USB-C cable.
The following figure shows installation of the conference phone in daisy chain mode.
Cisco IP Conference Phone 8832 User Guide
12
Your Phone
Install the Conference Phone in Daisy Chain Mode
Other manuals for 8832
13
Table of contents
Other Cisco Conference Phone manuals

Cisco
Cisco 7832 User manual

Cisco
Cisco 8831 Instruction Manual

Cisco
Cisco Unified IP Conference Phone 8831NR Instruction Manual

Cisco
Cisco 7832 User manual

Cisco
Cisco 8800 Series User manual

Cisco
Cisco MPP 8832 Manual

Cisco
Cisco 7832 User manual

Cisco
Cisco 8832 Instruction Manual

Cisco
Cisco Unified IP Conference Phone 8831 User manual

Cisco
Cisco 8832 User manual

Cisco
Cisco Webex Room Kit User manual

Cisco
Cisco EX60 User manual

Cisco
Cisco 7832 User manual

Cisco
Cisco 7832 User manual

Cisco
Cisco 8832 User manual

Cisco
Cisco 8832 User instructions

Cisco
Cisco 8832 User manual

Cisco
Cisco 8831 User manual

Cisco
Cisco IP Conference Phone 7832 User manual

Cisco
Cisco 8832 User manual