manuals.online logo
Brands
  1. Home
  2. •
  3. Brands
  4. •
  5. Cisco
  6. •
  7. IP Phone
  8. •
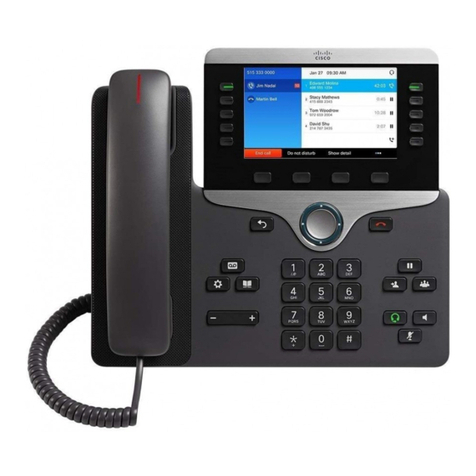
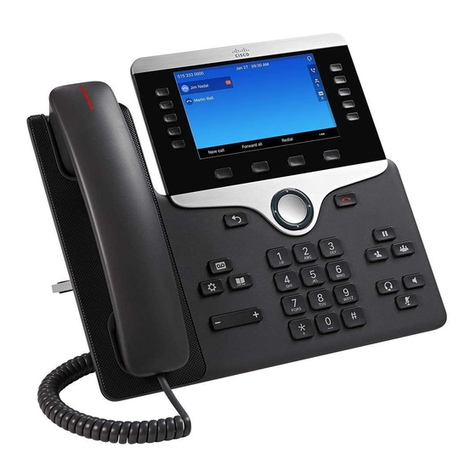
  9. Cisco 88 Series User manual

Cisco 88 Series User manual

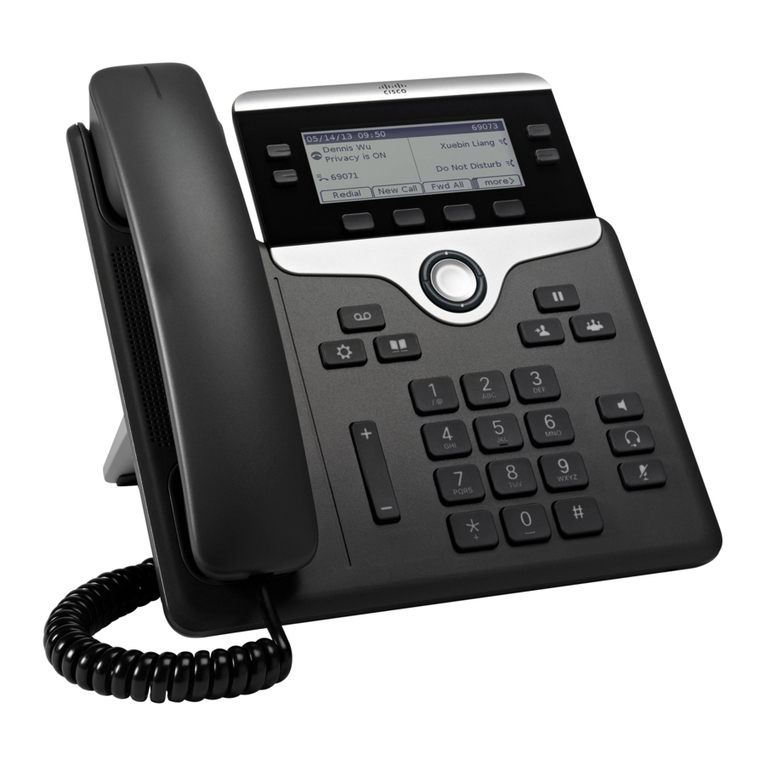
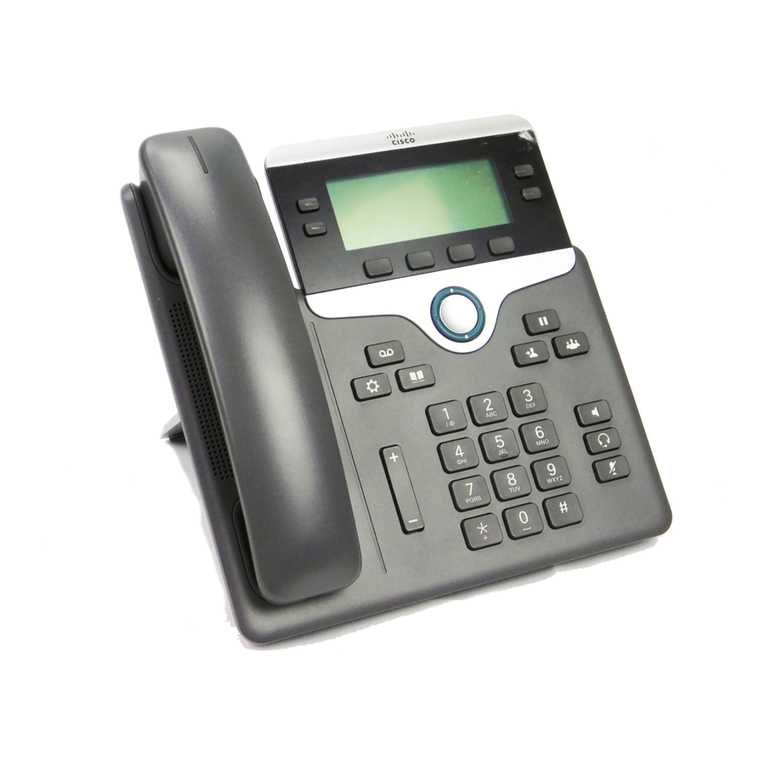
Cisco 88XX IP Telephones User Guide
1
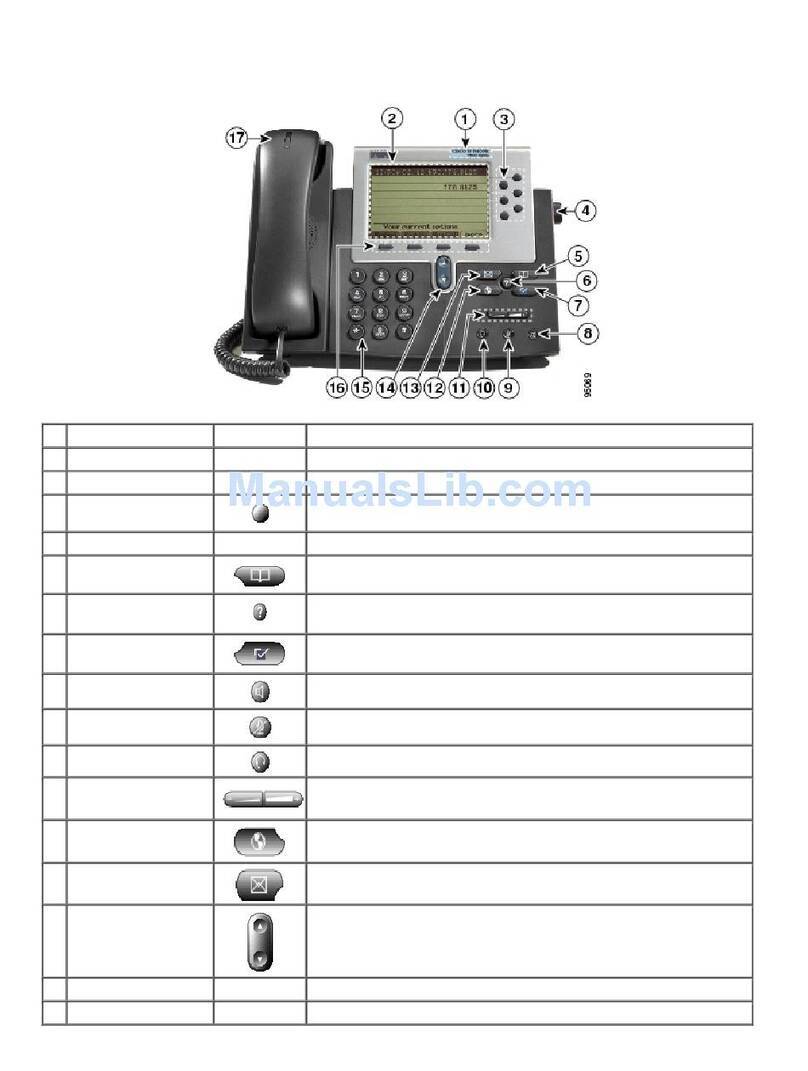
BUTTONS AND HARDWARE
1
Handset light strip
2 Phone screen
3
Programmable
feature buttons
4
Softkeys
5
Navigation Bar
Select button
6
Release Button
7
Hold/Resume
button
8
Conference
9
Transfer
10
Speakerphone
11
Mute
12
Headset
13 Key Pad
14
Volume control bar
15
Contacts
16
Applications
17
Messages
18
Back Button
19 Handset
DIALING INSTRUCTIONS
INTERNAL CALLING WITHIN YOUR SITE
Dial the 4digit extension number
CALLING TO ANOTHER COMPANY LOCATION
Dial the 8+ phone number
PLACING A CALL OUTSIDE THE SYSTEM
Local: Dial 8 + the Area Code + Number
Long Distance: Dial 8 +1 + Area Code + Number
International: Dial 8 + 011 + Number
Emergency: Dial 8 + 911 or 911
BASIC FEATURES
PLACING A CALL
1. Enter a number using the key pad
2. Go off-hook using one of the follow actions:
Lift the handset
Press the Call softkey
Press the Handset button
Press the Speakerphone button
ANSWERING A CALL
There are 5 options for answering a call:
Lift the Handset
Press the Answer softkey
Press the flashing amber session button (next to
the line keys, right side of screen)
Press the (unlit) Headset
Press the Speaker button
ENDING A CALL
There are three options for ending a call:
Hang up the Handset. OR
Press the EndCall softkey. OR
Press the lit Headset or Speaker button.
MUTE
1. Press the Mute button. When Mute is on, the Mute
button is lit red.
2. To disengage mute, press Mute again.
Note:If you are using mute along with the speakerphone,
lifting the handset will disengage mute.
Cisco 88XX IP Telephones User Guide
2
HOLD
1. During an active call, press the Hold button.
The hold icon displays and the session button
pulses green.
2. To return to the call, press the Resume softkey, OR
Press the flashing green session button OR
Press the Hold key again.
LAST NUMBER REDIAL
Lift the handset and press the Redial softkey OR
Press the Redial softkey to place the call via
Speakerphone.
TRANSFER
While on an active call:
1. Press the Transfer button.
2. Dial the number to which you are transferring the call.
3. When you hear ringing, press Transfer button (No need
to wait for the recipient to answer to complete the
transfer) OR
4. When the party answers, announce the call and press
Transfer button.
Your call has been transferred so hang up.
Note:
•To get the caller back, simply hit the Line button instead
of the Transfer button a second time.
•Before completing a transfer procedure, you can press
the Cancel softkey to cancel the transfer or you can
press the Swap softkey to toggle between calls, allowing
you to speak privately with each party.
CONFERENCE
This feature allows you to simultaneously communicate other
people while on the same line. While on an active call (either
incoming or outgoing or with internal or external parties):
1. With a party already on the line, press the Conference
button to place the current line on hold and initiate a
conference bridge.
2. Dial the number of the party to be added to the
conference call.
3. When the caller answers, press the Conference button
again to add this party to the call.
Repeat to add more participants
** TIP: If a conferee cannot join the call, press the green
flashing line button to go back to the original call.
Note:
•If you are part of a conference call, keep in mind that
when you place a caller on hold, music on hold is
generated. To avoid disrupting the other callers, consider
muting the call instead.
•Before completing a conference procedure, you can
press the Cancel softkey to cancel conference or you
can press the Swap softkey to toggle between calls,
allowing you to speak privately with each party.
CONFERENCE LIST
While in a conference, press the View Details softkey.
The initiator of the conference call can remove participants
by highlighting the participant to remove
Then press the Remove softkey.
VOICEMAIL
New Message Indicators:
Solid red light on handset
Message icon on the display of the phone
MESSAGES
Automatically dials the voicemail system.
1. Press the Messages button.
2. You hear, “Enter your PIN, followed by pound.”
3. You will then be greeted by the voicemail main menu.
SOFT FEATURES
FORWARD
Call Forward All allows you to forward calls to your
extension to another number (including voicemail).
To forward incoming calls:
1. Without picking up your handset, press the Fwd All
softkey.
2. Press the Messages button to forward all calls to
voicemail, OR
Dial an extension number to where you want your calls
re-directed.
TO CANCEL CALL FORWARD
Press Fwd OFF softkey.
Cisco 88XX IP Telephones User Guide
3
DIVERT
By pressing the Divert softkey you will send an
incoming call to your voicemail box.
If necessary, scroll to the call before pressing Divert
softkey.
CALL WAITING
This feature allows you to answer another incoming call.
If you get a second call while on an existing call, a
second session label displays.
To answer the second call and automatically put the
first call on hold, press the flashing amber session
button.
To toggle back and forth between the callers, use your
Navigation bar to highlight the caller on hold and press
the Select button. The 2nd call will be automatically
placed on hold.
CALL PARK
Call Park allows you to temporarily store a call which you
can retrieve from another phone.
With active call:
1. Press the Park softkey, then hang up.
2. Your phone displays a number where the system parked
the call.
Make a note of the Call Park number that is displayed and
hang up.
•To retrieve the parked call from any other phone in your
network and pick up the handset then dial the Call Park
number.
Note:If your call is not answered in 60 seconds it will ring
back to the personal that originally parked the call.
DIAL USING SPEED DIAL KEYS
Speed dial keys are programmed in the end user self care
portal. Once programmed, information will appear on your
phone.
1. Press a programmed speed-dial button (if available) OR
2. Enter a speed-dial code while on-hook (no dial tone),
then press the Speed Dial softkey.
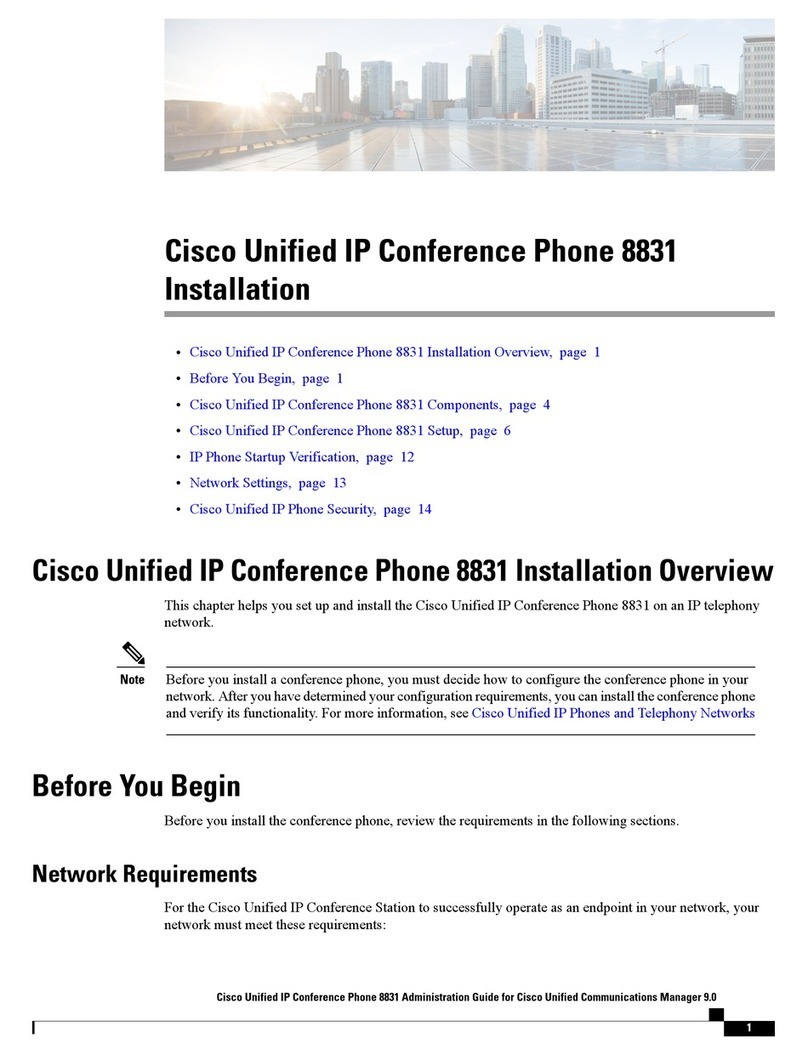
LINE STATUS
Line is in Use
Line is Idle
Line is Ringing
Line is in Forwarded
Line is on Hold
INFORMATION FEATURES
CALL HISTORY
1. Press Applications then select Recent OR press
the Recent softkey.
2. Use the Navigation button and Select softkey to select
the line (if applicable) or select all lines.
3. Highlight the call from the list using the Navigation
button.
4. Press the Edit Dial softkey (you pay have to press the
More softkey).
5. To view call details, select a call record and press the
Details softkey. You may need to press the more
softkey first.
6. Press the softkey to return to the Call History screen.
DIAL FROM CALL HISTORY
As you enter a phone number, matching numbers display
from your Call History. Scroll to the number and press the
Select button in the Navigation bar OR press the Call
softkey.
You may have to add a 9 before dialing from the list.
1. Press Applications then select Recent OR press
the Recent softkey.
2. Use the Navigation button and Select softkey to select
the line (if applicable) or select all lines.
3. Highlight the call from the list using the Navigation
button.
4. Press the Edit Dial softkey (you pay have to press the
More softkey).
5. Click << softkey to bring up the back feature. Use it to
scroll to the front of the number and add a 9 or 91.
6. Press the Dial softkey to dial the number (you pay have
to press the More softkey)
CLEAR CALL HISTORY
Note: If you have other people’s extension numbers
appearing on your phone, the missed call log will inform you
of all calls missed on those lines too, not just your primary
extension.
Cisco 88XX IP Telephones User Guide
4
7. Press Applications then select Recent OR press
the Recent softkey.
8. Use the Navigation button to select the line or select all
lines.
9. Select All Lines or the line that you want to view
10. Press the Clear softkey (you may need to press the
More softkey).
11. Press the Delete softkey
12. Screen displays “Are you sure you want to delete the
list?” Press Delete.
CORPORATE DIRECTORY
1. Press the Contacts button .
2. Use the Navigation bar then scroll to Corporate
Directory.
3. Using the letters on the key pad to enter in the name
you are searching for press Submit
OR press enter to list the entire directory press
Submit
Note:It is not necessary to enter a complete query to
conduct a search. For example, entering J, A, and M could
yield James Smith.
PERSONALIZE YOUR PHONE
CHANGE THE LCD CONTRAST
1. Press the Applications button.
2. Choose Preferences > Contrast.
3. Use the up and down arrows on the navigation pad to
adjust the contrast.
4. Press Save to set the contrast, or press Cancel to exit.
CHANGING A RINGER TYPE
You can choose the ringtone, per line,that your phone plays
to indicate an incoming call.
1. Press Applications
2. Choose Preferences > Ringtone.
3. Select the required ringtone.
4. Press Play to play the ringtone.
5. Press Set to select the ringtone.
6. Press Apply to confirm your selection, or press Cancel
to go back to the Ringtone screen.
7. Press to return to the Preferences screen.
ADJUSTING THE RINGER VOLUME
1. While NOT on an active call,
2. Press the Up or Down Volume button to hear a sample
ring.
3. As the ring plays, press the Up or Down Volume button
to adjust volume to the desired level.
ADJUSTING THE HANDSET, SPEAKERPHONE AND
HEADSET VOLUME
1. While on an active call,
2. Press the Volume button to increase or decrease the
volume of your Handset, Speakerphone or Headset.
3. The volume setting will only be changed for the option
being used.
4. Silence the ringer on your phone by pressing the left
side of the volume button once while an incoming call is
ringing in.
NOTES
______________________________________________
______________________________________________
______________________________________________
______________________________________________
______________________________________________
______________________________________________
______________________________________________
______________________________________________
______________________________________________
______________________________________________
______________________________________________
______________________________________________
______________________________________________
______________________________________________
______________________________________________
______________________________________________
______________________________________________
______________________________________________

Other Cisco IP Phone manuals

Cisco 7962 User manual

Cisco

Cisco 7962 User manual

Cisco UNIFIED 9971 Service manual

Cisco

Cisco UNIFIED 9971 Service manual

Cisco 8831 User manual

Cisco

Cisco 8831 User manual

Cisco 7841 User manual

Cisco

Cisco 7841 User manual

Cisco 6945 Series User manual

Cisco

Cisco 6945 Series User manual

Cisco 8841 How to use

Cisco

Cisco 8841 How to use

Cisco 7925G Series Quick reference guide

Cisco

Cisco 7925G Series Quick reference guide

Cisco WIP310 - iPhone Wireless VoIP Phone User manual

Cisco

Cisco WIP310 - iPhone Wireless VoIP Phone User manual

Cisco 6941 - Unified IP Phone Slimline VoIP User manual

Cisco

Cisco 6941 - Unified IP Phone Slimline VoIP User manual

Cisco Cisco 7940 User manual

Cisco

Cisco Cisco 7940 User manual

Cisco 7911 User manual

Cisco

Cisco 7911 User manual

Cisco Ooma office User manual

Cisco

Cisco Ooma office User manual

Cisco Cisco 7960 User manual

Cisco

Cisco Cisco 7960 User manual

Cisco 6851 User manual

Cisco

Cisco 6851 User manual

Cisco Cisco 7960 Instruction manual

Cisco

Cisco Cisco 7960 Instruction manual

Cisco 8811 User manual

Cisco

Cisco 8811 User manual

Cisco 7941G - Unified IP Phone VoIP Instruction Manual

Cisco

Cisco 7941G - Unified IP Phone VoIP Instruction Manual

Cisco 7941G - Unified IP Phone VoIP Instruction Manual

Cisco

Cisco 7941G - Unified IP Phone VoIP Instruction Manual

Cisco MCS 7800 Series User manual

Cisco

Cisco MCS 7800 Series User manual

Cisco 7906G - Unified IP Phone VoIP User manual

Cisco

Cisco 7906G - Unified IP Phone VoIP User manual

Cisco Cisco 7960 Instruction Manual

Cisco

Cisco Cisco 7960 Instruction Manual

Cisco Unified 8961 User manual

Cisco

Cisco Unified 8961 User manual

Cisco 7800 Series User manual

Cisco

Cisco 7800 Series User manual

Cisco 7961G-GE - IP Phone VoIP User manual

Cisco

Cisco 7961G-GE - IP Phone VoIP User manual

Popular IP Phone manuals by other brands

Yealink IP Phone Guide

Yealink

Yealink IP Phone Guide

Mitel 5000 CP Phone user guide

Mitel

Mitel 5000 CP Phone user guide

Mosa 4600B Quick installation guide

Mosa

Mosa 4600B Quick installation guide

Linksys PHB1100 - One Business Phone VoIP user guide

Linksys

Linksys PHB1100 - One Business Phone VoIP user guide

Polycom VVX 601 Series user guide

Polycom

Polycom VVX 601 Series user guide

AGC T57W user guide

AGC

AGC T57W user guide

Nortel 7449 quick reference

Nortel

Nortel 7449 quick reference

Grandstream Networks WP810 Administration guide

Grandstream Networks

Grandstream Networks WP810 Administration guide

Dictaphone Connections Series operating instructions

Dictaphone

Dictaphone Connections Series operating instructions

Avaya IP Office 1416 Quick reference guide

Avaya

Avaya IP Office 1416 Quick reference guide

Siemens OpenScape Voice OpenStage 20 E SIP user guide

Siemens

Siemens OpenScape Voice OpenStage 20 E SIP user guide

Polycom VVX 300 Quick reference guide

Polycom

Polycom VVX 300 Quick reference guide

Samsung SMT-i6010 user guide

Samsung

Samsung SMT-i6010 user guide

Cortelco C60 user manual

Cortelco

Cortelco C60 user manual

Avaya Norstar T7316E user guide

Avaya

Avaya Norstar T7316E user guide

ATCOM AT-640P quick start guide

ATCOM

ATCOM AT-640P quick start guide

Polycom Integra VVX 500 user guide

Polycom

Polycom Integra VVX 500 user guide

Innovaphone IP230 Short user guide

Innovaphone

Innovaphone IP230 Short user guide

manuals.online logo
manuals.online logoBrands
  • About & Mission
  • Contact us
  • Privacy Policy
  • Terms and Conditions

Copyright 2025 Manuals.Online. All Rights Reserved.