manuals.online logo
Brands
  1. Home
  2. •
  3. Brands
  4. •
  5. Cisco
  6. •
  7. IP Phone
  8. •
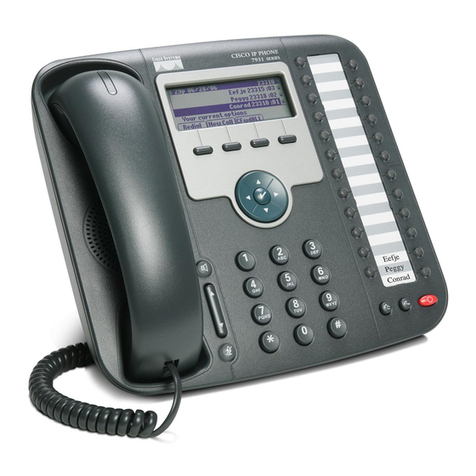
  9. Cisco DATAVOX 7941 User manual

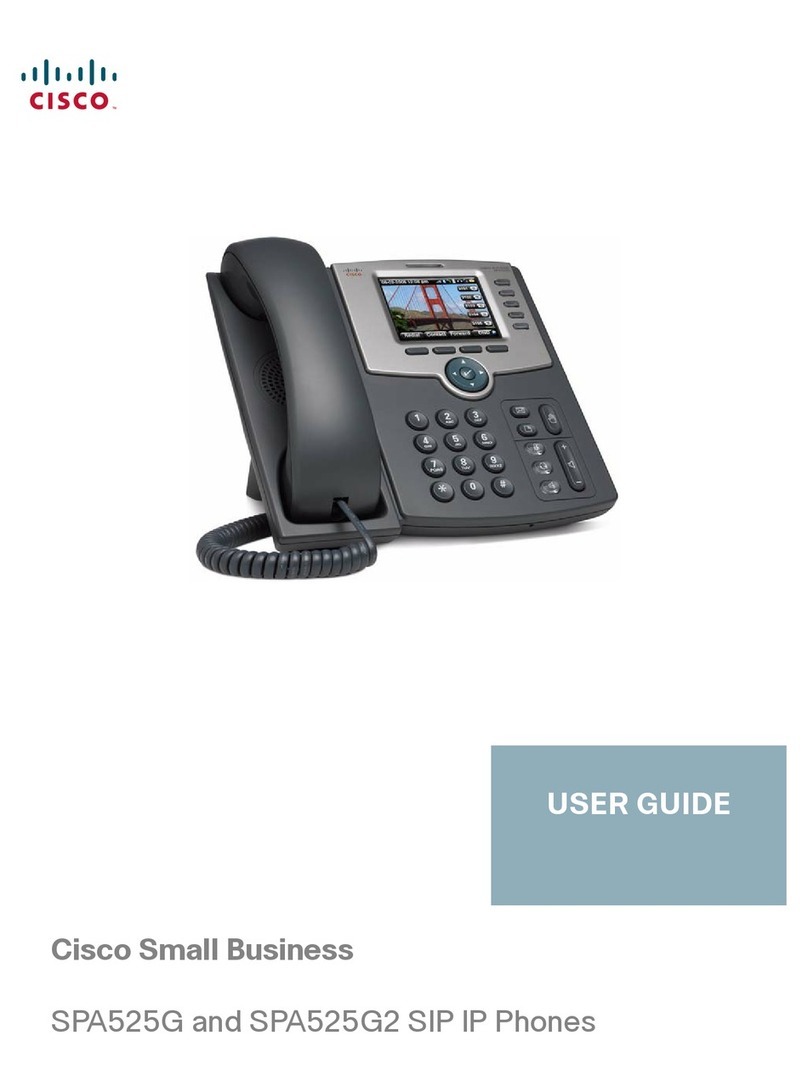
Cisco DATAVOX 7941 User manual

Other manuals for DATAVOX 7941

18

This manual suits for next models

1

Other Cisco IP Phone manuals

Cisco Cisco Unified IP Phone 7960G User manual

Cisco

Cisco Cisco Unified IP Phone 7960G User manual

Cisco DATAVOX 7941 User manual

Cisco

Cisco DATAVOX 7941 User manual

Cisco Cisco Unified IP Phone 7960G Service manual

Cisco

Cisco Cisco Unified IP Phone 7960G Service manual

Cisco Linksys One PHB1100 User manual

Cisco

Cisco Linksys One PHB1100 User manual

Cisco 8865NR User manual

Cisco

Cisco 8865NR User manual

Cisco 8821 User manual

Cisco

Cisco 8821 User manual

Cisco WIP310 - iPhone Wireless VoIP Phone User manual

Cisco

Cisco WIP310 - iPhone Wireless VoIP Phone User manual

Cisco 8945 User manual

Cisco

Cisco 8945 User manual

Cisco 7975G - Unified IP Phone VoIP User manual

Cisco

Cisco 7975G - Unified IP Phone VoIP User manual

Cisco Unified 6921 Instruction manual

Cisco

Cisco Unified 6921 Instruction manual

Cisco Cisco Unified IP Phone 7960G User manual

Cisco

Cisco Cisco Unified IP Phone 7960G User manual

Cisco SPA 303 User manual

Cisco

Cisco SPA 303 User manual

Cisco DATAVOX 7941 User manual

Cisco

Cisco DATAVOX 7941 User manual

Cisco 8800 Series User manual

Cisco

Cisco 8800 Series User manual

Cisco 6821 User manual

Cisco

Cisco 6821 User manual

Cisco Cisco 7960 User manual

Cisco

Cisco Cisco 7960 User manual

Cisco 7821 User manual

Cisco

Cisco 7821 User manual

Cisco 8800 Series User manual

Cisco

Cisco 8800 Series User manual

Cisco 8841 How to use

Cisco

Cisco 8841 How to use

Cisco 7921G - Unified Wireless IP Phone VoIP User manual

Cisco

Cisco 7921G - Unified Wireless IP Phone VoIP User manual

Cisco 7905 User manual

Cisco

Cisco 7905 User manual

Cisco SPA 303 Series User manual

Cisco

Cisco SPA 303 Series User manual

Cisco 8811 Troubleshooting guide

Cisco

Cisco 8811 Troubleshooting guide

Cisco CP-3911 - Unified SIP Phone 3911 VoIP User manual

Cisco

Cisco CP-3911 - Unified SIP Phone 3911 VoIP User manual

Popular IP Phone manuals by other brands

Cortelco C62 VoIP Phone user guide

Cortelco

Cortelco C62 VoIP Phone user guide

VanillaIP Polycom IP300 user manual

VanillaIP

VanillaIP Polycom IP300 user manual

Yealink Yealink SIP-T22P Quick installation guide

Yealink

Yealink Yealink SIP-T22P Quick installation guide

Viking SR-IP product manual

Viking

Viking SR-IP product manual

Yealink VP59 Teams user guide

Yealink

Yealink VP59 Teams user guide

Panasonic KX-UT133-B Administrator's guide

Panasonic

Panasonic KX-UT133-B Administrator's guide

Avaya one-X 9600 Series overview

Avaya

Avaya one-X 9600 Series overview

AVA Enterprises B179 Installation and administration guide

AVA Enterprises

AVA Enterprises B179 Installation and administration guide

Polycom SoundPoint IP 450 datasheet

Polycom

Polycom SoundPoint IP 450 datasheet

IPitomy IP290 user manual

IPitomy

IPitomy IP290 user manual

Polycom SoundPoint IP 650 user guide

Polycom

Polycom SoundPoint IP 650 user guide

Proximus Maestro 3016 IP quick start guide

Proximus

Proximus Maestro 3016 IP quick start guide

Polycom IP 450 user guide

Polycom

Polycom IP 450 user guide

Fanvil X4 user manual

Fanvil

Fanvil X4 user manual

Snom 320 quick start guide

Snom

Snom 320 quick start guide

Avaya Integral 5 R3.0 user guide

Avaya

Avaya Integral 5 R3.0 user guide

Yealink Yealink SIP-T46G Guide

Yealink

Yealink Yealink SIP-T46G Guide

Yealink SIP-T52S quick start guide

Yealink

Yealink SIP-T52S quick start guide

manuals.online logo
manuals.online logoBrands
  • About & Mission
  • Contact us
  • Privacy Policy
  • Terms and Conditions

Copyright 2025 Manuals.Online. All Rights Reserved.

Need help? Call the Technology HelpDesk at x80250.
Dial 0 to reach the front office. For emergencies dial 911.
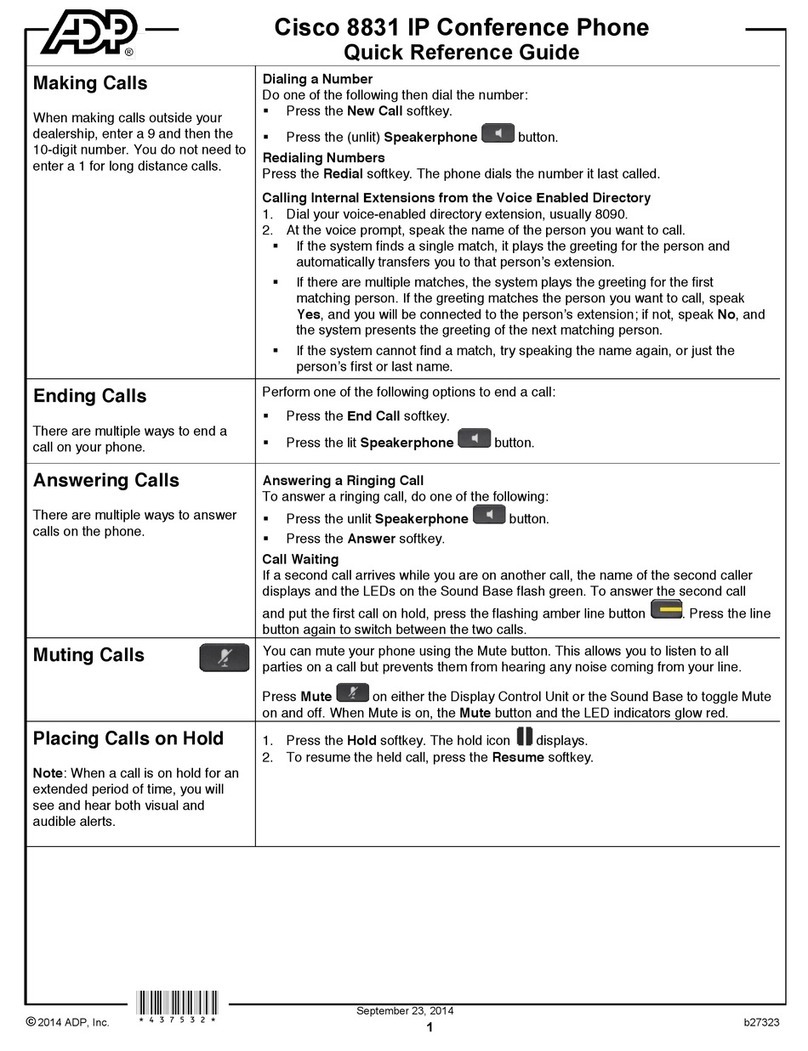
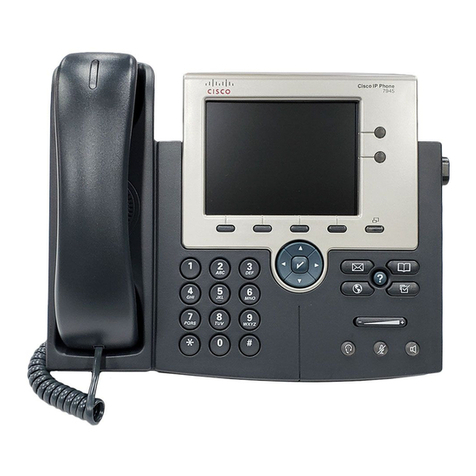
SOFT KEYS
Located along the bottom of your phone screen. The
functions will change depending on the phone state.
TO PLACE A CALL
Internal
•Lift Handset, press the Speaker button, line button or
the New Call soft key
•Dial the 5-digit extension
External
•Lift Handset, press the Speaker button, line button or
the New Call soft key
•Local – Dial 9 + number
•Long Distance – Dial 9 + 1 + ten-digit number
DIRECTORIES
•To view Missed/Received/Placed calls and the
Corporate Directory* press the Directories button
•Scroll to the directory that you would like to view
•Press the Select soft key
•To place a call to one of the phone numbers from
within the directory, press the Dial soft key if it’s an
internal number or press the EditDial soft key, press
the 9 on the dialing pad, then press the Dial soft key if
it’s an external number
*The Corporate Directory will allow you to search by name
to find any employees’ extension.
LAST NUMBER REDIAL
•Press the REDIAL soft key
CALL FORWARD
To Activate
•When your phone is idle, press the CFWDALL soft
key
•Enter the number, OR press MESSAGE key for
sending calls directly to Voicemail
To Cancel
!Press the CFWDALL soft key
iDIVERT
•When the phone is ringing press the iDivert soft key
to send the incoming call straight to voicemail
CALL HOLD
To Place a Call on Hold
•From an existing conversation press the Hold soft key
To Retrieve a Call on Hold
•Press the Resume soft key
•If there are multiple calls on hold, scroll to the desired
line before pressing the Resume soft key
TO TRANSFER A CALL
•During a call, press the Transfer soft key
•Dial the number
•Announce the call
•Press the Transfer soft key to complete the transfer,
hang up
•If the person you attempt to transfer the call to is not
available, press the EndCall soft key, then the
Resume soft key to return to the original caller
JOIN
This feature allows you to join two incoming calls.
To answer the second incoming call
•Press the Answer soft key (this will automatically put
the first caller on hold)
To join these two callers to create a 3-way call
•Scroll to the call that is on hold
•Press the More soft key
•Press the Join soft key
CONFERENCE CALL (maximum of 8)
•While a call is in progress, press the More soft key
and then press the Confrn soft key. Dial the
extension or outside number.
•After the party answers, press the Confrn soft key to
bring the parties together
To add additional parties
•Repeat the above steps
Reconnect to Conference when called party can’t join
•If the person you attempt to bring into the conference
is not available, press the EndCall soft key and then
the Resume soft key to return to the conference call
To view the conference call members
•Press the More soft key, then press the ConfLi soft
key to view the members on the conference call
“?” INFORMATION BUTTON
•Press the ?button and then any other button on your
phone to get information on how to use that button or
key
RING VOLUME
•With your phone idle, press the Volume key to hear
the current ring volume
•Press either the up or down Volume key to change
the ring volume
•When the ring times out, the setting will be saved
RING TYPE
•Press the Settings button
•Select User Preferences - Rings
•Use the scroll key to select a ring type
•Press the Play soft key to hear the ring type
•Press the Select soft key to save the ring type
LCD CONTRAST
•Press the Settings button
•Press the 1 on the dialing pad or scroll to Contrast
•Use the Up and Down soft keys to change the
contrast
•Press the OK soft key to save the setting
(see reverse for voicemail instructions)
VOICE MAIL SETUP AND ACCESS
To enroll with voice mail (first use)
•Press the Messages button or dial the internal
voice mail phone number (11200).
•Enter the first time enrollment password (12345)
•Follow prompts to:
•Record your name - press # key as soon as
you say your name
•Record a greeting – press # key as soon as
you say your greeting
•Set a new password
•To rerecord your name, press 4 then 3 and
follow prompts
To log on to voice mail from your phone:
•Press the Messages button or dial the internal
voice mail phone number (11200).
•Enter your password, press the # key
To log on to voice mail from another inside phone:
•Press the Messages button or dial the internal
voice mail phone number (11200).
•Press the * key when voice mail answers
•Enter your ID (extension), then press # key.
•Enter your password, then press the # key.
To log on to voicemail from outside:
•Dial the main number for your site.
•Press the * key when the Auto Attendant
answers.
•Enter your ID, then press the # key.
•Enter your password, then press the # key.
Basic Controls:
Press the Messages button or dial the internal voice mail
phone number (11200) and log on:
Hear new messages 1 Set up options 4
Send new message 2 Cancel or back up *
Review old messages 3 Skip or move ahead #
During Message
Playback
After Message
Playback
Restart message
1
Repeat
1
Save
2
Save
2
Delete
Slow Playback
3
4
Delete
Reply
3
4
Change Volume
5
Forward message
5
Fast Playback
Rewind, small
6
7
Save as new
Rewind
6
7
Pause or Resume
Fast Forward, small
8
9
Summary
9
Transfer a caller directly to voicemail:
•While connected to the caller, press the TRANSFER
soft key,
•Press *
•Dial the person’s extension you are transferring the
call to
•Press the TRANSFER soft key quickly
Leave a message in a mailbox without calling the
extension:
•Pick up the handset
•Press * and the 5-digit extension
•Leave your message
•Hang up
To record a standard greeting:
Dial voicemail and log on.
!Press 4, 1, 1
!After voicemail plays your current greeting, press 1
to re-record. Or press 3 to record a different
greeting, choose the greeting, and then re-record it.
Use these keys as you record
!or continue8
!End recording #
To record an alternate greeting:
Turn on this greeting for a specific time period when you
want to provide information about special circumstances,
such as when you are on vacation. (For example, "I will be
out of the office until <date>.")
Dial voicemail.
!Press 4, 1, 2
!Follow prompts
!If you turned on your alternate greeting, follow the
prompts to set when you want it turned off or to
leave it indefinitely.
SINGLE INBOX
Your voicemail messages are automatically synchronized with
your e-mail inbox. You can listen to messages directly from
your computer or smartphone, delete them, or save them for
future reference.
•Voicemail messages display in your Inbox as
either the employee who called or as “PUHSD
Voicemail” if from an external caller. The
attachment is an audio file; play it to hear the
message.
•Deleting the e-mail message moves it to your
Deleted Items folder and also removes the
voicemail from your phone.
•Messages will be auto-deleted from your phone,
Inbox and Deleted Items folder after 30 days.
•Messages moved to another folder OUTSIDE of
your Inbox or Deleted Items folder will not be
auto-deleted from your mailbox (although it will
still be removed from your phone).
•E-mails with voicemail attachments are much
larger than text-only messages and will consume
more space in your mailbox. As with any e-mail it
is highly recommended that you only save
messages if necessary.
•If your e-mail mailbox exceeds the 2GB limit you
will be unable to send e-mail.