Tools Required
• Philipsscrewdriver
2 3
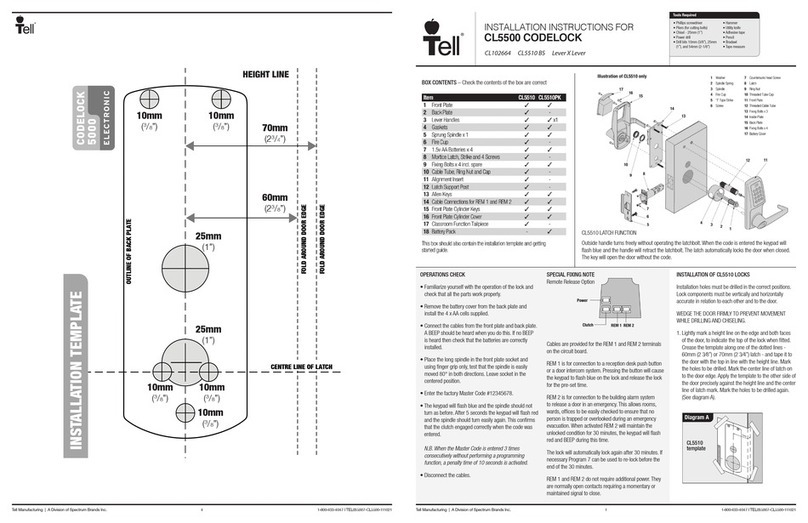
Check the contents of the box are correct
Box Contents
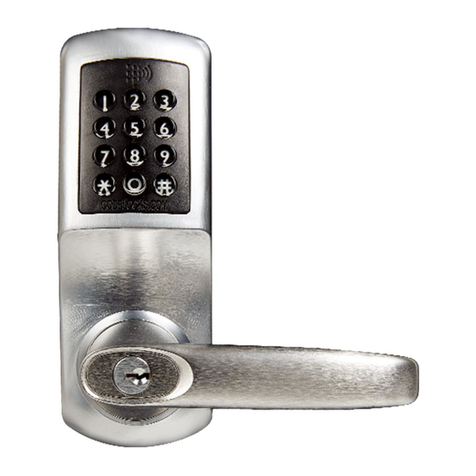
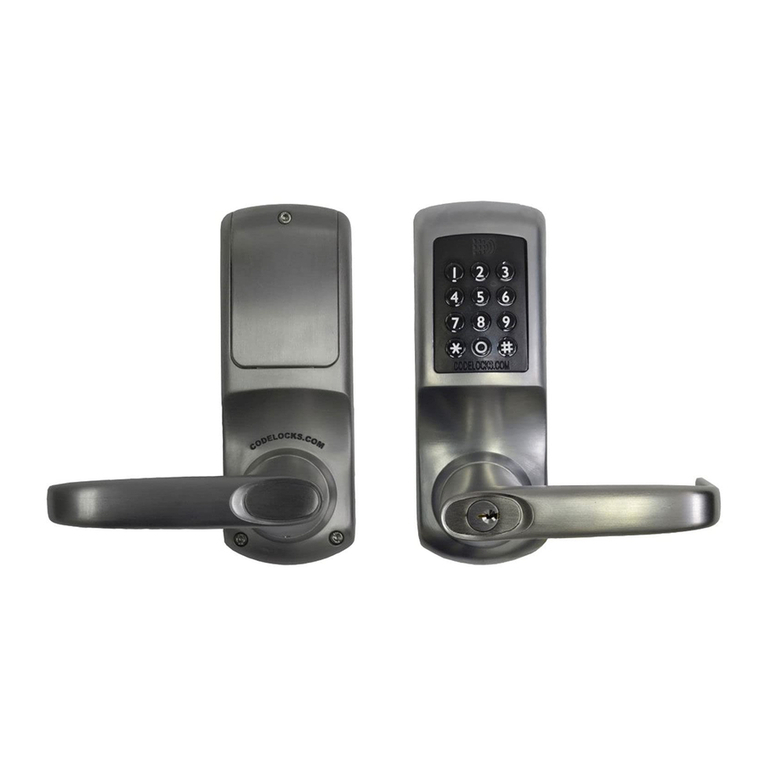
1Front Plate
2Lever Handles x 2
3Inside Lever Boss
4Spindle + Spacer
5Front Patch Fitting (LH or RH)
6 2PieceInternalLatchPatchfitting(withGasket)
7Batteries x 4 `N cell`
8Front Plate Cylinder Keys
9Through Fixing Allen bolts x 2
10 Patch Fixing Allen bolts x 2 (short)
11 Internal Patch Steel Cover Plate
12 Strike Plate
13 Allen Keys
14 Front Plate Cylinder Cover
15 Classroom Function Tailpiece
This box should also contain Programming and
Operating Instructions.
4
You should familiarise yourself with the lock
and its operation before attempting to fit. Locks
are supplied as either RH or LH versions check
you have the correct product to suit the hand
of your door. Illustration page 5 shows RH
version.
1.Withdigitallockfacedownonabenchremovethe
transit strip from the rear of the lock by removing the
twotransitscrews.
2. Install batteries into lock ensuring that the positive
and negative ends are correctly orientated.
3.Ensurethattheclutchbelowthebatteryholderis
inthecorrectpositionwithorangeandblackcable
exiting the top left of the clutch. If not rotate into the
correct position.
4.Fitthefrontpatchfittingtothefrontplatewiththe
twoshorttransitboltsandtighten.
Note – ensure cables are not trapped.
5. Test the factory master code by pressing 1234.
Thebluelightshouldsignaltoshowacorrectcode.
Theredlightwillsignalafter5secondstoshowthe
code operation period has expired.
6. Fit the lever handle to the frontplate boss
accordingtothehandofyourdoorandsecurewith
grubscrew.
7. Remove the steel coverplate from the latch patch
fitting by unthreading the Nylon nut.
8. Ensure that the latch patch fitting is handed
to suit your door. The hand can be changed by a
combination of reversing the latch head (via the
securing screw) and/or by turning the latch patch
fitting 180 degrees.
9. The spindle supplied is suitable for glass
doors up to 15mm (9/16”) thick. For doors thicker
than 15mm (9/16”) please install the spacer piece
provided onto the long end of the spindle.
Nowtaketheinternallatchpatchfittingandpass
INSTALLATION OF GLASS DOOR LOCK
thespindlethroughthelatchfollowerwiththeshort
end facing the code side. Push the spindle through
untilthewasherrestsagainstthepatchlock.
10. Place the thin plastic gasket on the latch patch
fitting so it is seated against the glass door and latch
whenassembled.
11. Holding latch patch fitting in place take the
frontplate assembly and fit over spindle.
12. Using the 2 through fixing bolts from the latch
side secure the code side and latch side together,
ensuring the lock is aligned vertically and horizontally
withthedoor.
13. Refit the steel coverplate to the latch patch fitting
andsecurewithNylonnut.
14. Take the internal lever boss and fit, pushing
firmlyontospindle.Securewithgrubscrew.
15. Fit internal lever onto boss according to hand of
doorandsecurewithgrubscrew.
Operation Check
A)Enterthemastercodewaitforthebluelightand
depresstheleverwhichshouldretractthelatch.
Aftertheredlightdepresstheleveroncemorewhich
should not retract the latch.
B)Depresstheinternalleverwhichshouldretract
the latch.
IfA)orB)donotworkpleasecheckinstallationfrom
step 12 and that lock has not been set in passage
function by key (see programming instructions).
NOW - Change factory set Mastercode
(see programming instructions).

