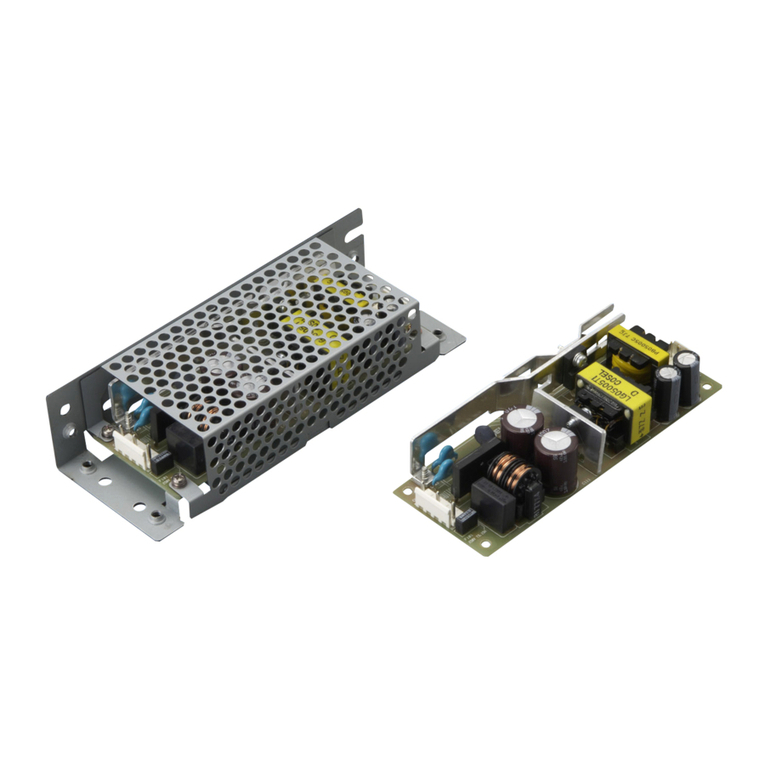
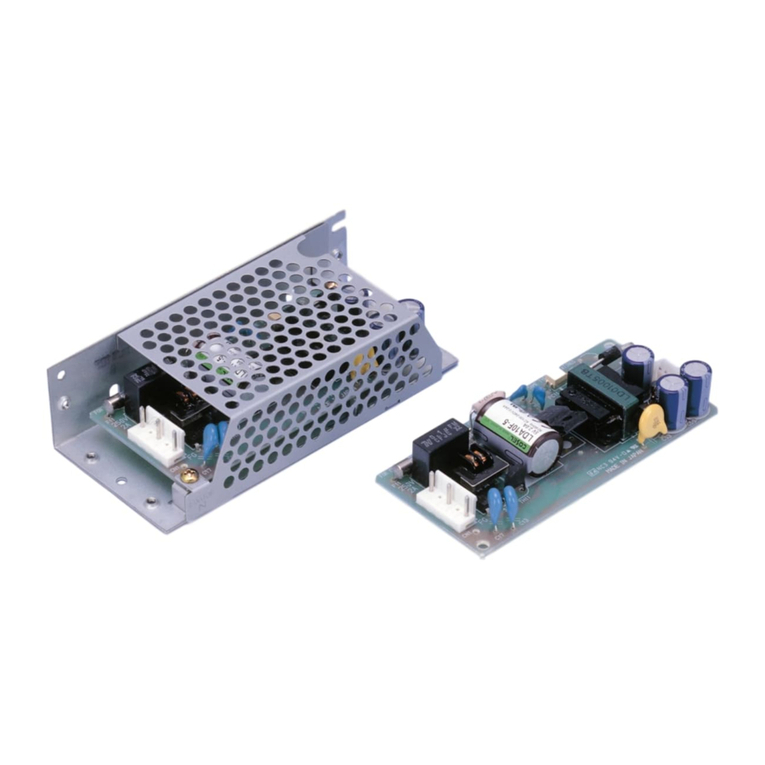
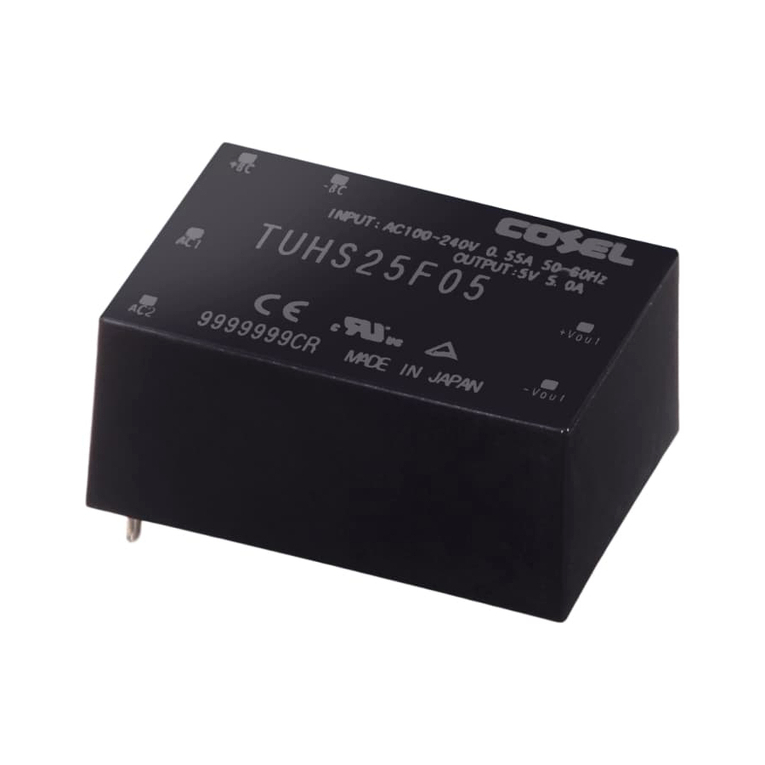
Cosel TUHS3 User manual

1 Connection for Standard Use TUHS-16
3.1 Input voltage range
3.2 Overcurrent protection
3.3 Overvoltage protection
3.4 Isolation
3.5 Reducing standby power
4 Series and Parallel Operation TUHS-19
4.1 Series operation
4.2 Parallel operation
4.3 Various connection methods
4.4 Long hold-up time connection
5 Cleaning TUHS-20
TUHS-18
TUHS-18
TUHS-18
TUHS-18
TUHS-18
TUHS-19
TUHS-19
TUHS-19
TUHS-19
2 Wiring Input/Output Pin TUHS-16
2.1 Wiring input pin
2.2 Wiring output pin
TUHS-16
TUHS-17
3 Function TUHS-18
6 Temperature Measuring Point TUHS-20
AC-DC Power Supplies PCB Mount Type
Instruction Manual
TUHS-15
June 26, 2020

2
Wiring Input/Output Pin
2.1 Wiring input pin
(1) F1:External fuse
¡Fuse is not built-in on input side. In order to protect the unit, install
the slow-blow type fuse on input side (as shown in Table 2.1).
In the case of using DC input, please use a DC fuse.
Table 2.1(a) Recommended fuse (AC input)
Model TUHS3 TUHS5 TUHS10 TUHS15 TUHS25
Rated current 2A 2A 2A 2A 3.15A
Table 2.1(b) Recommended fuse (DC input)
Model TUHS3 TUHS5 TUHS10 TUHS15 TUHS25
Rated current 2A 2A 2A 2A 2A
(2) C1:Input Capacitor(TUHS25)
To comply with conducted noise CISPR22-B, EN55022-B, connect
capacitor C1 which is 0.1μF or more at AC input terminal.
(3) Cbc:Smoothing capacitor
¡In order to smooth voltage, connect Cbc between +BC and -BC.
Recommended capacitance of Cbc is shown in Table2.2.Hold-up
time and load factor is shown in gure 2.1-gure 2.10.
¡Keep the capacitance within the allowable external capacitance.
¡Select a capacitor of which the ripple voltage does not exceed
25Vp-p.
¡When the power supply is operated under -20degC, it may cause
the smoothing voltage unstable due to the characteristic of equiva-
lent series resistor. Please choose the capacitor which has more
than recommended capacitance.
Table 2.2 Input Capacitor Cbc
No. Model Rated Input
Voltge Cbc Allowable capacitance
range
1 TUHS3 DC400V or more
(AC200Vin)
DC200V or more
(AC100Vin)
18μF 4.7μF to 68μF
2 TUHS5 22μF 10μF to 68μF
3 TUHS10 47μF 22μF to 150μF
4 TUHS15 68μF 33μF to 220μF
5 TUHS25 120μF 47μF to 390μF
0
50
100
150
200
250
300
020406080100
Hold-up time[ms]
Hold-up time[ms]
load factor[%]load factor[%]
0
200
400
600
800
1000
1200
1400
1600
020406080100
4. F
F
F
F
4. F
F
F
F
Fig.2.1 TUHS3 hold-up time(AC100V) Fig.2.2 TUHS3 hold-up time(AC200V)
1
Connection for Standard Use
¡To use TUHS series, connection shown in Fig.1.1 (a) or (b) and
external components are required.
¿AC input or DC input
+Vout
+BC
AC1
AC2
-
BC
-
Vout
F1 R1
C1(TUHS25)
SK1
+
Cbc
Load
Fig.1.1(a) Connection for standard use (AC input or DC input)
Table 1.1 External components
No.
Symbol
Components Reference
1 F1 Input fuse
2.1 “Wiring input pin (1)”
2 C1 Input Capacitor
2.1 “Wiring input pin (2)”
3 Cbc Smoothing Capacitor
2.1 “Wiring input pin (3)”
4 R1 Inrush current limiting resistor
2.1 “Wiring input pin (4)”
5 SK1 Surge Protective Device
2.1 “Wiring input pin (5)”
¿DC input
R1
+Vout
-
Vout
+BC
AC1
AC2
-
BC
Load
F1 D1
+
Cbc
Fig.1.1(b) Connection for standard use (DC input)
AC-DC Power Supplies PCB Mount Type
Instruction Manual
TUHS-16 June 26, 2020

0
50
100
150
200
250
300
020406080100
0
200
400
600
800
1000
1200
1400
1600
020406080100
Hold-up time[ms]
Hold-up time[ms]
load factor[%]load factor[%]
Fig.2.3 TUHS5 hold-up time(AC100V) Fig.2.4 TUHS5 hold-up time(AC200V)
0
50
100
150
200
250
300
020406080100
0
200
400
600
800
1000
1200
1400
1600
020406080100
Hold-up time[ms]
Hold-up time[ms]
load factor[%]load factor[%]
Fig.2.5 TUHS10 hold-up time(AC100V) Fig.2.6 TUHS10 hold-up time(AC200V)
0
50
100
150
200
250
300
020406080100
0
200
400
600
800
1000
1200
1400
1600
020406080100
Hold-up time[ms]
Hold-up time[ms]
load factor[% l] oad factor[%]
33
47
68
150
68
150
Fig.2.7 TUHS15 hold-up time(AC100V) Fig.2.8 TUHS15 hold-up time(AC200V)
0
50
100
150
200
250
300
020406080100
0
200
400
600
800
1000
1200
1400
1600
020406080100
Hold-up time[ms]
Hold-up time[ms]
load factor[%]load factor[%]
Fig.2.9 TUHS25 hold-up time(AC100V) Fig.2.10 TUHS25 hold-up time(AC200V)
(4) R1: Inrush current limiting resistor
¡
Connect resistor R1 between AC input and power supply to limit
inrush current to 50A(TUHS3/5/10/15) and 60A(TUHS25).
Select a resistor which has enough permissible current capability.
¡
The power thermistors are heat-generating components. Pay
attention to the rated operating temperature when using the power
thermistors.
¡
When the power turns ON/OFF repeatedly within a short term,
please keep enough interval to cool down the power supply before
turning it on again.
¡
In this case, recommend using thermistor with thermal resistor in
parallel or inrush current limiting circuit by triac.
(5) SK1: Surge Protective Device
¡Connect a surge protective device to improve Surge immunity.
(6) D1: Reverse Input Voltage Protection(DC input)
¡
Avoid the reverse polarity input voltage. It cause the power supply
failure. It is possible to protect the unit from the reverse input volt-
age by installing an external diode.
R1
+Vout
-
Vout
+BC
AC1
AC2
-
BC
Load
F1 D1
+
Cbc
Fig.2.11 Reverse input voltage protection
2.2 Wiring output pin
(1) Co:Output capacitor
¡In the TUHS series, the output capacitor is basically unnecessary.
Reduce the ripple voltage by connecting the output capacitor.
+Vout
-
Vout
Load
Co
Fig.2.12 Connecting Example of an External
Capacitor to the Output Side
¡Install an external capacitor Co between +VOUT and -VOUT pins
for stable operation of the power supply.
Recommended capacitance of Co is shown in Table 2.3.
¡If output current decreases rapidly, output voltage rises transiently
and the overvoltage protection circuit may operate.
In this case, please install a capacitor Co.
Table 2.3 Recomemended capacitance Co
No. output
voltage TUHS3 TUHS5 TUHS10 TUHS15 TUHS25
1 5V
0 - 100μF 0 - 100μF 0 - 330μF
-
0 - 1000μF
2 12V 0 - 47μF 0 - 47μF
0 - 150μF 0 - 150μF 0 - 470μF
3 15V 0 - 47μF 0 - 47μF 0 - 120μF 0 - 120μF
0 - 390μF
4 24V 0 - 22μF 0 - 22μF 0 - 68μF 0 - 68μF
0 - 220μF
AC-DC Power Supplies PCB Mount Type
Instruction Manual
TUHS-17
June 26, 2020

¡The specied ripple and ripple noise are measured by the method
introduced in Fig.2.13.
C1(TUHS25)
SK1
+Vout
+BC
AC1
AC2
-
BC
-
Vout
F1 R1
Load
Cbc
Co
R
C
Oscilloscope
BW:100MHz Coaxial Cable
F
50mm Measuring
board
+
Fig.2.13 Method of Measuring Output Ripple and Ripple noise
¡When connect the output to FG of an equipment, a noise may be-
come big. The noise can be reduced by connecting external lter
and grounding capacitor on the input side.
C1
+Vout
+BC
AC1
AC2
-
BC
-
Vout
F1 L1
R1
Load
+
Cbc
C11 C12 C13
SK1
Fig.2.14 Recomemended circuit of connect output to FG
3 Function
3.1 Input voltage range
¡The range is from AC85V to AC264V or DC120V to DC370V
(please see SPECIFICATIONS for details).
¡In case of less than AC85V or DC120V, it is possible to operate
continuously by input voltage derating as shown in ‟Derating”.
¡In cases that conform with safety standard, input voltage range is
AC100-AC240V (50/60Hz) and DC120-DC370V.
3.2 Overcurrent protection
¡Overcurrent protection is built-in and comes into effect over 105%
of the rated current.
Overcurrent protection prevents the unit from short circuit and
overcurrent condition. The unit automatically recovers when the
fault condition is cleared.
¡When the output voltage drops at overcurrent, the average output
current is reduced by hiccup operation of power supply.
3.3 Overvoltage protection
¡The overvoltage protection circuit is built-in and comes into effect
at 110% to 160% of the rated output voltage. When the load fac-
tor is less than 30%, output voltage may be increased more than
maximum voltage depending on the failure mode.
¡Please note that devices inside the power supply might fail when
voltage more than rated output voltage is applied to output pin of
the power supply. This could happen when the customer tests the
overvoltage performance of the unit.
3.4 Isolation
¡For a receiving inspection, such as Hi-Pot test, increase (de-
crease) the voltage gradually for a start (shut down). Avoid using
Hi-Pot tester with timer because it may generate voltage a few
times higher than the applied voltage, at ON/OFF of a timer.
3.5 Reducing standby power
¡A circuit reducing standby power is built in TUHS.
(standby power of AC100V input : 0.5W max)
The load factor: Io=0-30%, the internal switch element is intermit-
tent operated, and the switching loss is decreased. The speci-
fication of the Ripple/Ripple Noise changes by this intermittent
operation. The value of the ripple/ripple Noise when intermittent
operates changes in the input voltage and the output current.
Please contact us for details.
AC-DC Power Supplies PCB Mount Type
Instruction Manual
TUHS-18 June 26, 2020
4 Series and Parallel
Operation
4.1 Series operation
¡Series operation is available by connecting the outputs of two or
more power supplies as shown below. Output current in series
connection should be lower than the lowest rated current in each
unit.
Load
Load
Power
Supply
Power
Supply
Load
Power
Supply
Power
Supply
(a)
(b)
Fig.4.1 Examples of series operation
4.2 Parallel operation
¡Parallel operation is not possible.
¡Redundancy operation is available by wiring as shown below.
Power
Supply
Power
Supply
Load
I
I
1I3
2
Fig.4.2 Example of Redundancy Operation
¡Even a slight difference in output voltage can affect the balance
between the values of I1and I2.
Please make sure that the value of I3does not exceed the rated
current of a power supply.
I3the rated current value
4.3 Various connection methods
¡Using one smoothing capacitor, up to two TUHS can be operated.
Shown an example in Fig.4.3.
¡Total output wattage must be less than the maximum wattage of
TUHS which AC is supplied.
¡When connect different wattage of TUHS, please input AC into the
power supply which the wattage is higher.
¡When smoothing capacitor is commonly used, noise may become
big because of the length of the power line. The noise can be
attenuate by connecting Line Filter between TUHS and R1.
¡Avoid connecting AC input and DC input at the same time because
it may damage the TUHS or an equipment(Fig.4.4).
+Vout
+BC
AC1
AC2
-BC
-
Vout
F1 R1
Load
+
Cbc
+Vout
+BC
AC1
AC2
-
BC
-
Vout
F1 D1
Load
+
Cbc
+Vout
+BC
AC1
AC2
-
BC
-
Vout
Load
+Vout
+BC
AC1
AC2
-
BC
-
Vout
Load
SK1
C1(TUHS25)
(a) AC input , Cbc common (b) DC input , Cbc common
Fig.4.3 TUHS connect method
SK1
+Vout
+BC
AC1
AC2
-
BC
-
Vout
F1 R1
Load
+
Cbc
Fig.4.4 TUHS Connection prohibition
4.4 Long hold-up time connection
¡It is possible that setting the hold-up time of the power supply for a
long time by connecting like Fig.5.5. Please set the charge current
of the CL to become less than 1A. Please use the diode which
reverse voltage is 600V or more.Please contact us for detail.
F1 R1 +Vout
+BC
AC1
AC2
-
BC
-
Vout
DL
RL
Load
+
Cbc
CL
SK1
C1(TUHS25)
+
Fig.4.5 Long hold-up time connection
AC-DC Power Supplies PCB Mount Type
Instruction Manual
TUHS-19
June 26, 2020

.5 Cleaning
¡If you need to clean the unit, please clean it under the following
conditions. Cleaning Method: lmmersion, Ultrasonic or Vapor
Cleaning Cleaning agent: IPA (Solvent type)
Cleaning Time: Within total 2 minutes for lmmersion, ultrasonic
and vapor cleaning
¡Please dry the unit sufciently after cleaning.
¡If you do ultrasonic cleaning, please keep the ultrasonic output at
15W/ or below.
6 Temperature
Measuring Point
¡It is necessary to note thermal fatigue life by power cycle.
Please reduce the temperature uctuation range as much as pos-
sible when the up and down of temperature are frequently gener-
ated.
¡Please have sufcient ventilation to keep the temperature of point
A in Fig.6.1 at Table6.1 or below. Please also make sure that the
ambient temperature does not exceed 85C.
Point A (Center of the Case)
Fig.6.1 Temperature Measuring Point on the case (Top View)
Table 6.1 Point A Temperature
Model
TUHS3 TUHS5 TUHS10 TUHS15 TUHS25
Output Voltage
ALL ALL ALL
12V, 24V
15V ALL
Point A 105C105C105C100C95C100C
Application manuals available at our website.
Recommended external components are also introduced for your
reference.
AC-DC Power Supplies PCB Mount Type
Instruction Manual
TUHS-20 June 26, 2020
This manual suits for next models
4
Table of contents
Other Cosel Power Supply manuals

Cosel
Cosel SNA-01 User manual

Cosel
Cosel LHA30F User manual

Cosel
Cosel TUNS1200F Series Instructions for use

Cosel
Cosel PLA30F User manual

Cosel
Cosel STA5000T-R User manual

Cosel
Cosel LMA Series User manual

Cosel
Cosel LFA10F User manual

Cosel
Cosel UAF500S Series User manual

Cosel
Cosel AEA Series User manual

Cosel
Cosel PLA100F User manual

Cosel
Cosel LDA10F User manual

Cosel
Cosel KHEA30F User manual

Cosel
Cosel AD240 User manual

Cosel
Cosel ADA600F User manual

Cosel
Cosel LGA50A User manual

Cosel
Cosel AME Series User manual

Cosel
Cosel FETA2500B User manual

Cosel
Cosel NBH Series User manual

Cosel
Cosel PCA600F User manual

Cosel
Cosel LHA10F User manual