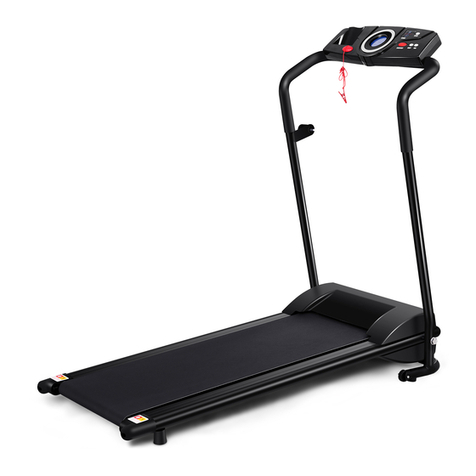
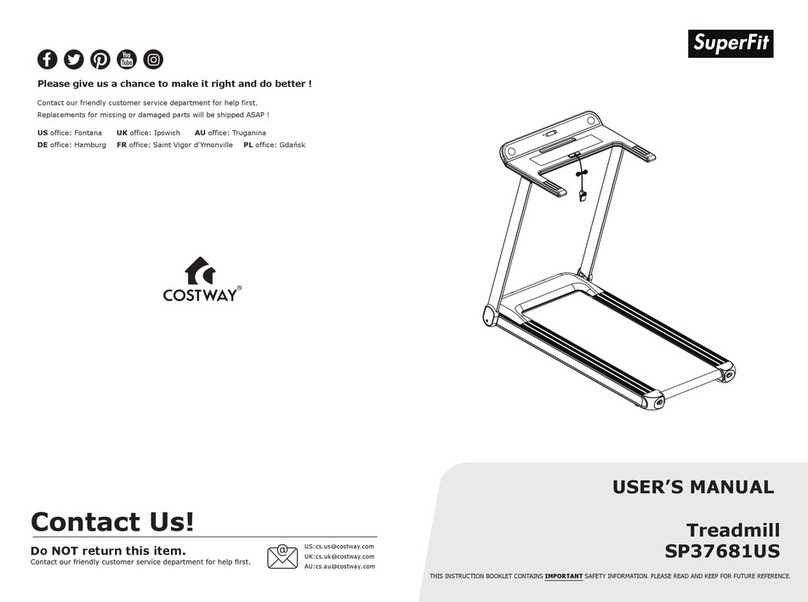
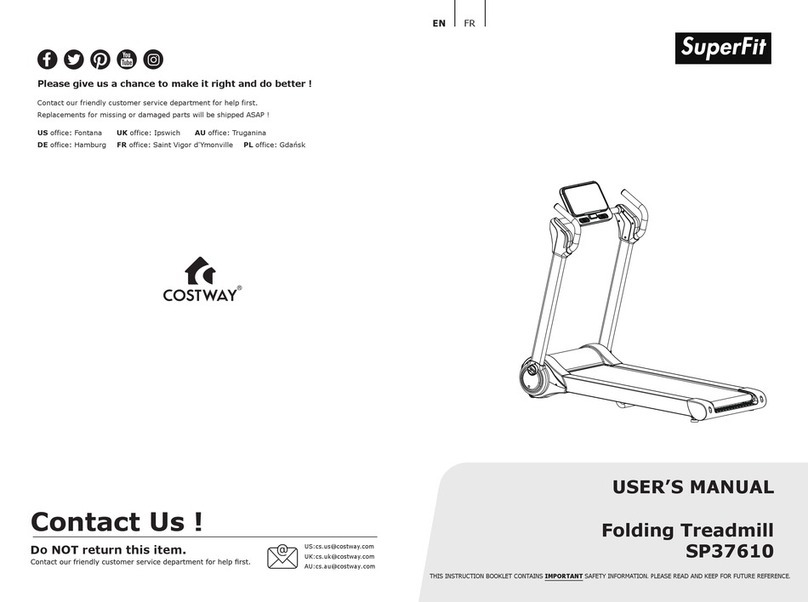
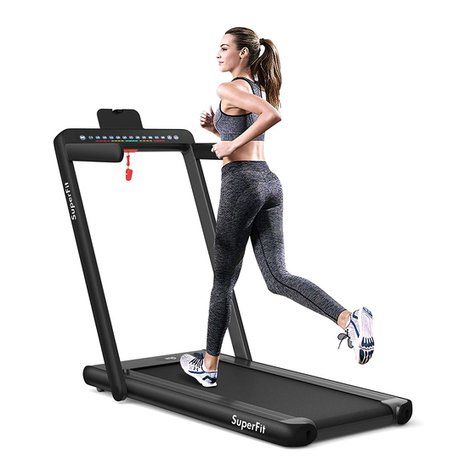
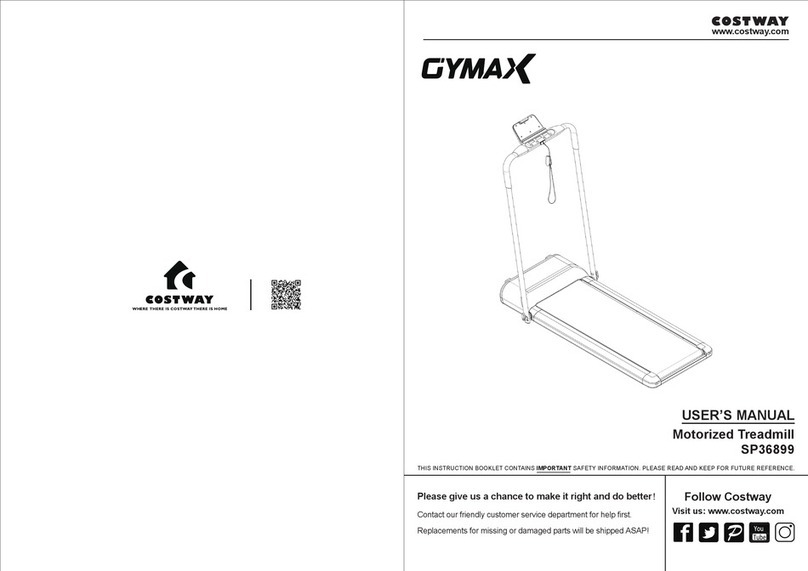
Costway SP35368 User manual

THIS INSTRUCTION BOOKLET CONTAINS IMPORTANT SAFETY INFORMATION. PLEASE READ AND KEEP FOR FUTURE REFERENCE.
EN FR
USER'S MANUAL/MANUEL DE L'UTILISATEUR
SP35368
MOTORIZED TREADMILL /Tapis de Course Pliable

02
Control Panel
Emergency Stop Switch
Handrail
Heart rate grip
Motor Cover
Running Belt
Parts Assembly
CHART OF PRODUCT
EN

03
IMPORTANT SAFETY INFORMATION
Please keep this manual in a safe place for easy reference.
1. It is important to read this entire instruction before assembling
and using the equipment. Safe and effective use can only be
achieved if the equipment is assembled, maintained and used
properly. It is your responsibility to ensure that all users of the
equipment are informed of all warnings and precautions.
2. Before starting any exercise program, you should consult your
doctor to determine if you have any medical conditions that could
put your health and safety at risk, or prevent you from using the
equipment properly. Your doctor’s advice is essential if you are
taking medicine that affects your hear rate, blood pressure or
cholesterol level.
3. Be ware of your body’s signals, incorrect or excessive exercise
can damage your health. Stop exercising if you experience any of
the following symptoms: pain, tightness in your chest, irregular
heartbeat, extreme shortness of breath, light headache, dizziness,
or feeling of nausea. If you do experience any of these conditions,
you should consult your doctor before continuing with your exercise
program.
4. Keep children and pets away from the equipment. The equipment
is designed for adult use only.
5. Use the equipment on a solid, flat level surface with a protective
cover for your floor ,or carpet. To ensure safety, the equipment
should have at least 0.5 m/ 1.65 ft of free space all around it.
6. Before using the equipment , check that the nuts and bolts are
securely tightened.
7. The safety of the equipment, can only be maintained if it is
regularly examined for damage and/or wear and tear.

8. Always using the equipment as indicated. If you find any
defective components while assembling or checking the equipment.
Or if you hear any unusual noise coming from the equipment during
use, stop immediately. Don’t use the equipment until the problem
has been rectified.
9. Wear suitable clothing while using the equipment. Avoid wearing
loose clothing that may get caught in the equipment or that may
restrict or prevent movement.
10. The equipment is only for home use only. Max user weight is
120 kg/ 265 lbs only. Braking ability is independent of speed.
11. The equipment is not suitable for therapeutic use.
12. Please take care when lifting or moving the equipment so as not
to injure your back. Always use proper lifting techniques and/or
seek assistance if necessary.
STEP 1
Open the carton, please confirm the product accessories are complete.
Accessories details:
1. Handrail decorative covers
2pcs
2. Lock screw M8X60 4pcs
3 Lock screw M8X50 4pcs
3. Multi-purpose wrench 1pc
4. Lock nut M10X25 1pc
5. Spring locking pin 1pc
6. Magnet safety switch 1pc
7.5 # Allen key 1pc
Assembling Instructions
04

STEP 2
Connect the signal line, insert the
pillar with the signal line inside
into the right side base, and insert
another pillar into the left side
base.
Then use M8X60 screw locking.
STEP 3
Screw into the spring pin.
STEP 4
Use M10X25 lock screw fix the
handle frame on the base.
STEP 5
Adjust Control panel location,
screw-in M 6X40 lock screw.
05

STEP 6
Put the handrails on the 2
columns, with four M8X50 screw
fixed respectively, and put on a
handrail decorative cover on the
top of screws on each handle.
Then insert the plug of signal lines
into the socket.
STEP 7
Put the security magnetic
safety switch into panel
yellow area.
STEP 8
Finish the assembly.
FOLDING FOR STORAGE
Please following the PIC 1, screw
out the big screw that used to fix
the base and handrail.
According to PIC2, gentlty pull the
“Spring Screws” which was fixed
on the handrail pole, and then
release “Spring Screws”. PIC 1 PIC 2
06

Maintenance
The belt may be cleaned by a mild soap and water. Be sure to
remove any excess water after cleaning.
Clean the running board under the belt periodically with a
household furniture polish. After cleaning, a small amount of
silicone spray (available from motor shops) should be placed on the
surface of the running board to allow the belt to slide more easily.
Belt Adjustment
Your treadmill belt has been
adjusted at the factory, but each
user has a tendency to be "Right"
or "Left" footed. If the belt moves
to either side, it needs to be
adjusted.
There are two adjustment bolts at the rear of the unit (see PIC.3)
Tighten by half a turn the bolt on the side towards which the belt
has shifted and correspondingly loosen the bolt on the other side.
Rotate the belt smoothly to ensure that it is correctly centered-if
not, repeat the adjustment.
07

TO LUBRICATE THE DECK
ATTENTION! To reduce the risk of electrical shock, always remove
the cable from the socket immediately after use and before
cleaning.
1 - Raise the belt from the edge of one of the sides and clean the
deck and belt by wiping a dry cloth over the deck and in internal
surface of the belt. Move the belt backwards with the foot to clean
the belt along its full length. Repeat on the other side of the belt.
2 - Place the vial between the belt and the board and hold the vial
inclined.
3 - Apply a trickle of silicone from the front to the back of the
treadmill on each side. Try to reach the center of the deck.
4 - Spread the silicone by running the treadmill at 1km/h(0.6 mph)
and step delicately on the treadmill for some minutes to enable the
silicone to spread on the belt.
08

Function Instruction
1. Insert the plug, put the safety key into the control panel, open
the power switch, full screen displays for 1 second after the beep
sound to enter standby mode.
2. In the manual standby mode initially: SPEED displays 0.0 ; TIME
displays 0:00; CAL displays 1; DIST displays 0.0; CAL displays 0;
CONTROL PANEL
Lcd Display
Program
Start
Stop
Mode
Speed Speed
The Emergency
Stop Switch
Speed
Selection Area
09

3. In the manual standby mode, press the MODE key, you can
respectively select the mode: normal, preset time or preset
distance. If you choose count up timer, it will display “:” flash
display; and count down, display the static status.
A. According to the normal, the time and distance are both count
up, when the time to 60 minutes, it will stop.
B. According to the preset time, the original time is 30:00, and the
speed can be adjusted from 5:00---99:00, and the time will count
down until 0, the machine will stop.
C. According to the preset distance, the original distance is 1.00,
you can adjust the speed from 0.50-1.00-1.50---99.5, each
additional distance is 0.5km/0.3mile, DIST will count down until 0.
4. In the standby mode, click the program key, its P1-P12 auto
program for choice, the time will show by count down, original time
is 30 : 00, you can adjust the time from 5:00-- -99:00 by speed
+/- key.
5. In the standby mode, all of shortcut key are useless, if click the
stop key, all will come back to manual standby status.
6. When running all mode, it must be have 3 seconds count down
(speed display), and buzz 3 seconds. In this mode, the mode key
and program key are invalid.
7. In manual operation mode, you can adjust the speed from 0.8-6
miles. The original is 1.0, you also can choose speed (2, 3, 4, 5, 6
miles by the speed shortcut key.
8.In automatic mode; the speed button “+/-” and the speed
shortcut key are also effective, and all auto-mode is 20 sequence
shot. The details of automatic mode are as addendum.
9. In automatic mode, the machine will buzz 3 seconds earlier to
prompt the user.
10

10. In the running status, press the “ stop” key, the motor will
reduce the speed until stop, and the mode into manual standby,
every motion parameter keep remain show so that the user watch
conveniently.
11.When the safety key / Device left the control panel, the window
shows “-”, others will not be shown.
12. In standby mode or protected mode, no-operation continuously
10 minutes, the machine will turn off the display to sleep mode.
In sleep mode, press any key (protection switch must be closed) or
to detect the heartbeat, the machine into standby immediately
shows the initial.
Function Button
Mode Press to select functions preset, or hold on can be total
reset for all function values.
Functions
Scan Automatically scan through each model in sequence for
every 5 seconds
Time Accumulates total working time up to 30:00.
Speed Accumulates current speed.
Distance Accumulates current working distance up to 99.99 miles
Exercise Computer
11

Calorie Accumulates calories consumption during exercise. Max
value is 9999 Cal. (This data is a rough guide for comparison of
different exercise sessions which cannot be used in medical
treatment)
Note:
1. Without any of signal for 4 minutes, the LCD display will shut off
automatically.
2. Turn on the monitor by pressing the button.
3. Stop exercise to press model for selecting each function.
Troubleshooting
Computer not working correctly
If your computer is not working correctly, please check whether the
computer sensor wire is plugged into the computer. If you have
checked the above and the computer is still not working, then
please make sure the Magnetic Switch is still working and that they
are installed correctly in the computer.
Technical Specification
Production Name: Motorized Treadmill
Rated Voltage: 120V
Frequency: 60 Hz
Rated Power: 1100W
12

Panneau de Commande
Interrupteur d'Arrêt d'Urgence
Main Courante
Poignée de
fréquence cardiaque
Couvercle du Moteur
Courroie de Course
INSTRUCTION
TABLEAU DE PRODUIT
FR
13

INFORMATIONS DE SÉCURITÉ
IMPORTANTES
Veuillez conserver ce manuel dans un endroit sûr pour référence
facile.
1. Il est important de lire l'intégralité de cette instruction avant
d'assembler et d'utiliser l'équipement. Une utilisation sûre et
efficace ne peut être obtenue que si l'équipement est assemblé,
entretenu et utilisé correctement. Il est de votre responsabilité de
vous assurer que tous les utilisateurs de l'équipement sont informés
de tous les avertissements et précautions.
2. Avant de commencer tout programme d'exercice, vous devriez
consulter votre médecin pour déterminer si vous avez des
problèmes de santé qui pourraient mettre votre santé et votre
sécurité en danger, ou vous empêcher d'utiliser correctement
l'équipement. L'avis de votre médecin est essentiel si vous prenez
des médicaments qui affectent votre fréquence cardiaque, votre
tension artérielle ou votre taux de cholestérol.
3. Faites attention aux des signaux de votre corps, un exercice
incorrect ou excessif peut nuire à votre santé. Arrêtez de faire de
l'exercice si vous ressentez l'un des symptômes suivants: Douleur,
sensation d'oppression thoracique, rythme cardiaque irrégulier,
essoufflement extrême, léger mal de tête, étourdissements ou
sensation de nausée. Si vous rencontrez l'une de ces conditions,
vous devriez consulter votre médecin avant de poursuivre votre
programme d'exercice.
4. Tenez les enfants et les animaux domestiques éloignés de
l'équipement. L'équipement est conçu pour un usage adulte
uniquement.
14

5. Utilisez l'équipement sur une surface solide et plane avec une
housse de protection pour votre sol ou votre tapis. Pour assurer la
sécurité, l'équipement doit disposer d'au moins 0,5 mètre d'espace
libre autour de l'équipement.
6. Avant d'utiliser l'équipement, vérifiez que les écrous et les
boulons sont bien serrés.
7. La sécurité de l'équipement ne peut être maintenue que s'il est
régulièrement examiné pour détecter tout dommage et/ou usure.
8. Utilisez toujours l'équipement comme indiqué. Si vous trouvez
des composants défectueux lors de l'assemblage ou de la
vérification de l'équipement, ou si vous entendez un bruit inhabituel
provenant de l'équipement pendant l'utilisation, arrêtez
immédiatement. N'utilisez pas l'équipement tant que le problème
n'a pas été résolu.
9. Portez des vêtements appropriés lors de l'utilisation de
l'équipement. Évitez de porter des vêtements amples qui pourraient
se coincer dans l'équipement ou qui pourraient restreindre ou
empêcher les mouvements.
10. L'équipement est uniquement destiné à un usage domestique.
Le poids maximum de l'utilisateur est de 120 kg seulement. La
capacité de freinage est indépendante de la vitesse.
11. L'équipement n'est pas adapté à un usage thérapeutique.
12. Veuillez faire attention lorsque vous soulevez ou déplacez
l'équipement afin de ne pas vous blesser au dos. Utilisez toujours
les techniques de levage appropriées et/ou demandez de l'aide si
nécessaire.
15

ÉTAPE 1
Ouvrez le carton, veuillez confirmer que les accessoires du produit
sont complets.
Détails des accessoires:
1. Couvercles décoratifs de main
courante x2
2. Vis de verrouillage M8X60 x4
Vis de verrouillage M8X50 x4
3. Clé polyvalente x1
4. Contre-écrou M10X25 x1
5. Goupille de verrouillage à
ressort x1
6. Interrupteur de sécurité
magnétique x1
7. 5 # Clé Allen x1
Instructions d'Assemblage
ÉTAPE 2
Connectez la ligne de signal et
insérez le pilier avec la ligne de
signal à l'intérieur dans la base
du côté droit, et insérez un
autre pilier dans la base du côté
gauche, puis utilisez le
verrouillage à vis M8X60.
16

ÉTAPE 3
Vissez dans la goupille à
ressort.
ÉTAPE 4
Utilisez la vis de verrouillage
M10X25 pour fixer le cadre
de la poignée sur la base.
ÉTAPE 5
Ajustez l'emplacement du panneau
de commande, vissez la vis de
verrouillage M6X40.
ÉTAPE 6
Placez les mains courantes sur les
2 colonnes avec quatre vis M8X50
fixées respectivement, et placez
un couvercle décoratif de main
courante sur le dessus des vis de
chaque poignée, puis insérez la
fiche des lignes de signal dans la
prise.
17

ÉTAPE 7
Placez l'interrupteur de
sécurité magnétique dans la
zone jaune du panneau.
ÉTAPE 8
Terminez l'assemblage.
PLIAGE POUR LE
STOCKAGE
Veuillez suivre la figure 1,
dévissez la grosse vis qui servait à
fixer la base et la main courante.
Selon la figure 2, tirez doucement
sur les vis à ressort qui étaient
fixées sur le poteau de la main
courante, puis relâchez les vis à
ressort.
Figure 1 Figure 2
RÉGLAGE DE LA COURROIE
Votre courroie de tapis roulant a été ajustée en usine, mais chaque
utilisateur a tendance à utiliser le pied «droit» ou «gauche». Si la
courroie se déplace d'un côté ou de l'autre, elle doit être ajustée.
18

Il y a deux boulons de réglage à
l'arrière de l'unité (voir Figure 3).
Serrez d'un demi-tour le boulon du
côté vers lequel la courroie s'est
déplacée et desserrez en
conséquence le boulon de l'autre
côté. Faites tourner la courroie en
douceur pour vous assurer qu'elle
est correctement centrée. Sinon,
répétez le réglage.
Maintenance
La courroie peut être nettoyée avec un savon doux et de l'eau.
Assurez-vous d'enlever tout excès d'eau après le nettoyage.
Nettoyez périodiquement le marchepied sous la courroie avec un
cirage pour meubles de maison. Après le nettoyage, une petite
quantité de silicone en spray (disponible dans les magasins
d'automobiles) doit être placée sur la surface du marchepied pour
permettre à la courroie de glisser plus facilement.
19
Figure 3
Boulons de Réglage
de la Courroie

POUR LUBRIFIER LE PONT
ATTENTION! Pour réduire le risque de choc électrique, retirez
toujours le câble de la prise immédiatement après utilisation et
avant le nettoyage.
1 - Soulevez la courroie du bord de l'un des côtés et nettoyez le
pont et la courroie en essuyant un chiffon sec sur le pont et dans la
surface interne de la courroie. Déplacez la courroie vers l'arrière
avec le pied pour nettoyer la courroie sur toute sa longueur.
Répétez les mêmes étapes sur l'autre côté de la courroie.
2 - Placez le flacon entre la courroie et la planche et tenez le flacon
incliné.
3 - Appliquez un filet de silicone de l'avant vers l'arrière du tapis
roulant de chaque côté. Essayez d'atteindre le centre du pont.
4 - Étalez le silicone en faisant rouler le tapis de course à 1 km/h et
marchez délicatement sur le tapis de course pendant quelques
minutes pour permettre au silicone de s'étaler sur la courroie.
Courroie
Silicone
Pont
20
Table of contents
Languages:
Other Costway Treadmill manuals

Costway
Costway GYMAX User manual

Costway
Costway SuperFit SP37522 User manual

Costway
Costway GOPLUS SP36991 User manual

Costway
Costway GOPLUS SP36162 User manual

Costway
Costway SuperFit SP37619CA User manual

Costway
Costway SuperFit SP37747US User manual

Costway
Costway SP37066 User manual

Costway
Costway SP37522DE User manual

Costway
Costway SuperFit SP37610 User manual

Costway
Costway GO PLUS SP37306US User manual