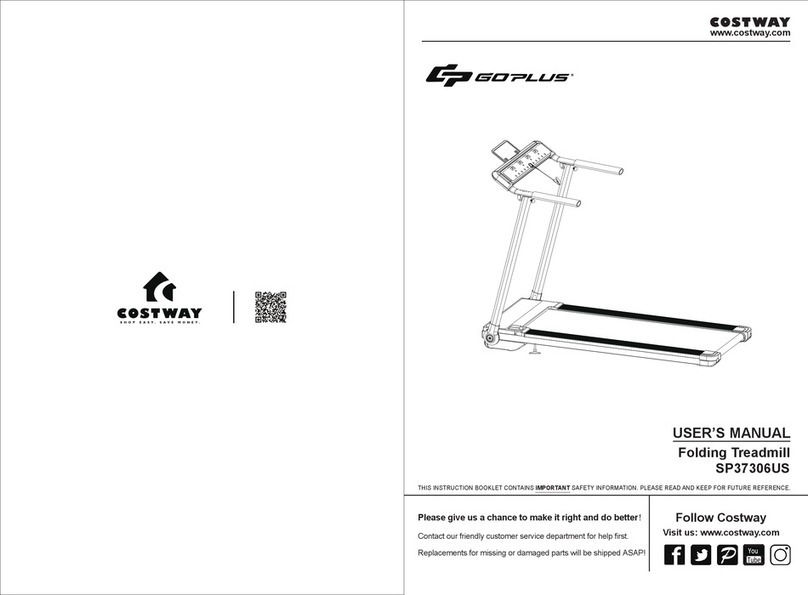
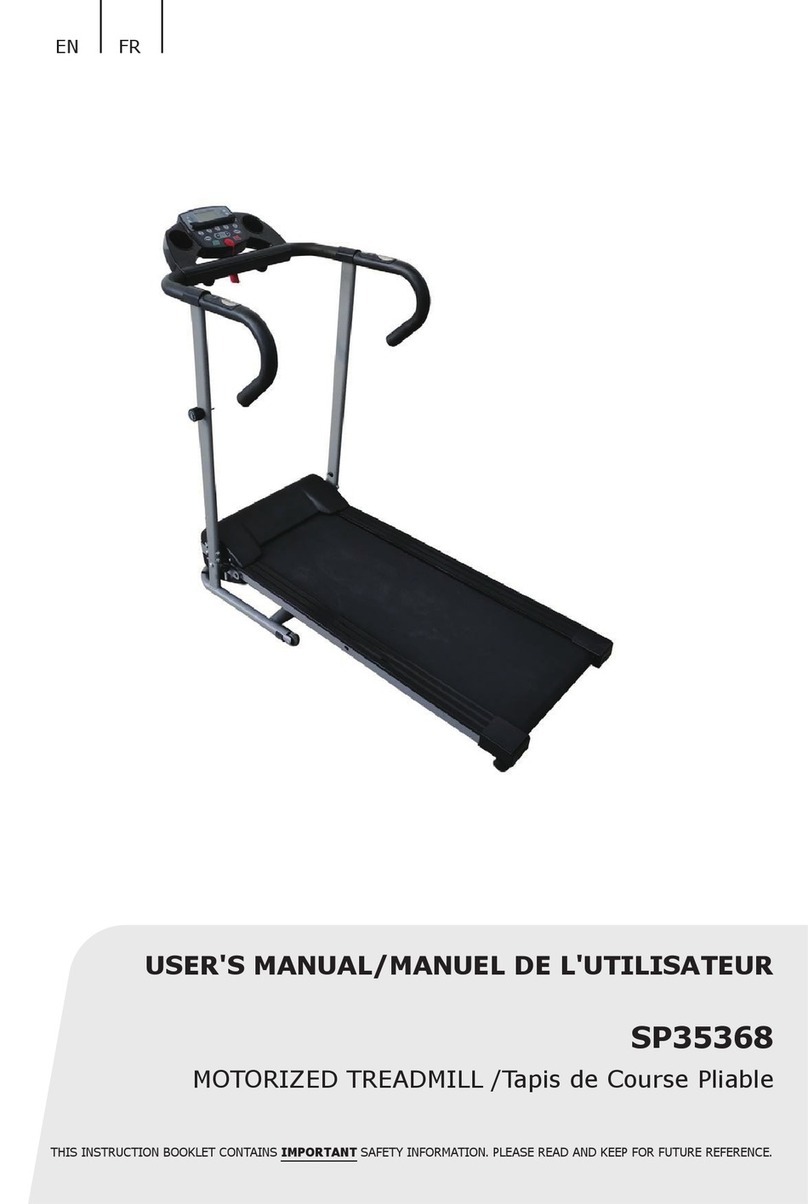
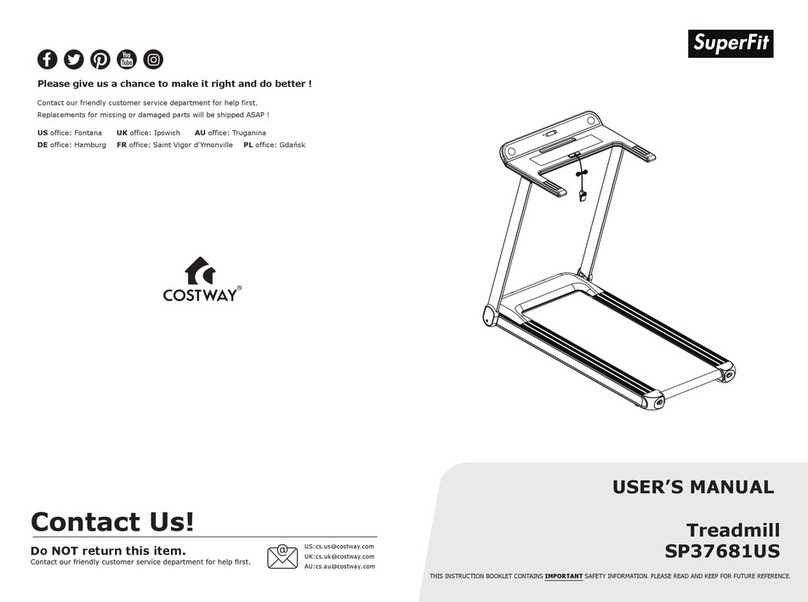
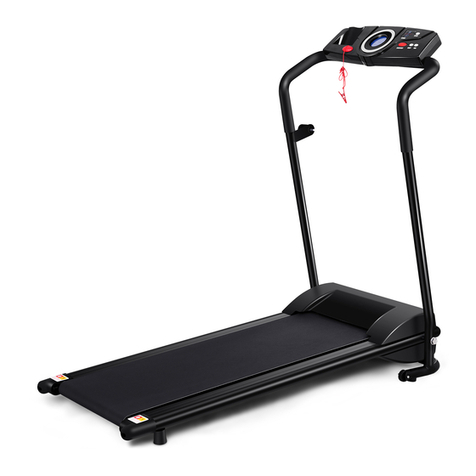
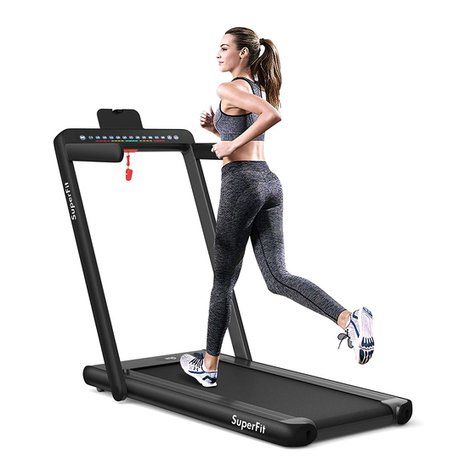
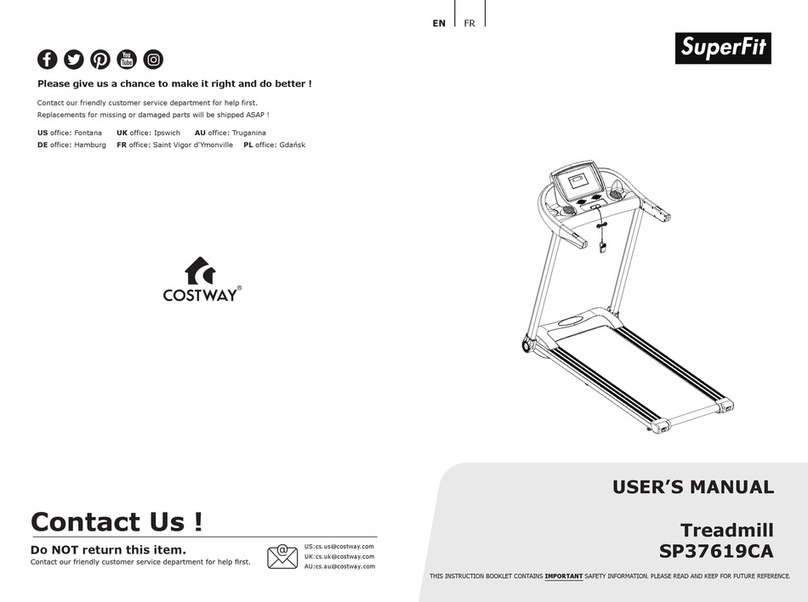
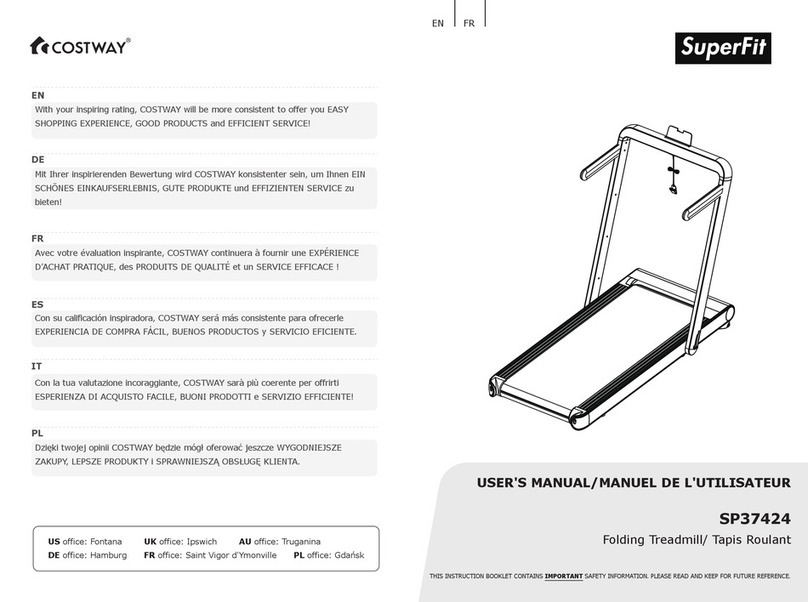
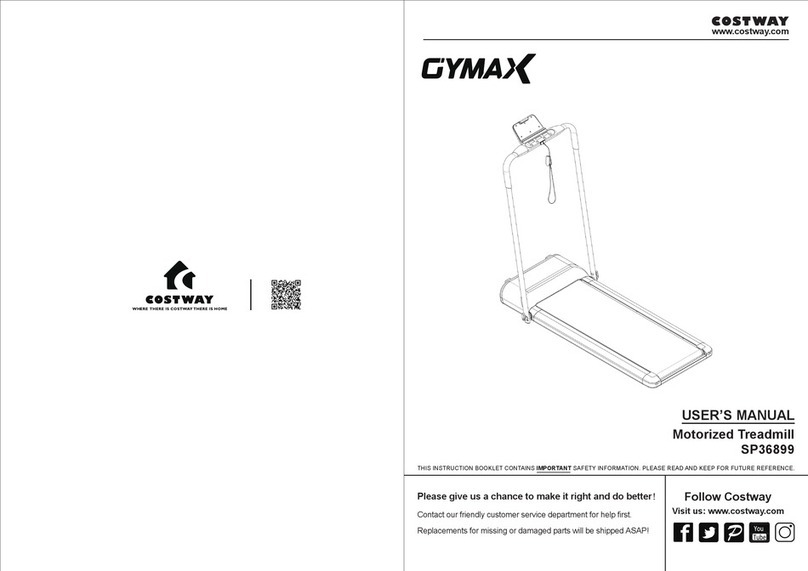
Costway SuperFit SP37610 User manual

Please give us a chance to make it right and do better !
Contact our friendly customer service department for help first.
Replacements for missing or damaged parts will be shipped ASAP !
Contact Us !
Do NOT return this item.
Folding Treadmill
SP37610
USER’S MANUAL
THIS INSTRUCTION BOOKLET CONTAINS IMPORTANT SAFETY INFORMATION. PLEASE READ AND KEEP FOR FUTURE REFERENCE.
EN FR
US:cs.us@costway.com
UK:cs.uk@costway.com
US office: Fontana UK office: Ipswich AU office: Truganina
DE office: Hamburg
FR office: Saint Vigor d'Ymonville
PL office: Gdańsk

Please talk to your doctor before you start an exercise program.
Please be sure to consult your doctor or a professional before you
start if you are over the age of 35 or not feeling well, and this is
your first time fitness exercises. Please follow the instructions to
install and use this product.
Before You Start
Please read all instructions carefully.
Retain instructions for future reference.
Separate and count all parts and hardware.
Read through each step carefully and follow the proper order.
We recommend that, where possible, all items are assembled
near to the area in which they will be placed in use, to avoid
moving the product unnecessarily once assembled.
Always place the product on a flat, steady and stable surface.
Keep all small parts and packaging materials for this product
away from babies and children as they potentially pose a serious
choking hazard.
Warning
● Please choose a bright and well-ventilated place to install
treadmill.
● Please keep your children and pets away from the treadmill. Do
not leave your child alone in the room where the treadmill is kept.
● Please do not put the treadmill in a damp place. It will cause
trouble.
● Please do not wear clothes that are too long or too baggy for your
fitness exercises. In case they are hung on the treadmill. Usually
wear running shoes or exercise shoes with rubber soles.
● The treadmill is a special equipment. Do not modify or as the
other use.
● Please don't put the treadmill and miscellaneous things together.
● To be safe, please check the screws and other accessories on the
treadmill for locking before using.
● Please do warm up before exercise to prevent injury.
● If you feel dizziness, nausea, chest tightness or other abnormal
symptoms in the process of exercise, please stop exercising
immediately and consult a professional doctor if necessary.
● Please use the treadmill under the guidance of a professional
health physician for disabled person. Please follow the instructions
to install and use this product.
Cautions
02 03

Safety Instructions
Special Safety Instructions
8. Keep your hands away from all moving parts. Do not put your
hands and feet in the gap under the running belt. 9. This product is
only for one person at run time.
10. Make sure screws and bolts are tightened after assembly.
11. Please use the accessories provided by the manufacture.
12. This product is HC grade, with a maximum weight capacity of
264.5 LBS.
13. There should be at least a 39.4x78.75inch (1000x2000mm)
safe area behind the treadmill when in use.
The Power
• Choose a place in reach of a socket when placing the treadmill.
• Plug the power cord directly into the socket. No looseness is
allowed.
• Please use a qualified socket to avoid danger. If the plug and socket
are not compatible. Please do not move the socket. Please let the
electrician deal with it.
• The voltage 110V AC power will be supplied.
• Do not let the power cord to be connected to the roller. Do not put
the power cord on the running belt. Do not use damaged plugs.
• Please remove the plug from the socket before cleaning and
maintenance.
Warning: Failure to unplug may result in personal injury and
device damage.
• Please inspect each part before using.
• Please do not use the product outdoors in high temperature and
sunshine.
• Please turn off the machine and unplug it when you leave.
Many safety questions had been considered in the design and
manufacture of this product, but please follow the instructions below
just in case. We do not accept any consequences arising from
abnormal operations.
To ensure your safety and avoid accidents, please read the
instructions carefully before using.
1. Please consider your physical condition and properly and regularly
train to ensure that you have enough physical strength for training
when starting training with this product. Mistakes or excessive
training will not benefit our health.
2. This product is not suitable for children. Do not use if you feel
unwell physically or mentally unless they are under the supervision
or direction of a person responsible for their safety regarding the
use of the product. Children should be monitored to make sure they
do not play with equipment.
3. This product is suitable for family use, is not suitable for
professional training and testing, and cannot be used for medical
purposes.
4. If the power cord is damaged, it must be replaced by the
manufacturer or professional maintenance personnel to avoid
danger.
5. Please check all parts before use to ensure that screws and nuts
are locked.
6. Please wear comfortable tight clothes to avoid the clothes being
hung by the machine. Don’t let children or pets play around in case
of accidents.
7. Please put the product on a smooth, clean and flat ground. Make
sure there is no sharp objects nearby. Keep away from water and
heat sources.
04 05
Installation Notice
• Please read the assembly instructions carefully before assembly.
• Take out all the packing materials and put them on the clean
floor, so that you can check them and make your installation more
convenient.
• Carefully check that all parts are complete according to the
packing list.
• Please pay attention to safety when you are using tools or
carrying.
• Please do not install according to your personal preference.
Please make sure tools and packing materials are not dangerous.
Plastic and foam are dangerous to children.
• Assemble the product according to the instructions. Please read
the assembly steps and instructions carefully.
• This product must be carefully installed, if necessary, please ask
a professional to install.
Warning: Carefully install the product. Do not damage the
product.
Kids are not allowed to use this product.
● Parts List
● Structure Drawing
No. Item name
Electronic meter
Handrail
Riser
Running board
Qty.
1
2
3
4
Running board
Riser
Electronic meter
Handrail
1
2
1
2
06 07

Installation Instructions
1. Unpack the box, take out the accessory bag, and place the whole
machine on the ground.
2. Rotate the left and right knobs of the riser 4-5 turns
counterclockwise, then lift the riser to the limit, and then lock the
left and right knobs clockwise. (If the knob does not turn normally
or smoothly, please shake the riser slightly. Because it may cause
the clamping position to be too tight during packaging and
transportation)
Rotate the left and right knobs of the riser 4-5 turns
counterclockwise (Note: please hold the riser with your hands),
then slowly lower the riser, and then tighten the left and right knobs
clockwise.
3. Put the electrical meter on right way and place the safety key on
the yellow position.
Knob
Knob
1
1
2
2
3
Folding Instruction
● Packing list
No. Item name Qty.
1
2
3
Whole treadmill
Accessory Bag
User Manual/Certification
1
1
1
08 09

● Accessories Bag List
● Technical Parameter
No. Item name NoteQty.
1
2
3
4
5
1
1
2
1
1
Red
5mm Allen wrench
6mm Allen wrench
Silicone oil
Safety key
Power cord
Voltage
Max User Weight
Size
Running Area
Peak Motor Power
Speed
Exercise Mode
AC 110V 60Hz
264.5LBS
Folding Size: 11.8*30.5*55.9 inch
Expanding Size: 55.9*30.5*49.5 inch
43.3*16.5 inch
2.25HP
0.6-8 Mph
Running/Walking
Operation Instructions
Display Window Instructions
1. Window 1 : Displays time/step/speed values
2. Window 2: Displays distance/calorie values. When an error
occurs, this window displays the corresponding error prompt code.
3. START/STOP Key: START the treadmill in stopping state, STOP
the treadmill in working state.
4. “Speed +” Key: In the working state, press the key to increase
the speed.
5. “Speed -” Key: In the working state, press the key to lower the
speed.
6. “QUICK SPEED KEY”: 3MPH and 5MPH quick speed key, in the
running state of the treadmill, directly set the speed to specify the
value.
Start Up Instructions
Operating instructions in manual normal mode:
1. Attach the safety key to the safety key position on the panel,
turn on the power switch, and the buzzer will sound once. Then
enter manual normal mode.
2. Press the “START” key. The windows display: 3333 — 2222 —
1111, and each time the buzzer is sounded, the motor is started.
3. The starting speed is: 0.6MPH. At this time, you can press the
“speed +/-” key, quick speed keys “3MPH/5MPH” to adjust the
speed.
Safety Key Function Instruction
The safety key is composed of light touch switch, clothes clip and
nylon rope. In any state, as long as the safety key is out of
position, the treadmill stops running, the electronic meter board is
forbidden to operate. And the screen displays “E07” with a prompt
sound. After placing the security lock every time, the screen will
display for several seconds, and then enter the system default
working state.
10 11

Do not lubricate too much. It is not the more lubricants the better.
Remember: Proper lubrication is an important factor in improving
the life of the treadmill.
Bluetooth Function
You can hold the phone in the phone holder and then play the phone
music after connecting via Bluetooth.
● Data Display Range
Time ( Minutes/ Seconds )
Speed (MPH)
Distance (Mile)
Calories (KC)
Start
0:00
0.0
0.00
0.0
Display Range
0:00-99:59
0.0-8.0
0.00-99.9
0.0-999
Please contact our customer service if you have any other questions.
Problems
Problem
E01
E02
E05
E07
Poor communication
Power assault
Overload protection
Possible Cause Maintenance Methods
Safety lock drop
External disturbance
The signal line is not plugged
in, plug it in again
Power tube breakdown, replace
the electronic controller
Overload, replace electronic
controller
Put the safety lock in the
correct position
Turn off the power switch.
Turn it on after 1 minute
abnormal
display
Treadmill
doesn’t
work
The running
belt doesn't
run smoothly
Running
belt slipped
Possible causes
Put the power switch in
position “ON”
Put the safety lock in
correct position
Check the controller input
terminal and signal circuit
Replace fuse
Put plug to into the socketNot connected
Power is not turned on
The fuse blown out
Insufficient lubrication
Running belt is too tight
Running belt is too loose
Motor belt is too loose
Add silicone oil lubricant
Adjust running belt tightness
Adjust motor belt tightness
Circuit signal system
break
Safety lock drop
Maintenance Methods
Advice:
★1 hour or less per week
★Less than 3 hours per week
★
★
3-6 hours per week
Lubricate once every 6 months
Lubricate once every 3 months
Lubricate once every 2 months
More than 6 hours per week Lubricate once every 1 months
1. Lubrication
After the running belt has been used for a period of time, it must be
lubricated with a specially configured methyl-silicone oil.
Product Maintenance
Common Failures and Processing Methods
12 13

Please adjust left bolt with
clockwise or right bolt with
counterclockwise if running
belt is left deviation.
Please adjust right bolt with
clockwise or left bolt with
counterclockwise if running
belt is right deviation.
4. Running belt deviation adjustment
All treadmills need to be adjusted the running belt before delivery
and after installation. But the running belt may be deviated after a
period of use which may be caused by the following reasons.
①The main body is not placed smoothly.
②The feet of users are not in the center of the running belt.
③The feet of users are uneven force.
The deviation caused by man can be returned to normal after
a few minutes of no-load rotation. For deviation of
non-recover automatically, it should be adjusted with 6mm
wrench at a half circle as the unit.
3. Adjust tightness of running belt
All treadmills shall be adjusted for tightness before delivery and
after installation. However, the running belt may be loosened after a
period of use. For example,the treadmill has problems with stopping
and slipping during exercise. Adjust bolts of running belt with the
left and right synchronous as per clockwise direction to half a circle
as the unit when this phenomenon occurs. The feet will slip if the
running belt is too loose. But it is not good to be too tight. It is easy
to increase the load of the motor and damage the motor, running
belt and roller etc.
Tips: It is mainly maintained by the user according to the
manual. Running belt deviation will seriously damage the
running belt. The mistake must be found in time and
corrected.
2. As for the way to check whether you need to add lubricant
again. Just grab the running belt and touch the middle of the
running belt back with your hands as much as possible. You
don't need to add lubricant if you have silicone on your hand
(a little moist). You have to add lubricant if the pad is dry
and there is no silicone on your hand.
★The step of lubricating on the running board (as shown in the
picture);
★Stop the running belt and fold the machine;
★Lift up the running belt on the bottom, extend the oil into the
middle of the running belt as much as possible, spray
methyl-silicone oil on the inner side of the running belt, and coat
both sides of the running belt with methyl-silicone oil;
★You can make use of the treadmill speed of 0.6mph to evenly
lubricate and step on the running belt from left to right. After a few
minutes, the methyl silicone oil can be completely absorbed by the
running belt.
14 15

Frequency
The exercise of the same muscle should keep 48 hours of rest.
That is, only train the same area every other day.
Load
Relax
Diet
Determine the amount of training according to the individual physical
condition, and then practice according to asymptotic load. It is
normal phenomenon for muscle soreness at the beginning of training.
As long as continue to practice, the soreness can be eliminated.
The reductive action should be done for 5mins after practicing every
time. Especially extend flabby for ministry muscle. Avoid long-term
coagulation of muscles and maintain muscle flexibility.
Do not eat at least 1 hour before training and half an hour after
training to protect your digest system. Avoid drinking plenty of
water to avoid increasing burden of heart and kidney.
5. Adjustment of the motor belt (as shown below)
All treadmills have been adjusted for the motor belt before and
after installation, but there may be slack and slipping after a period
of use, which is mainly adjusted by the user.
Adjustment steps:
① Adjust the parallelism of the motor with a wrench. Turn the
motor balance adjustment bolt half a turn counterclockwise.
②Turn the belt tightening bolts clockwise half a turn.
NOTE: Clean the belt and pulley groove regularly.
Motor balance
adjustment bolt
Front roller
Motor belt
Motor
Belt tension bolt
Exercise Advice & Guidelines
warm-up exercise
Warm up for 5-10 minutes before each operation.
Breathe
Do not hold your breath during operation. Normally prepare to
release action and inhale through the nose, exhale through the
mouth. The breathing should be coordinated with movement. If
the breathing is too rapid, the movement should be stopped
immediately.
16 17

Stretching Exercises
It is important to stretch before training, no matter how intense
the training will be. It is easier to stretch the muscles when they
are warm. Warm up by running for 5 to 10 minutes and then stop
and stretch as follows 5 times for 10 seconds or more on each
leg. Continue to stretch even after training. Do it again after you
work out.
12
34
5
3. Calf and hamstring stretch
Stand with two hands on a wall or tree. One foot is behind. Keep
your hind legs straight and on your heels, leaning against a wall or
tree. Hold for 10-15 seconds, then relax. Repeat 3 times for each
leg. (see figure 3)
4. Quadriceps stretch
Keep balance with right hand to hold the wall or table. Then extend
your left hand backward. Hold your left ankle and slowly pulling
toward your hips until you feel tension in front of your thighs
muscles. Hold for 10-15 seconds, then relax. Repeat 3 times with
each leg. (see figure 4)
5. Sartorius muscle (muscle of the inner thigh) stretch
Sit with your feet facing each other and knees facing out. Grab both
feet with both hands and put toward the groin. Hold for 10-15
seconds, then relax. Repeat 3 times. (see figure 5)
1. Stretch down
Bent your knees slightly and slowly bend your body to relax your
back and shoulders. And try to touch your toes with your hands.
Hold for 10-15 seconds, then relax. Repeat 3 times. (see figure 1)
2. Hamstring stretch
Sit on a clean seat cushion and straighten one leg. Bring the other
leg in close to the inside of the leg. Try to touch your toes with your
hands. Hold for 10-15 seconds, then relax. Repeat 3 times for each
leg. (see figure 2)
18 19

Gymax App iOS/Android with Gymax platform provides users the
control of sports intelligent device, sports data recording, sports
mall, dynamic sharing in community, system settings and other
functions.
Retrieve Password
If E-mail users forget Passwords, users can click "Forget Password"
on the mailbox login interface to jump to the Password retrieval
interface, and then reset Passwords.
Edit Information
In the personal information interface, clicking the avatar, users can
edit the avatar and upload the avatar by choosing album or camera.
This document is applicable to the Android version and iOS version of
the official APP of Gymax.
For the convenience of users, Gymax
provides three login methods: Facebook
and E-mail, and iOS users can also sign
in with Apple. Users can quickly sign in
to the Gymax App and use it.
Sign In
Sports Scenes
Sports Mall
Community Dynamic
Settings
Sign in Process
The Main functions
Functions Overview
Gymax App Instruction Manual
ios: Search Gymax in App Store to download
Android: search and download from Google Play store
20 21

Sports Scenes
Connecting services
On the home page, users can freely choose the device type to
connect. After connecting successfully, then user can select the
device page, such as the "Treadmill" interface.
Starting exercise
Selecting the device page, such as "Start" on the "Treadmill"
interface, users enter the running free, as shown below:
1.Waiting for Gymax to automatically connect to the treadmill.
3. The Gymax App synchronizes exercise data, such as distance,
time, calorie, and speed. As users run on the treadmill, they can
start and stop the treadmill. And they can increase and reduce the
speed. The APP directly shows the user's sports ranking and the
number of online users.
2.When the connection status sign is lit, it means that the APP
has successfully connected to the treadmill. Users click ,then the
treadmill starts running and enters the countdown.3.2.1 GO.
22 23

4. When users finish the exercise, the Gymax App will show users'
total running distance.
Sports Plan
Users can click "Add More Training Plans" to add users' own sports
plans.
Setting Goals
1. Users can set suitable sports goals.
5. Users can share the sports data to the community or save it to
the phone album.
24 25

2. When the goal is reached, the exercise automatically ends.
Training Course
1. Users can select courses in the interface of training course.
2. And then start training with a fitness coach.
Exercise Record
The user can view the exercise data record in the device page.
(me-exercise data)
26 27

Sports Mall
Users can purchase satisfied sports devices.
Community dynamic
1. In sports community, users
can share dynamic
communication with each other.
2. Users can
comment dynamics
in community.
3. Users can post
dynamics.
4. Users can remove
the released dynamics
in Me-My Dynamic.
28 29

Settings
System Settings
Users can click "Me" to enter the set up,
including unit, feedback, terms of agreement,
privacy agreement and clear cache, etc.
Users can clean up the system
cache according to users' needs,
including Gymax App H5 web page
load cache and image load cache.
Users can submit suggestions
and the problem for improving
the product.
Unit settings (metric or
imperial standard)
Feedback
Clear Cache
30 31

EN FR
VEUILLEZ NOUS DONNER L’OCCASION DE L’AMÉLIORER !
Contactez d’abord notre service à la clientèle amical pour l’aide.
Les replacements pour les pièces manquantes ou endommagées seront envoyés
le plus vite possible!
Contactez-nous !
Tapis Roulant Pliable
SP37610
MANUEL DE L’UTILISATEUR
Contactez notre service à la clientèle pour obtenir de l’aide.
CE MANUEL CONTIENT DES INFORMATIONS IMPORTANTES SUR LA SÉCURITÉ. VEUILLEZ LE LIRE ET LE CONSERVER POUR TOUTE RÉFÉRENCE FUTURE.
US office: Fontana UK office: Ipswich AU office: Truganina
DE office: Hamburg
FR office: Saint Vigor d'Ymonville
PL office: Gdańsk

Avant de Commencer
Veuillez lire attentivement toutes les instructions.
Conservez les instructions pour vous y référer ultérieurement.
Vérifiez toutes les pièces et les accessoires.
Lisez attentivement chaque étape et suivez l’ordre correct.
Nous recommandons que, dans la mesure du possible, tous les
produits soient assemblés à proximité de la zone où ils seront
utilisés, afin d’éviter tout déplacement inutile du produit une fois
assemblé.
Placez toujours le produit sur une surface plane et stable.
Conservez toutes les petites pièces de ce produit et les matériaux
d’emballage hors de portée des bébés et des enfants, car ils
pourraient présenter un risque d’étouffement.
02 03
Veuillez consulter votre médecin avant de commencer un
programme d'exercices. Veillez à consulter votre médecin ou un
professionnel avant de commencer si vous avez plus de 35 ans ou
si vous ne vous sentez pas bien, et si c'est la première fois que
vous faites des exercices de fitness. Veuillez suivre les instructions
pour installer et utiliser ce produit.
Avertissement
• Veuillez choisir un endroit lumineux et bien ventilé pour installer le
tapis roulant.
• Veuillez tenir vos enfants et vos animaux domestiques à l'écart du
tapis roulant. Ne laissez pas votre enfant seul dans la pièce où se
trouve le tapis roulant.
• Veuillez ne pas placer le tapis roulant dans un endroit humide. Cela
causerait des problèmes.
• Veuillez ne pas porter de vêtements trop longs ou trop amples
pour vos exercices de fitness. Au cas où ils seraient accrochés sur le
tapis roulant. Portez généralement des chaussures de course ou
d'exercice avec des semelles en caoutchouc.
• Le tapis roulant est un équipement spécial. Ne le modifiez pas et
ne l'utilisez pas à d'autres fins.
• Ne mettez pas le tapis roulant et divers objets ensemble.
• Par mesure de sécurité, vérifiez le verrouillage des vis et des
autres accessoires du tapis roulant avant de l'utiliser.
• Veuillez vous échauffer avant l'exercice pour éviter toute blessure.
• Si vous ressentez des étourdissements, des nausées, une
oppression thoracique ou d'autres symptômes anormaux au cours de
l'exercice, veuillez arrêter immédiatement l'exercice et consulter un
médecin professionnel si nécessaire.
• Veuillez utiliser le tapis roulant sous la direction d'un médecin
professionnel pour les personnes handicapées. Veuillez suivre les
instructions d'installation et d'utilisation de ce produit.
Cautions

04 05
Consignes de sécurité
Instructions Spéciales de Sécurité
8) Gardez vos mains éloignées de toutes les pièces mobiles. Ne
mettez pas vos mains et vos pieds dans l'espace situé sous le tapis
roulant.
9) Ce produit est destiné à une seule personne à la fois.
10) Assurez-vous que les vis et les boulons sont serrés après
l'assemblage.
11) Veuillez utiliser les accessoires fournis par le fabricant.
12) Ce produit est de qualité HC, avec une capacité de poids
maximale de 264,5 LBS.
13) Il doit y avoir au moins une zone de sécurité de
39.4x78.75inch (1000x2000mm) derrière le tapis roulant lorsqu'il
est utilisé.
La force
• Choisissez un endroit à portée d'une prise de courant lorsque vous
placez le tapis roulant.
• Branchez le cordon d'alimentation directement dans la prise. Aucun
desserrage n'est autorisé.
• Veuillez utiliser une prise qualifiée pour éviter tout danger. Si la
fiche et la prise ne sont pas compatibles. Ne déplacez pas la prise.
Laissez l'électricien s'en occuper.
• Le voltage est de 110V AC.
★Ne laissez pas le cordon d'alimentation être connecté au rouleau.
Ne pas mettre le cordon d'alimentation sur la bande de roulement.
N'utilisez pas de fiches endommagées.
★Veuillez retirer la fiche de la prise avant le nettoyage et l'entretien.
Avertissement: Le fait de ne pas débrancher l'appareil peut
entraîner des blessures corporelles et endommager l'appareil.
• Veuillez inspecter chaque pièce avant de l'utiliser.
• Veuillez ne pas utiliser le produit à l'extérieur, à des températures
élevées et au soleil.
• Veuillez éteindre l'appareil et le débrancher lorsque vous partez.
De nombreuses questions de sécurité ont été prises en compte dans
la conception et la fabrication de ce produit, mais au cas où, veuillez
suivre les instructions ci-dessous. Nous n'acceptons pas les
conséquences d'un fonctionnement anormal.
Pour assurer votre sécurité et éviter les accidents, veuillez
lire attentivement les instructions avant de l'utiliser.
1) Lorsque vous commencez à vous entraîner avec ce produit, tenez
compte de votre condition physique et entraînez-vous de manière
appropriée et régulière, afin de vous assurer que vous avez
suffisamment d'endurance pour vous entraîner. Un entraînement
erroné ou excessif ne sera pas bon pour la santé.
2) Ce produit ne convient pas aux enfants. Ne l'utilisez pas si vous
vous sentez mal physiquement ou mentalement, sauf s'ils sont sous
la surveillance ou la direction d'une personne responsable de leur
sécurité concernant l'utilisation du produit. Les enfants doivent être
surveillés pour s'assurer qu'ils ne jouent pas avec l'équipement.
3) Ce produit est adapté à un usage familial, ne convient pas à la
formation et aux tests professionnels et ne peut être utilisé à des
fins médicales.
4) Si le cordon d'alimentation est endommagé, il doit être remplacé
par le fabricant ou par un personnel d'entretien professionnel pour
éviter tout danger.
5) Veuillez vérifier toutes les pièces avant de les utiliser pour vous
assurer que les vis et les écrous sont bloqués.
6) Veuillez porter des vêtements confortables et serrés pour éviter
que les vêtements ne soient accrochés par la machine. Ne laissez
pas les enfants ou les animaux domestiques jouer autour en cas
d'accident.
7) Veuillez poser le produit sur un sol lisse, propre et plat.
Assurez-vous qu'il n'y a pas d'objets pointus à proximité. Tenez-le
éloigné des sources d'eau et de chaleur.

06 07
Notice d'Installation
• Veuillez lire attentivement les instructions d'assemblage avant
de procéder au montage.
• Sortez tous les matériaux d'emballage et posez-les sur un sol
propre, afin de pouvoir les vérifier et rendre votre installation plus
pratique.
• Vérifiez soigneusement que toutes les pièces sont complètes,
conformément à la liste d'emballage.
• Faites attention à la sécurité lorsque vous utilisez des outils ou
que vous les transportez.
• Veuillez ne pas installer selon vos préférences personnelles.
Veuillez vous assurer que les outils et les matériaux d'emballage
ne sont pas dangereux. Le plastique et la mousse sont dangereux
pour les enfants.
• Assemblez le produit conformément aux instructions. Veuillez
lire attentivement les étapes et les instructions d'assemblage.
• Ce produit doit être installé avec soin, si nécessaire, veuillez
demander à un professionnel de l'installation.
Avertissement: Installez le produit avec précaution. Ne pas
endommager le produit.
Les enfants ne sont pas autorisés à utiliser ce produit.
● Liste des Pièces
● Dessin de Structure
N° Nom
Compteur
électronique
Mains courantes
Colonnes
Courroie de course
Qté.
1
2
3
4
Courroie de course
Colonnes
Compteur électronique
Mains courantes
1
2
1
2
Table of contents
Languages:
Other Costway Treadmill manuals

Costway
Costway SuperFit SP37747US User manual

Costway
Costway SuperFit SP37681US User manual

Costway
Costway GOPLUS SP36162 User manual

Costway
Costway SuperFit SP37424 User manual

Costway
Costway SuperFit Sp37460 User manual

Costway
Costway SuperFit SP37619CA User manual

Costway
Costway SP37522DE User manual

Costway
Costway SP37914US User manual

Costway
Costway SP35368 User manual

Costway
Costway SP37860US User manual