8
Recheck the gap to make sure the distance
is equal across the length of the hold down.
BLADE ADJUSTMENT
The blade adjustment has been made at
the factory before shipment. However, you
may find it necessary to check the blade
adjustment before operation.
TO PERFORM THE BLADE SET UP:
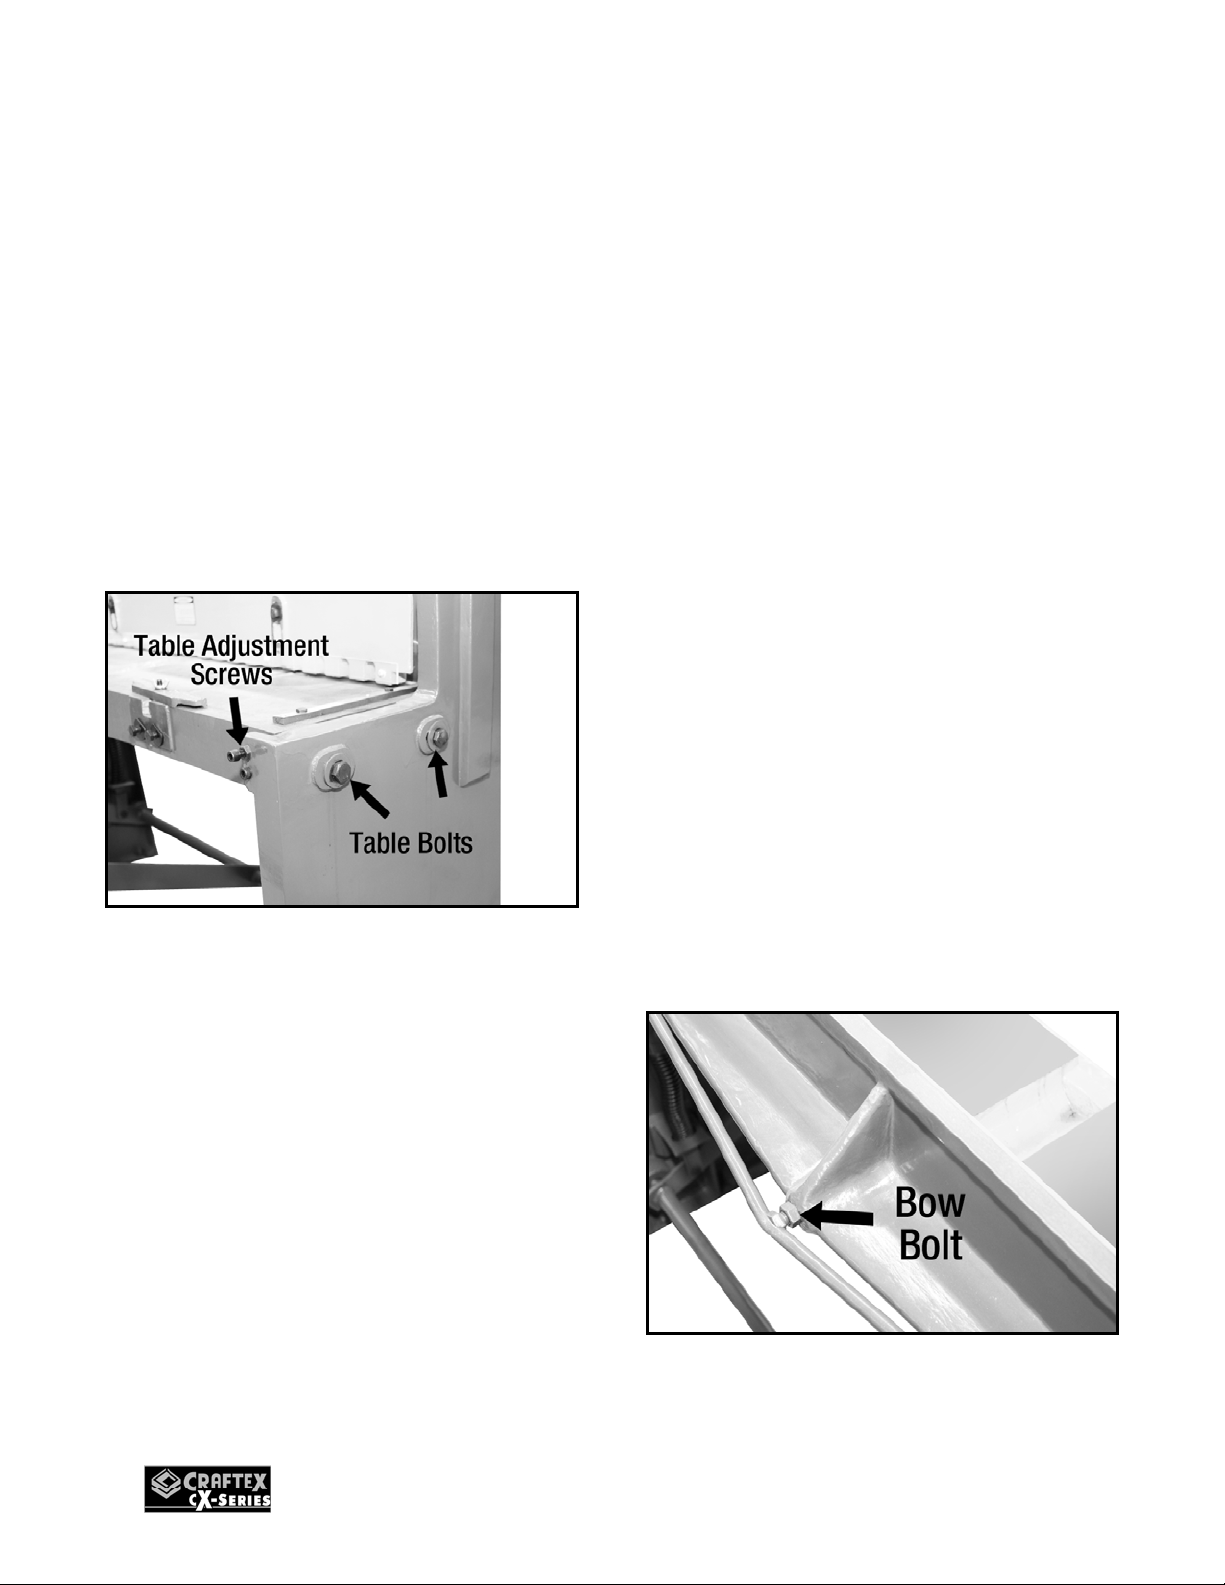
Loosen the two table bolts and table
adjustment screws on both sides of the
machine. See figure-5.
Figure-5 Table adjustment
Lower the blade and hold it in position using
the foot pedal.
Now, turn the table adjustment screws to
move the table and fixed blade until the
fixed blade makes light contact with the
moving blade all the way across the length.
Make sure the moving blade does not
overlap the fixed blade or it will cause
damage.
Use a sheet of paper and make several
cuts along the length of the blade. The
shear should cut through the paper cleanly.
Turn the table adjustment screws moving
the fixed blade away from the moving blade
so that you have a gap of 0.002". Check
this measurement with a feeler gauge.
Repeat the same step on the other side of
the machine so that gap is even across the
length of the blade.
Tighten the four leg bolts and make sure it
has not changed.
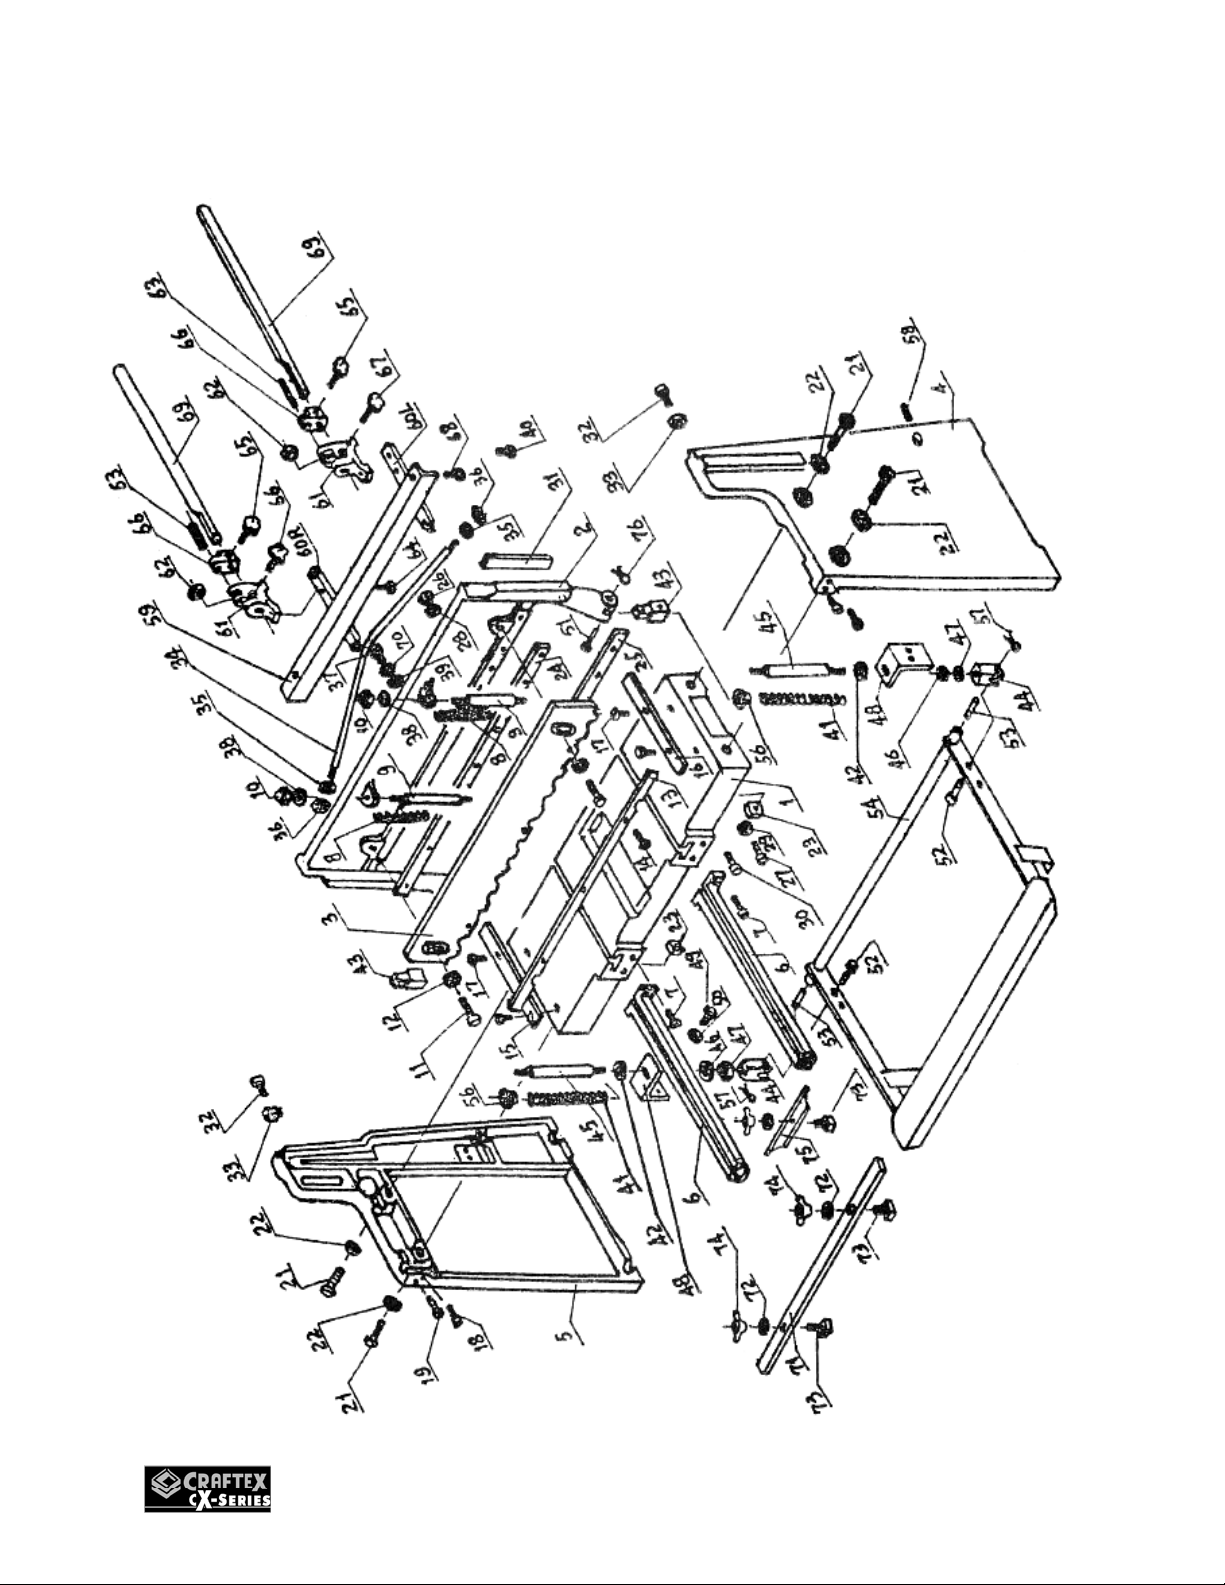
ADJUSTING BLADE BOW
The bow of the moving blade is adjusted by
loosening or tightening the bow bolt at the
center of the straightening rod. Check if
there is a change in the gap when the
moving blade is just below the top of the
fixed blade. After making adjustments to the
bow, repeat the blade adjustment section.
If the shear cuts paper on the ends
but not the center, turn the bow bolt
clockwise until paper is cut across
the length.
If the shear cuts paper at the center
but not the ends, turn the bow bolt
counter-clockwise until the paper is
cut across the length.
Figure-6 Adjusting the bow bolt