manuals.online logo
Brands
  1. Home
  2. •
  3. Brands
  4. •
  5. Crosswater
  6. •
  7. Plumbing Product
  8. •
  9. Crosswater Taos 17-19-T User manual

Crosswater Taos 17-19-T User manual

15122864-B
Adjustable PliersAdjustable Wrench
Tools You Will Need
Screwdriver
For ease of installation you will need:
ƔTo read all the installation completely before beginning.
ƔTo read all warnings, care, and maintenance information.
ƔTo complete the valve rough-in prior to installing this trim kit.
Taos Trim for Dual-handle Thermostatic Valve
with Volume Control
17-19-T
Installation Instructions
Before beginning installation, check for any damage
that may have occurred during transport.
Note: Damage claims cannot be made during or
after installation.
17-19-T
Installation Instructions
15122864-B 2
5
12
4
Slide on top plate on the finished
sleeve. If the top plate does not
engage the finished sleeve an
extension kit is necessary.
Please contact your Crosswater
London dealer.
Ensure that the valve is
installed correctly. Turn off the water supply and remove
the mud guard.
Install escutcheon with 2 screws.
Do not overtighten the screws.
3
Thread on finished sleeve.
Slide on temperature control
escutcheon engaging the stem
making sure the temperature
override button facing straight up.
Secure with screw.
Set the volume control handle and
escutcheon at 12 o'clock and place
on the top stem and nipple. Rotate
the escutcheon clockwise to secure
the assembly to the plate.
6
Align the handle at 6 o' clock position
and slide handle into escutcheon
and secure with set screw.
79
Turn on the water supply. Remove
the shower head and turn on the
volume control handle to flush the
system.
8
15122864-B 6 15122864-B3
Rotate the cartridge stem to adjust
safety temperature. Rotate clockwise
to reduce temperature while rotate
counterclockwise to increase
temperature. Once the temperature
is 100ºF go to step #13.
Turn off the water supply. Remove
temperature control handle and
escutcheon.
100
o
F
Safety
Temperature
10
Turn on the water supply, with the
temperature control handle in the
default position, measure the
temperature of the water. If the
temperature is 100ºF, go to step #14,
if not go to step #11.
100
o
F
Safety
Temperature
12
11
13
Reinstall the temperature control
handle and escutcheon making sure
the temperature override button is on
top and the handle is set at 6 o'clock.
Turn off the water supply. Remove
handle, escutcheon.
The valve maximum temperature is
set at 107ºF. Should your customer
like to change this go to step #15.
If not go to step #20.
107
o
F
Hottest
Temperature
15
14
Reinstall the inner white temperature
range control ring.
18
Rotate the inner white temperature
range control ring to adjust
temperature. Rotate clockwise to
reduce temperature while rotate
counterclockwise to increase
temperature.
17
Remove the inner white temperature
range control ring.
16
17-19-T
Applicable Standards/Codes
Installation Dimensions
IAPMO certified to meet or exceed the following:
$60($&6$%
8QLIRUP3OXPELQJ&RGH
1DWLRQDO3OXPELQJ&RGHRI&DQDGD
$'$&RPSOLDQW
-
ʾ
3
ʾ
-3/4"
-1/4"
-
ʾ
1/2"
-
ʾ
 -
ʾ
-
ʾ
 -1/4"
6-1/4"
-
-
ʾ
137
17-19-T
15122864-B 4
Replacement Parts
15122864-B
5
NO. Description Part NO.
4 Screw M4X80 5T0F0266NT
1Spring
˂
Button
˂
Pin 9Q1112
2 Handle Assembly 9Q1195
Hex Set Screw 9Q1356NT3
6
Temperature Range Control Ring 5K202720PL
Extension kit 9Q2420005
19
Installation completed.
20
Reinstall handle, escutcheon.
1
2
356
4
Order separately if needed
Cleaning Instructions
Rinse away any traces of soap and gently dry with a clean, soft cloth after each use.
Rinse completely with water and dry any overspray. This will maintain the finish and avoid
water spotting.
To remove mineral deposits, use a 50/50 solution of white vinegar and water. Do not
allow the solution to soak on the product.
Simichrome Polish® contains a protective film to enhance maintenance and is helpful in
preventing water spot buildup. Follow instructions to ensure optimum results.
Never use an abrasive material such as a brush or scouring pad to clean the surface. The
use of abrasive cleaners, cleansers or disinfectants will alter the surface finish and void the
warranty.
Do not allow certain materials such as toothpaste, cologne, shaving cream, nail polish
remover, vinegar, wine, drain and glass cleaners to remain on the surface. Prolonged
contact will alter surface finishes and void the warranty.
We DO NOT recommend using any household cleaners as many can cause damage
to the finish.
Please see the website for care instructions for specific finishes.
Warranty - This Crosswater London product is covered by a limited lifetime warranty. For full details, terms and conditions please visit our website.
For further information contact:Crosswater London, 393 Fortune Blvd., Milford, MA 01757 www.crosswaterlondon.com
Toll free number: 844-XWATER-1 (844-992-8371) tel: 508-381-0433 fax: 508-381-6068 email: technical@crosswaterlondon.com

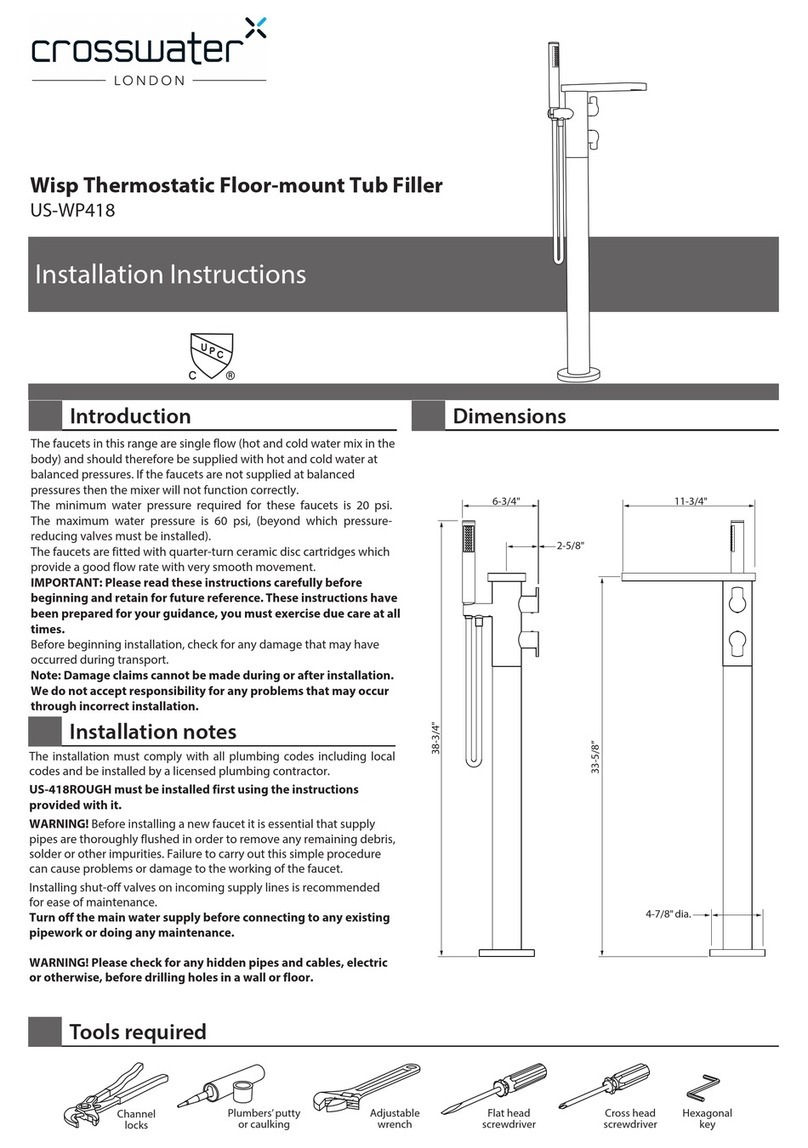
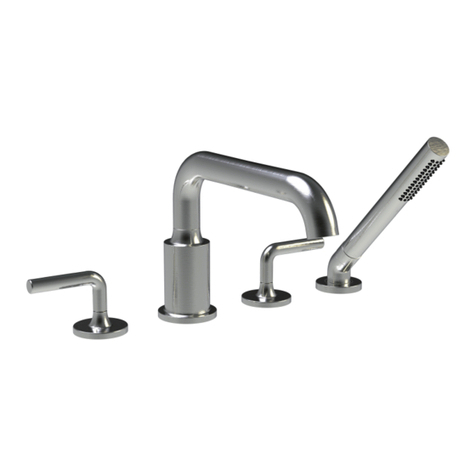
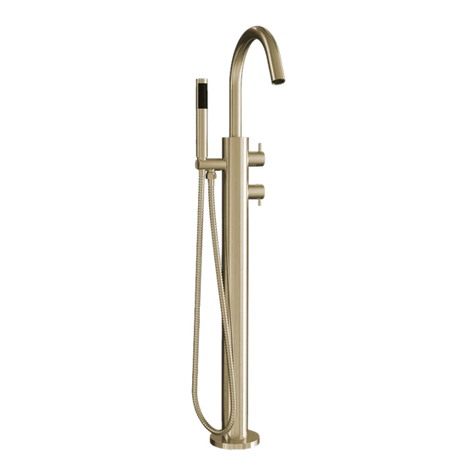
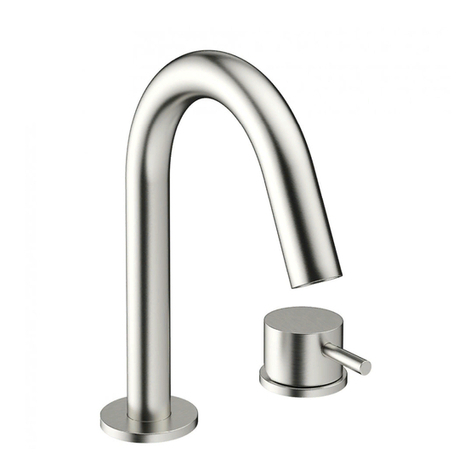
Other Crosswater Plumbing Product manuals
Crosswater 28-16-T User manual

Crosswater

Crosswater 28-16-T User manual

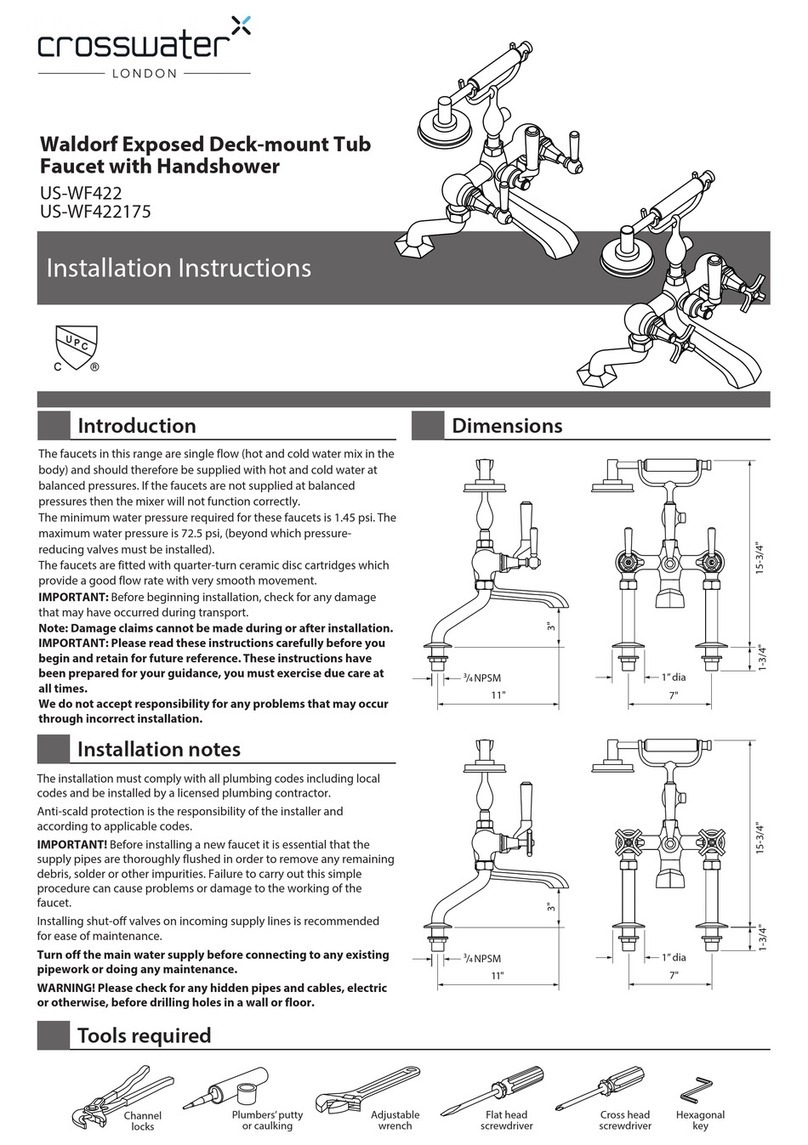
Crosswater Waldorf US-WF422175 User manual

Crosswater

Crosswater Waldorf US-WF422175 User manual

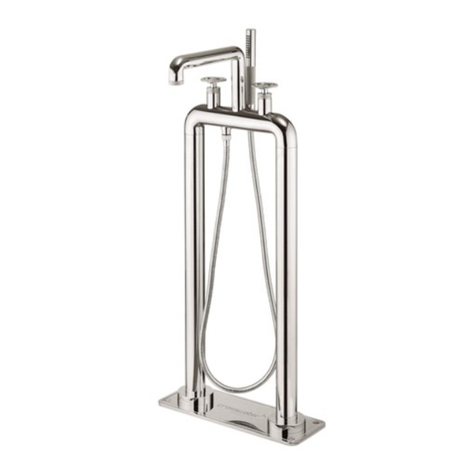
Crosswater UNION US-UN399 User manual

Crosswater

Crosswater UNION US-UN399 User manual
Crosswater Belgravia US-BL422 User manual

Crosswater

Crosswater Belgravia US-BL422 User manual

Crosswater US-BSW0101 User manual

Crosswater

Crosswater US-BSW0101 User manual

Crosswater Leyden 14-05 User manual

Crosswater

Crosswater Leyden 14-05 User manual

Crosswater KWC 10.441.004.000FL Manual

Crosswater

Crosswater KWC 10.441.004.000FL Manual

Crosswater 1000 Series User manual

Crosswater

Crosswater 1000 Series User manual

Crosswater Belgravia US-BL002 User manual

Crosswater

Crosswater Belgravia US-BL002 User manual

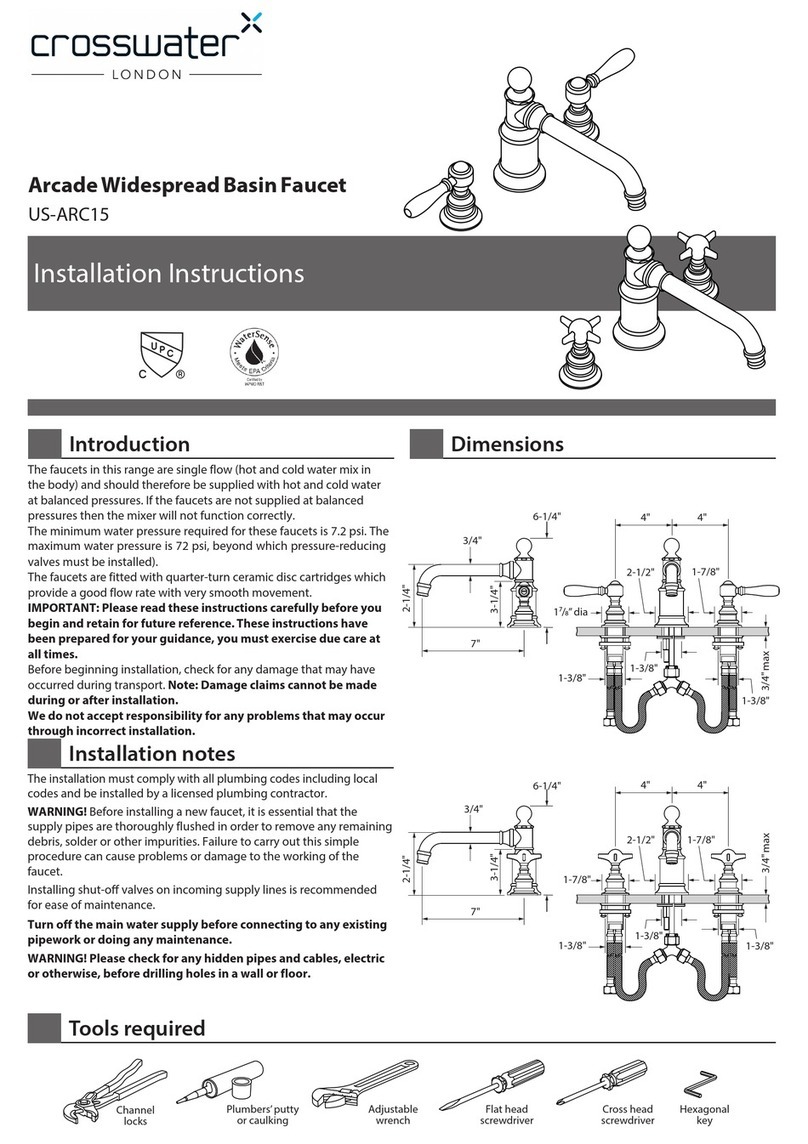
Crosswater Arcade US-ARC14 User manual

Crosswater

Crosswater Arcade US-ARC14 User manual

Crosswater Waldorf US-WF135 User manual

Crosswater

Crosswater Waldorf US-WF135 User manual

Crosswater Wisp US-WP418 User manual

Crosswater

Crosswater Wisp US-WP418 User manual

Crosswater BTW0241C User manual

Crosswater

Crosswater BTW0241C User manual

Crosswater PRO125DNJ User manual

Crosswater

Crosswater PRO125DNJ User manual

Crosswater LIBRA LB6117C Series User manual

Crosswater

Crosswater LIBRA LB6117C Series User manual

Crosswater Arcade US-ARC600 User manual

Crosswater

Crosswater Arcade US-ARC600 User manual

Crosswater MPRO US-PRO418 User manual

Crosswater

Crosswater MPRO US-PRO418 User manual

Crosswater US-SP380 User manual

Crosswater

Crosswater US-SP380 User manual

Crosswater Fenmore 28-15P-T User manual

Crosswater

Crosswater Fenmore 28-15P-T User manual

Crosswater US-AL7005CW User manual

Crosswater

Crosswater US-AL7005CW User manual

Crosswater UNION US-UN800 User manual

Crosswater

Crosswater UNION US-UN800 User manual

Crosswater 17-20-T User manual

Crosswater

Crosswater 17-20-T User manual
Crosswater Berea 11-01 User manual

Crosswater

Crosswater Berea 11-01 User manual

Crosswater MPRO US-PRO110 User manual

Crosswater

Crosswater MPRO US-PRO110 User manual

Popular Plumbing Product manuals by other brands

Kohler 1152813-A2-A Installation

Kohler

Kohler 1152813-A2-A Installation

Hans Grohe Raindance S 150 AIR 3-Jet Handshower... Features & dimensions

Hans Grohe

Hans Grohe Raindance S 150 AIR 3-Jet Handshower... Features & dimensions

Oras Electra 6174 Installation and maintenance guide

Oras

Oras Electra 6174 Installation and maintenance guide

Brizo Charlotte 85885 Series installation instructions

Brizo

Brizo Charlotte 85885 Series installation instructions

Hans Grohe Solaris Specification sheet

Hans Grohe

Hans Grohe Solaris Specification sheet

BH SHIATSU 001 Series Consumers manual

BH SHIATSU

BH SHIATSU 001 Series Consumers manual

Hansa MURANO X 5605 2200 Installation and maintenance guide

Hansa

Hansa MURANO X 5605 2200 Installation and maintenance guide

Symmons RL324 Operation and maintenance manual

Symmons

Symmons RL324 Operation and maintenance manual

Hans Grohe Metropol 13159180 Instructions for use/assembly instructions

Hans Grohe

Hans Grohe Metropol 13159180 Instructions for use/assembly instructions

Franke ANIMA BS204 Installation and operating instructions

Franke

Franke ANIMA BS204 Installation and operating instructions

Mustee UTILATUB 19CFP installation instructions

Mustee

Mustee UTILATUB 19CFP installation instructions

Grohe 34 122 quick start guide

Grohe

Grohe 34 122 quick start guide

Bondura 6.1 assembly & inspection manual

Bondura

Bondura 6.1 assembly & inspection manual

Toto TBV03429B installation manual

Toto

Toto TBV03429B installation manual

HomLux 063E004435 installation manual

HomLux

HomLux 063E004435 installation manual

gebo Unifix Maxi FITTING INSTRUCTION

gebo

gebo Unifix Maxi FITTING INSTRUCTION

Signature Hardware EXIRA Installation

Signature Hardware

Signature Hardware EXIRA Installation

Hans Grohe Allegro E 04076 1 Series Installation/User Instructions/Warranty

Hans Grohe

Hans Grohe Allegro E 04076 1 Series Installation/User Instructions/Warranty

manuals.online logo
manuals.online logoBrands
  • About & Mission
  • Contact us
  • Privacy Policy
  • Terms and Conditions

Copyright 2025 Manuals.Online. All Rights Reserved.