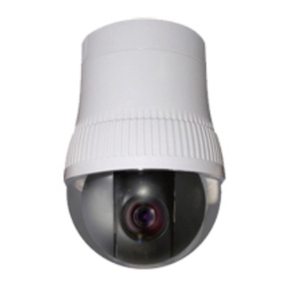
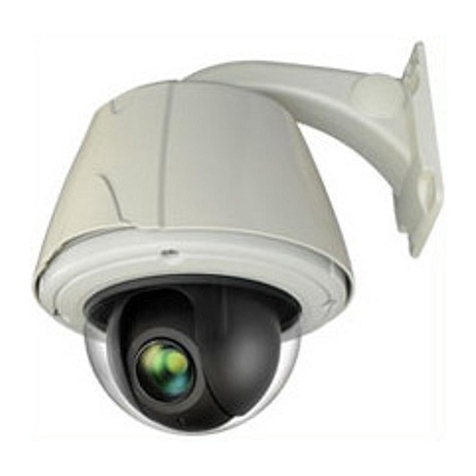
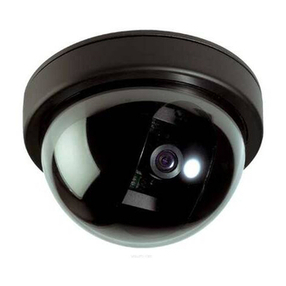
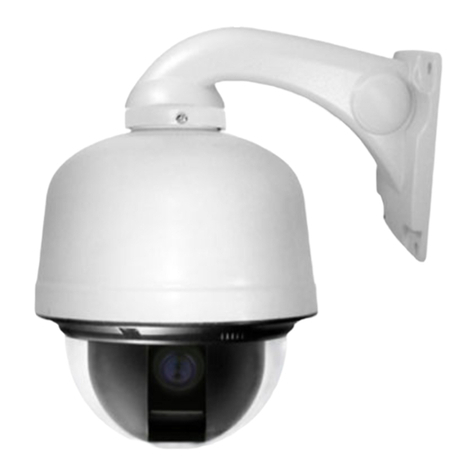
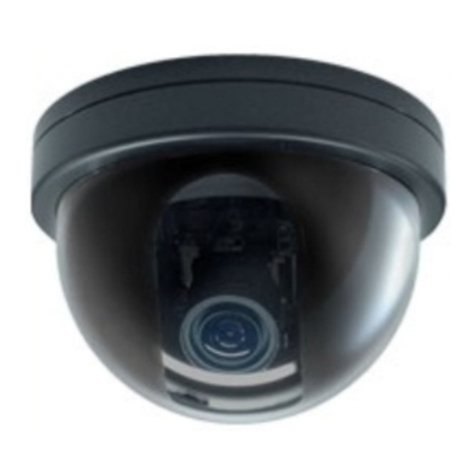
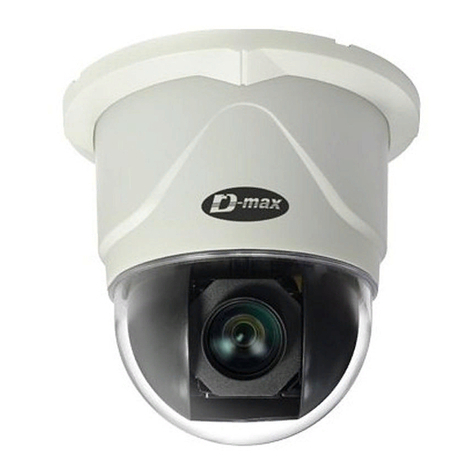
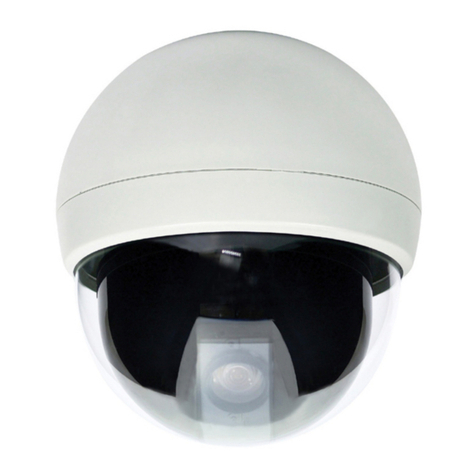
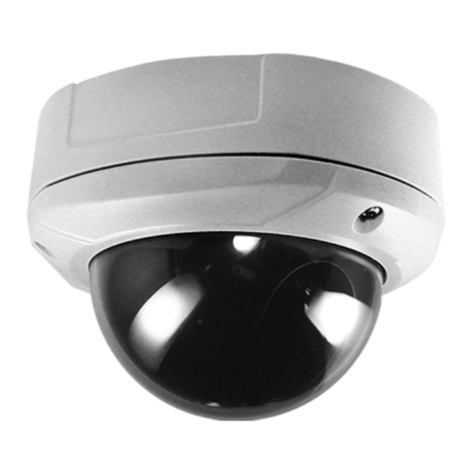
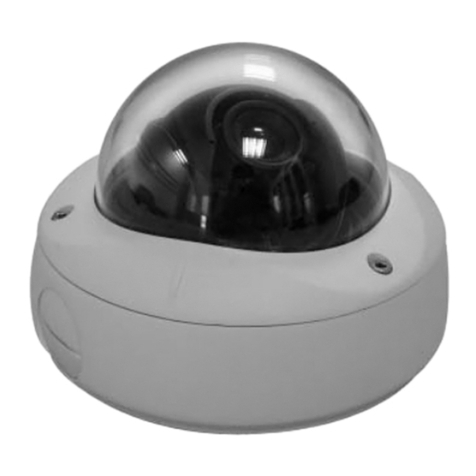
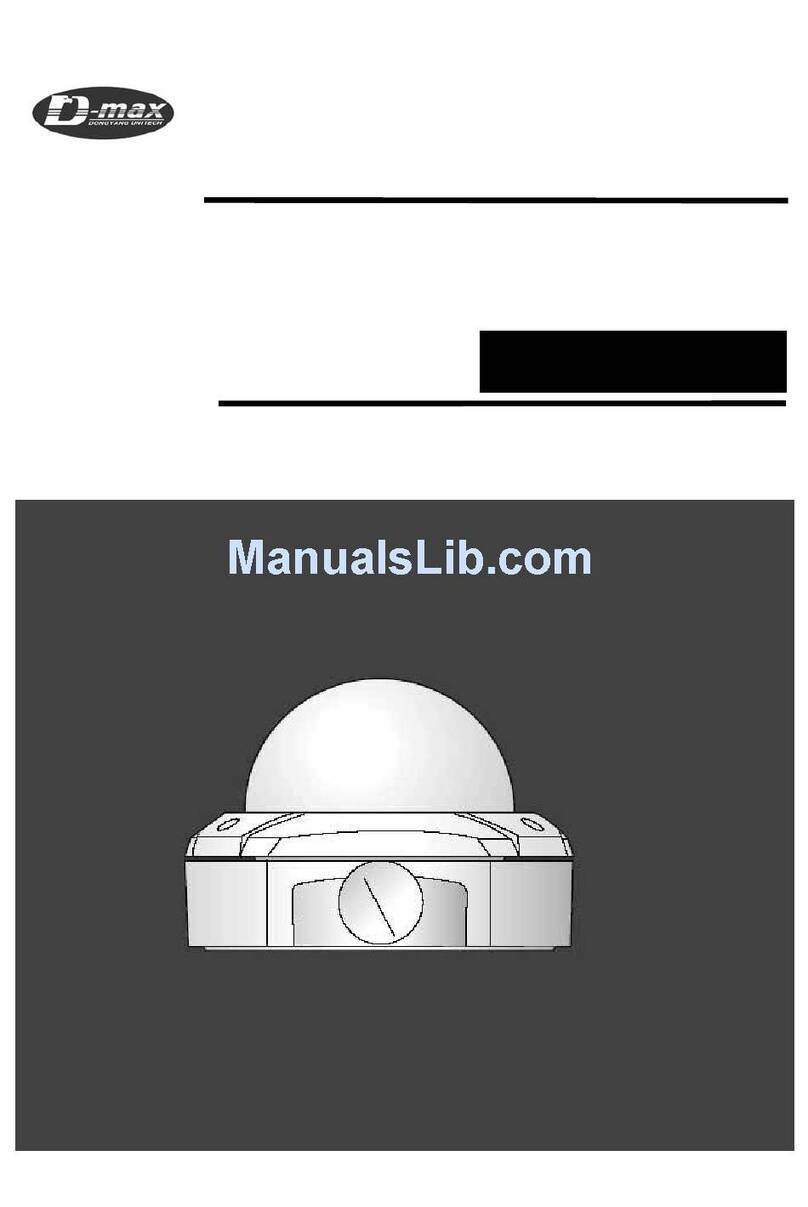
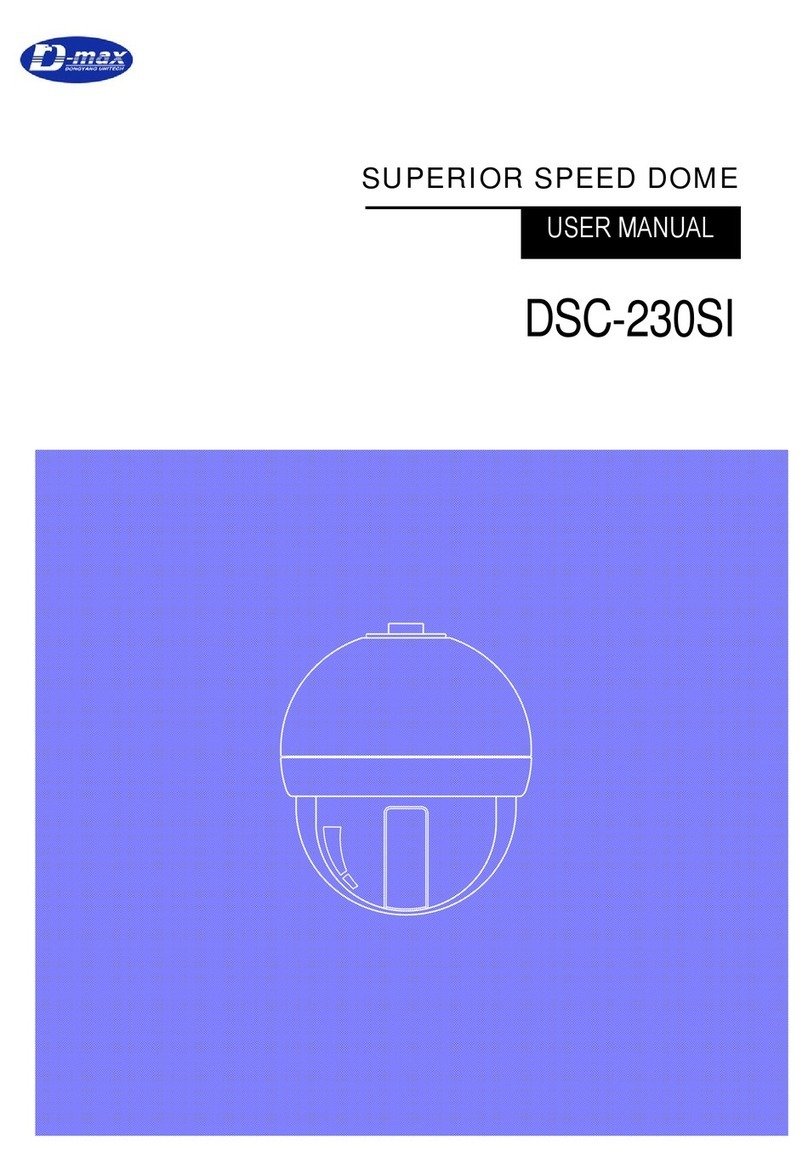
D-MAX Pixim Seawolf DSP User manual

Super Wide Dynamic Range
Dome Color Camera
사용 설명서
용서
Pixim Seawolf DSP
MANUAL

The lightning flash with an arrowhead symbol, within an equilateral
triangle is intended to alert the user to the presence of uninsulated
dangerous voltage within the product's enclosure that may be of
sufficient magnitude to constitute a risk of electric shock to persons.
The exclamation point within an equilateral triangle is intended to alert
the user to the presence of important operating and maintenance
(servicing) instructions in the literature accompanying the appliance.
INFORMATION - This equipment has been tested and found to comply with limits for a
Class A digital device, pursuant to part 15 of the FCC Rules.
These limits are designed to provide reasonable protection against harmful interference
when the equipment is operated in a commercial environment.
This equipment generates, uses, and can radiate radio frequency energy and, if not
installed and used in accordance with the instruction manual, may cause
harmful interference to radio communications.
Operation of this equipment in a residential area is likely to cause harmful interference in
which case the user will be required to correct the interference at his own expense.
WARNING - Changes or modifications not expressly approved by the manufacturer could
void the user’s authority to operate the equipment.
CAUTION : To prevent electric shock and risk of fire hazards:
Do NOT use power sources other than that specified.
Do NOT expose this appliance to rain or moisture.
This installation should be made by a qualified service person and should conform
to all local codes

The camera needs periodic inspection.
Contact an authorized technician for inspection.
Stop using your camera when you find a malfunction.
If you use your camera around smoke or unusual heat for a long time,
fire may be caused.
Do not install the camera on a surface that can not support it.
Unless the surface is suitable, it could cause falling or other hazards.
Do not hold plug with wet hands.
It could cause an electric shock.
Do not disassemble the camera.
It may result in fire, electric shock or other hazards.
Do not use the camera close to a gas or oil leak.
It may result in fire or other hazards.
■Warning

Our WDR camera is a superb wide dynamic range camera which achieves 120dB
max(102dB typical) of dynamic range of the image by implementing PIXIM's Seawolf
digital imaging system.
With Seawolf digital imaging system,
- Delivers high-resolution, crystal clear images that accurately capture every aspect of
any scene
- Offers the highest resolution of 690TVL(horizontal)
- Ultra-wide dynamic range imaging accurately captures all of the critical details in a
scene including highlights, shadows and everything in between without compromising
image quality or color accuracy.
- Enhanced low-light performance makes Seawolf the natural choices for both indoor
and outdoor cameras for all lighting conditions.
With ICR mechanism,
- Enhances its sensitivity about 10x at night time
- Can accepts the infrared light
Main features are;
• 1/3" CMY Color DPS SENSOR (Pixim Seawolf D8800C series)
• Resolution of 690 Horizontal Lines
• 10x sensitivity enhancement by removing the optical filter
• Switches to B/W and able to accept the infrared spectrum at night mode
• Enhanced sharpness compensation
• Very low noise and superior picture quality
• 0.0008Lux Class sensitivity (0.002Lux@ 2x Sense-up)
• Automatically removable IR Cut Filter
• Automatic White Balance (ATW)
• Built-in 2.8~10mm DC auto iris lens
1. Features

1) Cable Connection
2) OSD Control
②SETUP button : Used for the menu display. This button can be used to confirm
settings after changing the value of the selected function or current conditions.
③UP & DOWN buttons : Used for selecting items by moving the cursor up or down on
the menu screen.
④LEFT & RIGHT buttons : Used when changing item values, by moving the cursor to
the left or right on the menu screen
2. Cable Connection and OSD Control

1) In the menu
Use ▲, ▼buttons to move menu, ◀, ▶buttons to change the settings and press button
shortly to select or enter.
button stands for MENU or ENTER button.
2) Entering menu
Press button longer than 2 sec on the back of camera.
3) MAIN
Follow below chart for submenu setting.
3. Setup Menu Operation
MENU
Default
Descriptions
EXPOSURE
Sets COLOR ROLL COMP., AE PREFERENCE, WDR CONTROL and
SENSE-UP.
DAY/NIGHT
AUTO
Sets OFF, AUTO or NIGHT
OFF –Day/Night is disabled and camera works as a normal color camera.
AUTO –Camera switches DAY from/to NIGHT automatically.
N->D THRES, N<->D DELAY, BURST ON B/W can be set.
See DAY&NIGHT AUTO SETUP for detail.
NIGHT –Forced to remove IR cut filter and switch to B/W.
3D NR
Sets DEPTH of 3D NR.
LENS
SELELT
DC
Selects the lens type, DC or MANUAL.
In sub-menu, Accurate Focus can be set by function of FOCUS ADJ…
PICTURE
CONTROL
Sets WHITE BALANCE, COLOR SELECT, SHARPNESS, SATURATION,
GAMMA.
SPECIAL
Sets MOTION, PRIVACY MASK, SYNC, LANGUAGE, VIDEO STANDARD,
RS485 CONTROL.
D-EFFECT
Sets FREEZE, FLIP or D-PTZ.
EXIT
Choose EXIT, SAVE AND EXIT or FACTORY SET.

4) EXPOSURE
To enter EXPOSURE menu, press button at MAIN>EXPOSURE.
EXPOSURE
Descriptions
<WDR MID>
Medium level of the dynamic range control for each PRESETs.
WDR HIGH
Increases the dynamic range control. Some highlight area may washed out.
CUSTOM...
Provides more flexible compensation other than WDR MID, WDR LOW, WDR HIGH
BLC...
Compensates the brightness of main object against the bright back light.
A zone out of CTR SPOT, UPPER1/3, MIDDLE1/3, LOWER1/3 can be set.
Dynamic range control is inoperative if EXPOSURE is set to BLC.
WDR LOW
Decreases the dynamic range control.
EXPOSURE
Default
Descriptions
COLOR
ROLL
COMP.
OFF
In NTSC system, the entire color tone on the monitor may continuously
move reddish and greenish.
COLOR ROLL COMP. - Reduces the color rolling under the fluorescent
lighting.(NTSC system only)
OFF –Does not compensate the color rolling.
MODE-M - Compensates the color rolling when a manual lens is used.
MODE-A - Compensates the color rolling when an auto iris lens is used.
AE
PREFRENCE
HIGHLIGHTS
Sets HIGHLIGHTS or SHADOWS
HIGHLIGHTS - Provides the best detail in the brighter areas.
The darker parts of the scene may under-expose.
SHADOWS - Provides the best detail in the darker areas.
It will reduce the dynamic range and the brighter parts may overexpose.
WDR
CONTROL
MEDIUM
LOW - Produces an image that has better contrast but less dynamic
range and is suitable for indoor or low-contrast outdoor scenes.
NORMAL - Produces an image that has average contrast and is suitable
for indoor or low-contrast outdoor scenes.
MEDIUM - Produces an image that has better dynamic range and is
suitable for a lobby or high-contrast outdoor scenes.
HIGH - Produces an image that has best dynamic range but less
contrast and is suitable for high-contrast outdoor scenes.
CUSTOM - Provides more flexible compensation by ZONE, RANGE and
BIAS.
When COLOR ROLLCOMP. is set to MODE-A, WDR CONTROL will be
fixed as LOW.
SENSE-UP
AUTO
If SENSE-UP is set to AUTO, the maximum sense-up rate can be
limited to 2X-30FPS, 4X15FPS, 8X-18FPS, 16X-4FPS, 32X-2FPS or
64X-2FPS in SENSE-UP SETUP.
The integration frames vary automatically within the max. rate according
to the light level when light becomes low and DSS is operating. The
higher sense-up rate, the higher sensitivity but the slower refresh rate.
Some white dots may appear by sense-up due to the image sensor’s
long accumulation by a long shutter period.

5) DAY/NIGHT
To enter EXPOSURE menu, press button at MAIN>DAY/NIGHT>AUTO...
IMPORTANT!!!
DAY->NIGHT and NIGHT->DAY operations must be examined and verified at the final step
of the installation.
Block the lens for a few seconds for NIGHT mode and release and let it return to DAY mode.
If camera stays at NIGHT mode more than 10sec, increase N-->D THRES a little and repeat
the fore-mentioned steps.
If the scene is too dim or lens iris was adjusted too low(near close), it may not return to DAY.
DAY/NIGHT
Default
Descriptions
N-->D
THRES.
3
N-->D THRES is a threshold level to switch from NIGHT to DAY.
Due to the nature of WDR the image level of the scene is controlled down
and camera would not switch to DAY even though the ambient is bright
enough.
Increase the value if it stays in B/W and is required to switch to DAY.
Too high value may make ICR repeating between NIGHT<-->DAY.
In that case, reduce the value a little and try all of the above mentioned.
N<-->D
DELAY
3
N<-->D DELAY is time in second while camera maintains its status before
D<-->N switches.
DELAY can avoid the unwanted/frivolous switching by a short term lights
such like the light from the passing car.
BURST
ON
B/W
OFF
BURST ON B/W determines whether a color burst signal keeps output or
eliminated when camera switches to B/W.
If set to ON, B/W video signal contains color burst signal and is more
compatible with the color equipment but shows the same resolution as color
video.
If set OFF, the color burst signal is removed from B/W video and shows better
resolution.
Rarely the compatibility problem may occur with the color equipment.
IMPORTANT!!!

6) 3D NR
To enter EXPOSURE menu, press button at MAIN>3D NR
7) LENS SELECT
To enter EXPOSURE menu, press button at MAIN>LENS SELECT>DC... or MANUAL...
8) PICTURE CONTROL
To enter EXPOSURE menu, press button at MAIN>PICTURE CONTROL.
3D NR
Default
Descriptions
DEPTH
47
Determines the depth of Three Dimensional Noise Reduction.
High value reduces the noise strongly but the comet effect may occur
for the fast moving object and vice versa.
DC/
MANUAL
Default
Descriptions
AI LEVEL
24
Lower value opens the lens iris and increases the brightness and vice
versa. Too high value reduces the amount of incoming light and may result
in a problem which camera does not return to DAY form NIGHT.
FOCUS
ADJ...
-
FOCUS ADJUST helps the Accurate focus adjustment regardless of DAY
or NIGHT. Sometimes the focus looks fine tuned at day time but out of
focus at night time. This function can eliminate the wrong adjustment of
focus in any case.

9) SPECIAL
PICTURE
CONTROL
Factory
Default
Descriptions
WHITE
BALANCE
ATW
NORMAL
Sets ATW Normal, ATW Desat, ATW Xtnd or MANUAL.
ATW NORMAL –Compensates automatically in range of 2800K-7500K.
ATW DESAT –Compensates automatically in range of 2000K-11000K.
In the range of 2000-2800K and 7500-11000K, white balance is
gradually compensated.
ATW Xtnd –Compensates automatically in range of 2000K-11000K.
MANUAL –White balance can be adjusted by either KELVIN or R/B
COLOR
SELECT
COLOR1
Provides three color tones.
BRIGHTNESS
BRIGHTNESS level is a kind of video output gain and is different from the
iris level control. It can be set to MID-LOW, MIDDLE, MID-HIGH, HIGH
and LOW.
If it is set too high, the dynamic range is decreased.
SHARPNESS
2
Increase or decrease the sharpness of the picture.
Too much sharpness can make image harsh and show more noise
as well as line flicker at the edge of object in the picture.
SATURATION
1
High value makes color rich and vice versa.
GAMMA
45
Lower value improves the gain of the dark area but the image has less
contrast..
Higher value reduces the gain of the dark area and makes the image more
dark and contrastive. The image will loose the linearity for too high value.
SPECIAL
Default
Descriptions
MOTION
OFF
If it is set to ON and motion is detected, MOTION message will
appear on the monitor. See ‘7.9.1 MOTION ’ for settings.
PRIVACY MASK
OFF
If set to ON, it is available up to 6 privacy masks.
See ‘7.9.2 PRIVACY menu’ for settings.
SYNC
INT1
Sync is fixed to INT1.
LANGUAGE
ENGLISH
English is available only.
VIDEO STANDARD
NTSC
Able to switch NTSC or PAL.
PICTURE
CONTROL
Factory
Default
Descriptions
WHITE
BALANCE
ATW
NORMAL
Sets ATW Normal, ATW Desat, ATW Xtnd or MANUAL.
ATW NORMAL –Compensates automatically in range of 2800K-7500K.
ATW DESAT –Compensates automatically in range of 2000K-11000K.
In the range of 2000-2800K and 7500-11000K, white balance is
gradually compensated.
ATW Xtnd –Compensates automatically in range of 2000K-11000K.
MANUAL –White balance can be adjusted by either KELVIN or R/B
COLOR
SELECT
COLOR1
Provides three color tones.
BRIGHTNESS
BRIGHTNESS level is a kind of video output gain and is different from the
iris level control. It can be set to MID-LOW, MIDDLE, MID-HIGH, HIGH
and LOW.
If it is set too high, the dynamic range is decreased.
SHARPNESS
2
Increase or decrease the sharpness of the picture.
Too much sharpness can make image harsh and show more noise
as well as line flicker at the edge of object in the picture.
SATURATION
1
High value makes color rich and vice versa.
GAMMA
45
Lower value improves the gain of the dark area but the image has less
contrast..
Higher value reduces the gain of the dark area and makes the image more
dark and contrastive. The image will loose the linearity for too high value.

①MOTION
Up to 4 motion areas and the sensitivity can be set. The sensitivity is applied for all zones equally.
In adjusting each zone, the zone border line changes color when pressing button. Green enables
enlarging, red enables reducing and white enables moving the zone by ▼, ▲, ▲, ▼buttons.
To exit MOTION ZONE SETUP, press button for 2 seconds.
②PRIVACY AREA
Up to 6privacy area can be programmed in size, position and mask color.
Use joystick to change size, position and mask color.

Press button longer than 2 sec. to return to previous menu.
10) D-EFFECT
Right after pressing button at ,ON..>, the
1st zone appears on top-left corner in orange.
The orange colored zone can be relocated in its
location with ▼, ▲, ▲, ▼buttons.
Right after one more pressing button, the
1st zone changes to blue.
Blue colored zone can be resized with . ▼, ▲,
▲, ▼buttons
An example of mask when resizing by . ▼, ▲,
▲, ▼buttons
An example of mask when relocating.

11) EXIT
D-EFFECT
Default
Descriptions
FREEZE
OFF
Image freezes and shows the still image at the moment when set to ON..
FLIP
OFF
OFF(Normal display), H-FLIP(left & right flipped), V-FLIP(upside down
flipped), H/V-FLIP(left & right flipped and upside down flipped.)
Direction of joystick control should be flipped if V-flip is flipped to H/V-flip.
D-PTZ
Able to set digital zoom up to x12 and digital PAN/TILT if zoom ratio >1.
MENU-2
Descriptions
EXIT
Exits menu with discarding any changes.
SAVE AND EXIT
Exits menu after saving the parameters.
FACTORY SET
Restores and saves all parameters of factory settings.
Camera resets and restarts automatically.
D-PTZ
Default
Descriptions
ZOOM
1
Digital zoom can set up to x12. x1 stands for ZOOM OFF.
PAN
0
Digital PAN can be set if ZOOM is set to >1.
TILT
0
Digital TILT can be set if ZOOM is set to >1.

If there are problems in operation, please refer to the items below. If the problem persists,
please contact the agent you purchased this product from.
Problems
Troubleshooting
Nothing appears on the screen.
• Please check the power connection.
• Please check the video signal line connection.
• Please check and make sure that the auto lens switch is
set to DC (VIDEO) when using a VIDEO(DC) lens.
The video image is not clear.
• Please check if the lens is clean.
Please clean the lens with a clean cloth or brush.
• Please adjust the contrast feature of the monitor.
• Please readjust the back focus of the camera.
The screen is dark.
• Please adjust the contrast feature of the monitor.
• If you have an intermediate device, set the 75 / Hi-z
properly, and check the terminals.
• Please check if an auto iris lens is being used and adjust
the brightness level.
There is a problem with the
camera operation.
• Please check if an appropriate power source to the
camera complies with the manufacturer's
standard requirement, or if the voltage keeps changing.
The MOTION DETECTION function
is not working.
• Please check if 'MOTION DETECTION' mode is turned
on.
• Please check if the MD LEVEL is too low.
• Please check the setting of the MD AREA.
Colors are not quite right.
• Please check the 'WHITE BAL' setting
The screen is flickering.
• Please check if the camera is facing directly into sunlight
or fluorescent light.
• Please check if an auto iris lens is being used.
• Please check the connection of the lens connector cable.
COLOR mode is not working.
• Please check if the AGC menu is set to the OFF
position.
SENS-UP function is not
working.
• Please check if the AGC menu is set to the OFF
position.
• Please check if the SHUTTER menu is set to
MANUAL mode.
4. Troubleshooting

5. Dimensions

▪GENERAL
Model name
NTSC
PAL
Image Device
1/3" CMY Color DPS SENSOR (Pixim Seawolf D8800C series)
Effective Pixels
768(H) x 540(V)
TV system
NTSC, 525lines / 2:1interlace
PAL, 625lines / 2:1interlace
Scan frequency.
59.94Hz(V), 15.734Khz(H)
50Hz(V), 15.625Khz(H)
Synchronization
Internal/Line lock (Default: Internal)
H. Resolution
690TV Lines
Sensitivity
0.0008Lux Class sensitivity (0.002Lux@ 2x Sense-up)
S/N Ratio
52dB with AGC OFF at 50IRE
White Balance
2000~11000ºK Automatic tracking
WDR Mode
(Low/Middle/High/Custom(User adjustment))
Auto Iris Control
DC drive iris control. Level control is fixed internally.
SENSE-UP
2X, 4X, 8X, 16X, 32X, 64X ESS
Motion Detection
On/Off(4 Programmable Zone)
D-PTZ
Up to X12 digital zoom
FLIP
OFF / H-FLIP / V-FLIP / H/V-FLIP
Privacy Zone
On/Off (6 Programmable Zone)
Auto Iris Control
DC Drive Iris Control
Flicker reduction
Yes (NTSC Japanese version only)
OSD
Yes (Setup menu only)
Video Output
VBS 1Vpp +/-10%, 75ohm
Lens
2.8-10mm DC auto iris lens □
2.8-12mm DC auto iris lens □
mm □, mm DC auto iris lens □
Operating Power
DC 12V (10.2-14.5V)
Dual Voltage(DC12V/AC24V):Optional
Power consumption
230mA
Operating condition
-10ºC~+50ºC, 30~90% RH
6. Specifications

▪DOME CASE
Dome Type
Install Type
Indoor
Outdoor(IP66)
Outdoor(IP66)
Dimension(mm)
100(Bubble) x 139.5(H)
100(Bubble) x 103(H)
100(Bubble)x 107.5(H)
3 Axis
3 Axis
3 Axis
3 Axis
Material
Plastic Body,
PC Bubble
PC Bubble,
Aluminum Body
PC Bubble,
Aluminum Body
Weight
560g
1.1Kg
1.1Kg


19

Table of contents
Other D-MAX Security Camera manuals

D-MAX
D-MAX DSC-737SE User manual

D-MAX
D-MAX DCC-700d Series User manual

D-MAX
D-MAX DCC 600d Series User manual

D-MAX
D-MAX DCC-500F User manual

D-MAX
D-MAX DCC-520DV User manual

D-MAX
D-MAX DCC-501DV User manual

D-MAX
D-MAX DMC Series User manual

D-MAX
D-MAX 650 TVL User manual

D-MAX
D-MAX DCC-500DV User manual

D-MAX
D-MAX DCC-600F User manual

D-MAX
D-MAX DSC-2000Si User manual

D-MAX
D-MAX DSC-230SI User manual

D-MAX
D-MAX DCC-708DV User manual

D-MAX
D-MAX DMS-200 User manual

D-MAX
D-MAX DSC-Se5 User manual

D-MAX
D-MAX DIC-7030DV User manual

D-MAX
D-MAX DCC-520D series User manual

D-MAX
D-MAX DCC-500D User manual

D-MAX
D-MAX DCC-520DV User manual

D-MAX
D-MAX DCC-580D Series User manual