manuals.online logo
Brands
  1. Home
  2. •
  3. Brands
  4. •
  5. Degelman
  6. •
  7. Farm Equipment
  8. •
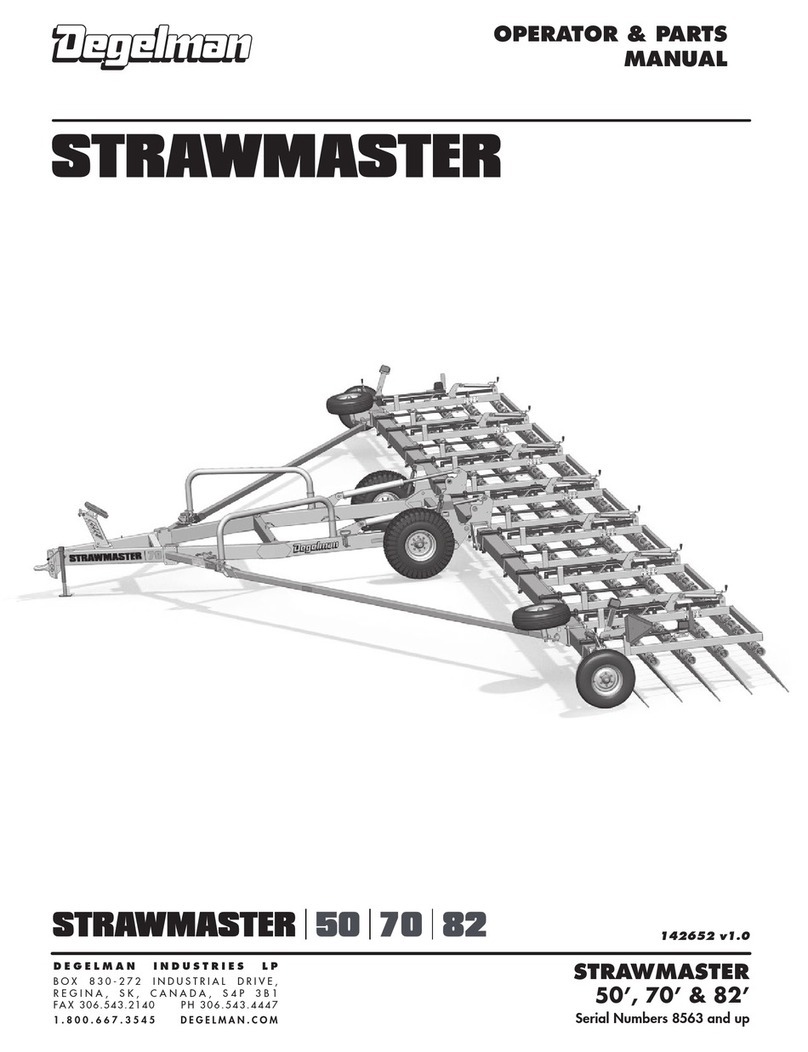
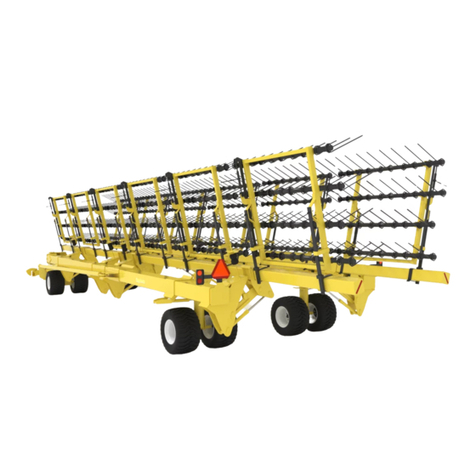
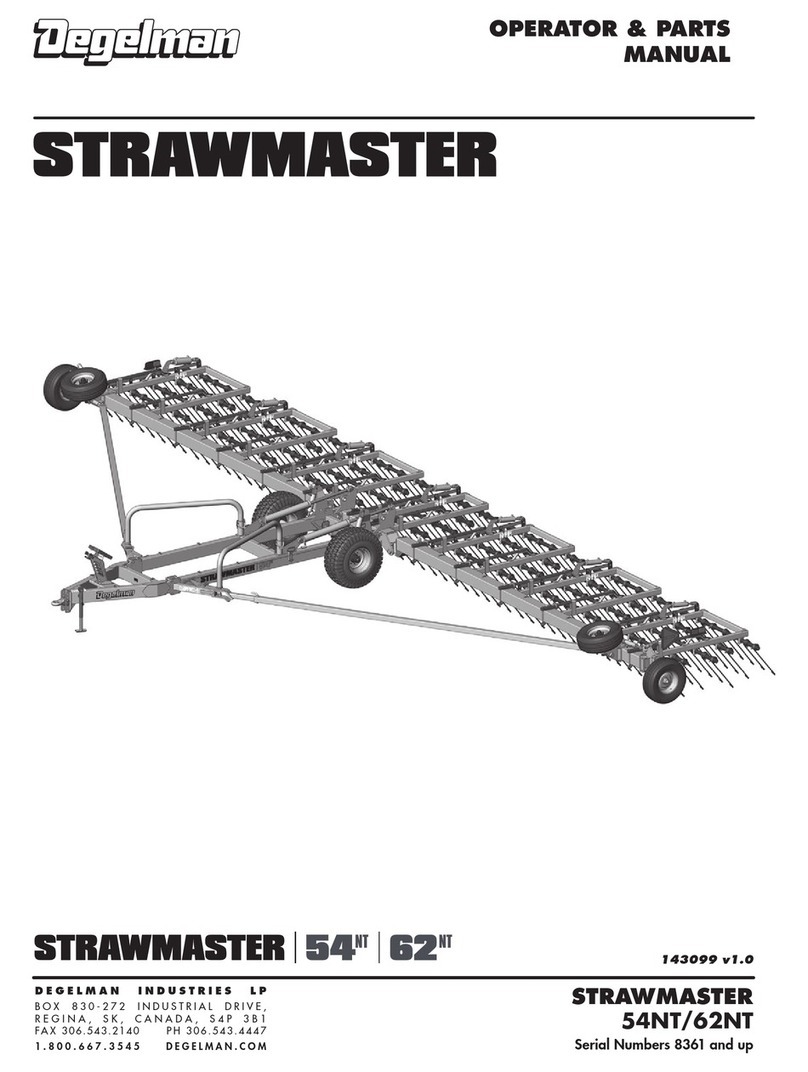
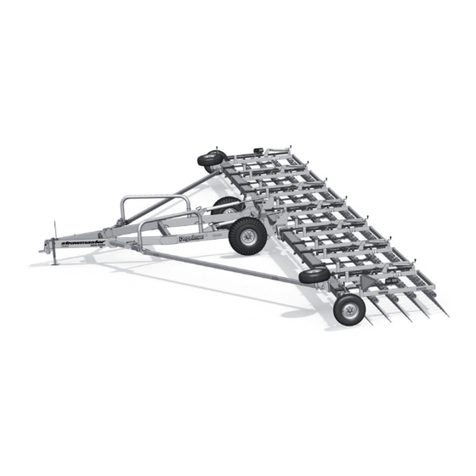
  9. Degelman STRAWMASTER 7000 User manual

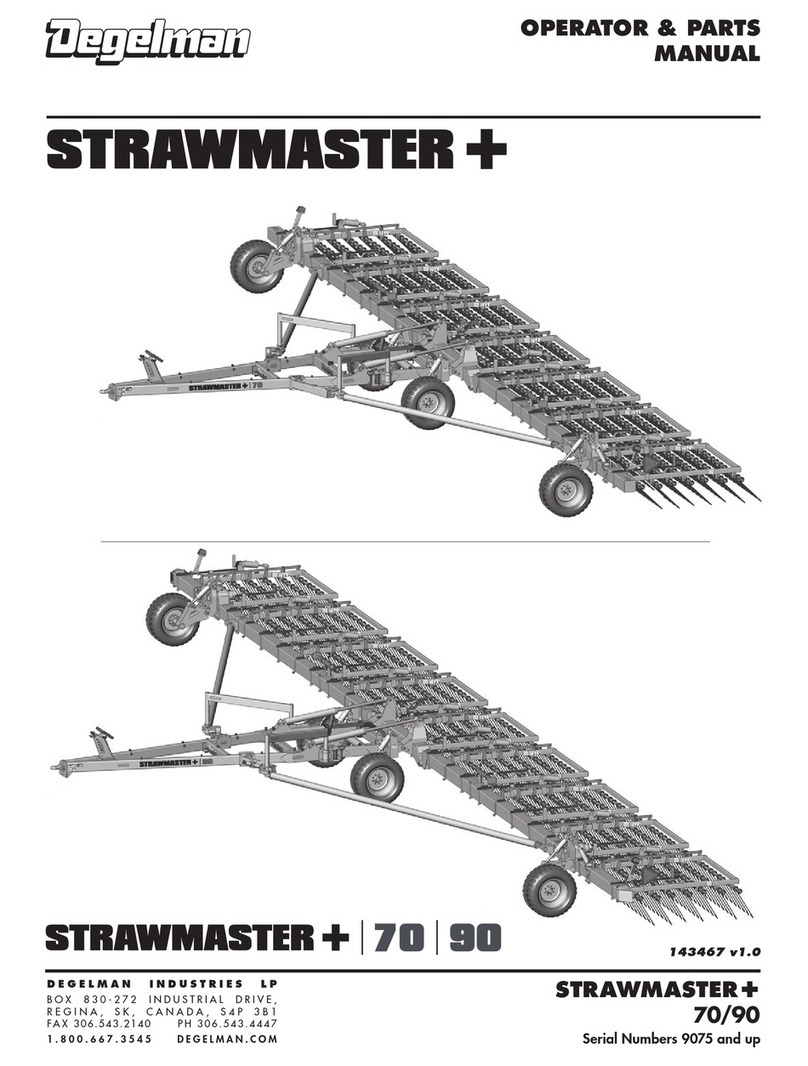
Degelman STRAWMASTER 7000 User manual

45
6
3
2
1
Note: Ensure there is plenty of room
behind and to the sides of the
Strawmaster before backing
into eld position.
BBacking Into Field Position
AConnect Hydraulics AUTO-FOLD LIFT CIRCUIT...Harrow Lift Cylinders
HYDRAULIC LIFT CIRCUIT..................(Optional)
REPHASING TINE ANGLE CIRCUIT....(Optional)
3
2
1
Note: These hydraulic options are not included on all models.
Manual adjustment will be required if they are not installed.
1) Remove Transport Frame Pins (A) and place in holders.
Note: Hydraulic models have both frame and cylinder
transport pins (B).
2) The 50’ model has a telescopic truss beam. Move out into
eld position and secure with pin. All other models have a
xed length truss arm.
StoreStore
RemoveRemove
RemoveRemove
StoreStore
Cylinder LockCylinder Lock
(both sides)
(both sides)
A
B
The Auto-Fold Cables should
be tight and the latch in the
open position.
Transport Pin
Hair Pin 50’
Field
Transport
3) Turn the transport wheel’s
spindle over so the wheel
leans out (both sides).
4) Back-up slowly. The wings will open up. Ensure there is lots of
room behind and to the sides. Back-up evenly so you don’t
damage the transport wheels.
IMPORTANT: Be sure to backup evenly to avoid serious
damage to the transport wheels.
6) If the auto-fold latch(s) still haven’t closed, slowly back up just
a bit more. It should then snap shut and be fully engaged.
ATTENTION: Before driving forward make sure both
latches have fully engaged or serious damage to the
machine will result.
Adjust Settings
7) Adjust settings for light or aggressive harrowing.
8) Adjust Tine Angle as needed.
9) Adjust Height Adjustments as needed.
3
5) With wings fully opened, lower harrow sections to the ground
by extending the auto-fold lift cylinders.
The Auto-Fold cable will loosen
and the auto-fold latch should
close on the swing arm pipe.
142638 v1.1
3
3
3
3
3
3
3
2
2
2
2
1
1
1
QUICK-START GUIDE*
for STRAWMASTER 7000
* Refer to operators manual for complete safety and operation info.
T
O
B
E
E
L
I
G
I
B
L
E
F
O
R
Y
O
U
M
U
S
T
R
E
G
I
S
T
E
R
WARRANTY
REMEMBER! You must complete Product
Registration to be eligible for Warranty.
CSetting Tine Angle, Pressure & Frame
NOTE: Strawmaster®can have either manual or hydraulic adjustment. Trailer height & tine angle are set by either ratchet/sidewind jacks or hydraulics.
When trailer height is set correctly,
it will be even with harrows and...
Front & back tines apply equal pressure Front tines not applying pressure Front tines applying too much pressure
If trailer is too high... If trailer is too low...
Hydraulic or Manual (with the use of two ratchet jacks, located on trailer wheel arms)
Trailer Height Adjustment
To manually adjust trailer height:
• Begin with the machine in field position. Make sure the tine angle has been set (if necessary).
• Using the ratchet jack handle for adjustment, adjust ratchet jacks evenly until tines are set to the desired height.
• When adjustments are complete, check that the trailer frame is parallel to the ground.
• If not, adjust clevis height and re-check. Repeat if necessary.
Tine Angle Adjustment
There are no standard angles for running the tines, the operator may
adjust the tine angles as needed to achieve desired results.
Manual models - Use the manual jacks
located on each harrow section. Start
at one end, set as desired. Set all the
other sections to the same setting.
(Manual shown)
Hydraulic models - Retract
rephasing tine angle
cylinders to raise tines.
Extend cylinders to lower.
Note: Actual settings will vary
with tine wear. Ensure trailer
and frame are leveled properly.
(Refer to Height Adjustment)
Wing Beam Height Adjustment
• The Wing beams and Center beam
should be at the same height, parallel to
the ground.
• Adjust the wing beam height when the
tine angles are adjusted, the trailer height
is adjusted, or as the tines wear down.
Manual models:
Use the manual jacks
to raise or lower the
wing beam section until desired
height/level is achieved.
Fine Adjustment
Hydraulic models:
Adjust the fine adjustment
rod located on the top of
the endwheel linkage until
desired height/level is
achieved.
Remember When Operating:
• Straw should be dry.
• A speed of 8 to 12 MPH (12 to 16 KPH) is suggested
to efficiently shatter and spread straw and residue.
• The harrow sections can be set in float position, where
the section drags the ground under its own weight.
• If machine leaves clumps of straw, apply slight down
pressure by extending hydraulic lift cylinders.
FIELD PACKING
4321
BREAKING &
SPREADING STRAW 4321
CHEMICAL INCORPORATION 4321 RAKING 4321
The following are suggested tine angle settings only, adjust as required:
Refer to Operator’s Manual for more suggested tine angle setting info.
1) Turn the transport wheel’s spindle over so the rear transport tires will be completely upright (both sides).
2) Operate the lift hydraulics to fully raise the harrow sections.
3) Carefully drive forward. The wing beams should fold back into transport position.
4) Install the frame transport pins (both sides). On hydraulic models, also install the cylinder transport pins (both sides).
5) On the 50’ model with a telescopic truss beam, shorten length into transport position and secure with pin.
6) Ensure SMV sign and reectors are cleanand lights are working. Follow all local transport laws when transporting.
DMoving Into Transport Position
1
• Check for missing, worn or damaged parts.
• Working points & pins
Maintenance
(Check Machine Daily)
• Hydraulic Connections & Hoses
• Hubs & Spindles
* Refer to operators manual for complete safety and operation info.
Hydraulic models - Re-syncronize the tine section cylinders by fully
extending the rephasing cylinders and holding for 30 seconds.
This should be repeated a few times daily or as needed.
1

Other manuals for STRAWMASTER 7000

1

Other Degelman Farm Equipment manuals

Degelman Rock King 9600 Programming manual

Degelman

Degelman Rock King 9600 Programming manual

Degelman Pro-till 20 Programming manual

Degelman

Degelman Pro-till 20 Programming manual

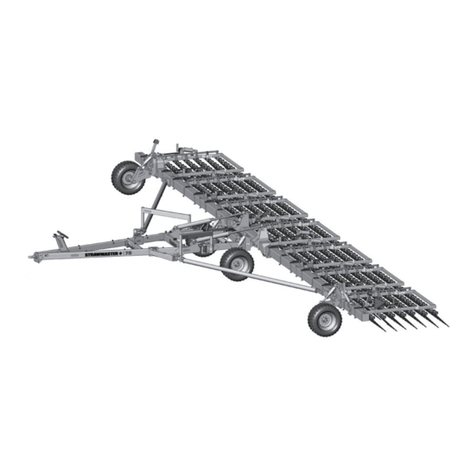
Degelman STRAWMASTER Plus User manual

Degelman

Degelman STRAWMASTER Plus User manual

Degelman M28 Programming manual

Degelman

Degelman M28 Programming manual

Degelman Signature Series Programming manual

Degelman

Degelman Signature Series Programming manual

Degelman REV1500 Programming manual

Degelman

Degelman REV1500 Programming manual

Degelman PRO-TILL SCORPION HITCH Programming manual

Degelman

Degelman PRO-TILL SCORPION HITCH Programming manual

Degelman PRO-TILL 14 User manual

Degelman

Degelman PRO-TILL 14 User manual

Degelman PRO-TILL 14 Programming manual

Degelman

Degelman PRO-TILL 14 Programming manual

Degelman PRO-TILL 41 User manual

Degelman

Degelman PRO-TILL 41 User manual

Degelman 5900 Series User manual

Degelman

Degelman 5900 Series User manual

Degelman STRAWMASTER 7000 User manual

Degelman

Degelman STRAWMASTER 7000 User manual

Degelman 5900 Series User manual

Degelman

Degelman 5900 Series User manual

Degelman LANDROLLER FIVE-PLEX 8000 Series Programming manual

Degelman

Degelman LANDROLLER FIVE-PLEX 8000 Series Programming manual

Degelman PRO-CAST 80 User manual

Degelman

Degelman PRO-CAST 80 User manual

Degelman STRAWMASTER 50 Programming manual

Degelman

Degelman STRAWMASTER 50 Programming manual

Degelman M28 User manual

Degelman

Degelman M28 User manual

Degelman Tri-Plex Landroller 7645 User manual

Degelman

Degelman Tri-Plex Landroller 7645 User manual

Degelman STRAWMASTER X User manual

Degelman

Degelman STRAWMASTER X User manual

Degelman Pro-Till 33 Programming manual

Degelman

Degelman Pro-Till 33 Programming manual

Degelman Tri-Plex Landroller 7634 Programming manual

Degelman

Degelman Tri-Plex Landroller 7634 Programming manual

Degelman ROCK DIGGER RD320 Programming manual

Degelman

Degelman ROCK DIGGER RD320 Programming manual

Degelman PRO-CAST 80 Programming manual

Degelman

Degelman PRO-CAST 80 Programming manual

Degelman shuttlekart 1150 Programming manual

Degelman

Degelman shuttlekart 1150 Programming manual

Popular Farm Equipment manuals by other brands

Woods 111753 manual

Woods

Woods 111753 manual

BVL V-COMFORT TURBO plus operating manual

BVL

BVL V-COMFORT TURBO plus operating manual

GREAT PLAINS PL5500-0830 Operator's manual

GREAT PLAINS

GREAT PLAINS PL5500-0830 Operator's manual

Kerbl 70552 User information

Kerbl

Kerbl 70552 User information

LS tractor LB1300 Operator's manual

LS tractor

LS tractor LB1300 Operator's manual

Krone Swadro 355 operating instructions

Krone

Krone Swadro 355 operating instructions

NOREMAT Optima 51 Operator's manual

NOREMAT

NOREMAT Optima 51 Operator's manual

Quadivator UTV Harrow Assembly/operators/parts manual

Quadivator

Quadivator UTV Harrow Assembly/operators/parts manual

GREAT PLAINS PL5700 Predelivery Manual

GREAT PLAINS

GREAT PLAINS PL5700 Predelivery Manual

Laverda M300 Operator's manual

Laverda

Laverda M300 Operator's manual

PBZ ZIMMERMANN KT1800 owner's manual

PBZ

PBZ ZIMMERMANN KT1800 owner's manual

Amadas 2110A manual

Amadas

Amadas 2110A manual

HARVEST FC1545 Operator's manual

HARVEST

HARVEST FC1545 Operator's manual

Landoll PP-5 Operator and parts manual

Landoll

Landoll PP-5 Operator and parts manual

Trac Vac DS400 instruction manual

Trac Vac

Trac Vac DS400 instruction manual

First Products AERA-vator AE80 Operator's manual & parts list

First Products

First Products AERA-vator AE80 Operator's manual & parts list

AG SHIELD 405824 OPERATOR’S HANDBOOK AND PARTS MANUAL

AG SHIELD

AG SHIELD 405824 OPERATOR’S HANDBOOK AND PARTS MANUAL

Ferrari Costruzioni Meccaniche REMOWEED Operating and service manual

Ferrari Costruzioni Meccaniche

Ferrari Costruzioni Meccaniche REMOWEED Operating and service manual

manuals.online logo
manuals.online logoBrands
  • About & Mission
  • Contact us
  • Privacy Policy
  • Terms and Conditions

Copyright 2025 Manuals.Online. All Rights Reserved.