manuals.online logo
Brands
  1. Home
  2. •
  3. Brands
  4. •
  5. DeLOCK
  6. •
  7. Media Converter
  8. •
  9. DeLOCK 63343 User manual

DeLOCK 63343 User manual

Declaration of conformity
Products with a CE symbol fulll the EMC directive (2014/30/EU) and
RoHS directive (2011/65/EU+2015/863+2017/2102), which were released by the
EU-comission.
The declaration of conformity can be downloaded here:
https://www.delock.de/produkte/G_63343/merkmale.html
WEEE-notice
The WEEE (Waste Electrical and Electronic Equipment)-directive, which became
e󰀨ective as European law on February 13th 2003, resulted in an all out change
in the disposal of disused electro devices. The primarily purpose of this directive
is the avoidance of electrical waste (WEEE) and at the same time the support of
recycling and other forms of recycling in order to reduce waste. The WEEE-logo
on the device and the package indicates that the device should not be disposed
in the normal household garbage. You are responsible for taking the disused
electrical and electronical devices to a respective collecting point. A separated
collection and reasonable recycling of your electrical waste helps handling the
natural resources more economical. Furthermore recycling of electrical waste is
a contribution to keep the environment and thus also the health of men. Further
information about disposal of electrical and electronical waste, recycling and
the collection points are available in local organizations, waste management
enterprises, in specialized trade and the producer of the device.
Cet appareil et
ses accessoires
se recyclent
Points de collecte sur www.quefairedemesdechets.fr
EU Import: Tragant Handels- und Beteiligungs GmbH
Beeskowdamm 13/15, 14167 Berlin, Germany
Support Delock
If you have further questions, please contact our customer support
[email protected]
You can nd current product information on our homepage: www.delock.com
Final clause
Information and data contained in this manual are subject to change without notice
in advance. Errors and misprints excepted.
Copyright
No part of this user's manual may be reproduced, or transmitted for any purpose,
regardless in which way or by which means, electronically or mechanically, without
explicit written approval of Delock.
Edition: 08/2022
M.2 Converter
Key M male to Key E slot
User manual
Mode d’emploi
Uživatelská příručka
Manuale utente
Manual de utilizare
Korisnički priručnik
Bedienungsanleitung
Manual del usuario
Instrukcja obsługi
Bruksanvisning
Használati utasítás
Εγχειρίδιο χρήστη
Product-No:63343
User manual no:63343-a
www.delock.com
English
Description
This converter by Delock converts the M.2 key M slot into a key E slot. It supports
modules with USB and PCIe signal transfer.
Specication
• Connectors:
1 x 67 pin M.2 key M male >
1 x 67 pin M.2 key E slot
1 x 4 pin USB 2.0 pin header
• Form factor: M.2 2280
• Supports modules in format 2230, 1630 and 3030 with key E or key A+E based
on PCIe and USB
• Maximum height of the components on the module: 1.5 mm, application of
double-sided assembled modules supported
• Operating temperature: -40 °C ~ 80 °C
• Dimensions (LxWxH): ca. 80 x 22 x 5 mm
• OS independent, no driver installation necessary
System requirements
• A free M.2 key M slot
Package content
• Converter
• USB pin header cable 5 pin to 4 pin, length ca. 90 cm
• Mounting material
• User manual
Safety instructions
• Protect the product against moisture
• Avoid anti-static electricity when installing the product
Hardware Installation
Note:
Make sure your motherboard has an M.2 slot with PCIe interface.
1. Plug and x your M.2 module with key E or key A+E in the adapter, therefor
you can use the enclosed screws.
2. If you are using a USB module or combination module e.g. WLAN and
Bluetooth, you need to connect the USB pin header of the module to a free
USB pin header on your motherboard. You can use the included cable for
this.
3. Turn o󰀨 your PC and unplug the power cord.
4. Open the housing.
5. Insert the module into a free M.2 slot and screw the module. (di󰀨erent
motherboards may have di󰀨erent xing options)
6. Reattach the housing and connect the power cord to the AC adapter.
Conguration système requise
• Emplacement M.2 touche M libre
Contenu de l’emballage
• Convertisseur
• Câble de tête USB 5 broches vers 4 broches, longueur env. 90 cm
• Matériel de montage
• Mode d’emploi
Instructions de sécurité
• Protéger le produit contre l’humidité
• Evitez l’électricité électrostatique lorsque vous installez le produit
Installation matérielle
Remarque :
S'assurer que votre carte-mère a une prise M.2 avec une interface PCIe.
1. Branchez et xez votre module M.2 avec touche E ou touche A+E dans
l'adaptateur, à cet e󰀨et vous pouvez utiliser les vis fournies.
2. Si vous utilisez un module USB ou un module de combinaison, ex. WLAN
et Bluetooth, vous devez connecter la tête de broche USB du module à une
tête à broche USB disponible sur la carte-mère. Vous pouvez utiliser le câble
inclus pour cela.
3. Eteignez votre PC et débranchez le cordon d'alimentation.
4. Ouvrez le boîtier.
5. Insérez le module dans une fente M.2 libre et vissez le module. (di󰀨érentes
cartes mères peuvent avoir des options de xation di󰀨érentes)
6. Remontez le boîtier et branchez le cordon d'alimentation et l'adaptateur AC.
English
Deutsch
Français
Español
Systemvoraussetzungen
• Ein freier M.2 Key M Slot
Packungsinhalt
• Konverter
• USB Pfostenbuchse Kabel 5 Pin zu 4 Pin, Länge ca. 90 cm
• Befestigungsmaterial
• Bedienungsanleitung
Sicherheitshinweise
• Produkt vor Feuchtigkeit schützen
• Vermeiden Sie antistatische Auadung beim Einbau des Produktes
Hardwareinstallation
Hinweis:
Achten Sie darauf, dass Ihr Mainboard einen M.2 Slot mit PCIe Schnittstelle zur
Verfügung stellt.
1. Stecken und xieren Sie Ihr M.2 Modul mit Key E oder Key A+E im Adapter,
dazu können Sie die im Lieferumfang bendlichen Schrauben verwenden.
2. Wenn Sie ein USB Modul oder ein Kombi-Modul z. B. mit WLAN und
Bluetooth verwenden, müssen Sie den USB Pfostenstecker des Moduls mit
einem freien USB Pfostenstecker auf Ihrem Mainboard verbinden. Dazu
können Sie das beigefügte Kabel nutzen.
3. Schalten Sie Ihren PC aus, ziehen Sie das Netzkabel.
4. Ö󰀨nen Sie das Gehäuse.
5. Stecken Sie das Modul in den freien M.2 Slot und schrauben Sie das
Modul fest. (unterschiedliche Mainboards haben evtl. eine andere
Befestigungsmöglichkeit)
6. Schließen Sie das Gehäuse wieder und verbinden Sie das Netzkabel mit dem
Netzteil.
Requisitos del sistema
• Una ranura M.2 clave M disponible
Contenido del paquete
• Convertidor
• Cable de cabezal de pin USB de 5 pines a 4 pines, longitud aprox. 90 cm
• Material de montaje
• Manual del usuario
Instrucciones de seguridad
• Proteja el producto contra el polvo
• Evite la electricidad antiestática al instalar el producto
Hardware Instalación
Nota:
Asegúrese de que su tarjeta madre tenga una ranura M.2 con interfaz PCIe.
1. Enchufe y je el módulo M.2 con clave E o clave A+E en el adaptador. Para
ello puede utilizar los tornillos incluidos.
2. Si está utilizando un módulo USB o un módulo combinado, p. ej., WLAN y
Bluetooth, debe conectar el conector pin USB del módulo a un cabezal de pin
USB libre en su tarjeta madre. Puede usar el cable incluido para esto.
3. Apague su equipo y desconecte el cable de alimentación.
4. Abra la carcasa.
5. Inserte el modelo en una ranura M.2 disponible y atorníllelo. (cada placa base
puede tener diferentes opciones de jación)
6. Vuelva a colocar la carcasa y conecte el adaptador de CA del cable de
alimentación.
České
Polsku
Italiano
Svenska
Systémové požadavky
• Jeden volný slot M.2 klíč M
Obsah balení
• Převodník
• USB kabel s pinovým konektorem 5 pin na 4 pin, délka cca. 90 cm
• Montážní materiál
• Uživatelská příručka
Bezpečnostní pokyny
• Chraňte produkt před vlhkostí
• Při instalaci produktu se vyvarujte antistatické elektřině
Instalace hardware
Poznámka:
Ujistěte se, že základní deska má slot M.2 s rozhraním PCIe.
1. Připojte a připevněte váš modul M.2 s key E nebo key A+E v adaptéru,
můžete použít dodávané šrouby.
2. Používáte-li modul USB nebo kombinovaný modul, např. WLAN a Bluetooth,
musíte připojit pin konektor USB modulu k volnému pin konektoru USB na
základní desce. Pro tento účel můžete použít dodávaný kabel.
3. Vypněte PC a odpojte přívodní šňůru napájení.
4. Otevřte kryt PC.
5. Zasuňte modul do volného M.2 slotu a přišroubujte. (různé desky mohou mít
různá uchycení modulů)
6. Nasaďte zpět kryt a připojte napájecí šňůru.
Requisiti di sistema
• Uno slot M.2 chiave M libero
Contenuto della confezione
• Convertitore
• Cavo pin header USB da 5 pin a 4 pin, lunghezza ca. 90 cm
• Materiale di montaggio
• Manuale utente
Istruzioni per la sicurezza
• Proteggere il prodotto dall'umidità
• Evitare l'elettricità antistatica durante l'installazione del prodotto
Installazione dell'hardware
Nota:
Assicurarsi che la scheda madre abbia uno slot M.2 con interfaccia PCIe.
1. Collegare e ssare il modulo M.2 con chiave E o A+E nell'adattatore
utilizzando le viti in dotazione.
2. Se si utilizza un modulo USB o un modulo combinato, ad esempio WLAN
e Bluetooth, è necessario collegare il pin header USB del modulo a un pin
header USB libero sulla scheda madre. Per questo si può utilizzare il cavo in
dotazione.
3. Spegnere il PC e scollegare il cavo di alimentazione.
4. Aprire l'alloggiamento.
5. Inserire il modulo in uno slot M.2 disponibile e avvitare il modulo. (Diverse
schede principali potrebbero avere di󰀨erenti opzioni di ssaggio)
6. Reinserire l'alloggiamento e collegare il cavo di alimentazione all'adattatore
CA.
Wymagania systemowe
• Jedno wolne gniazdo M.2 z wpustem M
Zawartość opakowania
• Konwerter
• Kabel USB pin header 5 pin do 4 pin, długość ok. 90 cm
• Materiał montażowy
• Instrukcja obsługi
Instrukcje bezpieczeństwa
• Produkt należy zabezpieczyć przed wilgocią
• Podczas instalacji produktu należy unikać elektryczności statycznej
Instalacja sprzętu
Uwaga:
Należy upewnić się, że płyta główna posiada gniazdo M.2 z interfejsem PCIe.
1. Podłącz i przymocuj moduł M.2 z kluczem E lub kluczem A+E do adaptera. W
tym celu można użyć dostarczonych śrub.
2. Jeśli używany jest moduł USB lub kombinacja modułów, np. WLAN i
Bluetooth, należy podłączyć złącze pin header USB modułu do wolnego
złącza pin header na płycie głównej. Można do tego celu użyć dołączonego
kabla.
3. Wyłącz komputer i odłącz kabel zasilania.
4. Otwórz obudowę.
5. Włóż moduł do wolnego złącza M.2 i przykręć go. (odmienne płyty główne
mają różne opcje mocowania)
6. Zamknij z powrotem obudowę i podłącz kabel do zasilacza.
Systemkrav
• En ledig M.2 key M-kortplats
Paketets innehåll
• Omvandlare
• USB-stifthuvudskabel med 5 stift till 4 stift, längd ca 90 cm
• Monteringsmaterial
• Bruksanvisning
Säkerhetsinstruktioner
• Skydda produkten mot fukt
• Undvik antistatisk elektricitet när du installerar produkten
Hårdvaruinstallation
Obs:
Säkerställ att ditt moderkort har en M.2-plats med PCIe-gränssnitt.
1. Anslut och fäst din M.2-modul med E- eller A+E-nyckel i adaptern med de
medföljande skruvarna.
2. Om du använder en USB-modul eller kombinationsmodul t.ex. WLAN eller
Bluetooth, måste du ansluta USB-stifthuvudet på modulen till et ledigt USB-
stifthuvud på ditt moderkort. Du kan använda den medföljande kabeln för
detta.
3. Stäng av datorn och koppla ifrån strömsladden.
4. Öppna höljet.
5. Anslut modulen till en ledig M.2-plats och skruva fast modulen. (olika
moderkort har olika xeringsalternativ)
6. Sätt tillbaka höljet och anslut strömsladden till eluttaget.
Preduvjeti sustava
• Jedan slobodan M.2 key M utor
Sadržaj pakiranja
• Pretvarač
• USB kabel zatičnog spojnika 5-pinski u 4-pinski, duljina oko 90 cm
• Materijal za montiranje
• Korisnički priručnik
Sigurnosne upute
• Zaštitite proizvod od vlage
• Izbjegavajte statički elektricitet kod ugradnje proizvoda
Ugradnja hardvera
Napomena:
Provjerite ima li vaša matična ploča M.2 utor s PCIe sučeljem.
1. Umetnite i pričvrstite M.2 modul s ključem E ili ključem A+E u prilagodnik,
možete uporabiti isporučene vijke.
2. Ako koristite USB modul ili kombinirani modul npr. WLAN i Bluetooth, trebate
spojiti USB zatični spojnik modula na slobodan USB zatični spojnik na vašoj
matičnoj ploči. Za to možete koristiti priloženi kabel.
3. Isključite računalo i odvojite kabel za napajanje.
4. Otvorite kućište.
5. Uložite modul u slobodni utor za M.2 i pričvrstite modul vijkom. (razne matične
ploče mogu imati razne opcije za pričvršćenje)
6. Vratit kućište i ponovno priključite kabel za napajanje u AC adapter.
Română
Magyar
Hrvatski
ελληνικά
Cerinte de sistem
• O fantă M.2 liberă cu cheie tip M
Pachetul contine
• Convertor
• Cablu pentru antet pin USB cu 5 pini până la 4 pini, lungime aprox. 90 cm
• Material de montare
• Manual de utilizare
Instrucţiuni de siguranţă
• Protejaţi produsul împotriva umidităţii
• Evitaţi electricitatea antistatică atunci când instalaţi produsului
Instalarea componentelor hardware
Notă:
Asigurați-vă că placa de bază are un slot M.2 cu interfață PCIe.
1. Conectaţi şi xaţi modulul M.2 cu cheie tip E sau cu cheie tip A+E în adaptor,
utilizând pentru aceasta şuruburile incluse.
2. Dacă utilizați un modul USB sau un modul combinat, de ex. WLAN și
Bluetooth, trebuie să conectați antetul pinului USB al modulului la un antet
liber al pinului USB de pe placa de bază. Puteți utiliza cablul inclus în acest
scop.
3. Închideţi PC-ul şi deconectaţi cablul de alimentare.
4. Deschideţi carcasa.
5. Introduceţi modulul într-o fantă M.2 liberă şi înşurubaţi modulul. (diversele
plăci de bază pot avea opţiuni diferite de xare)
6. Reataşaţi carcasa şi conectaţi cablul de alimentare la adaptorul de c.a.
Rendszerkövetelmények
• Egy szabad, M nyílással ellátott M.2 aljzat
A csomag tartalma
• Átalakító
• USB tüskesor kábel 5 tűtől 4 tűig, hosszúság kb. 90 cm
• Rögzítőanyag
• Használati utasítás
Biztonsági óvintézkedések
• Óvja a terméket a nedvességtől.
• Kerülje az elektrosztatikus kisüléseket a termék üzembe helyezése közben
Hardvertelepítés
Megjegyzés:
Győződjön meg róla, hogy alaplapjának M.2 csatolóhelye rendelkezik PCIe
interfésszel.
1. Csatlakoztassa az E vagy A+E nyílással ellátott M.2 modult az adapterhez, és
rögzítse a tartozékként kapott csavarokkal.
2. Ha USB modult vagy kombinációs modult használ, pl. WLAN és Bluetooth,
csatlakoztassa a modul USB tüskesorát az alaplapon található szabad USB
tüskesorhoz. Ehhez használhatja a mellékelt kábelt.
3. Kapcsolja ki a PC-t és húzza ki a hálózati tápkábelt.
4. Nyissa ki a számítógépházat.
5. Helyezze be a modult egy szabad M.2-nyílásba, és rögzítse csavarral. (A
különböző alaplapok különféle rögzítési módszereket igényelhetnek.)
6. Szerelje vissza a ház fedelét és csatlakoztassa a tápkábelt a tápegységhez.
Απαιτήσεις συστήματος
• Μία ελεύθερη υποδοχή Μ.2 κλειδιού M
Περιεχόμενα συσκευασίας
• Μετατροπέας
• Καλώδιο κεφαλής USB pin των 5 pin προς 4 pin, μήκους περίπου 90 εκ.
• Υλικό στερέωσης
• Εγχειρίδιο χρήστη
Οδηγίες ασφάλειας
• Προστατεύστε το προϊόν από την υγρασία
• Αποφύγετε αντιστατικό ηλεκτρισμό όταν εγκαθιστάτε το προϊόν
Εγκατάσταση υλικού
Σημείωση:
Βεβαιωθείτε πως η μητρική σας κάρτα διαθέτει υποδοχή M.2 με διεπαφή PCIe.
1. Συνδέστε και στερεώστε τη μονάδα M.2 με key E ή key A+E στον
προσαρμογέα, για το σκοπό αυτό μπορείτε να χρησιμοποιείτε τις βίδες που
περιλαμβάνονται.
2. Εάν χρησιμοποιείτε μια μονάδα USB ή μονάδες σε συνδυασμό π.χ. WLAN και
Bluetooth, είναι απαραίτητο να συνδέσετε την κεφαλή USB pin της μονάδας
σε μια ελεύθερη υποδοχή κεφαλής USB pin στη μητρική σας κάρτα. Μπορείτε
να χρησιμοποιήσετε το συμπεριλαμβανόμενο καλώδιο για αυτό το σκοπό.
3. Σβήστε τον Η/Υ σας και βγάλτε το καλώδιο τροφοδοσίας από την πρίζα.
4. Ανοίξτε το περίβλημα.
5. Εισάγετε τη μονάδα σε μια ελεύθερη θύρα M.2 και βιδώστε τη. (για
διαφορετικές μητρικές πλακέτες ενδέχεται να υπάρχουν διαφορετικές επιλογές
στερέωσης)
6. Συνδέστε ξανά το περίβλημα και συνδέστε το καλώδιο τροφοδοσίας στην
πρίζα ρεύματος.
Other DeLOCK Media Converter manuals

DeLOCK 88014 User manual

DeLOCK

DeLOCK 88014 User manual

DeLOCK 62438 User manual

DeLOCK

DeLOCK 62438 User manual

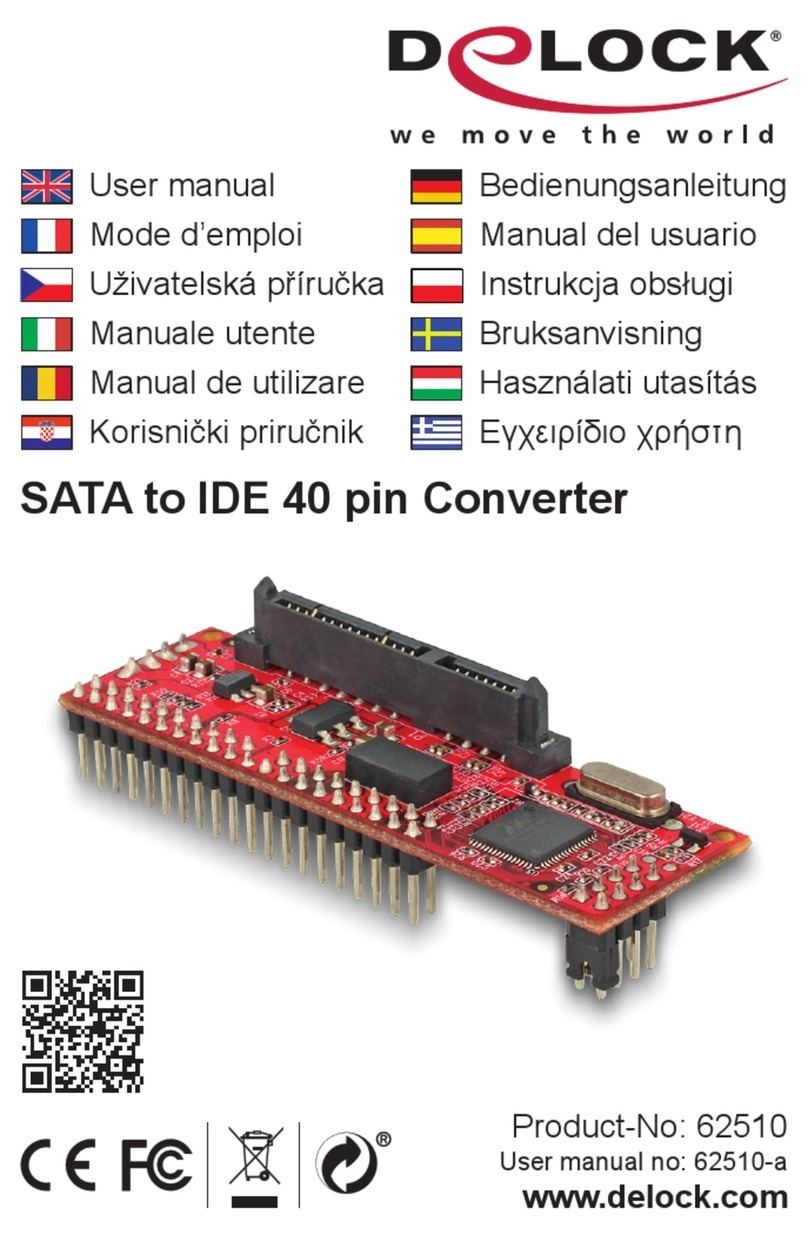
DeLOCK 62510 User manual

DeLOCK

DeLOCK 62510 User manual

DeLOCK 95272 User manual

DeLOCK

DeLOCK 95272 User manual

DeLOCK 62848 User manual

DeLOCK

DeLOCK 62848 User manual

DeLOCK 62985 User manual

DeLOCK

DeLOCK 62985 User manual

DeLOCK 86441 User manual

DeLOCK

DeLOCK 86441 User manual

DeLOCK 91620 User manual

DeLOCK

DeLOCK 91620 User manual

DeLOCK 95232 User manual

DeLOCK

DeLOCK 95232 User manual

DeLOCK 63468 User manual

DeLOCK

DeLOCK 63468 User manual

DeLOCK 64081 User manual

DeLOCK

DeLOCK 64081 User manual

DeLOCK 63913 User manual

DeLOCK

DeLOCK 63913 User manual

DeLOCK 83116 User manual

DeLOCK

DeLOCK 83116 User manual

DeLOCK 64051 User manual

DeLOCK

DeLOCK 64051 User manual

DeLOCK 87805 User manual

DeLOCK

DeLOCK 87805 User manual

DeLOCK 86440 User manual

DeLOCK

DeLOCK 86440 User manual

DeLOCK 62696 User manual

DeLOCK

DeLOCK 62696 User manual

DeLOCK 62551 User manual

DeLOCK

DeLOCK 62551 User manual

DeLOCK 62500 User manual

DeLOCK

DeLOCK 62500 User manual

DeLOCK 61511 User manual

DeLOCK

DeLOCK 61511 User manual

DeLOCK 64221 User manual

DeLOCK

DeLOCK 64221 User manual

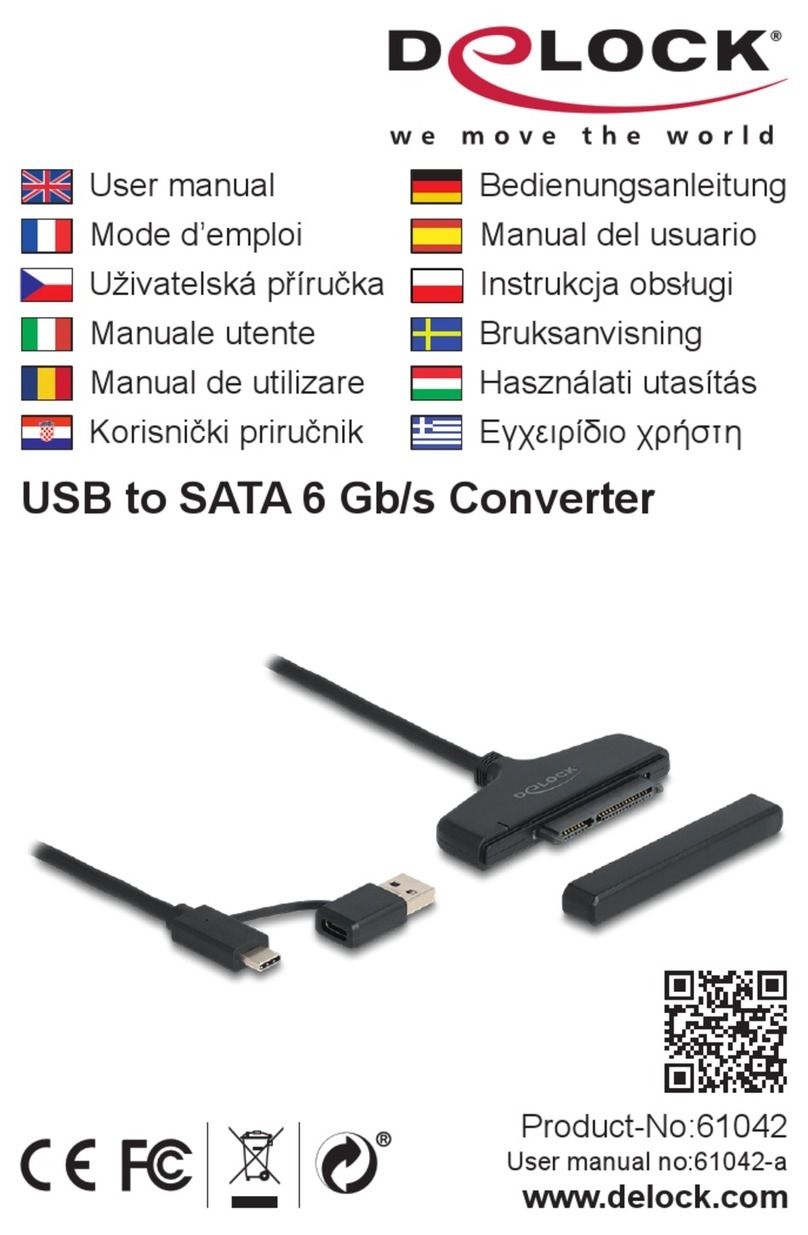
DeLOCK 61042 User manual

DeLOCK

DeLOCK 61042 User manual

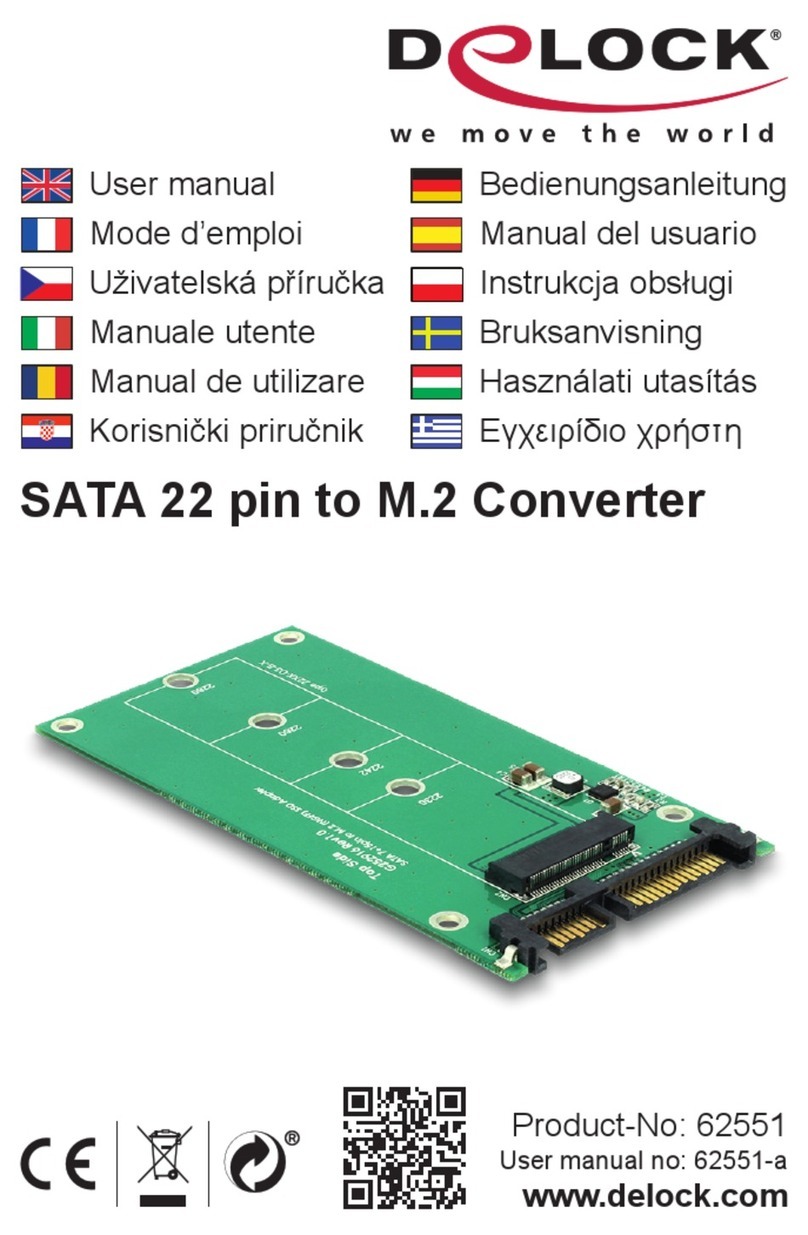
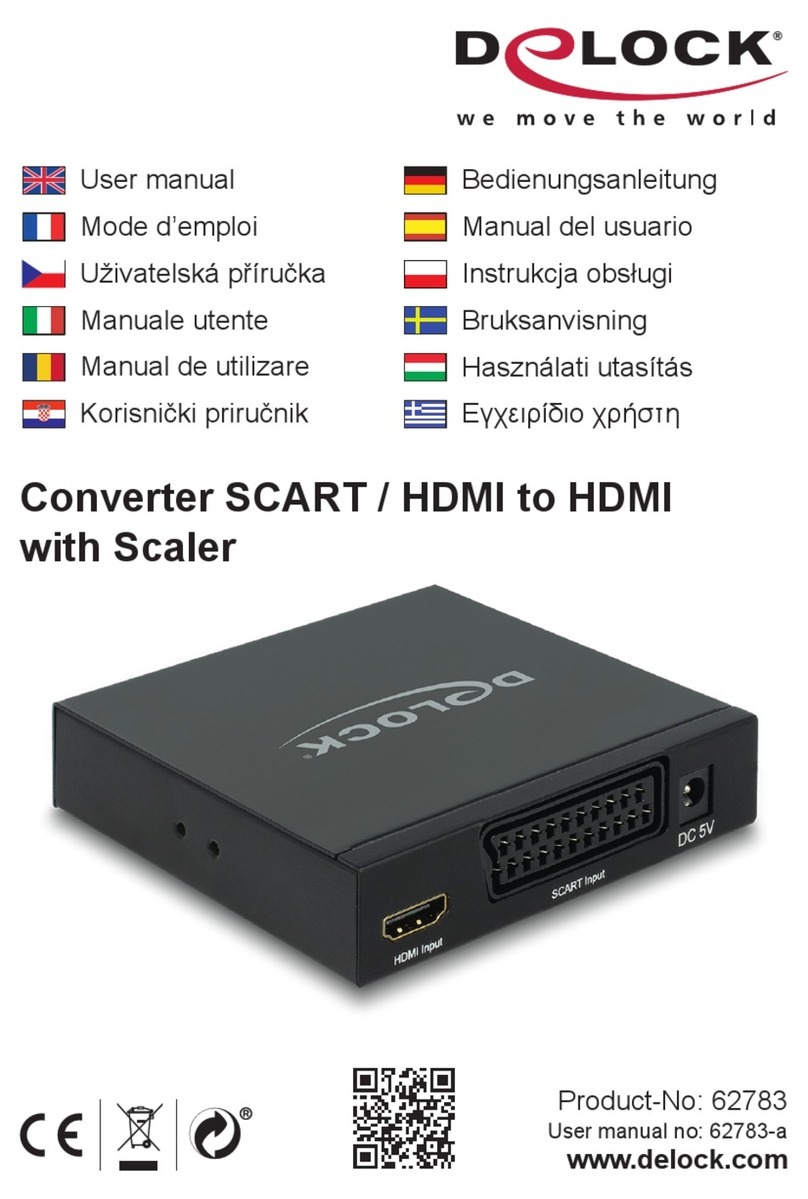
DeLOCK 62783 User manual

DeLOCK

DeLOCK 62783 User manual

DeLOCK 61769 User manual

DeLOCK

DeLOCK 61769 User manual

Popular Media Converter manuals by other brands

Atlona AT-HDR-M2C-QUAD installation guide

Atlona

Atlona AT-HDR-M2C-QUAD installation guide

Linear ANALOG DEVICES LTC3888-1 Demo Manual

Linear

Linear ANALOG DEVICES LTC3888-1 Demo Manual

Espedeo DAC Series user manual

Espedeo

Espedeo DAC Series user manual

TDK-Lambda PYD20 Series instruction manual

TDK-Lambda

TDK-Lambda PYD20 Series instruction manual

Elo TouchSystems E171 Operation manual

Elo TouchSystems

Elo TouchSystems E171 Operation manual

evertz HD9510UC instruction manual

evertz

evertz HD9510UC instruction manual

PAG 9774 Instructions for use

PAG

PAG 9774 Instructions for use

Analog Devices AD9249 user guide

Analog Devices

Analog Devices AD9249 user guide

Manhattan 179133 Quick install guide

Manhattan

Manhattan 179133 Quick install guide

HR SC-VHD-HD user manual

HR

HR SC-VHD-HD user manual

Blaupunkt IVSC-5501 Operating and installation instructions

Blaupunkt

Blaupunkt IVSC-5501 Operating and installation instructions

PRO SIGNAL PSG3369 user manual

PRO SIGNAL

PRO SIGNAL PSG3369 user manual

TP-Link TR-932D user guide

TP-Link

TP-Link TR-932D user guide

Baumer Hubner HOG 16 M Installation and operating instructions

Baumer

Baumer Hubner HOG 16 M Installation and operating instructions

Audio Authority IR Converter C-1024A Specifications

Audio Authority

Audio Authority IR Converter C-1024A Specifications

Cross Technologies 2116-184 instruction manual

Cross Technologies

Cross Technologies 2116-184 instruction manual

Asus Essence One Series user guide

Asus

Asus Essence One Series user guide

Patton electronics 2072 Installation and operation manual

Patton electronics

Patton electronics 2072 Installation and operation manual

manuals.online logo
manuals.online logoBrands
  • About & Mission
  • Contact us
  • Privacy Policy
  • Terms and Conditions

Copyright 2025 Manuals.Online. All Rights Reserved.