Dietz SANGO ADVANCED Series User manual

Sango Advanced R
Sango Advanced F
Sango Advanced M
Sango Slimline M
USER MANUAL

2 - SANGO ADVANCED / SLIMLINE
© 2017 DIETZ-Power BV
All rights reserved.
The information provided may in no way be reproduced and/or published in any
form or by any means (electronically or mechanically) without the express prior
written consent of DIETZ-Power BV.
The information provided is based on general data pertaining to constructions
known at the time of issue. DIETZ-Power BV pursues a policy of continuous
product development and therefore reserves the right to make changes.
The information provided applies to the standard version of the product.
DIETZ-Power BV can therefore not be held liable for any damage resulting from
specications deviating from the standard version of the product.
The information made available has been compiled with the greatest care.
However, DIETZ-Power BV cannot be held liable for any errors in the information
or for the consequences thereof. DIETZ-Power BV cannot be held liable for any
damage resulting from work carried out on the wheelchair by third parties.
Under legislation relating to the protection of trademarks, those commercial
names, trade names, trademarks, etc. used by DIETZ-Power BV may not be
regarded as being free of rights.

SANGO ADVANCED / SLIMLINE - 3
Table of contents
1 Preface ............................................................................................................ 5
1.1. About this manual 5
1.2. Symbols used in this manual 5
2 Safety............................................................................................................... 6
2.1. Temperature 6
2.2. Moving parts 6
2.3. Electromagnetic radiation 7
2.4. Markings on the wheelchair 8
3 General description ....................................................................................... 9
3.1. Congurations 9
3.2. The user 10
3.3. Operating environment 11
4 General procedures..................................................................................... 12
4.1. Seat cushion 12
4.2. Back cushion 12
4.3. Leg rests 13
4.4. Headrest 13
5
Wheelchair settings (qualied specialists only) .............................................14
5.1. Tools 14
5.2. Adjusting the centre of gravity (seat position) 14
5.3. Seat height and seat angle setting 15
5.4. Seat depth setting 15
5.5. Seat width setting 15
5.6. Backrest angle setting 15
5.7. Leg rest settings 16
5.8. Armrest settings 18
5.9. Controller settings 19
5.10. Headrest settings 20
5.11. The positioning belt (option) 20
6 Wheelchair adjustments ............................................................................. 21
6.1. Powered adjustments 21
6.2. Mechanical adjustments 22
7 Using the wheelchair .................................................................................. 23
7.1. Checking the wheelchair 23
7.2. Getting into and out of the wheelchair 23
7.3. Driving the wheelchair 24
Table of contents

4 - SANGO ADVANCED / SLIMLINE
7.4. Driving on slopes or ramps 25
7.5. Obstacles 26
7.6. Pushing the wheelchair 26
7.7. Storage of the wheelchair after use 27
8 Transport ...................................................................................................... 28
8.1. Transporting the wheelchair in motor vehicles 28
8.2. The wheelchair as a driver’s seat in a car with Dahl docking system
(option) 30
8.3. Special transport 31
9 Wheelchair maintenance ........................................................................... 32
9.1. Cleaning the wheelchair and its upholstery 33
9.2. Batteries 33
9.3. Tyres 34
9.4. Disposing of the wheelchair 35
10 Technical specications ........................................................................... 36
10.1. Standards and requirements 36
10.2. Specications operating force 36
10.3. Specications Sango Advanced Sego Comfort 37
10.4. Specications Sango Slimline Sego Comfort 38
10.5. Specications batteries 39
10.6. Electrical diagrams 39
11 Warranty conditions.................................................................................. 40
11.1. Warranty period 40
11.2. Warranty provisions 41
11.3. Warranty procedure 41
Table of contents

1 Preface
1.1. About this manual
The user manual for this powered wheelchair consists of three separate booklets:
• The general user manual (this booklet)
• The manual for the controller
• The manual for the battery charger
Read through these user manuals carefully before using the wheelchair for the
rst time. The information they contain is essential for the safe use and proper
maintenance (cleaning) of the wheelchair. If any of the manuals are missing on
delivery of your wheelchair, please contact your dealer immediately.
A service manual for qualied specialists is also available.
1.2. Symbols used in this manual
Warning
Follow the instructions given under warnings! Failure to exercise due care in
following these instructions may result in physical injury, damage to the wheelchair
or damage to the environment. Where possible, the warnings are given in the
section that is most relevant.
Section references
A reference to another chapter or section in this manual is given in parentheses
enclosing the phrase ‘see’. Example (see 2) or (see 2.4).
Cross-reference symbol
Where required, this general manual makes reference to the other manuals. This
is done in the following way:
CONTROLLER Please refer to the user manual for the controller.
CHARGER Please refer to the user manual for the battery charger.
SERVICE Please refer to the service manual of the product (qualied specialists
only).
If you have a visual impairment, you can nd a PDF version of
this user manual at www.DIETZ-Power.com.
You can also request a large-print paper version by contacting
DIETZ-Power. Contact information can be found on the back
cover of this user manual.
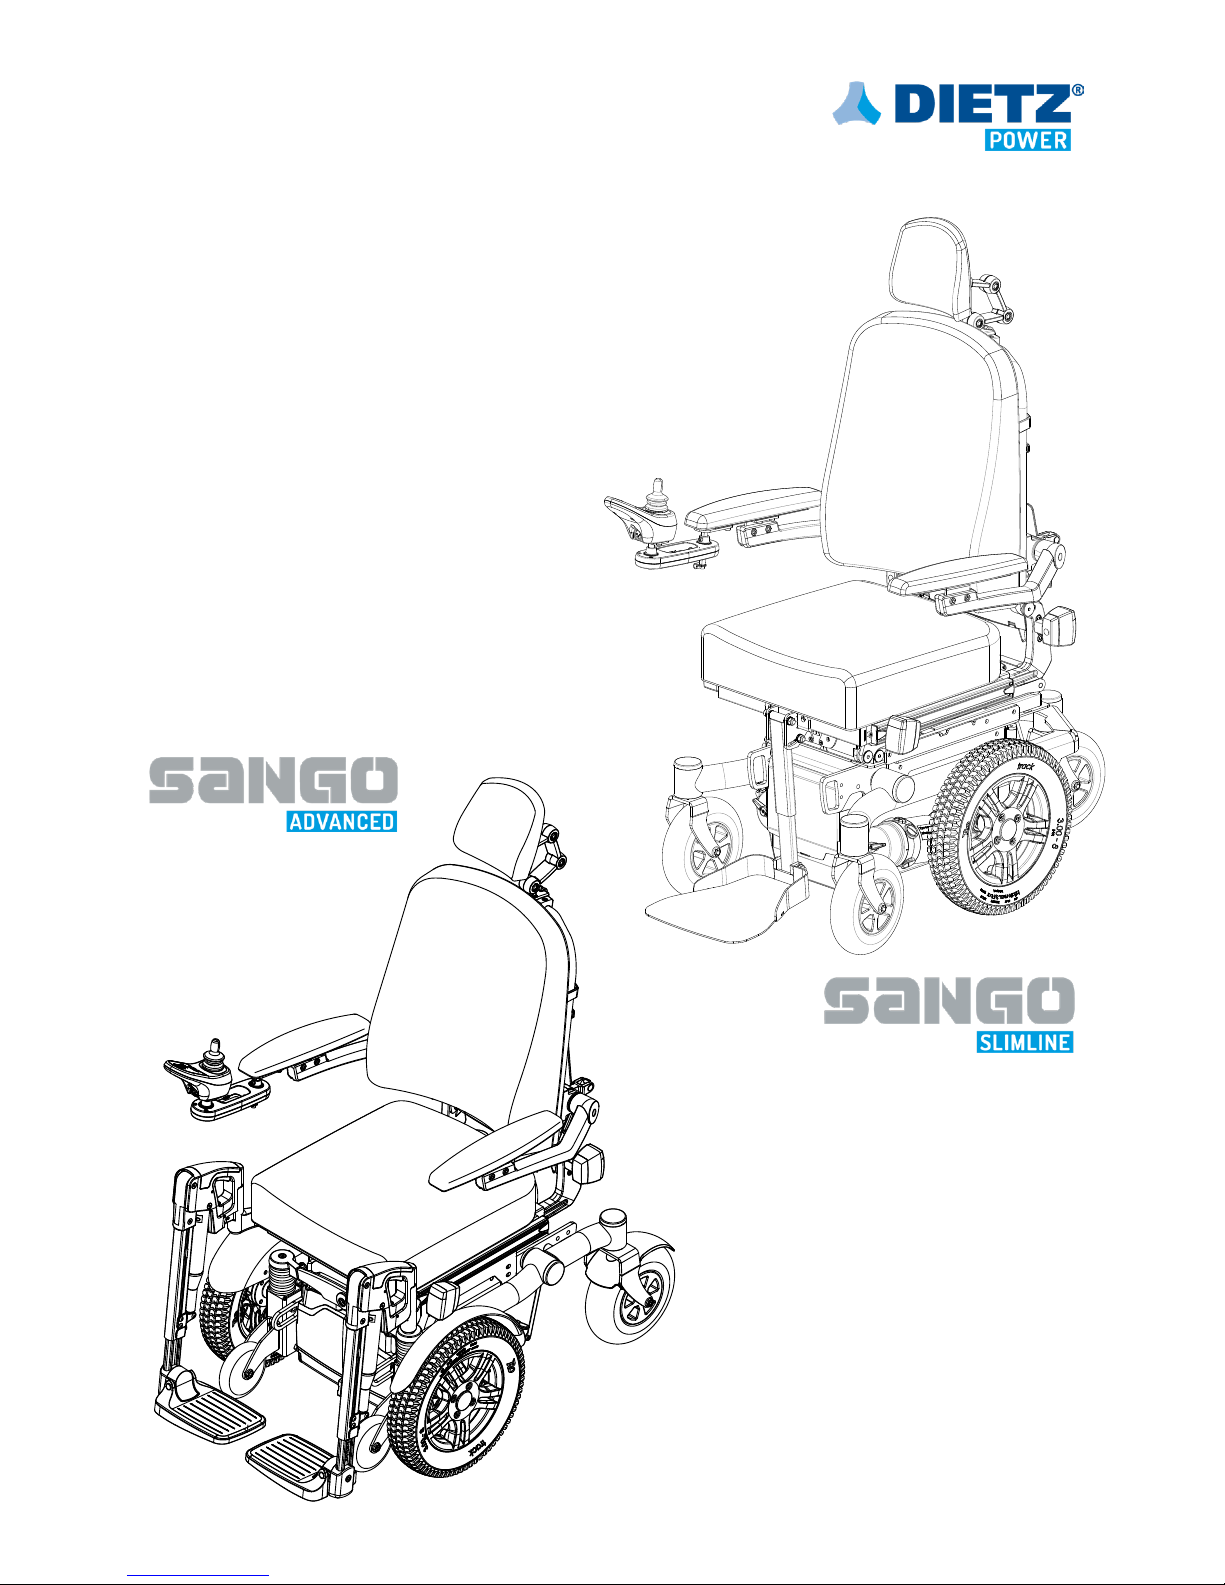
SANGO ADVANCED / SLIMLINE - 5
1 Preface

2 Safety
All of the very latest information relating to product safety and any product recalls
can be found on our website at www.DIETZ-Power.com.
Warning
Follow the instructions given under warnings! Failure to exercise due care in
following these instructions may result in physical injury, damage to the wheelchair
or damage to the environment.
2.1. Temperature
Warning
• Avoid any physical contact with the motors of the wheelchair at all times. When
the wheelchair is in use, the motors are in constant motion and can reach high
temperatures. Any physical contact with the motors could result in burns. After
use, the motors cool down slowly.
• Ensure that the wheelchair is not exposed to direct sunlight for long periods of
time when not in use. Some parts of the wheelchair (such as the seat, backrest
and armrests) can become hot if exposed to the sun for too long. This may
result in burns or skin sensitisation.
2.2. Moving parts
Warning
Wheelchairs contain moving and rotating parts (gure 1). Contact with moving
parts may result in serious physical injury or damage to the wheelchair. You should
avoid any contact with the moving parts of the wheelchair.
A. Wheels (turning and pivoting)
B. Swing-away controller arm
C. Powered backrest adjustment
D. Powered tilt adjustment
E. Powered leg rests
F. Powered lift adjustment
6 - SANGO ADVANCED / SLIMLINE
A
F
D
C
BE
1
2 Safety

2.3. Electromagnetic radiation
The standard version of your powered wheelchair has been tested for compliance
with the applicable requirements relating to electromagnetic radiation (EMC
requirements).
Warning
Despite testing, the following cannot be ruled out:
• electromagnetic radiation interfering with the wheelchair. For example mobile
telephones, large medical devices or other sources of electromagnetic radiation
• the powered wheelchair interfering with electromagnetic elds. For example
shop doors, burglar alarm systems in shops or garage door openers.
• in some congurations equipped with a R-net controller, where it is possible
that extreme electrical discharge situations due to static electricity, may cause
a fault message (‘ISM over-current’) ashing on the screen. If this occurs simply
turn o your wheelchair for a few seconds and back on to clear the fault.
In the unlikely event of such problems arising, please notify your dealer
immediately.
SANGO ADVANCED / SLIMLINE - 7
2 Safety

2.4. Markings on the wheelchair
Warning
• The markings, symbols and instructions on the wheelchair are part of the safety
features. They must not be covered up or removed. They must remain on the
wheelchair and be clearly legible for the whole lifespan of the wheelchair.
• Immediately replace or repair any markings, symbols or instructions that
become damaged or illegible. Contact your dealer in such cases.
Symbols used on the wheelchair
Consult the manual before
use.
Identication plate
A. Type
B. Year of manufacture
C. Usage indoor or outdoor
D. Manufacturer
E. Maximum load in kg
F. Identication number
Freewheel switch
• Drive position
• Push position
Warning
Never set the freewheel
switch to the 'Push'
position when the
wheelchair is on a slope.
Warning (yellow-black)
Pinch point hazard: Keep
hands and ngers away
from moving parts when
adjusting the height
and/or tilt angle of the
wheelchair.
Location identication plate:
on the batterybox at the right side
Securing point for
transportation inside a
vehicle.
CONTROLLER
Battery charging point.
8 - SANGO ADVANCED / SLIMLINE
MWD
FWD
RWD
2 Safety

3 General
description
Front-, mid- and rear-wheel drive
wheelchairs and their major components
(gures 2, 3 and 4)
A. Drive wheels
B. Castor wheels
C. Freewheel switch
D. Controller
E. Battery
F. Seat cushion
G. Backrest
H. Armrest
I. Leg rest
J. Headrest
3.1. Congurations
Broadly speaking, the wheelchair is made
up of an undercarriage with the SEGO
seating system on top of it for excellent
support for the head, torso, arms and
legs.
The wheelchair is available as a front-
wheel drive (FWD), rear-wheel drive (RWD)
or mid-wheel drive (MWD) in dierent
speeds (6 km/h, 10 km/h and 12,5 km/h).
Warning
• No changes may be made to the
technical specications.
• Do not make any adjustments to the
electrical circuit.
• Modication of the wheelchair or its
component parts is not permitted.
C
F
B
J
G
I
E
H
A
D
A
C
J
G
B
F
I
E
H
D
C
F
A
J
G
I
E
H
B
D
4
2
3
3 General description
SANGO ADVANCED / SLIMLINE - 9

3.2. The user
Driving a powered wheelchair requires the user to have cognitive, physical and
visual abilities. The user must be capable of estimating the consequences of any
action taken while driving the wheelchair and of correcting action where required.
The wheelchair must not carry more than one person. The maximum user
weight is 160 kg, unless otherwise stated on the identication plate (see 2.4). Any
additional weight in the form of a bag, accessories or medical equipment must
be added to the user's weight, with the resulting total weight not exceeding the
maximum user weight.
The user must also be aware of the contents of this manual before using the
wheelchair for the rst time. The wheelchair user must also have received
thorough instruction from the dealer before using public roads. A trainer/
consultant must supervise the user's rst experience of driving the wheelchair.
Warning
• The wheelchair user shall at all times be fully responsible for compliance with
locally applicable safety regulations and guidelines.
• You must not drive the wheelchair while under the inuence of any substances
that may aect your driving ability.
• Your eyesight must be good enough to allow you to use the wheelchair in any
particular situation safely.
• Do not seat more than one person in the wheelchair.
• Do not allow children to drive the wheelchair without supervision.
3 General description
10 - SANGO ADVANCED / SLIMLINE

3.3. Operating environment
This wheelchair has been developed for both indoor and outdoor use (EN 12184
(2014) class B). When outdoors, drive only on paved roads, pavements, footpaths
and cycle paths. Always adjust your speed to your surroundings.
Warning
• A wheelchair should be regarded as a replacement for the walking function.
Users must therefore travel among pedestrians and not on streets with trac.
• The use of the wheelchair on walk ways and roads may be subject to the
applicable legal requirements of National Road Laws or Road Trac Laws.
• Drive carefully on roads that are slippery due to rain, ice or snow!
• Prevent the wheelchair from coming into contact with seawater, as it is
aggressive and has a corrosive eect.
• Prevent the wheelchair from coming into contact with sand. Sand can get into
the moving parts of the wheelchair, causing unnecessarily rapid wear.
• When visibility is limited, the use of lights is compulsory.
• Exercise additional care when driving at high speeds. Adjust to a lower
maximum speed when driving indoors, on pavements and in pedestrianised
areas.
• Do not drive o of high obstacles.
• Do not use the wheelchair at temperatures below -10˚C or above +50˚C.
• Do not attach any weights to the wheelchair without consulting a specialist. You
may otherwise inuence the stability of the product.
• Do not use the wheelchair to push and/or pull any objects along.
• Do not open doors using the leg rests.
• Do not drive through puddles of water.
3 General description
SANGO ADVANCED / SLIMLINE - 11

4 General
procedures
Some parts can be removed without the
use of tools. The wheelchair can easily be
reduced in size. For example to transport
the wheelchair (see 8).
Warning!
The removal of parts might have adverse
or benecial eects on the wheelchair.
4.1. Seat cushion
(gure 5)
To remove
Pull the seat cushion (A) upwards and
then forwards.
To replace
Place the seat cushion on the chair and
push it backwards and downwards.
Warning
The seat is not locked into place until you
hear a click.
4.2. Back cushion
(gure 6)
To remove
1. Loosen the clips (A).
2. Pull the back cushion (B) upwards.
To replace
1. Place the back cushion on the attachment points.
2. Pull the back cushion backwards.
3. Tighten the clips.
12 - SANGO ADVANCED / SLIMLINE
A
B
2
1
A
2
1
6
5
4 General procedures

4.3. Leg rests
(gure 7)
To remove
1. Press the handle (A) upwards to
release the leg rest.
2. Remove the leg rest (B) by lifting it out
of the bracket.
To replace
Place the leg rest in the bracket.
Warning
• The leg rest is not locked into place
until you hear a click.
• Removing the leg rest may aect the
stability of the wheelchair.
4.4. Headrest
(gure 8)
To remove
1. Loosen the lever (A) by half a turn.
2. Remove the headrest (B).
To replace
1. Place the headrest in the desired
position.
2. Lock the headrest in place by
tightening the lever.
SANGO ADVANCED / SLIMLINE - 13
1
A
B
2
A
B
2
1
8
7
4 General procedures

5
Wheelchair settings (qualied specialists only)
There is no such thing as an average wheelchair user. This is why DIETZ-Power
wheelchairs can be adjusted to a specic user's individual situation.
We make a distinction between user adjustments and permanent settings.
• User adjustments can be made by the user himself/herself without the need
for any tools.
• Permanent settings must be altered by a dealer, unless expressly stated
otherwise.
Warning
A number of permanent settings are described in the following paragraphs. Only
qualied service technicians or dealers may alter these.
SERVICE for more adjustments and replacement information
5.1. Tools
The following tools are needed to do the
settings as described in this paragraph:
• Spanner, size 13
• Allen key, size 4, 5 and 6
5.2. Adjusting the centre of
gravity (seat position)
The centre of gravity of the wheelchair can
be moved/adjusted by moving the seat.
There are a number of positions on the
seat slide for this purpose (gure 9).
Warning
Only change the position of the seat
and the centre of gravity in order to compensate for specic user situations. One
example might be compensation for a user with no legs.
Moving the centre of gravity:
• will have a negative eect on the handling of the wheelchair if not carried out
correctly.
• will have a negative eect on dynamic stability if not carried out correctly;
• For FWD do not position the seating frame in the most front position
• For RWD + MWD move seating frame in most front position when Seat
depth is maximum.
• should be made by professionals only.
If in any doubt, contact DIETZ-Power technical support department.
9
5 Wheelchair settings (qualied specialists only)
14 - SANGO ADVANCED / SLIMLINE

5.3. Seat height and seat angle
setting
The seat height can be permanently
adjusted according to the user's specic
situation. All of the optional seat heights
fall within the maximum safe slope of
6˚ (10.5%), as set out in EN 12184 (2014)
class B. Lowering the seat height will have
a positive eect on overall and dynamic
stability.
1. Loosen the bolt (A gure 10).
2. Position the bolt in the hole (B)
corresponding to the desired position.
3. Tighten the bolt.
Warning
By increasing the seat height you also
raise the centre of gravity. This has a
negative eect on overall and dynamic
stability.
5.4. Seat depth setting
1. Loosen the allen screws (A) on each
side by one turn (gure 11).
2. Slide the seat frame (B) into the
desired position.
3. Tighten the allen screws.
5.5. Seat width setting
The seat width can be adjusted by
changing the leg rest and/or armrest
width (see 5.8 and 5.9).
5.6. Backrest angle setting
1. Loosen the two allen screws (A) by one
turn (gure 12).
2. Adjust the backrest (B) to the desired
angle.
3. Tighten the allen screws. 1
2
A
B
B
A
2
1
B
A
1
2
1
A
B
11
10
12
5 Wheelchair settings (qualied specialists only)
SANGO ADVANCED / SLIMLINE - 15

5.7. Leg rest settings
Leg rest width (also aects seat width)
1. Remove the seat cushion (A gure 13).
2. Loosen the allen screws (B) by one
turn.
3. Slide the leg rest bracket (C) into the
desired position.
4. Tighten the allen screws.
Lower leg length
1. Loosen the allen screw (A gure 14).
2. Slide the footplate (B) into the desired
position.
3. Tighten the allen screw.
Warning
Ensure that there is enough space
underneath the footplate for the
wheelchair to drive over obstacles.
Footplate angle
1. Loosen the allen screw (A gure 15).
2. Move the footplate (B) into the desired
position.
3. Tighten the allen screw. B
A
1
2
A
B
1
2
15
C
C
B
3
23
B
1
A
14
13
5 Wheelchair settings (qualied specialists only)
16 - SANGO ADVANCED / SLIMLINE

Height of the calf support
1. Loosen the two allen screws (A) by a
few turns (gure 16).
2. Slide the calf support (B) into the
desired position.
3. Tighten the allen screws.
Calf support depth (option)
1. Loosen the allen screws (A gure 17).
2. Position the calf support (B) in the
desired position.
3. Tighten the allen screws.
Calf support width (option)
1. Loosen the 4 allen screws (A gure 18).
2. Move the calf support (B) into the
desired position
3. Tighten the allen screws.
B
1
2
A
B
A
2
1
A
2
1
B
16
17
18
5 Wheelchair settings (qualied specialists only)
SANGO ADVANCED / SLIMLINE - 17

5.8. Armrest settings
Armrest width (also aects seat width)
1. Loosen the allen screw (A) by two turns
(gure 19).
2. Slide the armrest (B) to the side.
3. If required, remove or position the
spacer ring (C).
4. Slide the armrest back.
5. Tighten the allen screw.
Armrest height
1. Loosen the bolt (A + B gure 20).
2. Slide the armrest (C) into the desired
position.
3. Tighten the bolt.
4. If required, adjust the armrest pad
angle (gure 22).
Warning
Ensure that the arms are well supported,
without the shoulders being pushed
upwards.
Armrest pad width and depth
1. Loosen the two allen screws (A gure
21).
2. Slide the bolts with the armrest pad (B)
into the other guide bar (C) to adjust
the armrest pad width.
3. Adjust the armrest pad depth to the
desired position.
4. Tighten the allen screws.
C
B
A
3
2
1
3
B
2
A
C
1
21
3
1
C
B
2
A
B
19
20
5 Wheelchair settings (qualied specialists only)
18 - SANGO ADVANCED / SLIMLINE

Armrest pad angle
1. Loosen the allen screws (A gure 22).
2. Slide the armrest pad (B) into the
desired position.
3. Tighten the allen screw.
5.9. Controller settings
Control system programme
Warning
Making incorrect adjustments to the
control system parameters can lead to
extremely dangerous situations. These
adjustments only may be carried out by
qualied specialists.
Controller depth (option)
1. Loosen the allen screws (A gure 23).
2. Slide the controller (B) into the desired
position.
3. Tighten the allen screws.
Controller height (option)
1. Loosen the allen screws (A gure 24).
2. Slide the controller (B) into the desired
position.
3. Tighten the allen screws.
B
A
1
2
B
A
2
1
A
2
B
1
22
23
24
5 Wheelchair settings (qualied specialists only)
SANGO ADVANCED / SLIMLINE - 19

5.10. Headrest settings
Headrest height and position
1. Loosen the 4 allen screws (A gure 25).
2. Adjust the segments (B) to the right
position.
3. Tighten the allen screws.
5.11. The positioning belt
(option)
The wheelchair can be tted with a
positioning belt. This provides additional
seating stability under normal use. The
belt does not function as a safety belt for
transportation purposes.
Warning
• Ensure that the positioning belt is
adjusted to the wheelchair user. The
components of the wheelchair must
not interfere with the belt, which
should t snugly across the upper legs.
• Ensure that the positioning belt is
always clean and that its locking
mechanism works properly. The belt and the locking mechanism can be
cleaned using a damp cloth.
• If the positioning belt is placed above hip level (over the soft part of the belly)
this may lead to an incorrect sitting posture and the user slumping in the chair.
• Never use the positioning belt as a safety belt during transportation.
Mounting the positioning belt
1. Slide the bolts (A gure 26) with the belt bracket (B) into the guide.
2. Tighten the bolts.
A
B
1
2
B
1
2
A
26
25
5 Wheelchair settings (qualied specialists only)
20 - SANGO ADVANCED / SLIMLINE
Other manuals for SANGO ADVANCED Series
1
This manual suits for next models
5
Table of contents
Other Dietz Wheelchair manuals
![Dietz AS[01] User manual Dietz AS[01] User manual](/data/manuals/20/j/20jko/sources/dietz-as-01--manual.jpg)
Dietz
Dietz AS[01] User manual

Dietz
Dietz CANEO_E User manual

Dietz
Dietz Serena II User manual

Dietz
Dietz Individual tauron dts User manual

Dietz
Dietz SANGO ADVANCED Series User manual

Dietz
Dietz MINKO User manual

Dietz
Dietz TOMTAR Levina 320-2 User manual
![Dietz AS[01] User manual Dietz AS[01] User manual](/data/manuals/1u/i/1ui1k/sources/dietz-as-01--manual.jpg)
Dietz
Dietz AS[01] User manual

Dietz
Dietz CANEO B User manual

Dietz
Dietz Caneo 200 User manual