diono.com
1-855-463-4666
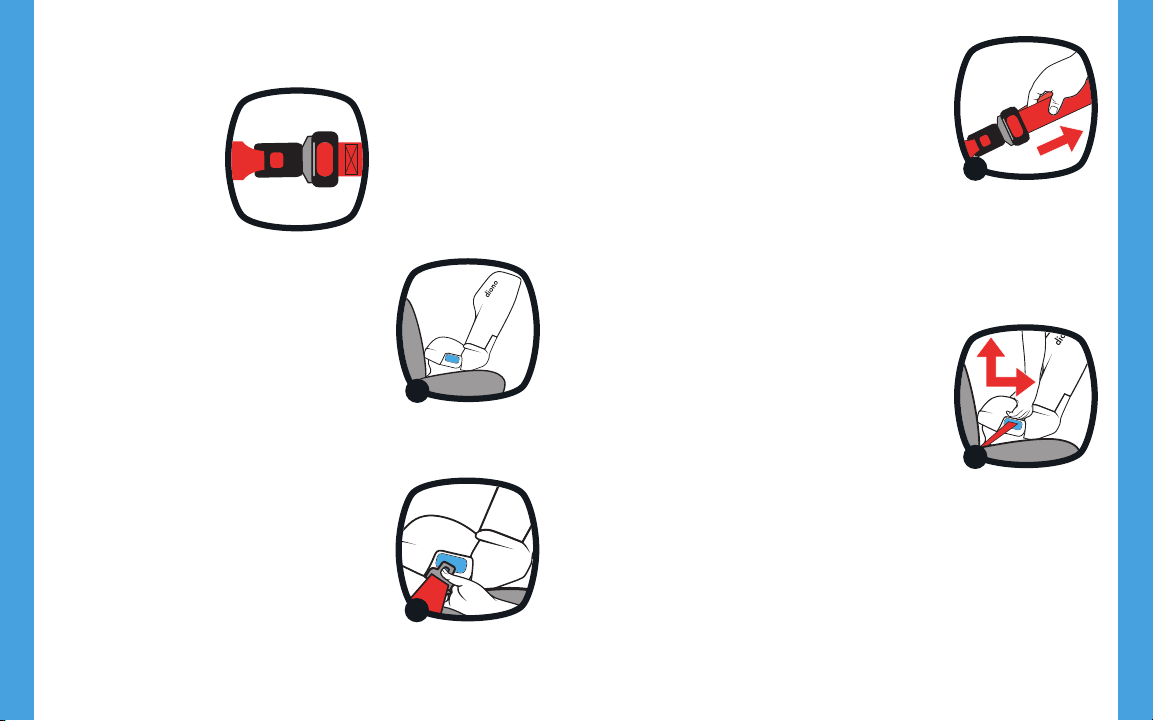
45
REGISTER THIS CAR SEAT OUR STORY
Please take a moment to fill out the prepaid registration
card attached to the harness of the seat and mail it in today
or register online at: us.diono.com/register
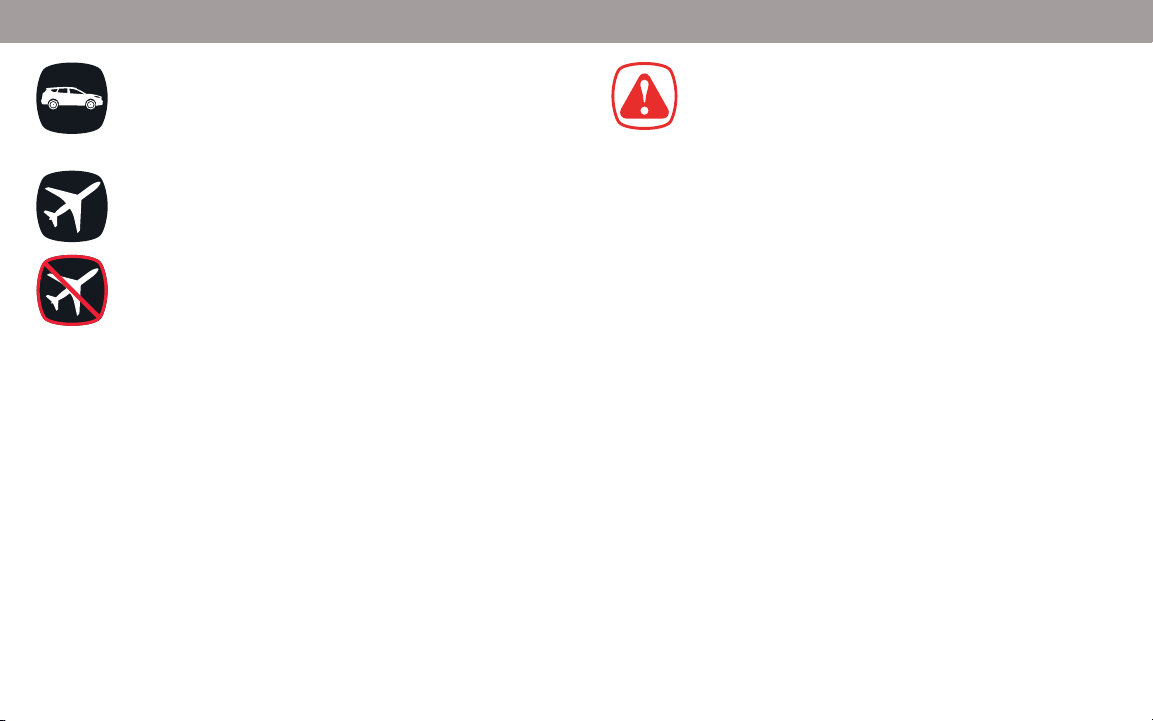
Child restraints could be recalled for safety reasons. You must
register this restraint to be reached in a recall. Send your
name, address, e-mail address if available, and the restraint’s
model number and manufacturing date to:
Diono
PO Box 77129
Seattle, WA 98177
or call 1-855-463-4666 or
register online at: us.diono.com/register
For recall information, call the U.S. Government’s Vehicle
Safety Hotline at 1-888-327-4236 (TTY: 1-800-424-9153), or
go to http://www.NHTSA.gov.
For future reference, in the case of a change of address.
Please take a moment to fill out the following information:
This information can be found either on the registration card
or on the manufacturing label located on the seat.
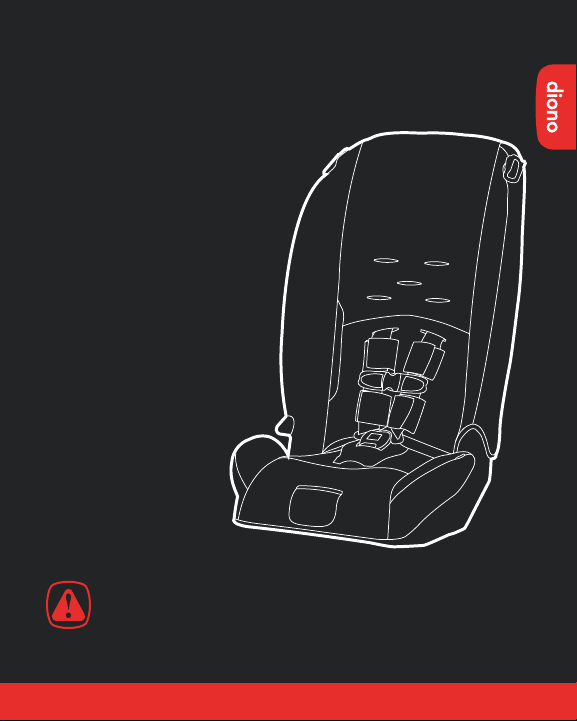
Model Number :
Serial Number :
Manufactured in (date) :
Purchase date:
Time. It goes so fast... Who would have thought that nearly
two decades have passed since we first stepped out into the
world and started a business dedicated to family travel.
Well the world has changed a lot, but we’re proud to say
that we haven’t, (sure we’ve grown up), but we’re still as
passionate about what we do today as we were back then.
Our story is ‘made of Seattle’, a city like no other. This is a
place where creative minds & innovators rub shoulders within a
landscape of adventure; a place, where being ‘a little dierent’, is
the everyday norm.
With a love for design and an understanding of modern
parenting, we strive to create amazing products, so that you
and your little ones can celebrate the joy in every journey.
People who own Diono products can be found in all four
corners of the big blue green ball, we all call home. Some are
fans & followers, some are supporters, tweeters, social media
magicians, miracle moms and devoted dads.
Without your passion, pictures, words and stories, we would
never hear your voice. So tell us about your patch of grass,
and join in the hustle and bustle at www.diono.com.
share your journey @diono social or find the latest news.