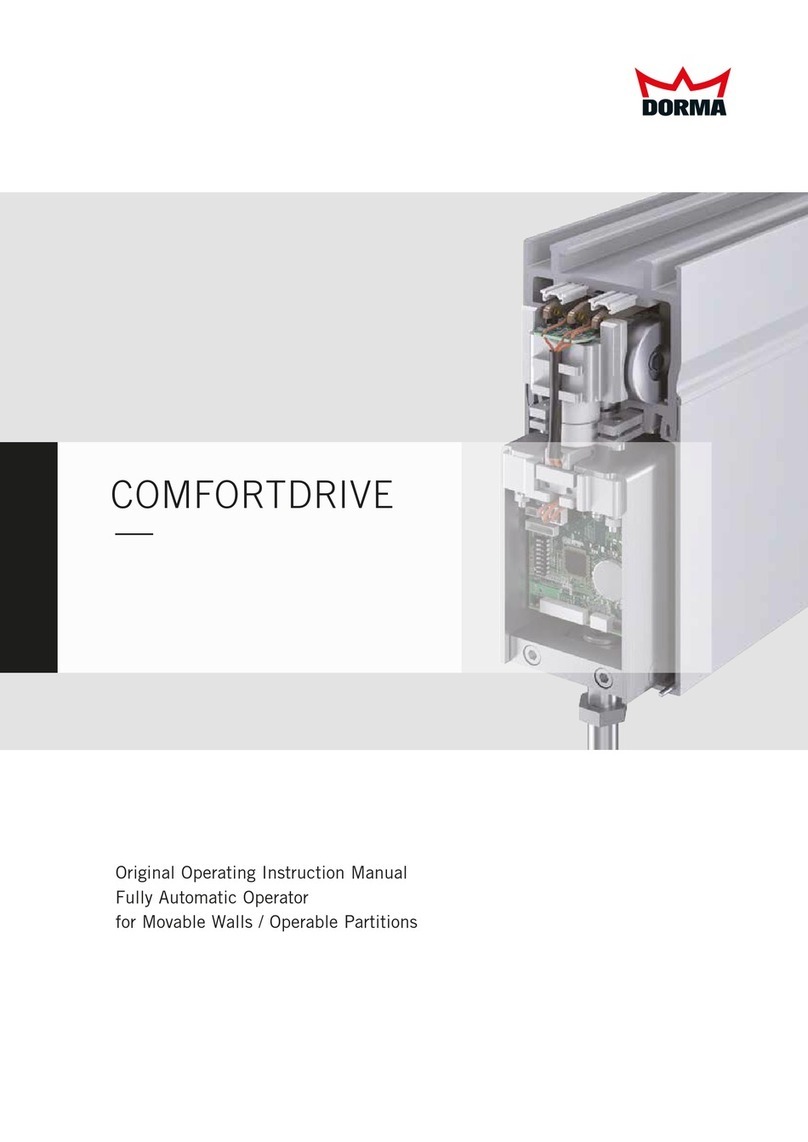
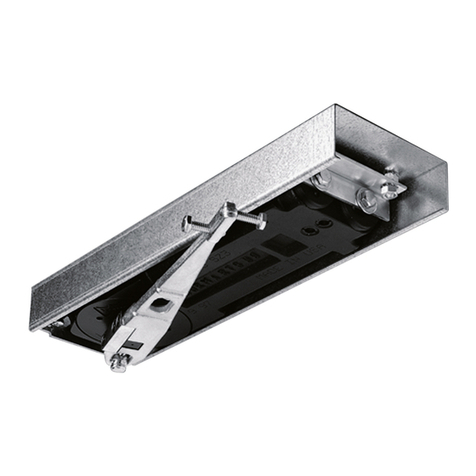
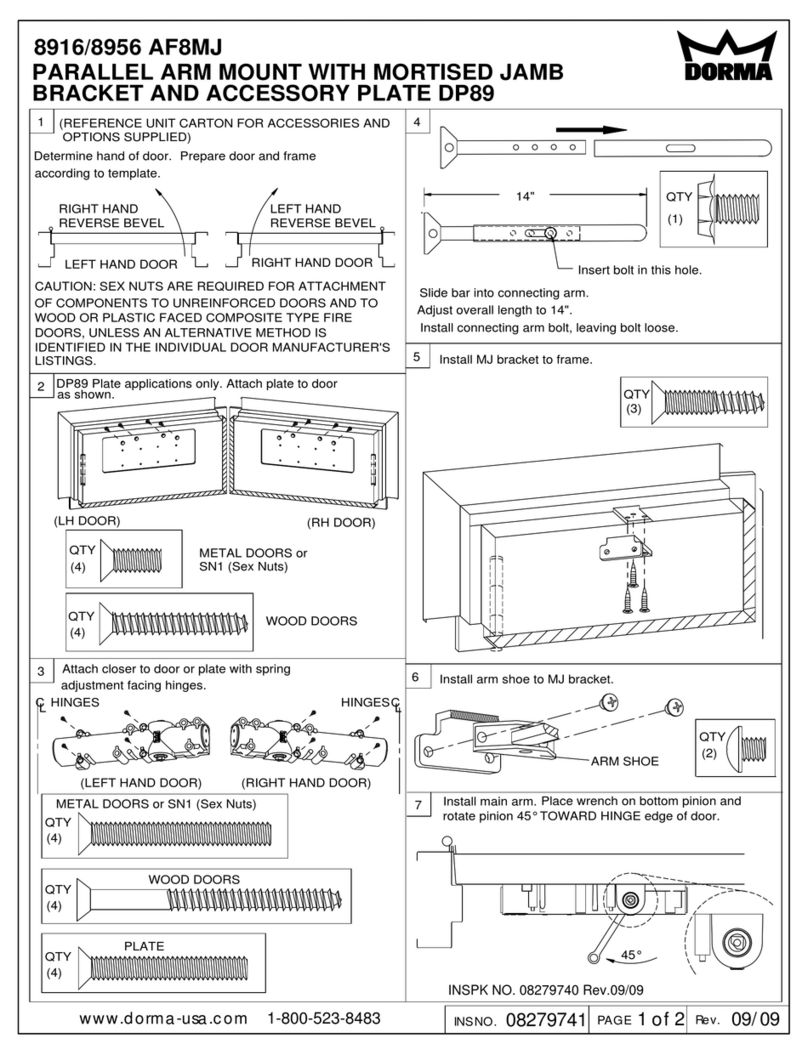
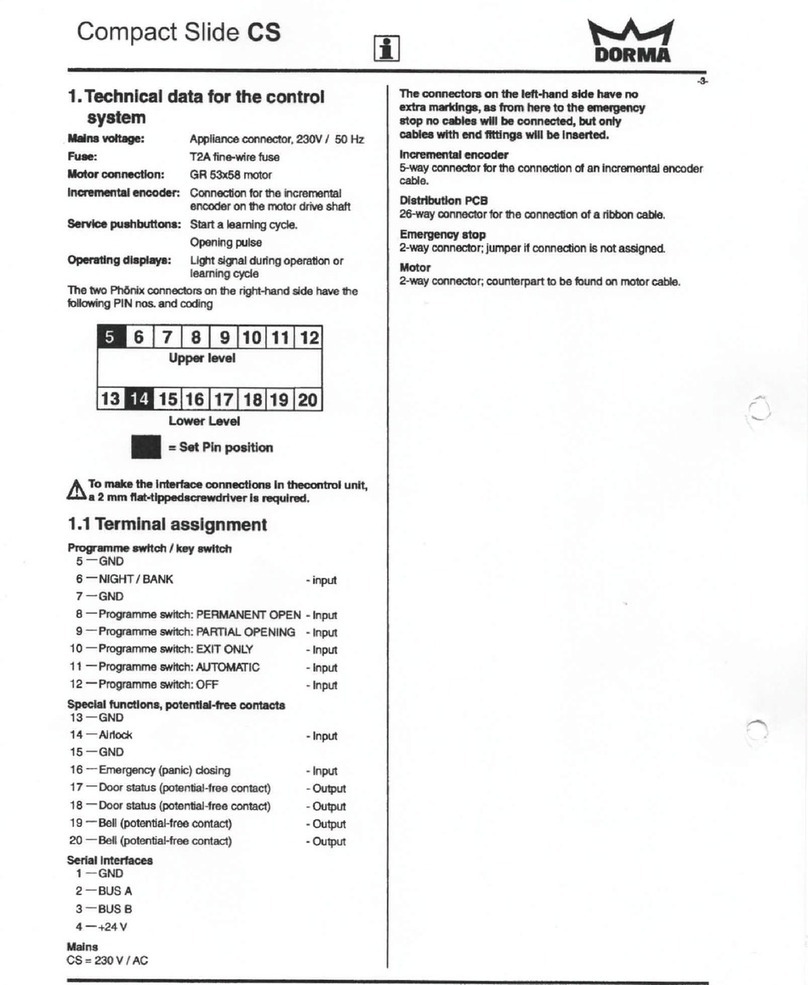
manuals.online logo
Brands
  1. Home
  2. •
  3. Brands
  4. •
  5. Dorma
  6. •
  7. Door Opening System
  8. •
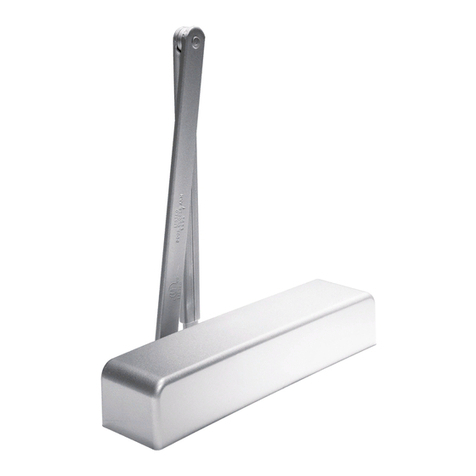
  9. Dorma 7300 ARNP User manual

Dorma 7300 ARNP User manual

This manual suits for next models

2

Other Dorma Door Opening System manuals

Dorma SVP-S4 DCW Series User manual

Dorma

Dorma SVP-S4 DCW Series User manual

Dorma 8616 FH User manual

Dorma

Dorma 8616 FH User manual

Dorma RSP 80 User guide

Dorma

Dorma RSP 80 User guide

Dorma 8616 AF User manual

Dorma

Dorma 8616 AF User manual

Dorma TS93 GSR/EMF User manual

Dorma

Dorma TS93 GSR/EMF User manual

Dorma Compact Slide CS User manual

Dorma

Dorma Compact Slide CS User manual

Dorma AGILE 150 Installation guide

Dorma

Dorma AGILE 150 Installation guide

Dorma TS 99 FLR Manual

Dorma

Dorma TS 99 FLR Manual

Dorma G-EMR Manual

Dorma

Dorma G-EMR Manual

Dorma TS 99 FLR-K Manual

Dorma

Dorma TS 99 FLR-K Manual

Dorma PORTEO User manual

Dorma

Dorma PORTEO User manual

Dorma PT 40 User manual

Dorma

Dorma PT 40 User manual

Dorma 8600 EMR Series User manual

Dorma

Dorma 8600 EMR Series User manual

Dorma 8900 FH User manual

Dorma

Dorma 8900 FH User manual

Dorma ES 200 T Easy Manual

Dorma

Dorma ES 200 T Easy Manual

Dorma 96 GSR-EMF User manual

Dorma

Dorma 96 GSR-EMF User manual

Dorma VISUR Installation and user guide

Dorma

Dorma VISUR Installation and user guide

Dorma 8900 PT User manual

Dorma

Dorma 8900 PT User manual

Dorma 7400 AO8 User manual

Dorma

Dorma 7400 AO8 User manual

Dorma UNIVERSAL Motion User manual

Dorma

Dorma UNIVERSAL Motion User manual

Dorma RTS Series User manual

Dorma

Dorma RTS Series User manual

Dorma CS 80 MAGNEO Manual

Dorma

Dorma CS 80 MAGNEO Manual

Dorma 8900 DS User manual

Dorma

Dorma 8900 DS User manual

Dorma CD 80 User manual

Dorma

Dorma CD 80 User manual

Popular Door Opening System manuals by other brands

Mobeye Call-Key MCK100 installation manual

Mobeye

Mobeye Call-Key MCK100 installation manual

SALICE Lapis Assembly instructions

SALICE

SALICE Lapis Assembly instructions

Cal-Royal N-F77CVR Installation instruction

Cal-Royal

Cal-Royal N-F77CVR Installation instruction

Scrigno OPEN1000 Assembly manual

Scrigno

Scrigno OPEN1000 Assembly manual

BFT WIND RMB 130B 200 installation manual

BFT

BFT WIND RMB 130B 200 installation manual

Alecto ADI-250 user manual

Alecto

Alecto ADI-250 user manual

Besam Swingmaster MP Installation, adjustment and maintenance instructions

Besam

Besam Swingmaster MP Installation, adjustment and maintenance instructions

Assa Abloy SARGENT 1431 Series instructions

Assa Abloy

Assa Abloy SARGENT 1431 Series instructions

GAL MOVFR Quick setup

GAL

GAL MOVFR Quick setup

Häfele Finetta T 70 VF manual

Häfele

Häfele Finetta T 70 VF manual

AGS D-PL Instructions for fitting, operating and maintenance

AGS

AGS D-PL Instructions for fitting, operating and maintenance

Stanley MA900ñ Installation and owner's manual

Stanley

Stanley MA900ñ Installation and owner's manual

WITTUR Hydra Plus UD300 Instruction handbook

WITTUR

WITTUR Hydra Plus UD300 Instruction handbook

Alutech TR-3019-230E-ICU Assembly and operation manual

Alutech

Alutech TR-3019-230E-ICU Assembly and operation manual

Pamex KT-INP35 Installation instruction

Pamex

Pamex KT-INP35 Installation instruction

MPC ATD ACTUATOR 50 ATD-313186 Operating and OPERATING AND INSTALLATION Manual

MPC

MPC ATD ACTUATOR 50 ATD-313186 Operating and OPERATING AND INSTALLATION Manual

Chamberlain T user guide

Chamberlain

Chamberlain T user guide

Fireco Dorgard operating guide

Fireco

Fireco Dorgard operating guide

manuals.online logo
manuals.online logoBrands
  • About & Mission
  • Contact us
  • Privacy Policy
  • Terms and Conditions

Copyright 2025 Manuals.Online. All Rights Reserved.

(serrated head with
metric threads)
1 of 6
INS NO. Rev.
08279941 06/07
PAGE
www.dorma-usa.com 1-800-523-8483
Tournevis à fente 3/16"
Page 6 & 7 - Bras Parallèle
10 PA Shoe Screws
Tornillos Inferiores para
Vis du sabot du bras parallèle
Optional Components
Componentes Opcionales
Pièces facultatives
11
12
Plates
Placa
Plaques
(BP73 & BP86)
(DP73 & DP86)
Cover
Cubierta
Boîtier
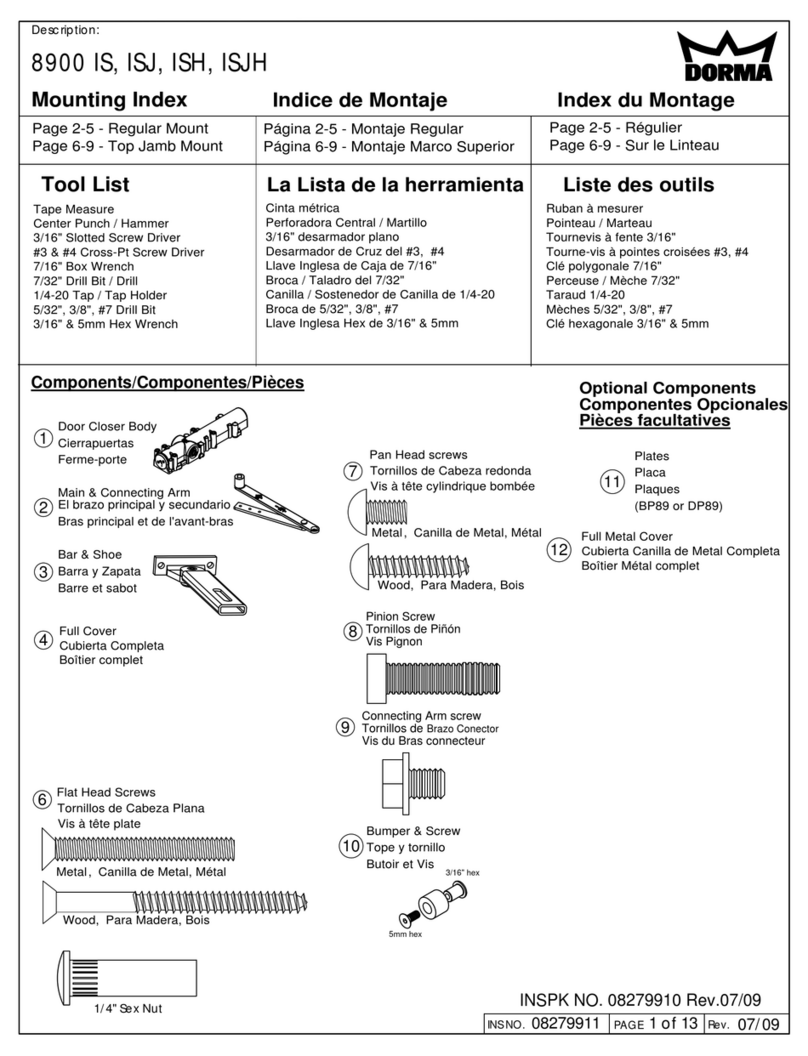
Components/Componentes/Pièces
Door Closer
Cierrapuertas
Ferme-porte
Main Arm
Brazo Principal
Bras principal
Bar & Shoe
Barra y Zapata
Barre et sabot
Connecting Arm
Brazo Conector
Bras de connexion
Dust Cap
Guarda polvos
Capuchon anti-poussière
PA Bracket
Soporte Brazo paralelo
Plaquette du bras parallèle
1
2
3
4
5
6
7
8
9
Flat Head Combo Screws
Tornillos de Cabeza Plana Combo
Vis combo à tête plate
Pan Head Combo screws
Tornillos de Cabeza redonda Combo
Vis combo à tête cylindrique bombée
Pinion Screw
Tornillos de Piñón
Vis du pignon
7300 ARNP, ARNPJ, ARNPP
Cinta métrica
Perforadora Central/Martillo
3/16" desarmador plano
Desarmador de Cruz del #3
Llave Inglesa de Caja de 7/16", 13mm
Broca / Taladro del 7/32"
Canilla / Sostenedor de Canilla de ¼-20
Broca de 3/8" & 5/32"
Llave Inglesa Hex de 5mm
Página 2 & 3 - Montaje Regular
Página 4 & 5 - Montaje Marco Superior
Página 6 & 7 - Montaje de Brazo Paralelo
Page 2 & 3 - Regular Mount
Page 4 & 5 - Top Jamb Mount
Page 6 & 7 - Parallel Arm Mount
Tape Measure
Center Punch/Hammer
3/16" Slotted Screw Driver
#3 Cross-Point Screw Driver
7/16", 13mm Box Wrench
7/32" Drill Bit / Drill
1/4-20 Tap / Tap Holder
3/8" & 5/32" Drill Bit
5mm Hex Wrench
Tool List Lista de Herramientas Liste des outils
Mounting Index Indice de Montaje Index du Montage
Ruban
Pointeau / Marteau
Tourne-vis à pointes croisées #3
Clé polygonale 7/16", 13mm
Perceuse / Mèche 7/32"
Taraud 1/4-20
Mèches 3/8" & 5/32"
Clé hexagonale 5mm
Page 2 & 3 - Régulier
Page 4 & 5 - Sur le Linteau
INSPK NO. 08279940 Rev.06/07
INS NO. PAGE Rev.
08279941 2 of 6 06/07
4
3
2
1
(RH)
(LH)
BP73 & BP86
15% More Closing Power
15% Más de Poder de Cerrado
15% plus de force de fermeture
L
C
Standard
Estándar
(RH)
L
CL
C
(LH)
B
C
C
B
A
9
90°
Separate Arms
Brazos Separados
Séparer les bras
11
Optional plate attachment.
Accesorio de placa opcional.
Fixation d'une plaque (facultatif)
Prepare door and frame using template 08279942.
If using optional plate, see plates this page.
Prepare puerta y plantilla de usar de marco 08279942.
Si usar plato opcional, ve platos en la página.
Préparer la porte et le cadre à l'aide du gabarit 08279942.
Si vous utilisez une plaque, voir plaque à page.
2
7
1
8
4
3
75
REGULAR / REGULAR / REGULIER
(LH)
C
L
C
L
(RH)
90°
SEE TEMPLATE 08279943
INS NO. PAGE Rev.
08279941 3 of 6 06/07
3
4
2
(LH)
1
(RH)
DP73 & DP86
BP73 & BP86
C
L
15% Más de Poder de Cerrado
15% plus de force de fermeture
Estándar
Standard % More Closing Power15
(LH)
L
C
(RH)
L
C
C
L
C
L
12
8
9
2
7
Pre Load
Pre ensamble
Précharger
Pre Load
Pre ensamble
Précharger
90°
Separate Arms
Brazos Separados
Séparer les bras
Optional plate attachment.
Accesorio de placa opcional.
Fixation d'une plaque (facultatif)
11
11
Prepare door and frame using template.
If using optional plate, see plates this page.
Prepare puerta y plantilla de usar de marco.
Si usar plato opcional, ve platos en la página.
Préparer la porte et le cadre à l'aide du gabarit.
Si vous utilisez une plaques, voir plaques à page.
TOP JAMB / MARCO SUPERIOR / LINTEAU SUPÉRIEUR
5
1
3
4
7
90°
B
C
C
B
A
SEE TEMPLATE 08279944
SEE TEMPLATE 08279945
INS NO. PAGE Rev.
08279941 4 of 6 06/07
(LH)
DP73 & DP86
2
1
(RH)
C
L
(RH)
4
5
(LH)
L
3
C
L
C
L
C
45°
(LH) (RH)
C
L
C
L
45°
KEEP ARM PARALLEL
MANTENGA EL BRAZO PARALELO.
LAISSER LES BRAS PARALLÈLES
6
9
4
Separate Arms. Rotate pinion 45° to pre load, attach arm PARALLEL to door.
Brazos Separados. Gire el piñón 45° para preensamblar, sujete el brazo paralelo a la puerta.
Séparer les bras. Pivoter le pignon 45° pour précharger, attacher le bras parallèlement à la porte
11
2
10
3
7
8
71
5
Prepare door and frame using template 08279946.
If using optional plate, see plates this page.
Prepare puerta y plantilla de usar de marco 08279946.
Si usar plato opcional, ve platos en la página.
Préparer la porte et le cadre à l'aide du gabarit 08279946.
Si vous utilisez une plaque, voir plaque à page.
Optional plate attachment.
Accesorio de placa opcional.
Fixation d'une plaque (facultatif)
PARALLEL ARM / El BRAZO PARALELO / BRAS PARALLÈLE
SEE TEMPLATE 08279947
INS NO. PAGE Rev.
08279941 5 of 6 06/07
Sex nuts
Contratuercas
Boulons m-f
* Performance Adjustments.
Confirm closer spring size for door widths noted prior to making any closing
speed adjustments.
Door should close in 3 to 6 seconds from 90°
Do not back valves out beyond closer casting.
Check closing sweep (S) and latch (L) speed, adjust as necessary.
Check backcheck (BC) function.
* Ajustes de operacion.
Confirme la potencia necesaria del resorte para el ancho de la puerta antes de
hacer cualquier ajuste de velocidad.
La puerta debe cerrar entre 3 y 6 segundos desde 90°.
No gire las valvulas hasta retirarlas
Cheque la velocidad de cerrado (S) y de candado (L). Haga los ajustes
necesarios.
Verifique la función de backcheck (BC)
* Réglages de performance .
Vèrfier la force du ressort selon les largeurs de porte indiquèes
avant de règler la vitesse de fermeture.
La porte doit prendre de 3 à 6 secondes pour se refermer de 90°.
Ne pas dévisser les soupapes en deçà du boîtier du ferme-porte.
Vérifier la vitesse (S) de fermeture et la vitesse (L) de verrouillage, ajuster au
besoin.
Vérifier la butée (BC).
Replacement Screws /
Tornillos de Repuesto
/
Vis de remplacement:
1/4-20 Machine Screws /
1/4
-20 Tornillos/
Vis à métaux 1/4-20
No.14 Wood Screws / Tornillos para Madera del No. 14 /
Vis à bois no 14
Technical Notes:
CAUTION:
Sex nuts are required for attachment of components to unreinforced, wood or plastic faced composite type fire doors, unless
an alternative method is identified in the individual door manufacturer's listings
Make sure door efficiently operates prior to installing closer.
When installing observe arm attachment closely.
Notas Técnicas:
PRECAUCION:Se requieren contratuercas para sujetar los componentes a puertas contra incendio, no reforzadas, del tipo de
compuesto recubierto de madera o plástico, a menos que se identifique un método alternativo en las listas individuales del fabricante de
la puerta.
Asegúrese de que la puerta opera correctamente antes de instalar el cierrapuertas.
Al instalar observe detenidamente el ensamble del brazo.
Notes techniques:
ATTENTION: Des boulons m-f doivent être utilisés pour la fixation des pièces sur des portes coupe-feu non renforcées, en bois ou en
plastique recouvert de composite, à moins d'instructions contraires du fabricant.
Vérifier le fonctionnement de la porte avant d'installer le ferme-porte.
Durant l'installation, vérifier attentivement le positionnement du bras.
INS NO. PAGE Rev.
08279941 6 of 6 06/07
+-
+-
COV
El interior
3'-6" (1067)
3'-0" (914)
2'-6" (762)
4'-0" (1219)
3'-6" (1067)
3'-0" (914)
Intérieur
El exterior
2'-6" (762)
3'-0" (914)
3'-6" (1067)
-
3'-0" (914)
2'-6" (762)
Extérieur
Exterior Interior
3
5
4
5
4
3
100
125
150
200
150
125
-+
2'-6" (762) 2 100
BC
ULC LABELED UNITS ONLY
SOLO UNIDADES CON ETIQUETA ULC
UNITÉS HOMOLOGUÉES ULC SEULEMENT
Spring Size
Tamaño del Resorte
Force du ressort Max. Door Weight
Peso Máximo de la Puerta
Poids max. de la porte
PARALLEL ARM / BRAZO PARALELO / BRAS PARALLÈLE
Door Width
Ancho de la Puerta
Largeur de la porte
REGULAR & TOP JAMB / REGULAR Y MARCO SUPERIOR / RÉGULIER ET LINTEAU SUPÉRIEUR
12
DO NOT
REMOVE
VALVES
NO
REMUEVA
LAS VALVULAS.
NE PAS
RETIRER
LES SOUPAPES
L
S