08280501 4 of 5 12/08
INS NO. PAGE Rev.
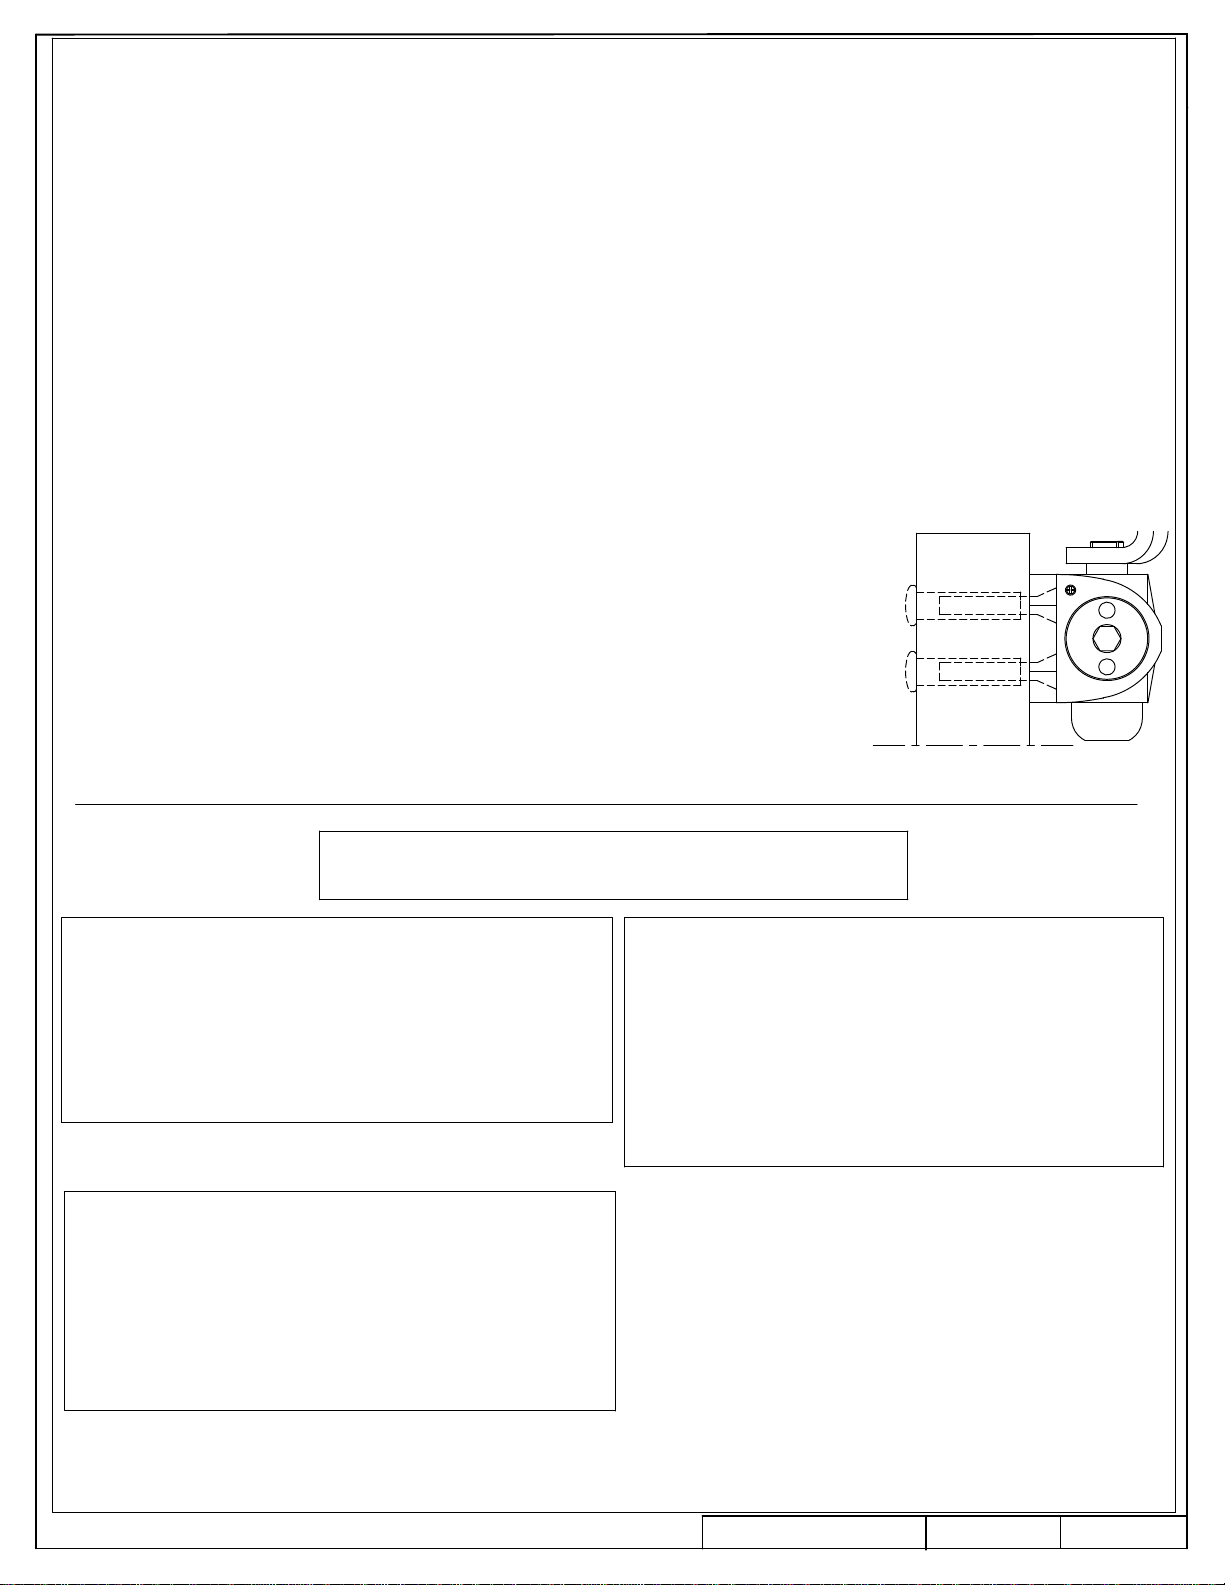
Technical Notes:
CAUTION: Sex nuts are required for attachment of components to unreinforced, wood or plastic faced composite type fire doors, unless
an alternative method is identified in the individual door manufacturer's listings
Make sure door efficiently operates prior to installing closer.
When installing observe arm attachment closely.
Notas Técnicas:
PRECAUCION: Se requieren contratuercas para sujetar los componentes a puertas contra incendio, no reforzadas, del tipo de
compuesto recubierto de madera o plástico, a menos que se identifique un método alternativo en las listas individuales del fabricante de
la puerta.
Asegúrese de que la puerta opera correctamente antes de instalar el cierrapuertas.
Al instalar observe detenidamente el ensamble del brazo.
Notes techniques:
ATTENTION: Des boulons m-f doivent être utilisés pour la fixation des pièces sur des portes coupe-feu non renforcées, en bois ou en
plastique recouvert de composite, à moins d'instructions contraires du fabricant.
Vérifier le fonctionnement de la porte avant d'installer le ferme-porte.
Durant l'installation, vérifier attentivement le positionnement du bras.
Replacement Screws /
Tornillos de Repuesto
/
Vis de remplacement:
1/4-20 Machine Screws /
1/4
-20 Tornillos
/
Vis à métaux 1/4-20
No.14 Wood Screws / Tornillos para Madera del No. 14 /
Vis à bois no 14
* Réglages de performance.
S'assurer que la tension du ressort du ferme-porte est adéquate avant d'ajuster
la vitesse de fermeture.
La porte doit prendre de 3 à 6 secondes pour se refermer de 90°.
Ne pas dévisser les soupapes en deçà du boîtier du ferme-porte.
Vérifier la vitesse (S) de fermeture et la vitesse (L) de verrouillage, ajuster au
besoin.
Vérifier la butée (BC).
La fonction butée DOIT être en position "ON" pour un montage à bras parallèle.
La position de la butée avancera d'environ 15°.
Vérifier la fonction temps de pause (DEL) en option.
Le chèque a retardé l'action (DEL) la fonction si fourni.
* Ajustes de operacion.
Asegúrese de que el cierrapuertas tiene la potencia apropiada antes de hacer
cualquier ajuste de velocidad de cierre.
La puerta debe cerrar entre 3 y 6 segundos desde 90°.
No gire las valvulas hasta retirarlas
Cheque la velocidad de cerrado (S) y de candado (L). Haga los ajustes
necesarios.
Verifique la función de backcheck (BC)
La posición del backcheck debe estar en "ON" para aplicaciones de brazos
paralelos.
Verifique acción de retardo (DEL), si se proporciona.
* Performance Adjustments.
Be sure closer has appropriate Spring Power prior to making any closing speed
adjustments.
Door should close in 3 to 6 seconds from 90°
Do not back valves out beyond closer casting surface.
Check closing sweep (S) and latch (L) speed. adjust as necessary.
Check backcheck (BC) function.
Backcheck positioning MUST be turned "ON" for parallel arm applications.
Check delayed action (DEL) function if supplied.
Sex nuts
Contratuercas
Boulons m-f