manuals.online logo
Brands
  1. Home
  2. •
  3. Brands
  4. •
  5. Dorma
  6. •
  7. Door Opening System
  8. •
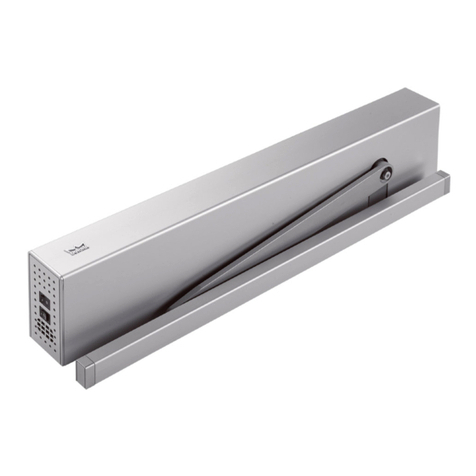
  9. Dorma AGILE 150 User manual

Dorma AGILE 150 User manual

Installation instruction
DORMA
AGILE 150 ceiling assembly
Montageanleitung
DORMA
AGILE 150 Deckenmontage
Stand/Issue 11.09 / 004253 800.52.620.6.32
DORMA-Glas
Seite/Page 2/13
DORMA-Glas
Wichtige Informationen:
Important information:
A = LW + 60
B = A x 2
LW
4
A A
B
30
30 30
30
Montagefolge
Mounting sequence
1. ; 1.1 ; ... =
1 = Bauteil/Baugruppe
Component
max. Höhe 3000 mm
max. height 3000 mm
max. Flügelgewicht: 150 kg
max. panel weight: 150 kg
Glasdicken:
8 - 13,5 mm
glass thicknesses:
8 - 13,5 mm
A = Glasbreite / glass width
B = Laufschienenlänge / length of track
LH = Lichte Höhe / clear opening height
LW = Lichte Weite / clear opening width
GH = Glashöhe / glass height
t = Glasdicke / glass thickness
Y = 54 mm - (12 mm + t)
Bürste optional
optional brush
Glass panels self-ceaning coatings are unsuitable for
AGILE 150 - unless the clamping area (20mm band at the
upper glass edge) is left coated.
All glass clamping areas are to be cleaned prior to
installation. Only use glass cleaning products, free from
silicones and oil (e.g. acetone).
Precondition for installation of trak is an aligned
substructure or wall with a max. tolerance of 2mm per
metre.
A maintenance free period of min. 5 years is given with an
appropriate handling and normal frequency of approx. 20
cycles per day. An appropriate handling means that the
door is always guided by hand when moved.
For higher frequency we would recommend a maintenance
contract between fitter and user for a yearly inspection.
Gläser mit selbstreinigenden Beschichtungen sind für
AGILE 150 nicht geeignet - es sei denn, die
Beschichtung wurde im Bereich der Klemmflächen
(20mm Streifen an oberer Glaskante) ausgespart.
Vor der Montage Glasflächen im Bereich der
Klemmflächen reinigen. Bitte nur Glasreiniger
verwenden, die frei von Silikonen und Ölen sind
(z.B. Aceton).
Voraussetzung für die Montage der Laufschiene ist eine
ausgerichtete und tragfähige Unterkonstruktion bzw.
Wand mit einer max. Toleranz von 2mm pro Meter.
Bei sachgerechter Bedienung der Anlage und normaler
Frequentierung (20 Betätigungen pro Tag) ist ein
wartungsfreier Betrieb über einen Nutzungszeitraum von
min. 5 Jahren gegeben. Eine sachgerechte Bedienung
der Anlage bedeutet, dass die Tür während der
Betätigung von Hand geführt wird.
Bei höherer Frequentierung empfehlen wir einen
jährlichen Wartungsvertrag zwischen Montagebetrieb
und Endbenutzer.
LH
10
31
12
Y
t
GH =LH - 42 32
63
min. 40
54
Benötigte Werkzeuge:
Requisite tools:
Lieferumfang:
Scope of delivery:
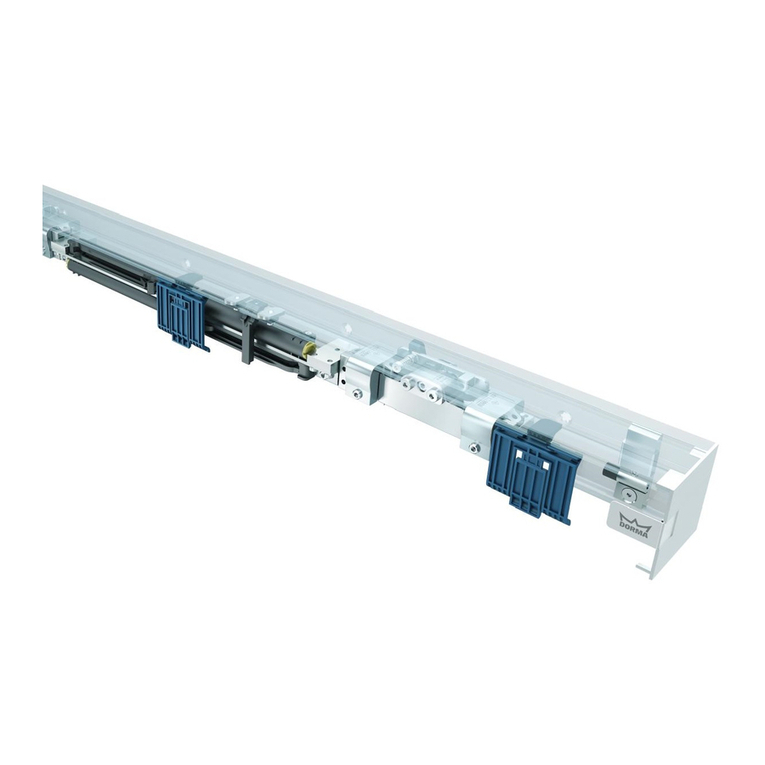
1 . . . . . . 1x Laufschiene / track profile
2 . . . . . . 1x Deckprofil / cover profile
3 . . . . . . 2x Klemmwagen / clamp carrier
4 . . . . . . 2x Laufwegbegrenzer / panel stop
5 . . . . . . 1x Bodenführung / floor guide
6 . . . . . . 1x Zubehörbeutel mit Befestigungsmaterial /
accessories package with fixing material
7 . . . . . . 2x Stirnabdeckung (optional) / end cap (optional)
8 . . . . . . 1x Sichtschutzbürste (optional) / brush profile (optional)
9 . . . . . . 4x Glaskantenschutz / glass edge protection
2
1
3
4
5
7
4
6
9
4mm
3mm
8
Seite/Page 3/13
DORMA-Glas
1. Einsetzen des Fangpuffers in die Laufschiene:
1. Insertion of safety catch into track rail:
1.1
ø 8mm
2. Montage der Laufschiene:
2. Installalation of track rail:
1
4
1
4
21
30
30
!Mitgelieferte Schrauben und Dübel sind nicht für jeden Untergrund geeignet.
Geeignete auf den Untergrund abgestimmte Befestigungsmittel verwenden!
Delivered screws and lugs are not usable for all ty es of foundations!
Please use suitable fixing material according to foundation!
Seite/Page 4/13
DORMA-Glas
3. Montage der Klemmwagen:
3. Installation of clamp carriers:
3.2
3.3
40 40
3.4
Einzeltür / single door
40 40
Doppeltür / double door
40 40
4
4 mm
12 Nm
3.1 Vor der Montage Glasflächen im Bereich der Klemmflächen reinigen. Bitte nur
Glasreiniger verwenden, die frei von Silikonen und Ölen sind (z.B. Aceton).
3.1 All glass clamping areas are to be cleaned prior to installation. Only use
glass cleaning products, free from silicones and oil (e.g. acetone).
Achtung: Um einen bestmöglichen Glasschutz zu erreichen, empfehlen wir bei
gegenläufigen Schiebetüren, die Verwendung des Abstandhalters Art. Nr.: 29.420.
Attention: For sliding doors moving in opposite directions, we recommend to use
the spacer Art. No.: 29.420, to get the best possible glass protection.
*
Alternativ:
*
1/4
0
0 mm
+
Seite/Page 5/13
DORMA-Glas
Glaskantenschutz:
Glass edge protection:
Vor dem Aufkleben Glaskanten im Bereich der Klebeflächen reinigen. Bitte nur
Glasreiniger verwenden, die frei von Silikonen und Ölen sind (z.B. Aceton).
The glass edges are to be cleaned prior to affix. Only use
glass cleaning products, free from silicones and oil (e.g. acetone).
Schiebetür
sliding door
Wand
wall
Glaskantenschutz
glass edge protection
Glaskantenschutz parallel zur Glaskante mittig
aufkleben, damit keine Schleifgeräusche entstehen!
Glue on glass edge protection parallel and centred
to the glass edge, that no rubbing nois occur!
Glaskantenschutz im Kollisions-
bereich zur Wand aufkleben.
Glue on glass edge protection onto glass,
in area of possible collision with wal.
Glaskantenschutz abziehen.
Pull-off the glass edge protection.
Einzeltür in Nische oder gegen Wand:
Single door in a niche or against wall:
Schiebetür
sliding door
Schiebetür
sliding door
Wand
wall
Doppeltür:
Double door:
Glaskantenschutz
glass edge protection
Glaskantenschutz
glass edge protection
Zwischen den Flügeln den
Glaskantenschutz aufkleben.
Glue on glass edge protection
between the panels.
Glaskantenschutz vollständig (ohne Blasen) aufkleben, damit die volle Haftung erreicht wird!
To attain the full adhesion, glue on glass edge protection completely ( without bubbles)!
Schiebetür
sliding door
Wand
wall
Glaskantenschutz
glass edge protection
Glaskantenschutz
glass edge protection
Glaskantenschutz
glass edge protection
Glaskantenschutz
glass edge protection
Seite/Page 6/13
DORMA-Glas
4. Montage der Bodenführung:
4. Installation of floor guide:
*
36
20
ø 8mm
4.1
2 mm
lösen / loosen
4.2
4.3
4.4
4.5
!Geeignete auf den Untergrund abgestimmte Befestigungsmittel verwenden!
Please use suitable fixing material according to foundation!
21+(Glasdicke/2)
21+(glassthickness/2)
*
Seite/Page 7/13
DORMA-Glas
6. Einhängen der Schiebetür:
6. Fitting of sliding door:
6.1
5. Vorbereitung Aushebeschutz:
5. Preparation of anti-jump device:
Soll / referance
Aushebeschutz
Anti-jump device Aushebeschutz
Anti-jump device
5.1 Ist-Soll Vergleich durchführen.
5.1 Make a actual-theoretical comparison.
3 mm
5.2 ggf. einstellen
5.2 adjust if necessary
Seite/Page 8/13
DORMA-Glas
8. Anbringen des Deckprofils:
8. Installation of the cover profile:
8.1
2
8.2
2:1
7. Endmontage der Bodenführung:
7. Final installation of floor guide:
7.1 Tür vorsichtig öffnen.
7.1 Open the door carefully.
7.2
7.3
3 mm
anziehen / tighten
2 mm
7.4 Einstellen der benötigten Glasdicke
7.4 Adjustment of required glass thickness
Seite/Page 9/13
DORMA-Glas
9. Höheneinstellung:
9. Height adjustment:
9.2
Y
3 mm
9.1
Verstellmöglichkeit: 10mm
Adjustability: 10mm
DETAIL Y
Boden / floor
9.1 Schiebeflügel nach 10mm Bodenluft ausrichten!
9.1 Adjust the sliding panel according to 10mm floor clearance!
3 mm
anziehen / teighten
3 mm
anziehen / teighten
Höheneinstellung der Klemmwagen
Height adjsutemnt of clamp carrier
DETAIL Y
Festsetzung der Höheneinstellung
Fixing of height adjustment
Z
10.1
DETAIL Z
Höheneinstellung des Aushebeschutzes
Height adjustment of anti-jump device
3 mm
anziehen / teighten
10. Einstellung des Aushebeschutzes:
10. Adjustment of anti-jump device:
10.2 Hochdrehen bis Kontakt mit der Laufschiene besteht
10.3 Ca. 1/2 - 1 Umdrehung zurück drehen
10.2 Turn upwards until contact is achieved with track
10.3 Circa 1/2 - 1 turn backwards
0mm
10.2
~ 0,5 - 1mm
10.3
Seite/Page 10/13
DORMA-Glas
11. Empfohlene Einstellung des Laufwegbegrenzers:
11. Recommended adjustment of panel stop:
11.2
3 mm
anziehen / tighten
11.3
3 mm
anziehen / tighten
15 15
11.1 Nach Maß (siehe oben) positionieren.
11.1 Place according to measure (see above).
Einzeltür / single door
15 15
Doppeltür / double door
12 12
15mm
Achtung: Um einen bestmöglichen Glasschutz zu erreichen, empfehlen wir bei
gegenläufigen Schiebetüren, die Verwendung des Abstandhalters Art. Nr.: 29.420.
Attention: For sliding doors moving in opposite directions, we recommend to use
the spacer Art. No.: 29.420, to get the best possible glass protection.
Seite/Page 11/13
DORMA-Glas
Nach der Profil-Montage: Von vorne einfedeln.
After profile installation: insert from ahead.
12.2
Vor der Profil-Montage: Seitlich einschieben.
Before profile installation: insert sidewise.
12.3
12.1 Wellig biegen!
12.1 Deform it wavy!
12.2
12.2
12. Montage der Sichtschutzbürste (optional):
12. Installation of brush profile (optional):
Seite/Page 12/13
DORMA-Glas
13. Montage der Stirnabdeckungen (optional):
13. Installation of end caps (optional):
13.1 Doppelseitiges Klebeband:
Folienstreifen abziehen
13.1 Double-sided adhasive tape:
pull-off backing tape
13.1 Doppelseitiges Klebeband:
Folienstreifen abziehen
13.1 Double-sided adhasive tape:
pull-off backing tape
7
13.1 Stirnabdeckungen an beiden
Ende der Laufschiene anbringen.
13.1 Fixing of end caps on both sides of track rail.
Seite/Page 13/13
DORMA-Glas

Other manuals for AGILE 150

4

Other Dorma Door Opening System manuals

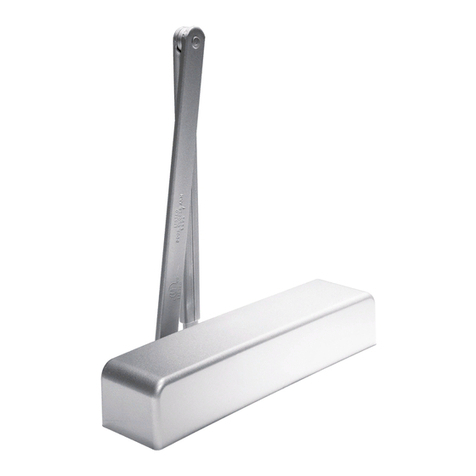
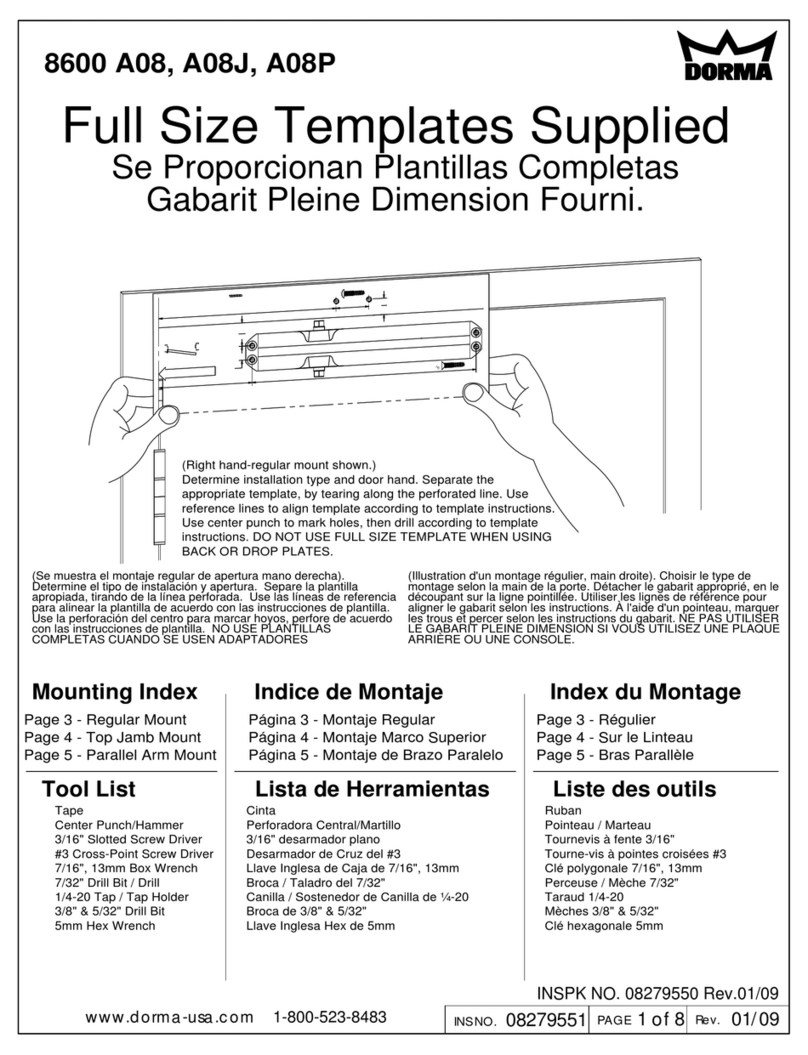
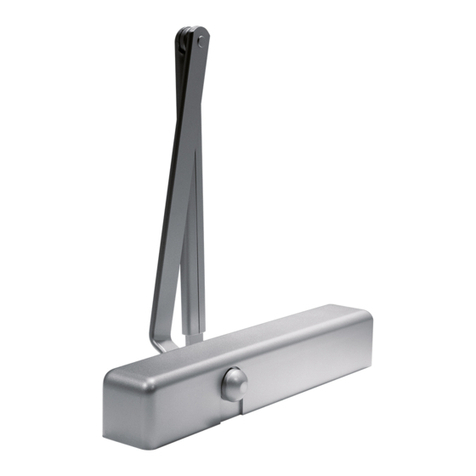
Dorma 8616 S-IS User manual

Dorma

Dorma 8616 S-IS User manual

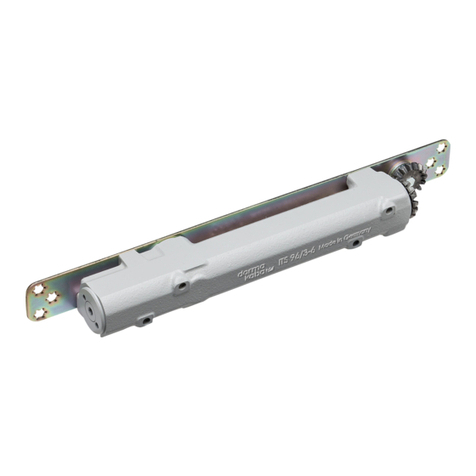
Dorma ITS 96 Manual

Dorma

Dorma ITS 96 Manual

Dorma 7400 TDE User manual

Dorma

Dorma 7400 TDE User manual

Dorma ITS 96 EN 2-4 Manual

Dorma

Dorma ITS 96 EN 2-4 Manual

Dorma ES 68 User manual

Dorma

Dorma ES 68 User manual

Dorma AS 350 User manual

Dorma

Dorma AS 350 User manual

Dorma 8900 DS User manual

Dorma

Dorma 8900 DS User manual

Dorma 7400 DS User manual

Dorma

Dorma 7400 DS User manual

Dorma 8900 FH User manual

Dorma

Dorma 8900 FH User manual

Dorma ES 200 Easy User guide

Dorma

Dorma ES 200 Easy User guide

Dorma 8600PT User manual

Dorma

Dorma 8600PT User manual

Dorma CS 80 MAGNEO Guide

Dorma

Dorma CS 80 MAGNEO Guide

Dorma BTS 65 User manual

Dorma

Dorma BTS 65 User manual

Dorma 7300 S-IS User manual

Dorma

Dorma 7300 S-IS User manual

Dorma TS 99 FLR Manual

Dorma

Dorma TS 99 FLR Manual

Dorma ED800 J User manual

Dorma

Dorma ED800 J User manual

Dorma PT 40 User manual

Dorma

Dorma PT 40 User manual

Dorma TS 99 FLR-K Manual

Dorma

Dorma TS 99 FLR-K Manual

Dorma G-EMF Series User manual

Dorma

Dorma G-EMF Series User manual

Dorma UNIVERSAL Motion User manual

Dorma

Dorma UNIVERSAL Motion User manual

Dorma 8616 AFMJ User manual

Dorma

Dorma 8616 AFMJ User manual
Dorma ES 410 User manual

Dorma

Dorma ES 410 User manual

Dorma ES 68 User manual

Dorma

Dorma ES 68 User manual

Dorma RTS Series User manual

Dorma

Dorma RTS Series User manual

Popular Door Opening System manuals by other brands

Tormax 1102 Installation and service manual

Tormax

Tormax 1102 Installation and service manual

Assa Abloy SW60 Installation and service manual

Assa Abloy

Assa Abloy SW60 Installation and service manual

FAAC APN manual

FAAC

FAAC APN manual

Yakima AWNING BRACKET KIT Quick start quide

Yakima

Yakima AWNING BRACKET KIT Quick start quide

Richmond GTR061 user manual

Richmond

Richmond GTR061 user manual

samet d-lite lift manual

samet

samet d-lite lift manual

FAAC A1400 AIR manual

FAAC

FAAC A1400 AIR manual

CornellCookson SDCL-5045 Installation instructions and operation manual

CornellCookson

CornellCookson SDCL-5045 Installation instructions and operation manual

Eco ETS 64-R Mounting and operating instructions

Eco

Eco ETS 64-R Mounting and operating instructions

Dormakaba TS93 Series installation instructions

Dormakaba

Dormakaba TS93 Series installation instructions

Aprimatic BA 230 Electrical installation, Use and Maintenance instructions

Aprimatic

Aprimatic BA 230 Electrical installation, Use and Maintenance instructions

Richards-Wilcox DYNA-HOIST DC Series installation manual

Richards-Wilcox

Richards-Wilcox DYNA-HOIST DC Series installation manual

Bohle BO 5215434 instruction manual

Bohle

Bohle BO 5215434 instruction manual

Henderson MARATHON FDK1 Fitting instructions

Henderson

Henderson MARATHON FDK1 Fitting instructions

Eco ECO EFR BG Assembly instructions

Eco

Eco ECO EFR BG Assembly instructions

Assa Abloy Corbin Russwin PED5400 FE installation instructions

Assa Abloy

Assa Abloy Corbin Russwin PED5400 FE installation instructions

DOM GUARD Assembly and operating instructions

DOM

DOM GUARD Assembly and operating instructions

CDVI IPV1 manual

CDVI

CDVI IPV1 manual

manuals.online logo
manuals.online logoBrands
  • About & Mission
  • Contact us
  • Privacy Policy
  • Terms and Conditions

Copyright 2025 Manuals.Online. All Rights Reserved.