manuals.online logo
Brands
  1. Home
  2. •
  3. Brands
  4. •
  5. Dorma
  6. •
  7. Door Opening System
  8. •
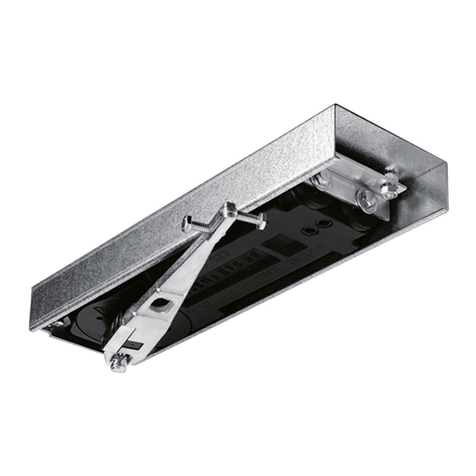
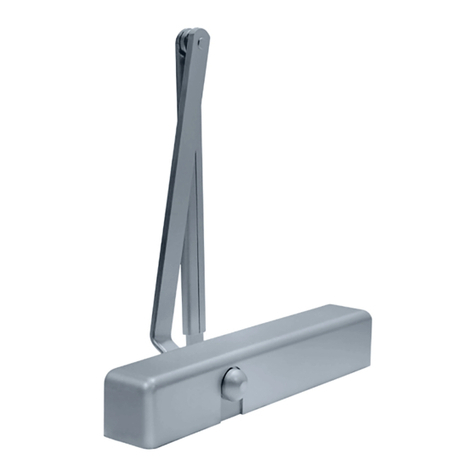
  9. Dorma TS93 T User manual

Dorma TS93 T User manual

Installation instructions:
Pull side jamb mount with dead stop (T)
Optional hold open (TH)
TS93 T/TH
—
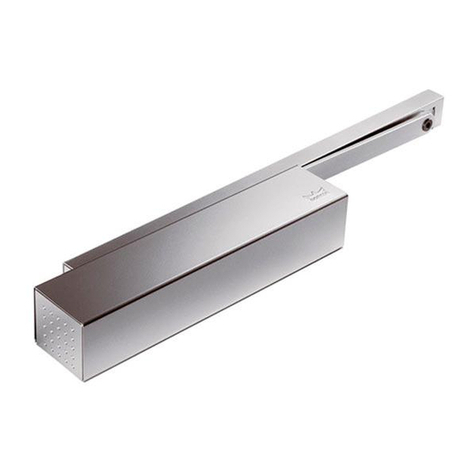
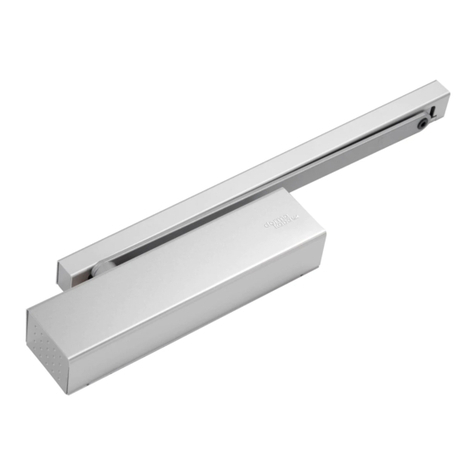
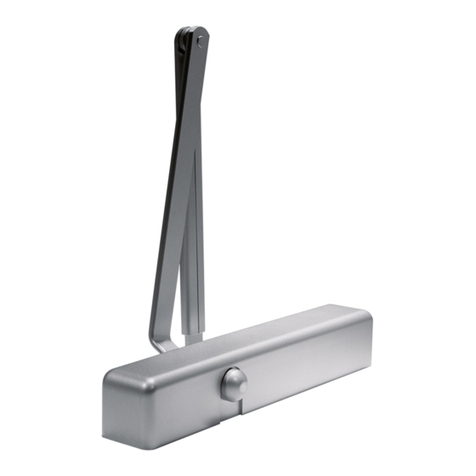
Surface applied door closer
DORMA USA, Inc. Dorma Drive, Drawer AC Toll-Free: 800-523-8483 E-mail: dormaarch[email protected]
08279211 06/14 Reamstown, PA 17567 Fax: 800-274-9724 Subject to change without notice
TABLE OF CONTENTS
—
Technical specifications
Note
1. Drawing is not to scale.
2. Dimensions are in inches/[mm].
3. Right hand door is shown.
4. Caution: sex nuts are required for attachment of
components to unreinforced doors and to wood or
plastic faced composite type fire doors, unless an
alternative method is identified in the individual door
manufacturer's listings.
5. Template is for 4-1/2 x 4-1/2 butt hinges & 3/4" offset
pivots
6. Maximum door opening degree is 175°.
7. Minimum door width 24".
Templates
Closer overall
Technical specifications
Templates 2
Size selection chart 2
Closer setup
Exploded parts list
Handing of the door 3
A. Installing the surface closer
Installing the backplate
Installing the surface closer 4
B. Adjustments
Adjusting the closing speeds
Adjusting the spring force 6
Adjusting the optional hold open 7
C. Installing the closer covers
Installing the covers 7
Contents
NOTE: Refer to the included drawing for pull side door closer, back plate mounting templating.
Size selection chart
Door Width
Closer Interior/
Exterior
2'-0"
min.
2'-6"
max.
3'-0"
max.
3'-6"
max.
4'-0"
max.
4'-6"
max.
5'-0"
max.
TS9315 Interior • • N/A N/A
TS9356 Interior N/A N/A N/A N/A • ••
8. Hold open range is from 50° to 140° with optional hold
open kit.
9. Use closer body style "B" for this installation.
10. Arrows on mounting plate point upward.
DORMA USA, Inc. Dorma Drive, Drawer AC Toll-Free: 800-523-8483 E-mail: dormaarch[email protected]
08279221 06/14 Reamstown, PA 17567 Fax: 800-274-9724 Subject to change without notice
TS93 T/TH
—
3
Closer setup
Handing of the door
Follow included template to properly prepare door and
frame for all accessories of the closer installation.
Know the swing of the door which is being installed prior
to installation.
Make sure door efficiently operates prior to installing
closer.
Hinge Hinge
Exterior side of door
Interior side of door
Left hand door (LH)
Left hand reverse
door (LHR)
Right hand reverse
door (RHR)
Right hand door (RH)
The surface closer is comprised of the following components.
1. Closer body: "B" body
2. Main arm
3. Track assembly
4. Pinion
5. Cover and end caps
6. Track cover
7. Closing/sweep speed adjustment
8. Latch speed adjustment
9. Backcheck adjustment
10. Delayed action adjustment
Verify closer spring size prior to installation. See "Size
selection chart" on page 2.
1
2
4
6
78
5
3
9
10
5
5
B
DORMA USA, Inc. Dorma Drive, Drawer AC Toll-Free: 800-523-8483 E-mail: dormaarch[email protected]
08279221 06/14 Reamstown, PA 17567 Fax: 800-274-9724 Subject to change without notice
TS93 T/TH
—
4
Reference template 08279222
NOTE: For use on T-mount applications (closer on door, track
on frame) on the pull side of the door.
1.1 Attach the back plate to the installing surface using the
four screws [10-32 machine screws or #10 wood screws]
provided with the surface closer.
1
Installing the back plate
A. Installing the surface closer
Tools recommended
Drill Bits
Metal: No. 21 & 10-32 Tap
Wood: 9/64"
2
Installing the surface closer
NOTE: Orient pinion (1) closest to hinge.
NOTE: Make sure arrows on
plate point upward.
3.1 Attach the main arm (1) to the top pinion with an
M6x20 socket head cap screw (2) using an M5 hex key.
Be sure the main arm is parallel to the door during
application.
1
2
#0 Phillips screwdriver
#2 Phillips screwdriver
3/16" flathead screwdriver
M2.5 & M5 Hex key
3
2.1 Attach the closer body (2) to the plate using the four
screws provided with the plate itself.
2
Right hand door
Toward the
hinge
1
DORMA USA, Inc. Dorma Drive, Drawer AC Toll-Free: 800-523-8483 E-mail: dormaarch[email protected]
08279221 06/14 Reamstown, PA 17567 Fax: 800-274-9724 Subject to change without notice
TS93 T/TH
—
5
5.1 Align the arm (1) with the slide shoe of the track channel. 5.2 Attach with one M8x15mm shoulder bolt (2) using an M5
hex key.
5
2
1
4.1 Position the individual components inside the track
channel and screw down each fitting.
NOTE: For TH ONLY - orient the hold open mechanism as
seen in the image above. Hold open mechanism and
hold open slide shoe must be installed with the arrows
pointing away from the hinges.
4.2 Attach the track channel (1) to the frame through the
end blocks with two flathead Phillips screws (2).
Right hand door - No hold open
Right hand door - With hold open
Left hand door - No hold open
Left hand door - With hold open
A. End block
B. Dead stop adjustable anchor
C. Cushion
D. Cushion protector
E. Hold open mechanism
F. Track channel
G. Slide shoe
H. Hold open slide shoe
1
DE
A BC
F
A
A
A
B
C
D
E
F
1
Hinge
4
G
H
G
H
Part No.: TH KIT 93 ONLY
Closer is omitted in image for better
viewing of the track assembly.
Right hand door
Right hand door
HINGE
HINGE
2
DORMA USA, Inc. Dorma Drive, Drawer AC Toll-Free: 800-523-8483 E-mail: dormaarch[email protected]
08279221 06/14 Reamstown, PA 17567 Fax: 800-274-9724 Subject to change without notice
TS93 T/TH
—
6
1
B. Adjustments
Adjusting the closing speeds: sweep, latch or backcheck and delayed actions
Confirm closer spring size prior to making any closing
speed adjustments.
Do not back valves out beyond closer casting.
Door should close in 3 to 6 seconds from 90º.
Maximum opening angle is 175º.
1.1 Adjust the sweep speed (1) for the area from 70° - 0°
Increase sweep speed: Turn valve counter-clockwise
Decrease sweep speed: Turn valve clockwise.
1.2 Adjust the latch speed (2) for the area from 7° - 0°.
Increase latch speed: Turn valve counter-clockwise
1.3 Adjust the backcheck (3) for the area from 65° - 175°.
Increase resistance: Turn valve clockwise
Decrease resistance: Turn valve counter-clockwise.
1.4 Adjust the delayed action (4) for the area from
180° - 70°.
Increase delayed action: Turn valve clockwise
Decrease delayed action: Turn valve counter-clockwise
1 [Sweep] 2 [Latch]
3 [Backcheck]
Sweep
Latch
Backcheck
Delayed action
4 [Delayed action]
Adjusting the spring force
TS9315
NOTE: Supplied with a size 2 spring setting.
Barrier free openings: Take an opening force reading from the
pull on the door. If required, adjust the spring force to meet
the barrier-free requirement.
Decrease force: turn counter-clockwise 5 times (max)
Increase force: turn clockwise 12 times (max)
Depending on opening conditions, a door adjusted to meet
barrier-free forces may not have sufficient power to reliably
close and latch the door.
TS9356
NOTE: Supplied with a size 6 spring setting.
Increase force: turn clockwise 6 times (max)
TS9315
DOOR WIDTH FULL TURNS OF
SPRING ADJUSTER
CLOSER
SIZE
INT. EX T.
2'6" ----- 0 2
3' 2'6" +3 3
3'6" 3' +9 4
4' 3'6" +12 5
TS9356 4' 3'6" -4 5
4'6" 4' 0 6
Non-barrier-free openings: ULC labeled units ONLY
CLOSER
TYPE
MAX DOOR
WEIGHT (LBS)
SPRING
SIZE
FULL TURNS OF
SPRING ADJUSTER
TS9315
100 2 0
125 3 +3
150 4 +9
200 5 +12
TS9356 200 5 -4
250 6 0
2
Increase
Decrease
Do not close valves completely.
Increase
Decrease
Decrease
Increase Backcheck &
Delayed actions
Sweep & Latch
Speed
DORMA USA, Inc. Dorma Drive, Drawer AC Toll-Free: 800-523-8483 E-mail: dormaarch[email protected]
08279221 06/14 Reamstown, PA 17567 Fax: 800-274-9724 Subject to change without notice
TS93 T/TH
—
7
1
1.1 Snap both end covers (1) into place.
1.2 Remove the un-needed tab (2), and snap the closer body
cover (3) into place.
C. Installing the closer covers
Installing the covers
1.3 Attach with a 4-40 Phillips pan head screw (4) .
1.4 Snap the track cover (5) into place.
Adjusting the optional hold open
3.1 Slide the hold open mechanism (1) to the desired
location inside the track, to hold the door open to the
desired degree.
NOTE: Reference Section A, step #4 for hold open mechanism
location dependent upon door swing.
3.2 Using an M2.5 hex key, tighten the set screw (2) to
secure the hold open mechanism.
3.3 To adjust the force of the hold open force, engage the
hold open feature by opening the door and allowing the
hold open slide shoe (3) to slide over top of the hold open
mechanism and click into place.
3.4 Inside the M8x15mm hex screw (4) is a 2.5mm set
screw. To adjust the hold open force, use an M2.5 hex
key and turn the set screw:
Clockwise = increase force
Counter clockwise = decrease force
3
13
4
2
2
1
5
4
3
3
2.5mm set screw
(inside the M8x15 hex screw)
08279221
06/2014, Subject to change without notice
DORMA USA, INC.
DORMA DRIVE, DRAWER AC
REAMSTOWN, PA 17567
TOLL-FREE: 800-523-8483
FAX: 800-274-9724
E-MAIL: DORMAARCHITE[email protected]
WWW.DORMA-USA.COM

This manual suits for next models

3

Other Dorma Door Opening System manuals
Dorma 8916 AF8MJ User manual

Dorma

Dorma 8916 AF8MJ User manual

Dorma G-EMF Series User manual

Dorma

Dorma G-EMF Series User manual

Dorma 96 GSR-EMF User manual

Dorma

Dorma 96 GSR-EMF User manual

Dorma ED800 J User manual

Dorma

Dorma ED800 J User manual

Dorma 7400 TDE User manual

Dorma

Dorma 7400 TDE User manual

Dorma MUNDUS PREMIUM PT 22 User manual

Dorma

Dorma MUNDUS PREMIUM PT 22 User manual

Dorma TS 92 G User manual

Dorma

Dorma TS 92 G User manual
Dorma ITS 96 Manual

Dorma

Dorma ITS 96 Manual

Dorma PT 40 User manual

Dorma

Dorma PT 40 User manual

Dorma ES 68 User manual

Dorma

Dorma ES 68 User manual

Dorma ES 200 Easy User guide

Dorma

Dorma ES 200 Easy User guide

Dorma 8916 T User manual

Dorma

Dorma 8916 T User manual

Dorma ES 200 User manual

Dorma

Dorma ES 200 User manual

Dorma CS 80 MAGNEO Guide

Dorma

Dorma CS 80 MAGNEO Guide

Dorma 7300 DS User manual

Dorma

Dorma 7300 DS User manual

Dorma 8916 TDE User manual

Dorma

Dorma 8916 TDE User manual

Dorma BEYOND User guide

Dorma

Dorma BEYOND User guide

Dorma TS93-5 PKT 90/119 User manual

Dorma

Dorma TS93-5 PKT 90/119 User manual

Dorma 7300 ARNP User manual

Dorma

Dorma 7300 ARNP User manual

Dorma ED700 User manual

Dorma

Dorma ED700 User manual

Dorma CS 80 MAGNEO User manual

Dorma

Dorma CS 80 MAGNEO User manual

Dorma 8616 T User manual

Dorma

Dorma 8616 T User manual
Dorma AGILE 150 User manual

Dorma

Dorma AGILE 150 User manual

Dorma 8600 EMR Series User manual

Dorma

Dorma 8600 EMR Series User manual

Popular Door Opening System manuals by other brands

Assa Abloy G-CO-C Mounting instructions

Assa Abloy

Assa Abloy G-CO-C Mounting instructions

GEZE TSA 160 NT Mounting and service instructions

GEZE

GEZE TSA 160 NT Mounting and service instructions

Assa Abloy MAB 609 + AC593 Instructions for the user

Assa Abloy

Assa Abloy MAB 609 + AC593 Instructions for the user

Assa Abloy Norton 7200 Series Installation and instruction manual

Assa Abloy

Assa Abloy Norton 7200 Series Installation and instruction manual

Overhead door RHX NEMA 7 installation manual

Overhead door

Overhead door RHX NEMA 7 installation manual

Von Duprin Chexit CX33A/35A installation instructions

Von Duprin

Von Duprin Chexit CX33A/35A installation instructions

Colcom Biloba Unica 100E10 Instruction of Assembly

Colcom

Colcom Biloba Unica 100E10 Instruction of Assembly

Dormakaba ED900 quick start guide

Dormakaba

Dormakaba ED900 quick start guide

Genie GCL OPGSX Series installation manual

Genie

Genie GCL OPGSX Series installation manual

cinetto PS23 Assembly instructions

cinetto

cinetto PS23 Assembly instructions

ECO Schulte EF BG Assembly instruction

ECO Schulte

ECO Schulte EF BG Assembly instruction

LCN 1450 Track Series installation instructions

LCN

LCN 1450 Track Series installation instructions

GEZE ECdrive H Pre-installation instructions

GEZE

GEZE ECdrive H Pre-installation instructions

CDVI Digiway SR Easy start guide

CDVI

CDVI Digiway SR Easy start guide

Omron D40Z instruction manual

Omron

Omron D40Z instruction manual

Dormakaba ED 250 LE user manual

Dormakaba

Dormakaba ED 250 LE user manual

Eco TS-31 Assembly instruction

Eco

Eco TS-31 Assembly instruction

Yale PR3301 installation instructions

Yale

Yale PR3301 installation instructions

manuals.online logo
manuals.online logoBrands
  • About & Mission
  • Contact us
  • Privacy Policy
  • Terms and Conditions

Copyright 2025 Manuals.Online. All Rights Reserved.