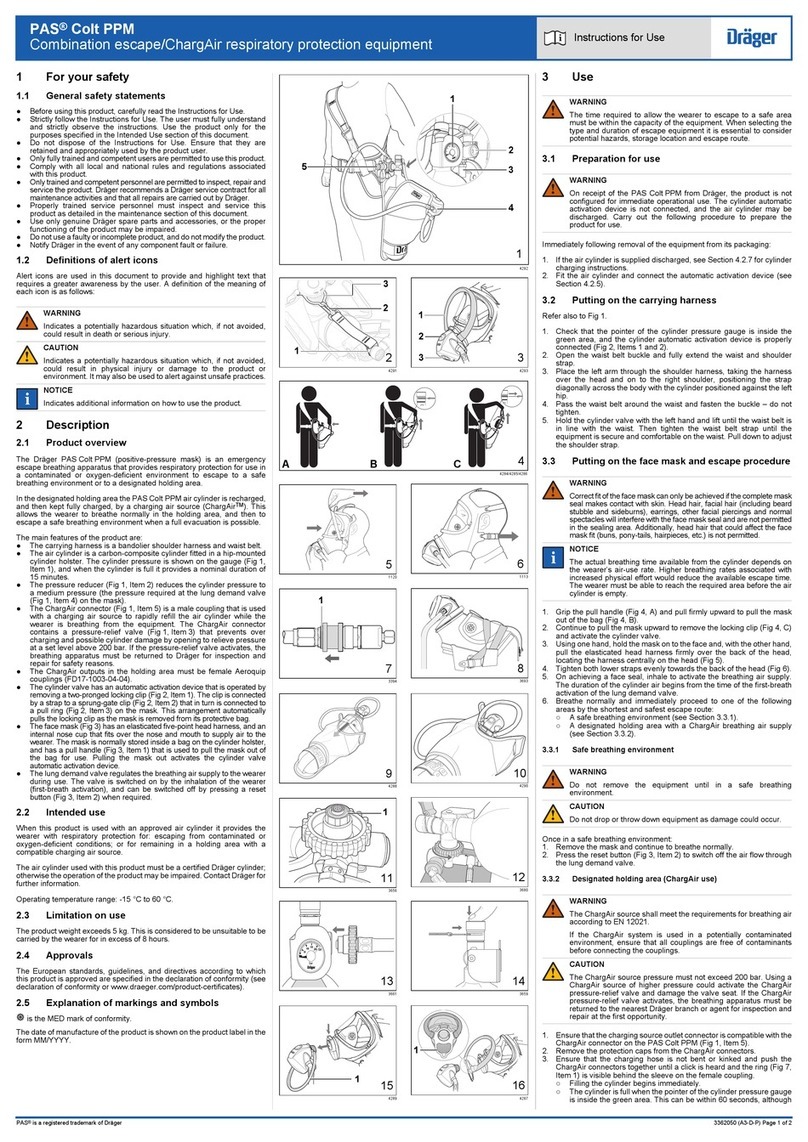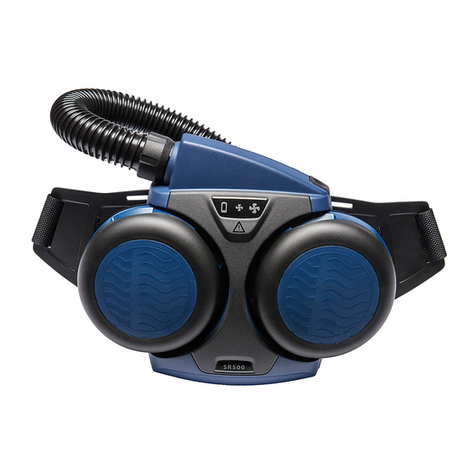
PAS® Series
Airline respiratory protection equipment Instructions for Use
PAS®is a registered trade mark of Dräger 3352487 (A3-D-P) Page 1 of 2
3352487
© Dräger Safety UK Limited
Edition 07 – November 2018
Subject to alteration
Draeger Safety UK Limited
Ullswater Close Tel +44 1670 352 891
Blyth, NE24 4RG Fax +44 1670 356 266
United Kingdom www.draeger.com
1 For your safety
1.1 General safety statements
●Before using this product, carefully read the Instructions for Use.
●Strictly follow the Instructions for Use. The user must fully understand
and strictly observe the instructions. Use the product only for the
purposes specified in the Intended Use section of this document.
●Do not dispose of the Instructions for Use. Ensure that they are
retained and appropriately used by the product user.
●Only fully trained and competent users are permitted to use this
product.
●Comply with all local and national rules and regulations associated
with this product.
●Only trained and competent personnel are permitted to inspect, repair
and service the product. Dräger recommend a Dräger service contract
for all maintenance activities and that all repairs are carried out by
Dräger.
●Properly trained service personnel must inspect and service this
product as detailed in the Maintenance section of this document.
●Use only genuine Dräger spare parts and accessories, or the proper
functioning of the product may be impaired.
●Do not use a faulty or incomplete product, and do not modify the
product.
●Notify Dräger in the event of any component fault or failure.
●The air supply shall meet the requirements for breathing air according
to EN 12021.
1.2 Definitions of alert icons
Alert icons are used in this document to provide and highlight text that
requires a greater awareness by the user. A definition of the meaning of
each icon is as follows:
WARNING
Indicates a potentially hazardous situation which, if not avoided,
could result in death or serious injury.
CAUTION
Indicates a potentially hazardous situation which, if not avoided,
could result in physical injury or damage to the product or
environment. It may also be used to alert against unsafe practices.
NOTICE
Indicates additional information on how to use the product.
2 Description
2.1 Product overview
The Dräger PAS®Series of airline respiratory protection equipment
provides respiratory protection for working in a contaminated environment
using an airline.
The features of the equipment are:
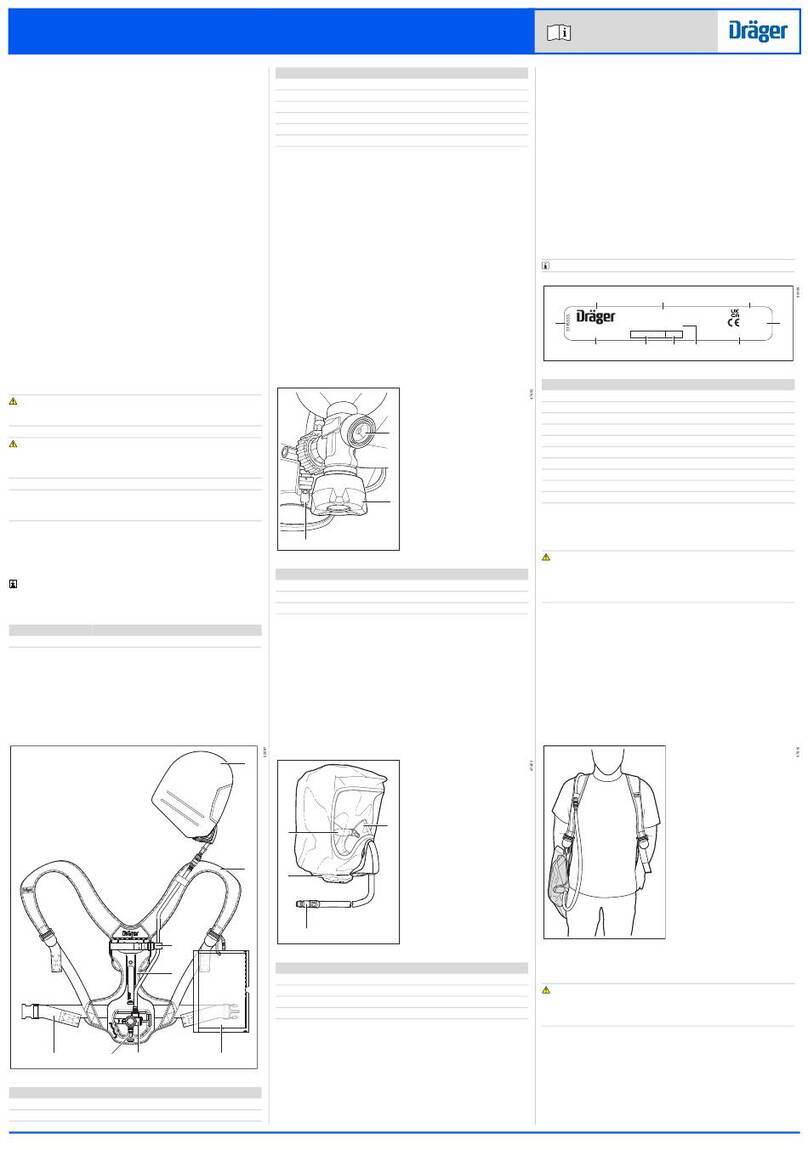
●There are two harness types available: a bandolier harness (Fig 1) that
has a waist belt and a shoulder strap, or waist belt only harness (Fig 2).
●The airline connector (Fig 1, Item 4) is a male quick coupling that is
used to connect an independent air supply.
●The equipment is available with or without a low-pressure whistle.
When the equipment has a low-pressure whistle, it is on the airline
manifold (Fig 1, Item 2), and sounds during use to warn the wearer that
the supply pressure from the airline is low.
●The medium-pressure hose is available with or without a quick
coupling (Fig 1, Item 3) (shown on the bandolier harness only). The
quick coupling allows rapid removal and fitting of the lung demand
valve when required.
●The lung demand valve (Fig 1, Item 1) is described below.
2.1.1 Lung demand valve (LDV)
A variety of Dräger lung demand valves are compatible with this
equipment, with the coupling (Fig 3, Item 1) selected to match the face
mask coupling (see table below):
During use, the lung demand valve activates automatically as the wearer
breathes, and then regulates the breathing air supply into the face mask in
response to the breathing rate of the wearer.
●On positive-pressure systems, when the lung demand valve is activated,
the internal valve remains open until closed by the user. Positive-pressure
valves have a reset button (Fig 3, Item 2) that closes the valve when
required. Pressing the reset button closes the internal valve to switch off
the air flow through the lung demand valve.
●On negative-pressure systems the internal valve closes automatically to
switch off the air flow through the lung demand valve.
The lung demand valve can also be activated manually by pressing the
front button (Fig 3, Item 3) to open the internal valve and activate air flow
when required. The front button can be pressed during use to deliver
additional air (supplementary air) into the mask when required by the
wearer.
2.2 Intended use
When this product is used with an approved face mask, lung demand valve
and independent air supply, it provides the wearer with respiratory
protection for working in, contaminated or oxygen-deficient conditions. It is
intended for use in applications where a high level of respiratory protection
is required. The equipment is intended to be used only for airline
applications.
The face mask (full face mask conforming to EN 136 Class 2 or Class 3)
and other accessories used with this product must be certified Dräger
components, assembled in an approved configuration; otherwise the
operation of the device may be impaired. Contact Dräger for further
information.
LDV
coupling
Face
mask
coupling
Type Coupling type
A P Positive
pressure
Push-in – Dräger specific
AE PE Positive
pressure
Screw-in – M45 x 3 to
EN 148-3
N RA Negative
pressure
Screw-in – 40 mm round
thread to EN 148-1
!
!
2.3 Limitations on use
This product is not approved for use in CBRN applications.
Use in potentially explosive atmospheres
The PAS®Series are type tested as suitable for use in potentially explosive
atmospheres. Electronic sub-assemblies are ATEX certified. The
combinations are suitable for use in hazardous areas up to and including
zone 0 and zone 20. The combinations can be used in atmospheres
containing gases of the gas explosion group IIC, with the exception of
combinations using the f 2 range of facemasks, which are only suitable to
be used in atmospheres containing gases of the gas explosion group IIB.
2.4 Approvals
The European standards, guidelines, and directives according to which
this product is approved are specified in the declaration of conformity (see
declaration of conformity or www.draeger.com/product-certificates).
PED Important note: The PAS®Series of airline respiratory protection
equipment is designed for use with airline breathing-air supply systems
only and is classified as safe and suitable for use under the PED
regulations – category SEP (Sound Engineering Practice). The equipment
cannot be certified to PED regulations.
2.5 Explanation of type-identifying marking and
symbols
Where appropriate, the marking “F” on the apparatus and
CAST (compressed-air supply tube) indicates that both can be used where
flammability may be a risk. Marking on the compressed-air supply tube
indicates that the tube is heat resistant (H) and/or antistatic (S).
3 Use
WARNING
The airline air quality shall meet the requirements for breathing air
according to EN 12021. Do not use oxygen or oxygen-enriched air.
The moisture content of breathing air should be controlled within
the EN 12021 limits to avoid freezing the apparatus.
Carry out a risk assessment of the workplace to ensure that it is
not possible to connect to any airline supply other than breathable
air (e.g. Nitrox).
Before using airline equipment, ensure that the independent air
supply meets the air quality requirements, and complies with the
airline pressure, flow and hose requirements in the technical
data (see Section 8), and has been issued with a permit for use if
necessary.
Position the source of the independent air supply in a safe and
uncontaminated area. Dräger recommend that a controller should
monitor and maintain the independent air supply throughout any
operation.
3.1 Preparation for use
3.1.1 Visual inspection
Carry out a visual inspection, checking the full breathing apparatus
including all component parts and accessories. Check that the equipment
is clean and undamaged, paying particular attention to pneumatic
components, hoses and connectors. Typical signs of damage that may
affect the operation of the breathing apparatus include impact, abrasion,
cutting, corrosion and discoloration. Report damage to service personnel
and do not use the apparatus until faults are rectified.
3.1.2 Functional testing
WARNING
If the breathing apparatus fails to meet any of the standards or
parameters described in the functional tests, or if an immediate
leak is evident, there is a system fault. Report the fault to trained
service personnel or contact Dräger. Do not use the breathing
apparatus until the fault condition is rectified.
1. Positive-pressure systems: press the reset button (Fig 3, Item 2) to
switch off the valve.
2. Connect the independent air supply to the male coupling (Fig 1,
Item 4), and if the independent air supply has a shut-off valve, open the
valve.
3. Check for audible leaks. If there is any leak, investigate and repair the
leak before use (see Section 4). If necessary, use a soapy solution to
locate the leak.
WARNING
Do not direct the air flow on to the face, eyes or skin.
4. Press the front button (Fig 3, Item 2) to activate air flow from the valve
for 3–5 seconds. Unobstructed air will flow from the outlet of the lung
demand valve.
5. Positive-pressure systems: press the reset button (Fig 3, Item 2) to
switch off the valve.
6. Isolate the independent air supply.
7. Leak test: Carry out this test only if the independent air supply has a
medium-pressure gauge and/or a high-pressure gauge; otherwise
proceed to Step 8.
○After isolating the independent air supply, wait one minute and
then observe the gauge and reapply the independent air supply.
○A medium-pressure gauge should not show an increase in
pressure of more than 1 bar. A high-pressure gauge should not
show an increase in pressure of more than 10 bar. If there is any
leak, investigate and repair the leak before use (see Section 4). If
necessary, use a soapy solution to locate the leak.
○After testing, again isolate the independent air supply.
8. Whistle test: Carry out this test only if the PAS®Series apparatus is
fitted with a low-pressure whistle; otherwise proceed to Step 9.
○Positive-pressure systems: cover and seal the lung demand valve
outlet with the palm of the hand. Press the front button (Fig 3,
Item 3) to activate air flow and then lift the hand to very slowly vent.
○Negative-pressure systems: carefully press the front button (Fig 3,
Item 3) to very slowly vent.
○The low-pressure whistle will briefly sound as the pressure
decreases. (If the independent air supply has a medium-pressure
gauge, check that the whistle commences in the range 5 bar to 4 bar.
Note also that if the independent air supply has a low-pressure
warning device, this may also activate/sound during this test.)
9. Press the front button (Fig 3, Item 3) to fully vent the system.
10. Disconnect the independent air supply.
11. Positive-pressure systems: press the reset button (Fig 3, Item 2) to
switch off the valve.
3.1.3 Putting on the PAS®Series equipment (ready position)
See also Fig 1 (bandolier harness) and Fig 2 (waist belt harness) which
show the PAS Series equipment worn in the ready position.
1. Put on the harness:
○Bandolier harness:
i. Open the waist belt buckle and fully extend the waist belt and
shoulder strap.
ii. Place the left arm through the shoulder harness, taking the
harness over the head and on to the right shoulder, positioning
the strap diagonally across the body.
iii. Loop the waist belt around the waist and fasten the buckle –
do not tighten.
iv. Grip the airline manifold with the left hand and lift until the waist
belt is in line with the waist. Tighten the waist belt strap until
the equipment is secure and comfortable on the waist. Pull
down to adjust the shoulder strap.
○Waist belt harness:
i. Open the waist belt buckle and fully extend the waist belt.
ii. Loop the waist belt around the waist and fasten the buckle.
iii. Position the belt strap on the waist and tighten the waist belt
strap until the equipment is secure and comfortable on the
waist.
2. Check that the face mask port, and the lung demand valve coupling
and O-ring are clean and undamaged.
3. Connect the lung demand valve to the face mask as follows.
○Push-in coupling: press into the port of the face mask until it
latches in position. Check the attachment by gently attempting to
pull the coupling apart.
○Screw-in coupling: screw into the port of the face mask and tighten
hand tight. When the lung demand valve is fitted to the face mask,
the connector can swivel to allow for head and body movement of
the wearer.
4. Put the neck strap of the face mask over the head, and then insert the
neck strap stud into the hole in the centre strap of the head harness.
3.1.4 Putting on the face mask
WARNING
Correct fit of the face mask can only be achieved if the complete
mask seal makes contact with skin. Head hair, facial hair (including
beard stubble and sideburns), earrings, other facial piercings and
normal spectacles will interfere with the mask seal and are not
permitted in the sealing area. Additionally, head hair that could
affect the face mask fit (buns, pony-tails, hairpieces, etc.) is not
permitted.
NOTICE
Refer also to the face mask Instructions for Use.
1. Positive-pressure systems: press the reset button (Fig 3, Item 2) to
switch off the valve.
2. Connect the independent air supply to the male coupling (Fig 1,
Item 4). If the independent air supply has a shut-off valve, open the
valve.
3. Detach the neck strap stud from the centre strap of the head harness.
4. Spread the head harness (Fig 4). Place the chin into the chin cup of
the face mask and pull the harness over the head locating the harness
centre plate on the back of the head.
5. Referring to Fig 5, tighten both lower (1) and then upper straps (2)
evenly towards the back of the head. If necessary, tighten the centre
strap (3).
6. Breathe normally and carry out the mask function check.
