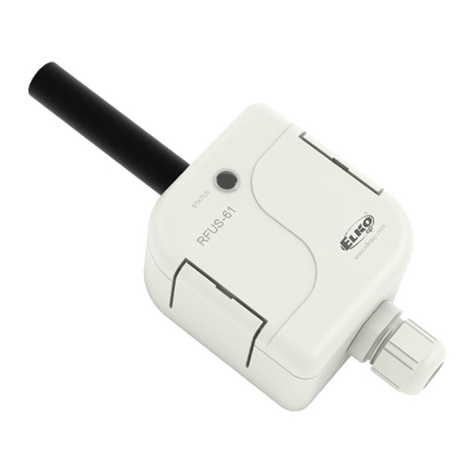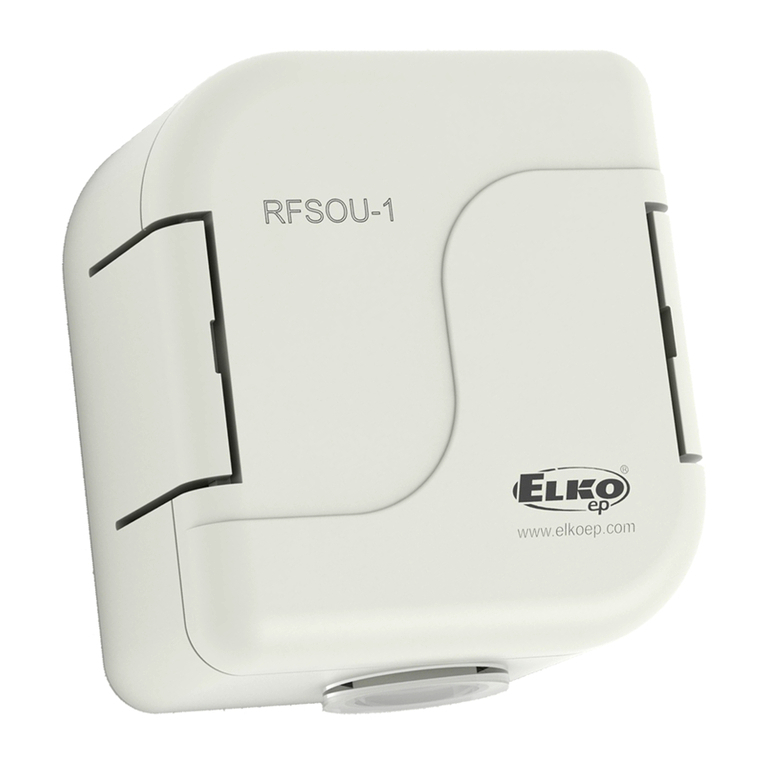
RFSOU-1
Wireless twilight switch
EN
02-53/2015 Rev.3
Made in Czech Republic
5/7
On the RFSOU-1, press the
PROG button for longer than
five seconds. The red LED
flashes 4x per second.
Deleting one position of the transmitter (RFJA) /
According to tab. 1, using the
rotary switch Function, select
the type of actuator RFJA-2
that you want to remove from
the memory.
While pressing Prog on the
RFSOU-1, insert the batteries.
Observe the polarity. This
activates the programming
mode. Red LED is flashing in
1s interval. After inserting the
batteries, release the button.
3
PROG >5s
1 x
RFSOU-1 automatically
returns to the assessment
mode. On the rotating
switch Function, set the type
according to the desired delay
(table 2). Confirm the settings
by pressing the Prog button
< 1s.
By pressing the button > 3s on
the RF controller (to which the
RFJA is programmed), start
the blinds moving so they
move to one of the extreme
end positions. At the moment
when the relay opens, the
RFJA unit sends a signal. The
RFSOU-1 indicates receipt
of the signal by the red LED
illuminating for 1s - thereby
the given unit is deleted from
the memory of the RFSOU-1.
LuxFine
MIN MAX PROG
100- 1.000
1.000- 10.000
10.000- 100.000
1- 10
10- 100
100- 1.000
Range
(I x )
Function
lightswitch
twilightswitch
5 6
4 7
3 8
2 9
1
+
-
+
-
1
PROG
1 x
LuxFine
MIN MAX PROG
100- 1.000
1.000- 10.000
10.000- 100.000
1- 10
10- 100
100- 1.000
Range
(I x )
Function
lightswitch
twilightswitch
5 6
4 7
3 8
2 9
1
+
-
+
-
2
LuxFine
MIN MAX PROG
100- 1.000
1.000- 10.000
10.000- 100.000
1- 10
10- 100
100- 1.000
Range
(I x )
Function
lightswitch
twilightswitch
5 6
4 7
3 8
2 9
1
+
-
+
-
5
LuxFine
MIN MAX PROG
100- 1.000
1.000- 10.000
10.000- 100.000
1- 10
10- 100
100- 1.000
Range
(I x )
Function
lightswitch
twilightswitch
5 6
4 7
3 8
2 9
1
+
-
+
-
4
>3s1 x
LuxFine
MIN MAX PROG
100- 1.000
1.000- 10.000
10.000- 100.000
1- 10
10- 100
100- 1.000
Range
(I x )
Function
lightswitch
twilightswitch
5 6
4 7
3 8
2 9
1
+
-
+
-
By pressing the Prog button < 1s, the RFSOU-1 communicates with the
programmed units according to the selected function and then indicates the
battery status and successful connection to the programmed units.
Indicating the battery status
After terminating communication, the red LED flashes according to the battery
status:
- 1x - battery OK.
- 2x - weak battery.
Indication of successful connection
If RF units are programmed in the RFSOU-1 and one of the functions 1, 2, 3, 7, 8
or 9 is selected, 2s after battery indication, successful connection is indicated:
- 2x red LED flashes in a 1-second interval - not possible to connect with any of
the programmed units.
- 1x green LED flashes - connection was successful with at least one of the
programmed units.
- 2x green LED flashes in a 1-second interval - connection with all programmed
RF units.
Note: When setting functions 4, 5 and 6 (with RF Touch), RFSOU-1 does not
indicate connection.
Function /
Deleting the entire memory /
On the RFSOU-1, press the
PROG button for longer
than eight seconds. The
LED flashes 5x in an interval
of once per second, then
flashes for three seconds in
an interval of two flashes per
second. After releasing the
button, the RFSOU-1 remains
in programming mode.
While pressing Prog on the
RFSOU-1, insert the batteries.
Observe the polarity. This
activates the programming
mode. Red LED is flashing in
1s interval. After inserting the
batteries, release the button.
Return to the assessment
mode by pressing the button
PROG for < 1s.
1
PROG
1 x
LuxFine
MIN MAX PROG
100- 1.000
1.000- 10.000
10.000- 100.000
1- 10
10- 100
100- 1.000
Range
(I x )
Function
lightswitch
twilightswitch
5 6
4 7
3 8
2 9
1
+
-
+
-
3
PROG < 1s
1 x
LuxFine
MIN MAX PROG
100- 1.000
1.000- 10.000
10.000- 100.000
1- 10
10- 100
100- 1.000
Range
(I x )
Function
lightswitch
twilightswitch
5 6
4 7
3 8
2 9
1
+
-
+
-
2
PROG >8s
1 x
LuxFine
MIN MAX PROG
100- 1.000
1.000- 10.000
10.000- 100.000
1- 10
10- 100
100- 1.000
Range
(I x )
Function
lightswitch
twilightswitch
5 6
4 7
3 8
2 9
1
+
-
+
-
RU
Беспроводной сумеречный выключатель
www.elkoep.com / www.elkoep.ru / www.elkoep.ua
ELKO
EP
,
s
.r
.o.
|
P
alackého
493
|
769
01
Holešov
,
V
šetuly
|
Czech
Republic
|
e
-mail:
[email protected] |
Support:
+420
778
427
36
6ООО
ЭЛКО
ЭП
РУ
С
|
4-я
Т
верска
я-Ямская
33/39
|
125047
Москва
|
Россия
|
эл.
почт
а:
[email protected] |
Т
ел:
+7
(499)
978
76
41,
978
77
42
ТОВ
ЕЛКО
ЕП
УКР
АЇНА
|
вул.
Сирецька
35
|
04073
Київ
|
Україна
|
эл.
почта:
inf
[email protected] |
Т
ел.:
+38
044
221
10
55
UA
Удаление одной позиции из памяти (RFJA)
Соблюдая полярность,
вставьте батареи, одновреме-
нно нажимая кнопку Prog
на RFSOU-1. Это активирует
режим программирования.
Красный LED мигает в
интервале 1 сек. После
установки батареек отпустите
кнопку.
Поворотным переключате-
лем Function настройте тип
элемента RFJA-2, который
хотите удалить (таблица 1).
На RFSOU-1 нажмите кнопку
PROG (> 5 сек). Красный LED
мигнет 4x в интервале 1 сек.
Нажатием кнопки (> 3 сек) на
RF выключателе (к которому
запрограммирован RFJA)
переведите роллеты в
крайнее верх. или ниж.
положение. В тот момент,
когда сработает реле, RFJA
пошлет сигнал. Прием
сигнала индицирует RFSOU-1
загоранием красного LED на
1 сек.
RFSOU-1 автоматически
вернется в режим оценки
интенсивности света. Пово-
ротным переключателем
Function настройте тип
для выбранной задержки
(таблица 2). Настройки
подтвердите нажатием
кнопки Prog (< 1 сек).
Очистка всей памяти
Соблюдая полярность,
вставьте батареи, одновреме-
нно нажимая кнопку Prog
на RFSOU-1. Это активирует
режим программирования.
Красный LED мигает в
интервале 1 сек. После
установки батареек отпустите
кнопку.
Нажмите на RFSOU-1 кнопку
Prog (> 8 сек). Красный LED
мигнет 5x в интервалах 1 сек,
затем мигает в течение 3 сек
в интервале 2x мигания за
1 сек. После отпускания
кнопки RFSOU-1 останется в
режиме программирования.
В режим оценки интенсив-
ности света вернитесь
путем нажатия кнопки PROG
(< 1 сек).
Функции
Нажатиекнопки Prog(<1сек)установитсвязь RFSOU-1 с запрограммированным
элементом и потом просигнализирует состояние батареи и успешность
соединения с запрограммированным элементом.
Индикация состояния батареи
После установки соединения мигнет LED сигнализируя состояние батареи:
- 1x - батарея заряжена.
- 2x - слабый заряд батареи.
Индикация успешности соединения
Если к RFSOU-1 запрограммировани RF элемент и выбрана одна из функций 1, 2,
3, 7, 8 или 9, через 2 сек начнется индикация батареи и успешности соединения:
- 2 раза мигнет красный LED в секундном интервале - связь ни с одним из
запрограммированых элементов невозможна.
- зеленый LED мигнет 1 раз - можно установить связь с по крайней мере
одним из запрограммированных элементов.
- 2 раза мигнет зеленый LED в секундном интервале - установлено соединение
со всеми запрограммированными RF элементами.
Прим.: При настройке функций 4, 5 и 6 (с RF Touch) RFSOU-1 соединение не
индицируется.


