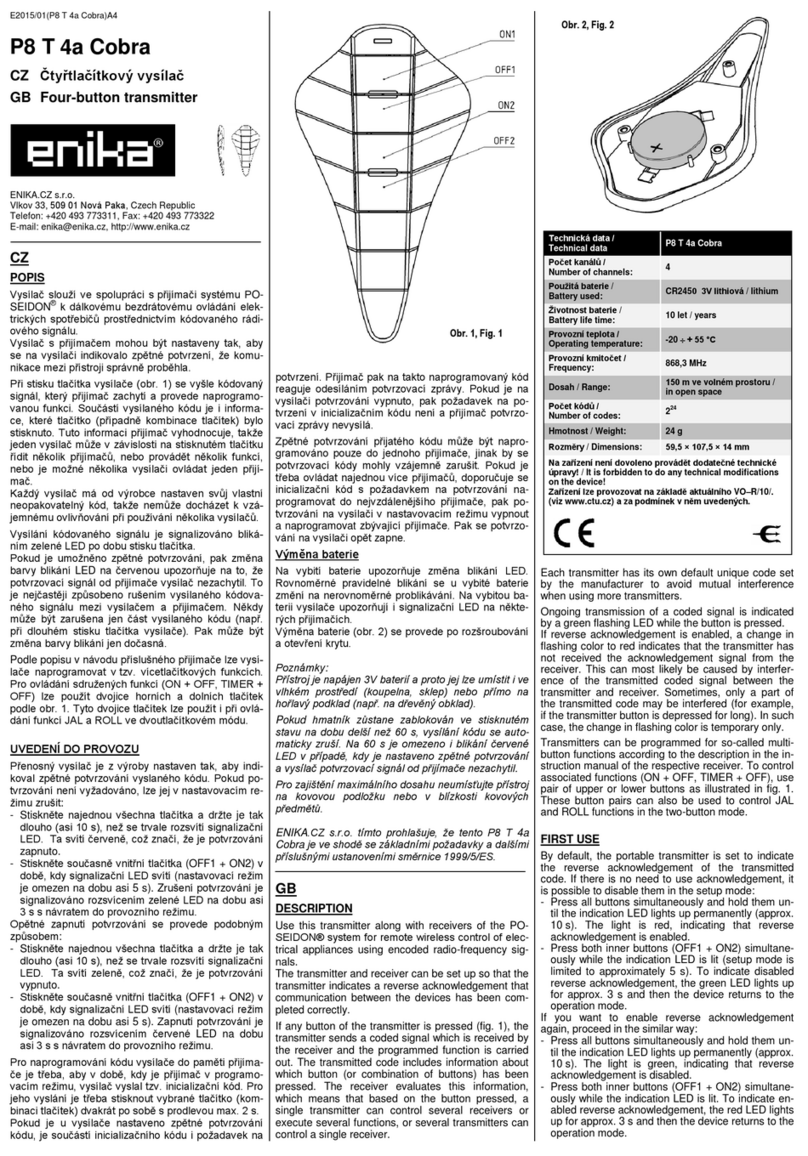
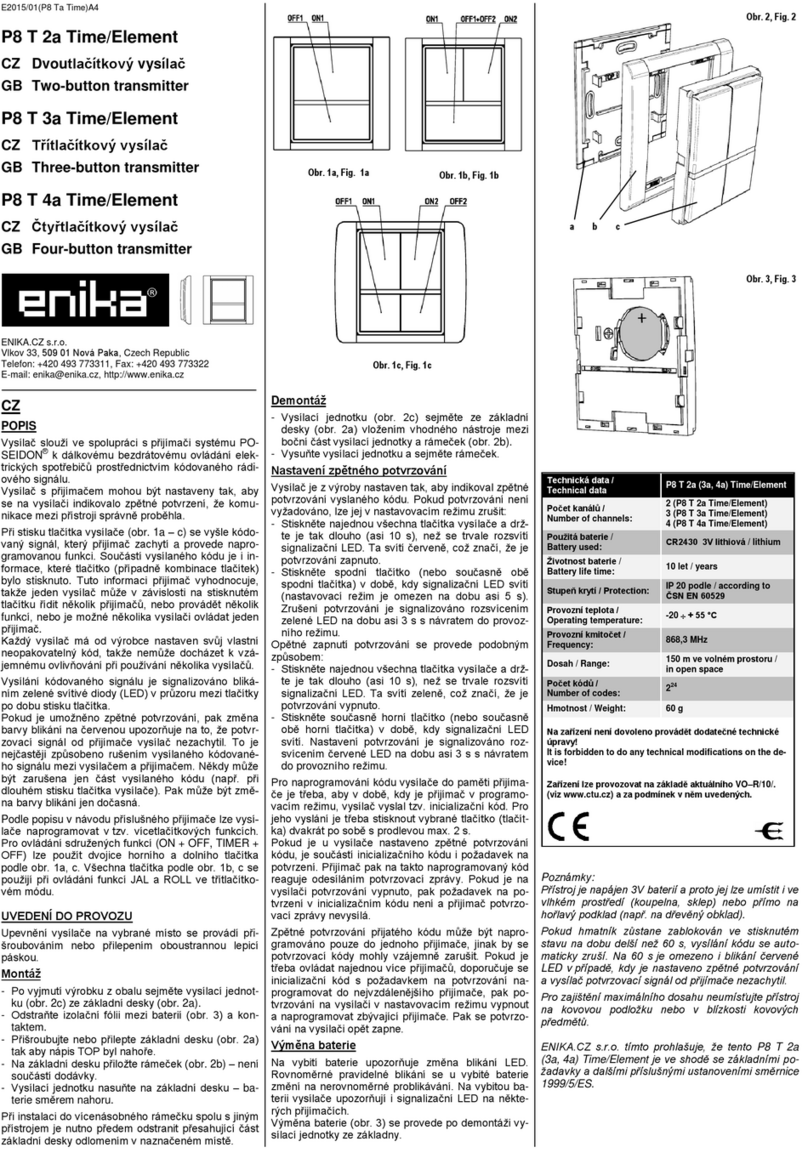
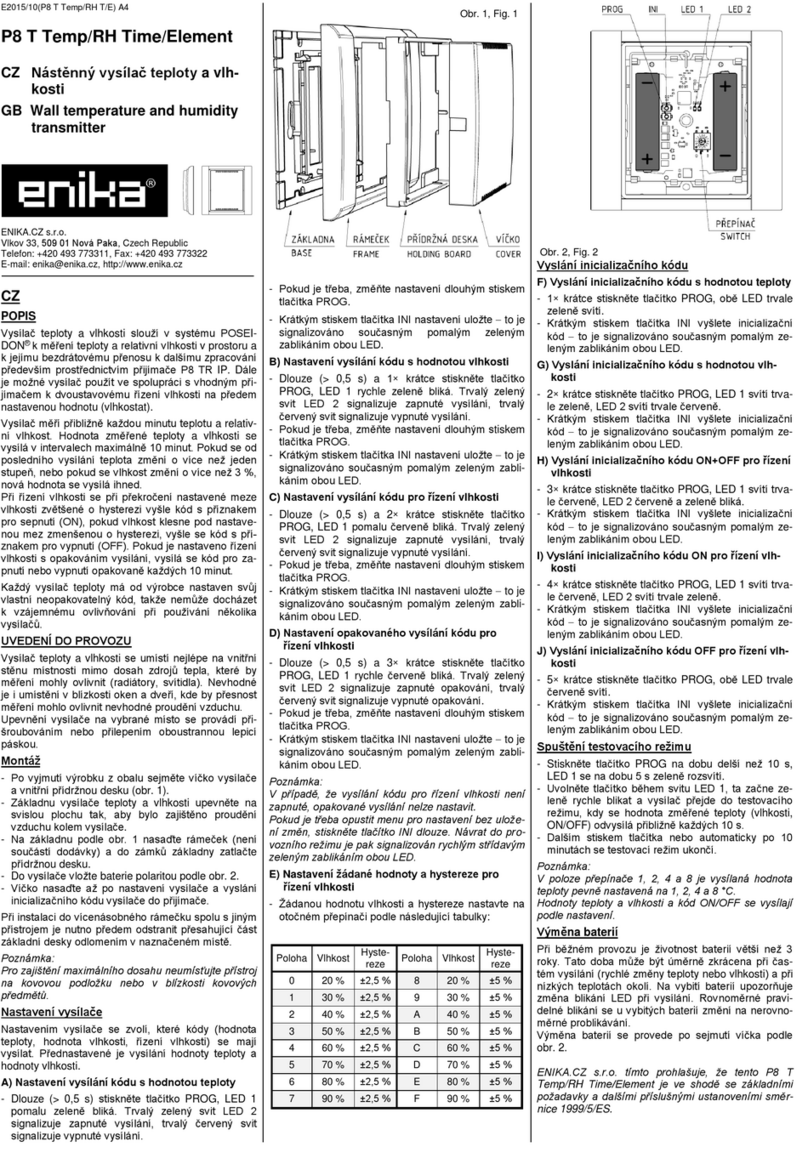
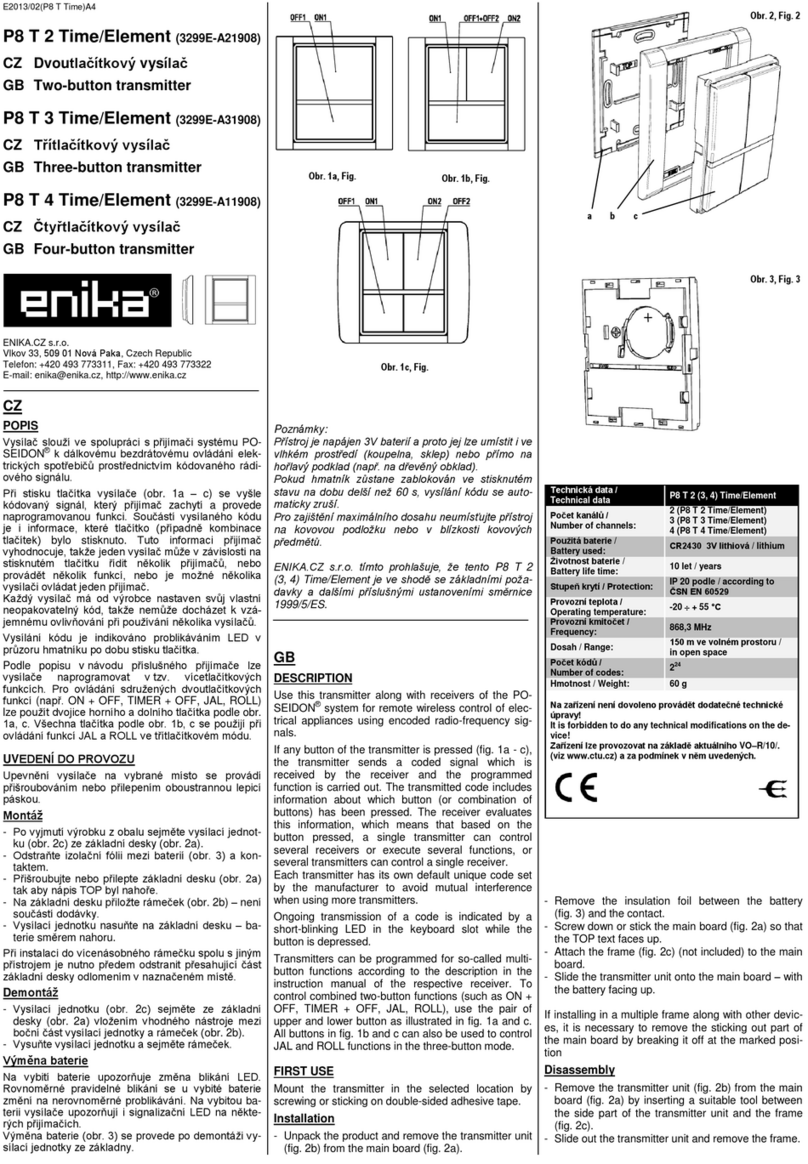
manuals.online logo
Brands
  1. Home
  2. •
  3. Brands
  4. •
  5. enika
  6. •
  7. Transmitter
  8. •
  9. enika P8 T 2 IP User manual

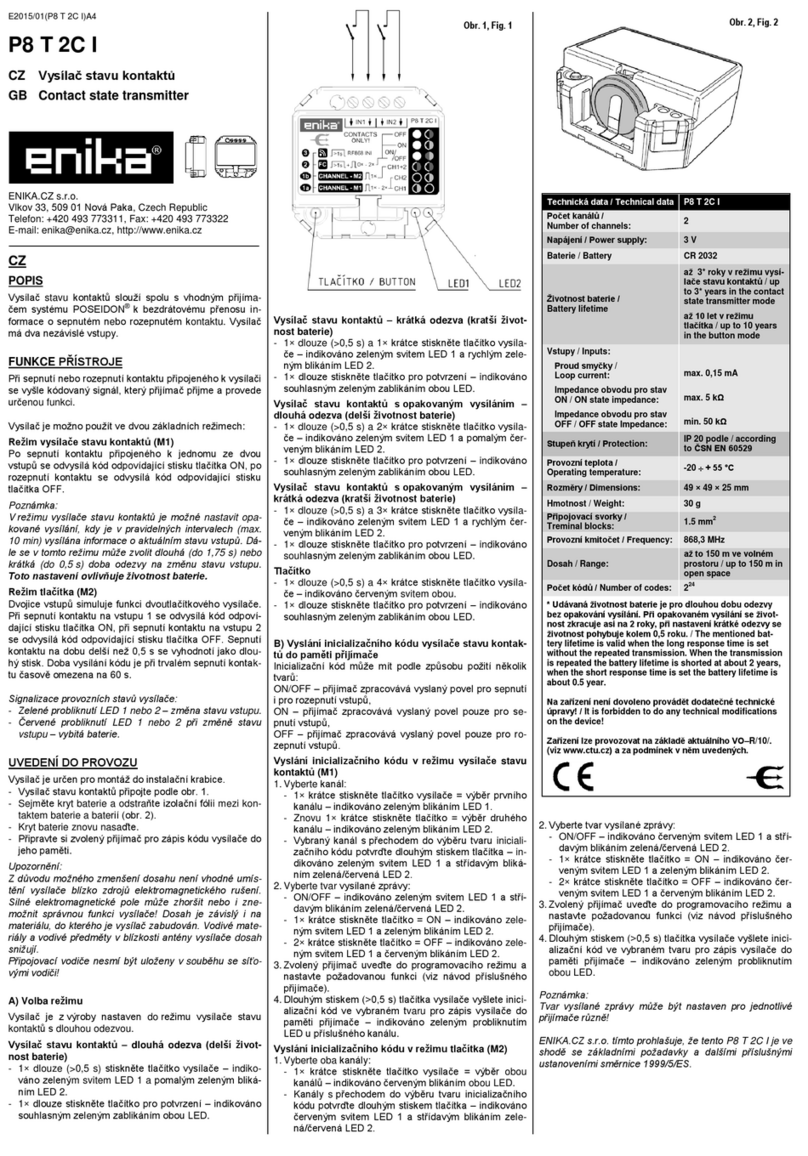
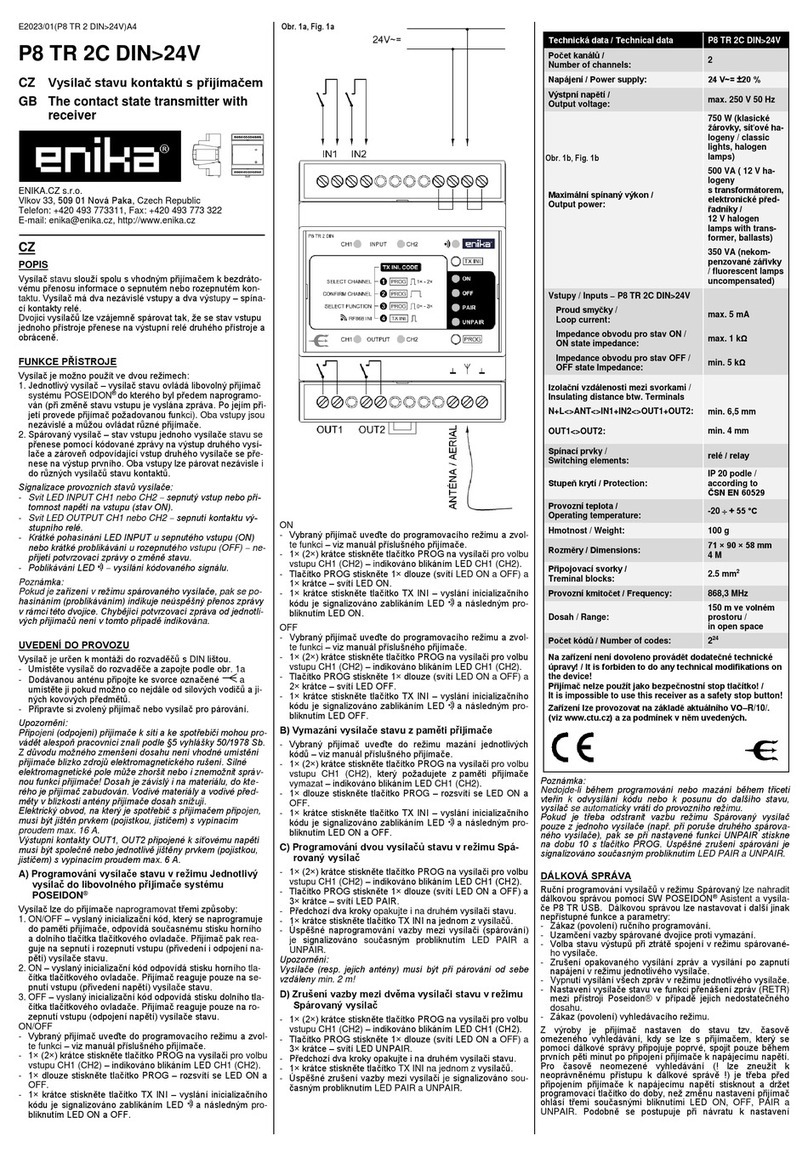
enika P8 T 2 IP User manual

E2019/11(P8 T IP)A4
P8 T 2 IP, P8 T 2 IP/ON
CZ Dvoutlačítkový vysílač
GB Two-button transmitter
P8 T 3 IP
CZ Třítlačítkový vysílač
GB Three-button transmitter
P8 T 4 IP, P8 T 4 IP/VCT,
P8 T 4 IP/LOCK
CZ Čtyřtlačítkový vysílač
GB Four-button transmitter
P8 T 6 IP
CZ Šestitlačítkový vysílač
GB Six-button transmitter
P8 T 8 IP, P8 T 2x4 IP/LOCK
CZ Osmitlačítkový vysílač
GB Eight-button transmitter
ENIKA.CZ s.r.o.
Vlkov 33, 509 01 Nová Paka, Czech Republic
Telefon: +420 493 773311, Fax: +420 493 773322
E-mail: [email protected], http://www.enika.cz
CZ
POPIS
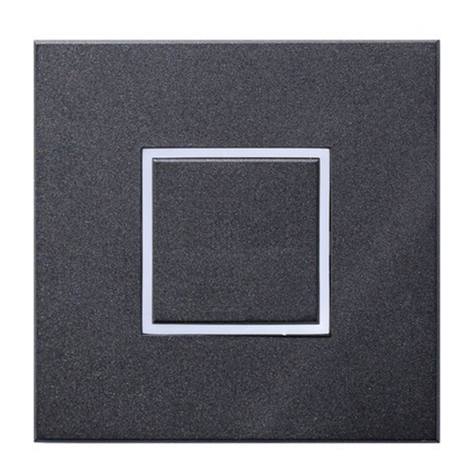
Vysílače P8 T 2 IP (obr. 1a), P8 T 2 IP/ON (obr. 1b), P8 T
3 IP (obr. 1c), P8 T 4 IP (obr. 1d), P8 T 4 IP/VCT
(obr. 1e), P8 T 4 IP/LOCK (obr 1f), P8 T 6 IP (obr. 1g), P8
T 8 IP (obr. 1h), P8 T 2x4 IP/LOCK (obr. 1i) slouží ve
spolupráci s přijímači systému POSEIDON®k dálkovému
bezdrátovému ovládání elektrických spotřebičů prostřed-
nictvím kódovaného rádiového signálu. Vysílače jsou ur-
čeny především do průmyslového prostředí, zvláště do
míst vyžadujících zvýšené krytí a mechanickou odolnost.
Při stisku tlačítka vysílače se vyšle kódovaný signál, který
přijímač zachytí a provede naprogramovanou funkci.
Součástí vysílaného kódu je i informace, které tlačítko by-
lo stisknuto. Tuto informaci přijímač vyhodnocuje, takže
jeden vysílač může v závislosti na stisknutém tlačítku řídit
několik přijímačů, nebo provádět několik funkcí, nebo je
možné několika vysílači ovládat jeden přijímač.
Každý vysílač má od výrobce nastaven svůj vlastní neo-
pakovatelný kód, takže nemůže docházet k vzájemnému
ovlivňování při používání několika vysílačů.
Vysílání kódovaného signálu je signalizováno blikáním
LED v levém horním rohu po dobu stisku tlačítka (neplatí
pro P8 T 4 IP/VCT a P8 T 2x4 IP/LOCK). Doba vysílání
kódu je při trvalém stisku hmatníku časově omezena na
60 s.
U provedení P8 T 4 IP/VCT, P8 T 4 IP/LOCK a P8 T 2x4
IP/LOCK je v poloze klíče OFF odpojené napájecí napětí
vysílače a vysílač tudíž na stisk žádného tlačítka nerea-
guje.
Podle popisu v návodu příslušného přijímače lze vysílače
naprogramovat v tzv. vícetlačítkových funkcích. Pro ovlá-
dání sdružených dvoutlačítkových funkcí (ON + OFF, TI-
MER + OFF) a při ovládání funkcí JAL a ROLL ve dvou-
tlačítkovém módu lze použít označených dvojic tlačítek
ONx + OFFx (obr. 1a, c –i).
UVEDENÍ DO PROVOZU
Montáž
- Rozšroubujte kryt vysílače a sejměte víko.
- Odstraňte izolační fólii mezi baterií a kontaktem bateri-
ového držáku (obr. 2, neplatí pro P8 T 4 IP/VCT, P8 T
4 IP/LOCK a P8 T 2x4 IP/LOCK).
- Kryt vysílače přišroubujte na určené místo.
- Nasaďte víko a kryt znovu sešroubujte.
Výměna baterie
Na vybití baterie upozorňuje změna blikání LED. Rovno-
měrné pravidelné blikání se u vybité baterie změní na ne-
rovnoměrné problikávání. Na vybitou baterii vysílače upo-
zorňují i signalizační LED na některých přijímačích.
Výměna baterie vložené do držáku na plošném spoji
(obr. 2) se provede po rozšroubování a sejmutí víka.
Poznámky:
Přístroj je napájen 3V baterií a proto jej lze umístit i ve
vlhkém prostředí nebo přímo na hořlavý podklad.
Pro zajištění maximálního dosahu neumísťujte přístroj na
kovovou podložku nebo v blízkosti kovových předmětů.
Tímto ENIKA.CZ s.r.o. prohlašuje, že typ radiového zaří-
zení P8 T 2 (3, 4, 6, 8, 2x4) IP (/ON, /VCT, /LOCK) je
v souladu se směrnicí 2014/53/EU. Úplné znění EU Pro-
hlášení o shodě je k dispozici na této internetové adrese:
www.enika.cz.
GB
DESCRIPTION
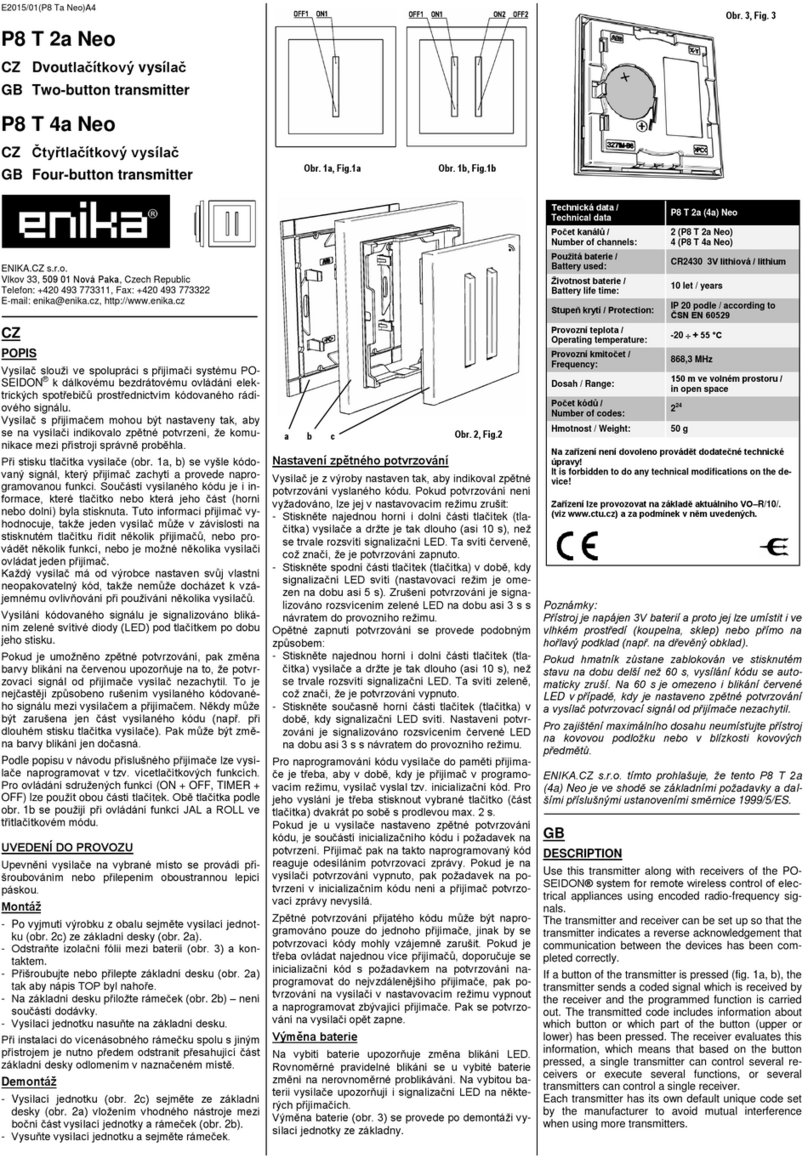
Use the transmitters P8 T 2 IP (fig. 1a), P8 T 2 IP/ON
(fig. 1b), P8 T 3 IP (fig. 1c), P8 T 4 IP (fig. 1d), P8 T 4
IP/VCT (fig. 1e), P8 T 4 IP/LOCK (fig. 1f), P8 T 6 IP
(fig. 1g), P8 T 8 IP (fig. 1h), P8 T 2x4 IP/LOCK (fig. 1i)
along with receivers of the POSEIDON®system for a re-
mote wireless control of electrical appliances using en-
coded radio-frequency signals. The transmitters are pri-
marily intended for the industrial environment, especially
for places which requires an increased coverage and
a mechanical resistance.
If any button on the transmitter is pressed, the transmitter
sends a coded signal which is received by the receiver
and the programmed function is carried out. The transmit-
ted code includes information about which button has
been pressed. It means that by pressing a button a single
transmitter can control several receivers or execute sev-
eral functions, or several transmitters can control a single
receiver.
Each transmitter has its own default unique code set by
the manufacturer to avoid mutual interference when using
more transmitters.
The transmission of the signal code is indicated by the
LED flashing in the left up corner while pressing the but-
ton (not applicable for the P8 T 4 IP/VCT and P8 T 2x4
IP/LOCK). The transmission time of the code with perma-
nent press of the button is limited to 60 sec.
There is a key switch on the P8 T 4 IP/VC, P8 T 4
IP/LOCK and P8 T 2x4 IP/LOCK transmitter. If the key
switch is in the OFF position the transmitter is without the
power supply and it doesn’t respond to pressing any but-
ton.
Transmitters can be programmed for so-called multi-
button functions according to the description in the in-
struction manual of the respective receiver. For the com-
bined two-button functions (such as ON + OFF, TIMER +
OFF, JAL, ROLL), use the preselected pairs of upper and
lower button Onx + OFFx (fig. 1a, c –i).
Obr. 1a, Fig. 1a
Obr. 1b, Fig. 1b
Obr. 2, Fig. 2
Obr. 1d, Fig. 1d
Obr. 1h, Fig. 1h
Obr. 1g, Fig. 1g
Obr. 1c, Fig. 1c
Obr. 1e, Fig. 1e
Obr. 1i, Fig. 1i
Obr. 1f, Fig. 1f
FIRST USE
Installation
- Unscrew the transmitter’s cover and remove the top lid.
- Remove the insulation foil between the battery and the
contact of the battery holder (fig. 2, not applicable for
the P8 T 4 IP/VCT, P8 T 4 IP/LOCK and P8 T 2x4
IP/LOCK).
- Fix the transmitter’s cover at the chosen place by the
screws.
- Set back the top lid on the transmitter’s cover and fix it
by the screws.
Replacing the battery
A weak battery is indicated by a change in the LED flash-
ing. If the battery is weak, the even and regular flashing
will change to an irregular blinking. Indication LEDs in
some receivers indicate a weak battery in the transmitter
too.
If you need to replace the battery, which is placed to the
holder on the PCB (fig. 2), unscrew and remove the top
lid of the transmitter.
Notes:
The device is powered by a 3V battery and therefore can
be placed even in a humid area or directly on a flamma-
ble base.
To ensure the maximum range, do not place the device
on a metal base or near metal objects.
Hereby, ENIKA.CZ s.r.o. declares that the radio equip-
ment type P8 T 2 (3, 4, 6, 8, 2x4) IP (/ON, /VCT, /LOCK)
is in compliance with Directive 2014/53/EU. The full text
of the EU Declaration of conformity is available at the fol-
lowing internet address: www.enika.cz.
Technická data /
Technical data
P8 T 2 (3, 4, 6, 8, 2x4) IP
Počet kanálů /
Number of channels:
2 (P8 T 2 IP, P8 T 2 IP/ON)
3 (P8 T 3 IP)
4 (P8 T 4 IP, P8 T 4 IP/VCT, P8 T 4
IP/LOCK)
6 (P8 T 6 IP)
8 (P8 T 8 IP, P8 T 2x4 IP/LOCK)
Použitá baterie /
Battery used:
CR2450 3V lithiová / lithium
Životnost baterie /
Battery life time:
10 let / years
Stupeň krytí /
Protection:
IP 65 podle / according to ČSN EN
60529
(IP40 pro / for P8 T 4 IP/VCT)
Provozní teplota /
Operating temperatu-
re:
-20 + 55 °C
Provozní kmitočet /
Frequency:
868,3 MHz
Vf výkon / RF power:
10 dBm
Dosah / Range:
150 m ve volném prostoru /
in open space
Počet kódů /
Number of codes:
224
Hmotnost / Weight:
190 g (P8 T 2 IP, P8 T 2 IP/ON)
340 g (P8 T 3 IP)
350 g (P8 T 4 IP)
250 g (P8 T 4 IP/VCT)
400 g (P8 T 4 IP/LOCK)
370 g (P8 T 6 IP)
540 g (P8 T 8 IP)
600 g (P8 T 2x4 IP/LOCK)
Rozměry / Dimensi-
ons:
115 × 65 × 64 (P8 T 2 IP,
P8 T 2 IP/ON, P8 T 4 IP/VCT)
121 × 171 × 64 (P8 T 3 IP,
P8 T 4 IP, P8 T 6 IP)
146 × 222 × 64 (P8 T 8 IP)
121 × 171 × 66 (P8 T 4 IP/LOCK)
146 × 222 × 66 (P8 T 2x4 IP/LOCK)
Na zařízení není dovoleno provádět dodatečné technické
úpravy!
It is forbidden to do any technical modifications on the de-
vice!
Zařízení lze provozovat na základě aktuálního VO–R/10/. (viz
www.ctu.cz) a za podmínek v něm uvedených.
EU Prohlášení o shodě
Výrobce: ENIKA.CZ s. r. o.
190 00 PRAHA 9, Pod Harfou 933/86
IČO: 28218167
tímto prohlašuje, že výrobek
typové označení: P8 T 2 IP
P8 T 2 IP/ON
P8 T 3 IP
P8 T 4 IP
P8 T 4 IP/VCT
P8 T 4 IP/LOCK
P8 T 6 IP
P8 T 8 IP
P8 T 2x4 IP/LOCK
specifikace: ---
druh výrobku: dvou-, tří-, čtyř-, šesti- osmitlačítkový vysílač
s krytím
frekvence: 868,3 MHz
vf výkon: 10 dBm
- je ve shodě se základními požadavky evropských direktiv:
2014/53/EU (RED) (dodávání radiových zařízeních na trh)
2011/65/EU (RoHS) (omez. používání některých škodlivých látek)
- splňuje požadavky těchto harmonizovaných norem a předpisů:
ČSN ETSI EN 300 220-1 V2.4.1: 2013
ČSN ETSI EN 301 489-1 V1.9.2: 2012
ČSN EN 60950-1 ed.2: 2006
EN 50581:2012
Toto prohlášení je vydáno na výhradní odpovědnost výrobce.
V Nové Pace dne 20.11.2019 ing. Vladimír Militký,
řízení sytému jakosti

This manual suits for next models

8

Other enika Transmitter manuals

enika 3299E-A21918 User manual

enika

enika 3299E-A21918 User manual

enika P8 T Temp/RH/CR MS User manual

enika

enika P8 T Temp/RH/CR MS User manual

enika P8 T 8C S User manual

enika

enika P8 T 8C S User manual

enika P8 T 1 MS User manual

enika

enika P8 T 1 MS User manual

enika P8 T 4a Tango User manual

enika

enika P8 T 4a Tango User manual

enika P8 TR 2C DIN User manual

enika

enika P8 TR 2C DIN User manual

enika 3299A-A11918 User manual

enika

enika 3299A-A11918 User manual

enika P8 T 2a Neo User manual

enika

enika P8 T 2a Neo User manual

enika P8 T 2 Levit User manual

enika

enika P8 T 2 Levit User manual

enika P8 T AQ User manual

enika

enika P8 T AQ User manual

enika P8 T Temp/RH MS 03 User manual

enika

enika P8 T Temp/RH MS 03 User manual

enika P8 T 4a Cobra User manual

enika

enika P8 T 4a Cobra User manual

enika P8 TR 2C DIN User manual

enika

enika P8 TR 2C DIN User manual

enika P8 T 2a Time/Element User manual

enika

enika P8 T 2a Time/Element User manual

enika P8 T Temp/RH Time/Element User manual

enika

enika P8 T Temp/RH Time/Element User manual

enika P8 T 4a Cobra User manual

enika

enika P8 T 4a Cobra User manual

enika P8 T 2 User manual

enika

enika P8 T 2 User manual

enika P8 T 2C I User manual

enika

enika P8 T 2C I User manual

enika P8 TR 2C DIN-24V User manual

enika

enika P8 TR 2C DIN-24V User manual

enika P8 T 2AN DIN User manual

enika

enika P8 T 2AN DIN User manual

Popular Transmitter manuals by other brands

Tekon DUOS inHYGROTEMP installation guide

Tekon

Tekon DUOS inHYGROTEMP installation guide

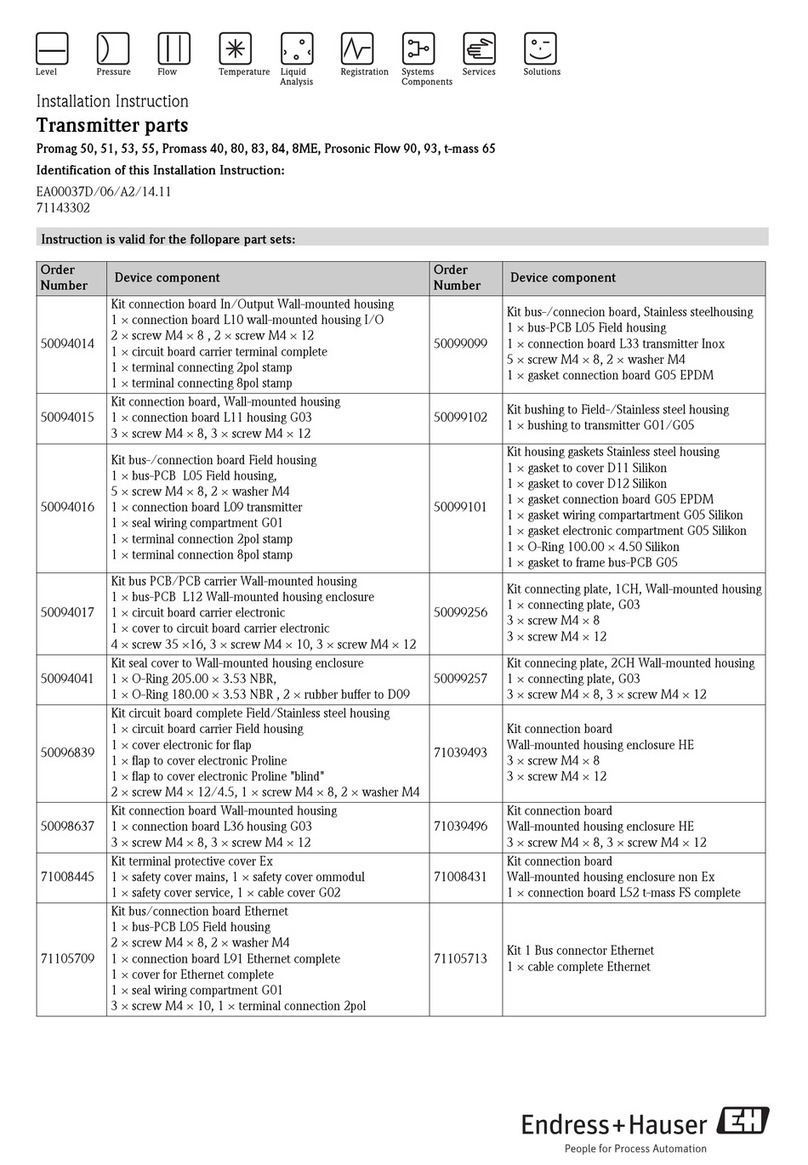
Endress+Hauser Proline Promag 50 Installation instruction

Endress+Hauser

Endress+Hauser Proline Promag 50 Installation instruction

M-system M3SMS instruction manual

M-system

M-system M3SMS instruction manual

Spacelabs Healthcare AriaTele 96281 quick start guide

Spacelabs Healthcare

Spacelabs Healthcare AriaTele 96281 quick start guide

ABB TTF300 manual

ABB

ABB TTF300 manual

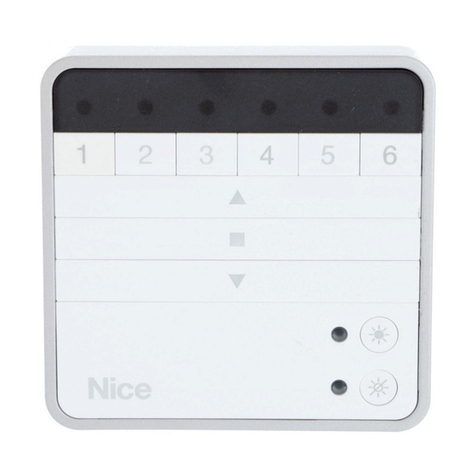
Nice P1S BD instructions

Nice

Nice P1S BD instructions

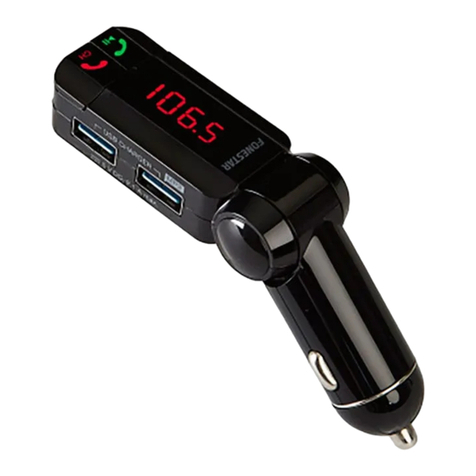
FONESTAR TL-3UB quick start guide

FONESTAR

FONESTAR TL-3UB quick start guide

Multiplex HFM3-SYNTH instructions

Multiplex

Multiplex HFM3-SYNTH instructions

Bear TA Bear TA user manual

Bear TA

Bear TA Bear TA user manual

WIKA S-10 operating instructions

WIKA

WIKA S-10 operating instructions

Williams Sound IR T01 user manual

Williams Sound

Williams Sound IR T01 user manual

M-system W5RS instruction manual

M-system

M-system W5RS instruction manual

Emerson Rosemount 1057 quick start guide

Emerson

Emerson Rosemount 1057 quick start guide

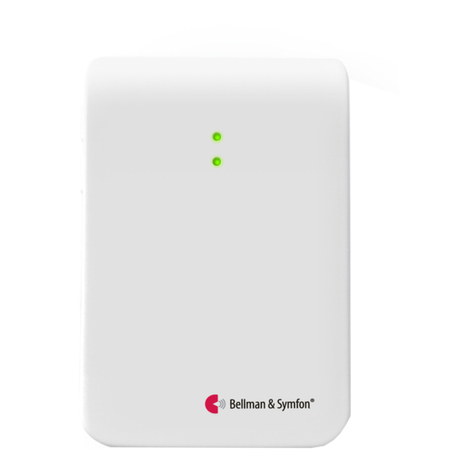
Bellman & Symfon BE1431 user manual

Bellman & Symfon

Bellman & Symfon BE1431 user manual

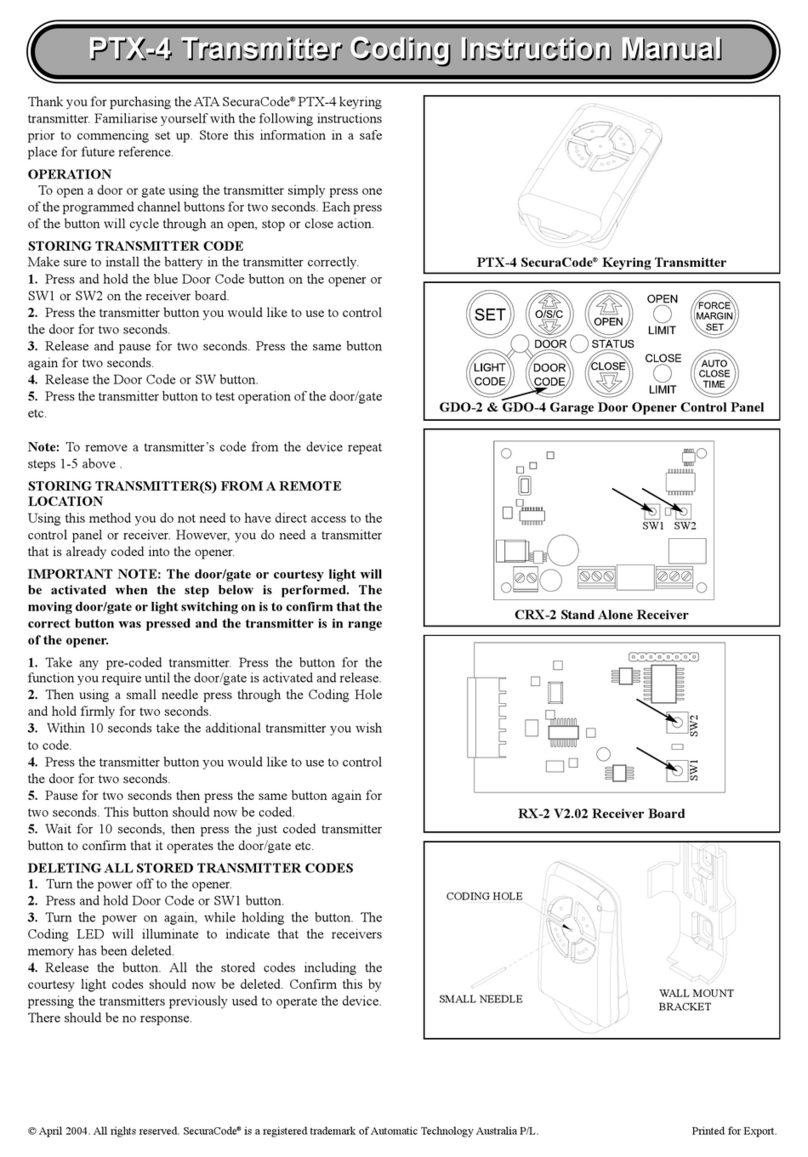
ATA SecuraCode PTX-4 instruction manual

ATA

ATA SecuraCode PTX-4 instruction manual

Neptune E-Coder)R900i Installation and maintenance guide

Neptune

Neptune E-Coder)R900i Installation and maintenance guide

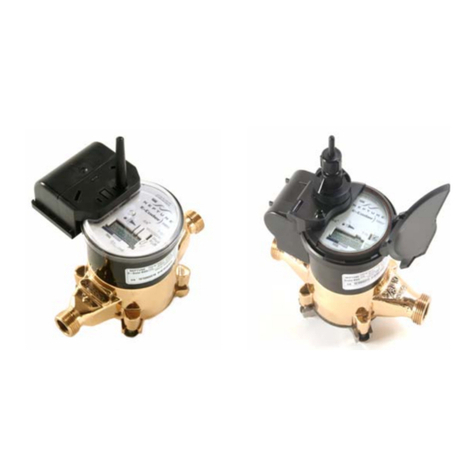
SGM LEKTRA METER Series Installation, use and maintenance instructions

SGM LEKTRA

SGM LEKTRA METER Series Installation, use and maintenance instructions

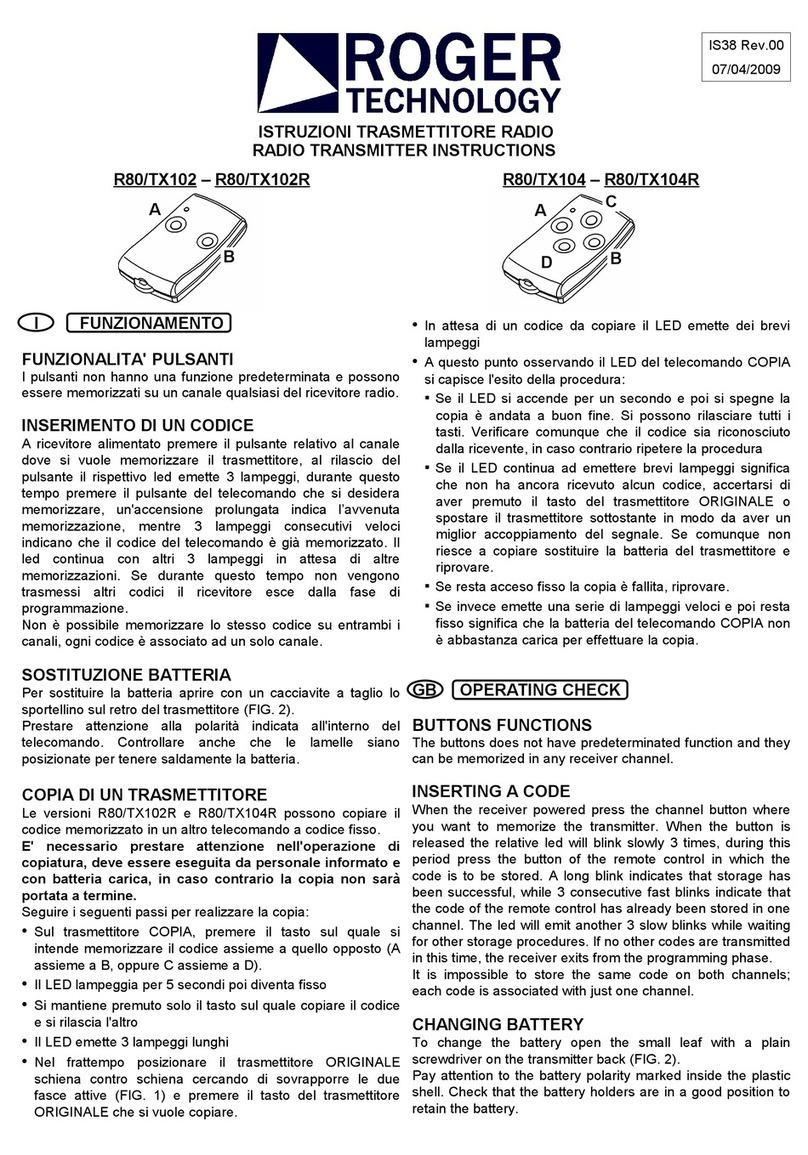
Roger Technology R80/TX102 instructions

Roger Technology

Roger Technology R80/TX102 instructions

manuals.online logo
manuals.online logoBrands
  • About & Mission
  • Contact us
  • Privacy Policy
  • Terms and Conditions

Copyright 2025 Manuals.Online. All Rights Reserved.