EN
DESCRIPTION
The temperature and humidity transmitter with correction
is used in the POSEIDON® system to measure the tem-
perature and relative humidity in a room and to transmit it
wirelessly for further processing, primarily via the P8 TR
IP receiver. Using the buttons on the transmitter, it is pos-
sible to set the value of the transmitted temperature cor-
rection in the range of −3 to +3 °C.
After inserting the batteries, the transmitter starts measur-
ing the temperature and humidity at set intervals (the de-
fault value of the measurement interval is one minute). If
the temperature or humidity does not change much, the
value of the measured temperature and humidity is
transmitted after every tenth measurement. If the last
transmitted temperature value differs from the newly
measured value by more than one degree, or if the last
transmitted humidity value differs by more than 3%, the
new value is transmitted immediately after the measure-
ment.
In addition to transmitting temperature and humidity, the
temperature correction value is also transmitted. If it
changes, a new correction value is transmitted immedi-
ately. Repeated transmission of temperature correction
can be disabled in the settings menu.
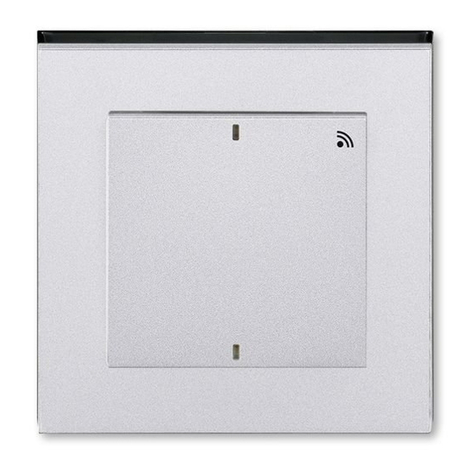
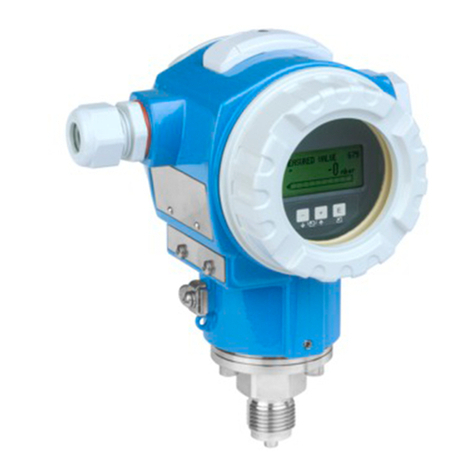
The display of the transmitter (Fig. 1) permanently shows
the amount of temperature correction (each column
means a change in the positive or negative value of the
correction by 0.5 °C). The correction is set by pressing
the buttons under the frame of the display cover in the
corners, marked with the symbols + and -. After pressing
the button in the corner marked with the thermometer
symbol, the current temperature and relative humidity
value appear on the display for about half a minute.
Each temperature transmitter has its own unique code,
set by the manufacturer, so there can be no interference
when using several transmitters.
FIRST USE
The temperature and humidity transmitter with correction
is best placed on the inner wall of the room out of the
reach of heat sources that could affect the measurement
(radiators, lighting fixtures). Location near windows and
doors is also unsuitable, as the accuracy of the meas-
urement could be affected by air flow.
Attaching the transmitter to the selected place is done by
screwing or sticking it with double-sided adhesive tape.
Mounting
- Remove the base of the temperature and humidity
transmitter by a gentle pulling or inserting a suitable
tool.
- Stick or screw the base in the correct direction (TOP ar-
rows showing upwards) to a vertical surface, so that the
air flows around the transmitter.
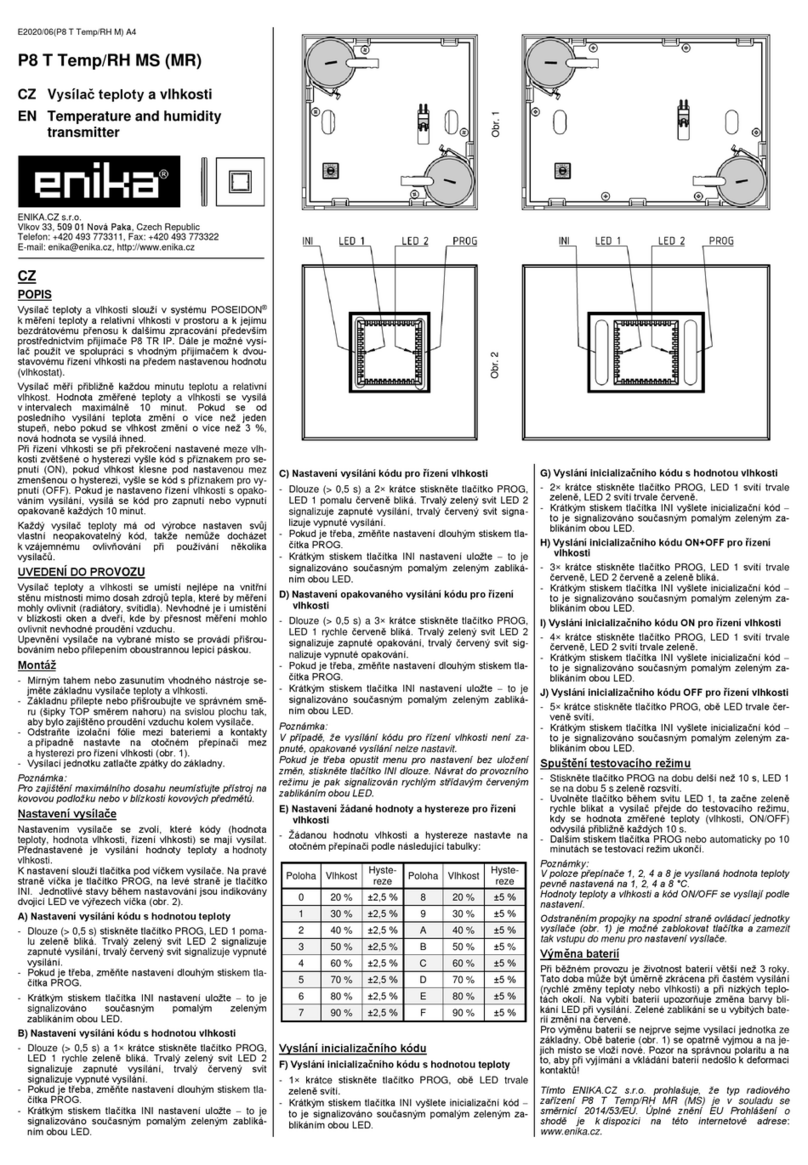
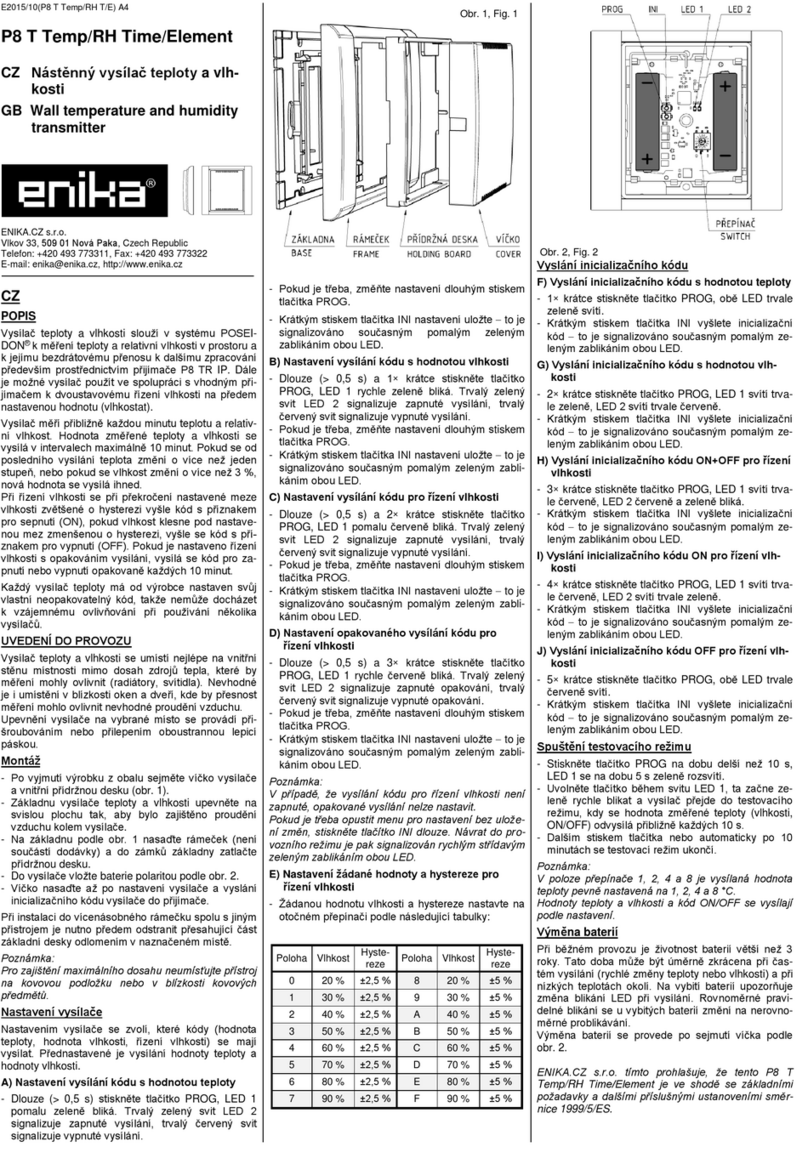
- Remove the insulating foil between the batteries and
contacts (Fig. 2).
- Push the transmitter unit back into the base.
Note:
In order to ensure maximum range, do not place the de-
vice on a metal surface or near metal objects.
Transmitter settings
Transmitter settings allow you to send initialization codes
to write the transmitter into the receiver's memory, select
the temperature sensor permanent correction value, set
the measurement interval and set the retransmission of
temperature correction value. It also enables you to turn
on the test mode, set display background and select the
language of the settings menu.
The buttons in the corners of the display cover frame are
used for adjustment (Fig. 1).
A) Sending the initialization code with the
temperature value
- Press the upper left corner of the display cover with the
key and screwdriver symbol. The following text is dis-
played: Send INI temperature.
- Press the lower left corner with the confirmation symbol
to send the initialization code −the transmitter returns
to the operating mode.
B) Sending the initialization code with a humidity val-
ue
- Press the upper left corner of the display cover with the
key and screwdriver symbol, and press the lower right
corner once with the arrow symbol to scroll through the
menu. The following text is displayed: Send INI humidi-
ty.
- Press the lower left corner with the confirmation symbol
to send the initialization code −the transmitter returns
to the operating mode.
C) Sending an initialization code with a temperature
correction value
- Press the upper left corner of the display cover with the
key and screwdriver symbol, and press the lower right
corner with the arrow symbol twice to scroll through the
menu. The following text is displayed: Send INI correc-
tion.
- Press the lower left corner with the confirmation symbol
to send the initialization code −the transmitter returns
to the operating mode.
D) Setting the permanent correction of the tempera-
ture sensor
- Press the upper left corner of the display cover with the
key and screwdriver symbol, and press the lower right
corner with the arrow symbol three times to scroll
through the menu. The following text is displayed: Sen-
sor offset and its current value.
- Confirm the entry by pressing the lower left corner with
the confirmation symbol. The offered values for selec-
tion are displayed next to the arrow symbols.
- Select the desired value of the permanent correction of
the temperature sensor by pressing the upper or lower
right corner.
- Confirm the selected value by pressing the lower left
corner with the confirmation symbol −the transmitter
returns to operating mode.
E) Setting the measurement interval
- Press the upper left corner of the display cover with the
key and screwdriver symbol, and press the lower right
corner with the arrow symbol four times to scroll
through the menu. The following text is displayed:
Measure period and its current value.
- Confirm the entry by pressing the lower left corner with
the confirmation symbol. The offered values for selec-
tion are displayed next to the arrow symbols.
- Select the desired value of the measurement interval
by pressing the upper or lower right corner.
- Confirm the selected value by pressing the lower left
corner with the confirmation symbol −the transmitter
returns to operating mode.
F) Setting the retransmission of the temperature
correction value
- Press the upper left corner of the display cover with the
key and screwdriver symbol, and press the lower right
corner with the arrow symbol five times to scroll
through the menu. The following text is displayed:
Correction retr. and current settings.
- Confirm the entry by pressing the lower left corner with
the confirmation symbol. The offered change in settings
displays next to one of the arrow symbols.
- Select the offered setting change by pressing the upper
or lower right corner.
- Confirm the setting by pressing the lower left corner
with the confirmation symbol −the transmitter returns to
operating mode.
G) Switching on the test mode
- Press the upper left corner of the display cover with the
key and screwdriver symbol, and press the lower right
corner with the arrow symbol 6 times to scroll through
the menu. The following text is displayed: Testing
mode.
- Press the lower left corner with the symbol to confirm
the test mode −the value of the measured temperature
and humidity and the value of the set temperature
correction will start to be transmitted in intervals of 10
seconds.
H) Display background setting
- Press the upper left corner of the display cover with the
key and screwdriver symbol and press the lower right
corner with the arrow symbol 7 times to scroll through
the menu. The following text is displayed: Background
and current settings (white/black).
- Confirm the entry by pressing the lower left corner with
the confirmation symbol. The offered change in settings
is displayed next to one of the arrow symbols.
- Select the offered setting change by pressing the upper
or lower right corner.
- Confirm the setting by pressing the lower left corner
with the confirmation symbol −the transmitter returns to
operating mode.
I) Choice of language version
- Press the upper left corner of the display cover with the
key and screwdriver symbol, and press the lower right
corner with the arrow symbol 8 times to scroll through
the menu. The following text is displayed: Language
and current settings (CZ/EN/DE).
- Confirm the entry by pressing the lower left corner with
the confirmation symbol. The offered values for selec-
tion are displayed next to the arrow symbols.
- Select the offered setting change by pressing the upper
or lower right corner.
- Confirm the setting by pressing the lower left corner
with the confirmation symbol −the transmitter returns to
operating mode.
Note:
The temperature correction value can be changed during
the test mode.
To exit the setup menu without saving changes, or to exit
test mode, press the button with the cross symbol.
The transmitter automatically returns to the operating
mode from the settings menu, if no button is pressed
within 30 seconds. The transmitter automatically returns
from test mode after 10 minutes.
Battery replacement
During normal operation, the battery life is longer than
2 years (at longer measurement intervals). This time can
be reduced proportionally with frequent transmission
(short measurement interval, rapid temperature changes).
The low battery symbol on the transmitter display indi-
cates low battery.
To replace the batteries, first remove the transmitter unit
from the base. Carefully remove both batteries (Fig. 2)
and replace them with new ones. Make sure that the po-
larity is correct and that the contacts are not deformed
when removing and inserting the batteries!
ENIKA.CZ s.r.o. hereby declares that this P8 T Temp
/RH/CR MR (MS) is in compliance with the essential re-
quirements and other relevant provisions of Directive
1999/5/EC.


