GB
DESCRIPTION
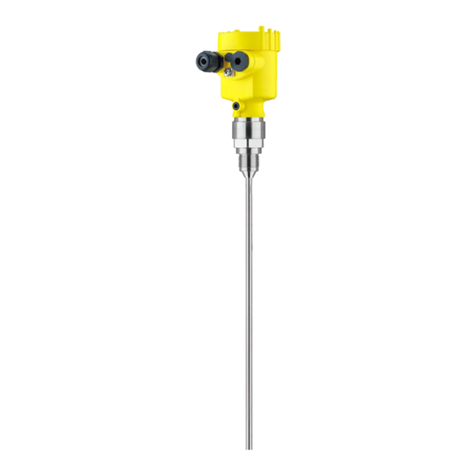
The flood sensor-transmitter (Fig. 1) cooperates with the
POSEIDON®system receiver to remotely transfer of sig-
nal indicating flooding or the area of the transmitter's posi-
tion. This signal can activate closing of the water supply
or warning announcement.
The flood sensor-transmitter can be accompanied by a
temperature sensor.
DEVICE FUNCTIONS
Sensing electrodes located on the bottom side of the
transmitter react to presence of electrically conductive
liquids (water). When electrodes are flooded, the trans-
mitter activates the acoustic (if enabled) and optical sig-
naling of flooding and, at the same time, transmits a cod-
ed signal to the receiver which then executes the defined
action.
Note:
To disable the active acoustic signaling, press the button
on the side of the transmitter.
Each transmitter uses its own unique code set by the
manufacturer. The code makes sure the receiver can be
controlled only by the specified pre-programmed flood
sensor-transmitter. Transmitting of the coded signal is re-
peated every 10 minutes; if status changes (flood –dry),
the signal is transmitted immediately.
If the transmitter is supplemented by a temperature sen-
sor, the transmitter measures temperature at intervals of
approximately one minute. The measured data are
transmitted at intervals of up to 10 minutes. If the temper-
ature changes by more than one degree from the last
transmission, the new value will be transmitted immedi-
ately.
The flood sensor-transmitter continuously check its cor-
rect working position (sensing electrodes facing down-
wards). If this position changes, the transmitter activates
acoustic signaling.
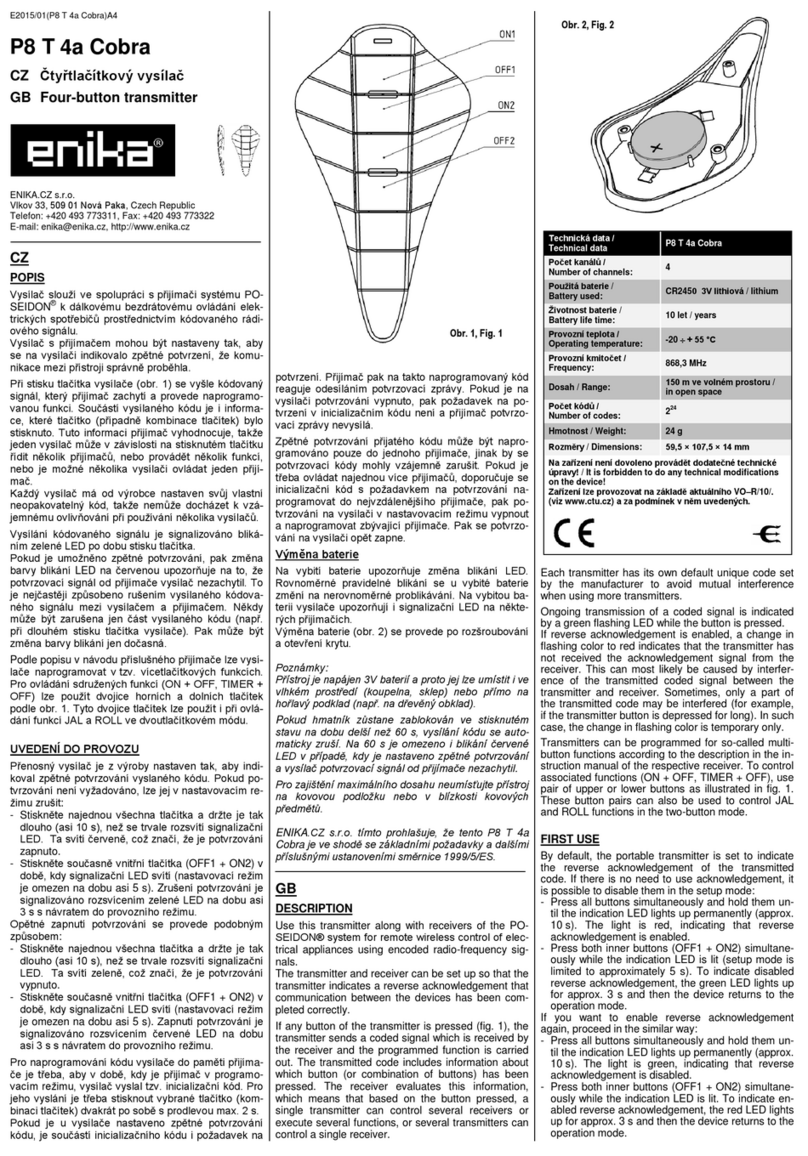
Indication of operating status of the transmitter:
- Alternate flashing of both red and green LEDs –WA-
TER warning!
- A short green blink of LED 2, approx. once a minute –
operating mode, DRY status.
- Single short red blink of LED 2 –low battery.
- Double short red blink of LED 2 –temperature sensor
error (if measuring and transmitting of the temperature
signal is enabled).
FIRST USE
Locate the flood sensor-transmitter ideally directly on the
floor in the area with anticipated water leakage (connect-
ing hoses, water supply pipes).
- Remove the battery cover.
- Insert batteries acc. to Fig. 2. Beware of correct polari-
ty!
- Put the battery cover back.
- Get ready the selected receiver for programming of the
transmitter code into its memory.
Warning:
Conductive materials and items near the transmitter de-
crease its operating range. For the same reason, it is not
recommended to locate the transmitter near sources of
electromagnetic interference. A strong electromagnetic
field may impair or disable correct functioning of the
transmitter!
If temperature measuring is required as well, it is neces-
sary to connect a suitable temperature sensor to the flood
sensor-transmitter first (recommended sensor type:
3292U-A90100 ABB Jablonec nad Nisou).
- Disassemble the battery cover and carefully remove
the bottom half of the cover.
- Connect the temperature sensor to the terminal panel
according to Fig. 3 and put the sensor cable to the hole
in the side of the transmitter.
- Assemble the cover and screw it in again.
- Put or mount the temperature sensor to it desired posi-
tion of measuring.
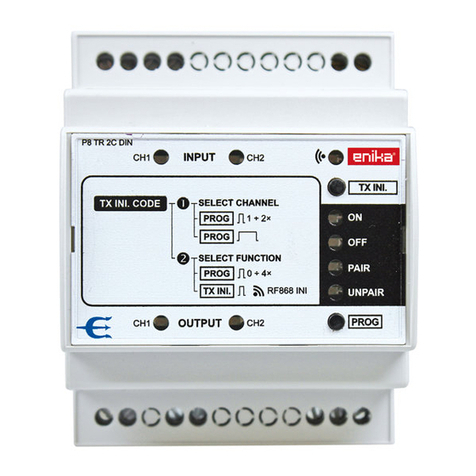
A) Setting the transmitter
The transmitter is set for transmitting of the flooding code
with the acoustic signaling enabled.
Disabling (enabling) transmitting of the flooding code
- Press (long press >0.5 s) the INIT/SET button once. It
will be indicated by LED 1 flashing red slowly and LED
2 illuminated green (red) –i.e. code transmitting is en-
abled (disabled).
- Press (long press >0.5 s) the INIT/SET button once.
Change in settings and switching to the operating mode
will be indicated by simultaneous green blink of both
LEDs.
Disabling (enabling) acoustic signaling
- Press (long press >0.5 s) the INIT/SET button once
and then press it briefly once. It will be indicated by
LED 1 flashing red quickly and LED 2 illuminated green
(red) –i.e. code acoustic signaling is enabled (disa-
bled).
- Press (long press >0.5 s) the INIT/SET button once.
Change in settings and switching to the operating mode
will be indicated by simultaneous green blink of both
LEDs.
Enabling (disabling) transmitting of the code includ-
ing a temperature value
- Press (long press >0.5 s) the INIT/SET button once
and then press it briefly twice. It will be indicated by
LED 1 flashing green slowly and LED 2 illuminated red
(green) –i.e. code transmitting is disabled (enabled).
- Press (long press >0.5 s) the INIT/SET button once.
Change in settings and switching to the operating mode
will be indicated by simultaneous green blink of both
LEDs.
B) Transmitting the initialization code of the flood
sensor-transmitter to the receiver memory
According to the mode of use, the initialization code for
flooding can have several forms:
ON/OFF (flood/dry –corresponds to pressing of both
paired buttons of the push-button transmitter),
ON (flood only –corresponds to pressing of the upper
button),
OFF (dry only –corresponds to pressing of the lower but-
ton).
Transmitting the initialization code of the flood signal
ON/OFF
- Press (brief press) the INIT/SET button once. It will be
indicated by LED 1 illuminated red and LED 2 flashing
alternately red and green.
- Press (long press >0.5 s) the INIT/SET button once.
Transmitting of the initialization code and switching to
the operating mode will be indicated by simultaneous
green blink of both LEDs.
Transmitting the initialization code of the flood signal
ON
- Press (brief press) the INIT/SET button twice. It will be
indicated by LED 1 illuminated red and LED 2 illumi-
nated green.
- Press (long press >0.5 s) the INIT/SET button once.
Transmitting of the initialization code and switching to
the operating mode will be indicated by simultaneous
green blink of both LEDs.
Transmitting the initialization code of the flood signal
OFF
- Press (brief press) the INIT/SET button three times. It
will be indicated by both LEDs illuminated red.
- Press (long press >0.5 s) the INIT/SET button once.
Transmitting of the initialization code and switching to
the operating mode will be indicated by simultaneous
green blink of both LEDs.
Transmitting the initialization code of temperature
- Press (brief press) the INIT/SET button four times. It
will be indicated by both LEDs illuminated green.
- Press (long press >0.5 s) the INIT/SET button once.
Transmitting of the initialization code and switching to
the operating mode will be indicated by simultaneous
green blink of both LEDs.
Note:
If transmitting of the code including the temperature value
is disabled, the initialization code will not be transmitted
upon the long pressing of the button. This will be indicat-
ed by quick alternating red blinking of both LEDs. The
same signaling applies for initialization codes for flooding,
when transmitting of flooding signal is disabled in setting
menu.
ENIKA.CZ s.r.o. hereby declares that this P8 T AQ com-
plies with the essential requirements and other relevant
provisions of Directive 1999/5/EC.
Prohlášení o shodě
Výrobce: ENIKA.CZ s. r. o.
190 00 PRAHA 9, Pod Harfou 933/86
IČO: 28218167
tímto prohlašuje, že výrobek
typové označení: P8 T AQ
specifikace: ---
druh výrobku: vysílač zaplavení
frekvence: 868,3 MHz
vf výkon: 10 dBm
- je ve shodě se základními požadavky NV 426/2000 Sb. v platném
znění a s NV 481/2012 Sb. v platném znění
- odpovídá základním požadavkům a dalším ustanovením evropské di-
rektivy
1999/5/ES
(R&TTE) (Směrnice o radiových zařízeních a tele-
komunikačních koncových zařízeních a vzájemném uznávání jejich
shody) a evropské direktivy 2011/65/EU (RoHS)
- splňuje požadavky těchto norem a předpisů:
rádiové parametry, EMC: ČSN ETSI EN 300 220-1 V2.1.1: 2007
ČSN ETSI EN 300 220-2 V2.1.1: 2006
ČSN ETSI EN 301 489-3 V1.4.1: 2003
elektrická bezpečnost: ČSN EN 60950-1 ed.2: 2006
Toto prohlášení je vydáno na výhradní odpovědnost výrobce.
V Nové Pace dne 21.01.2015 ing. Vladimír Militký,
řízení sytému jakosti


