GB
DESCRIPTION
Use this transmitter along with receivers of the PO-
SEIDON®system for remote wireless control of elec-
trical appliances using encoded radio-frequency sig-
nals.
The transmitter and receiver can be set up so that the
transmitter indicates a reverse acknowledgement that
communication between the devices has been com-
pleted correctly.
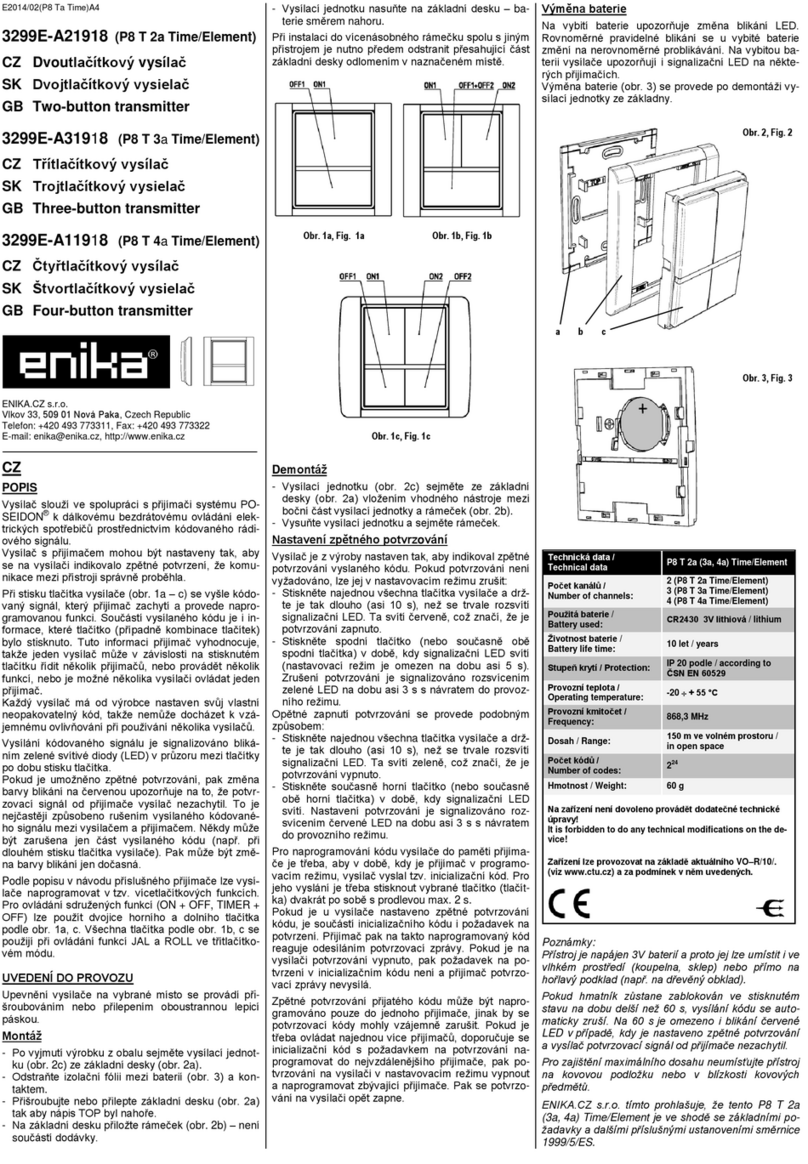
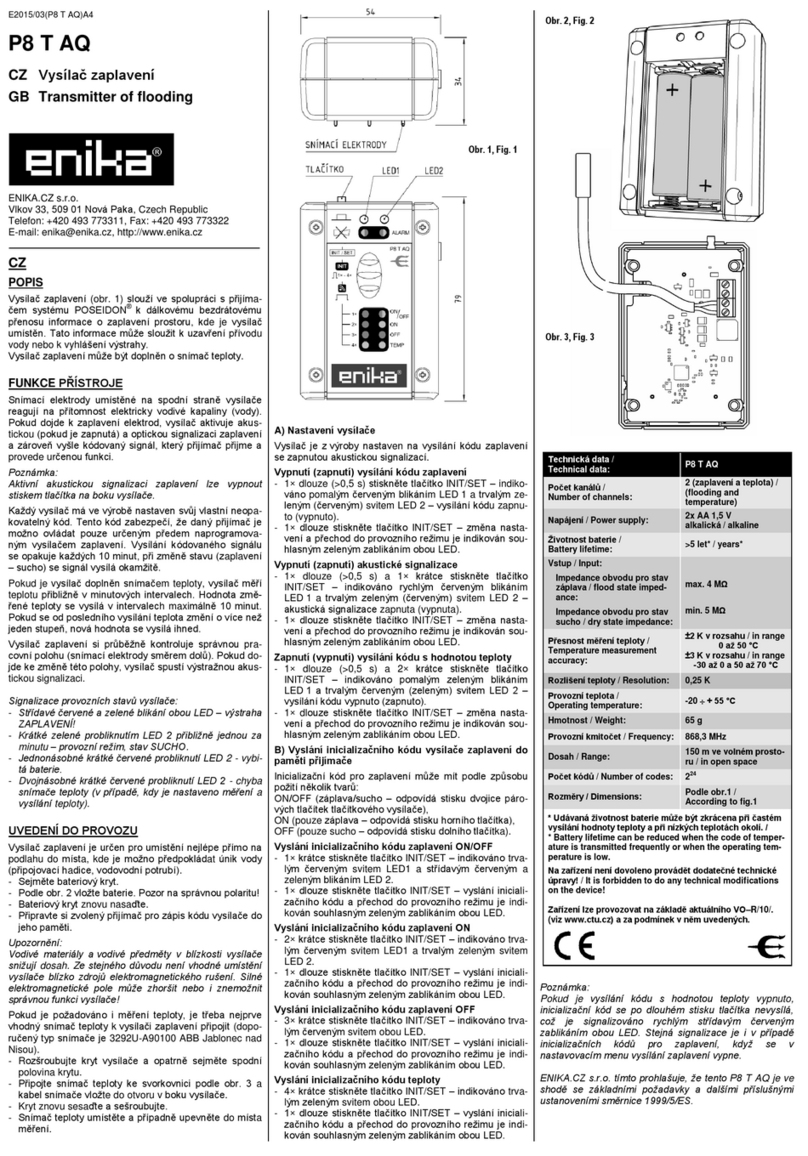
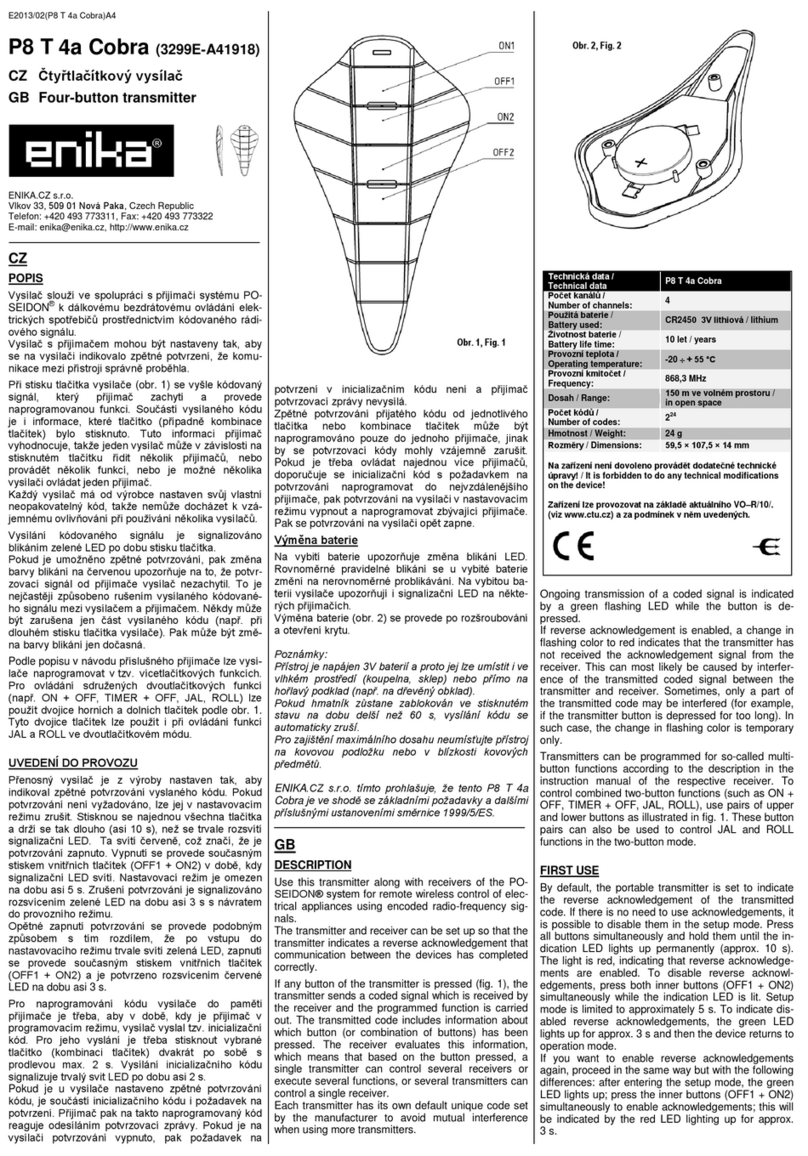
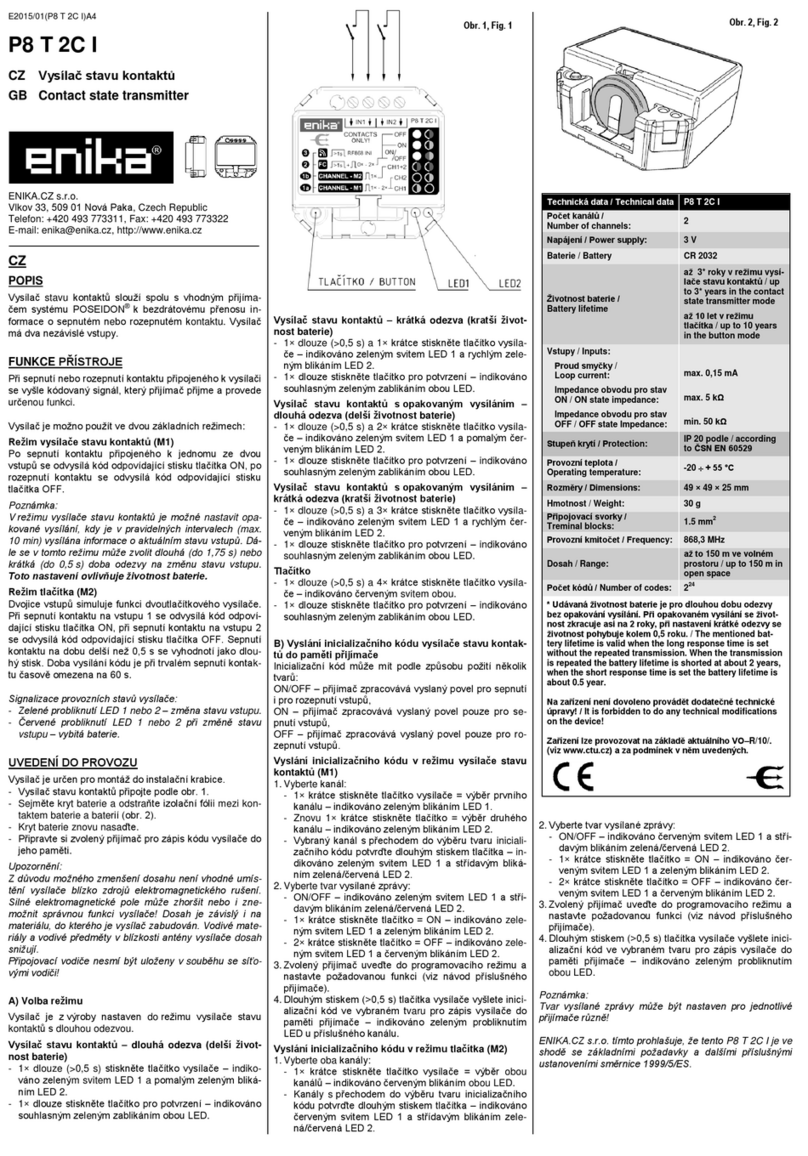
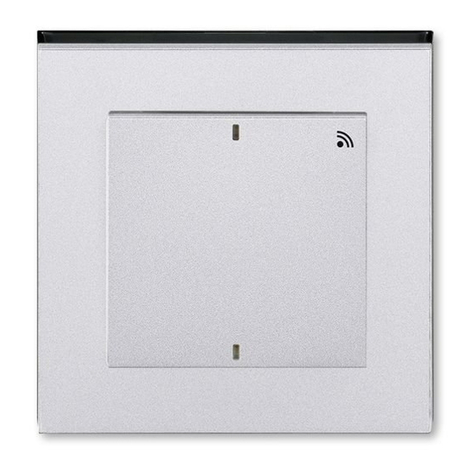
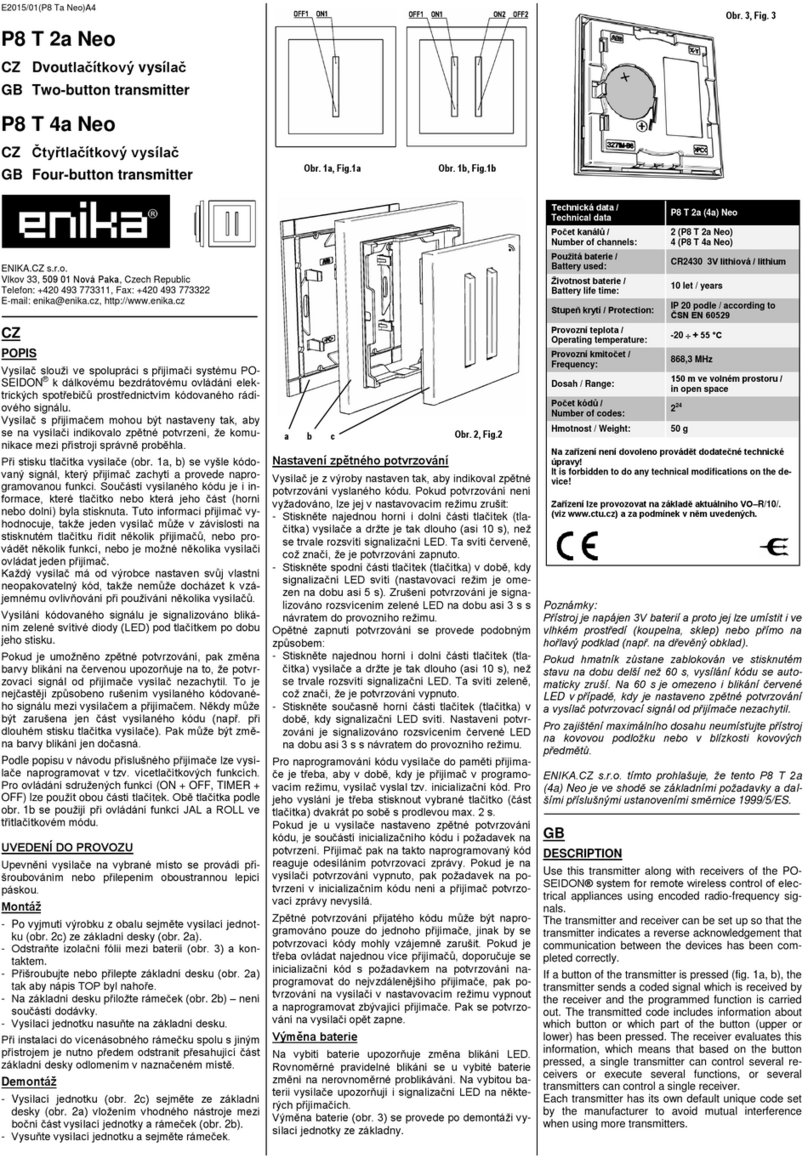
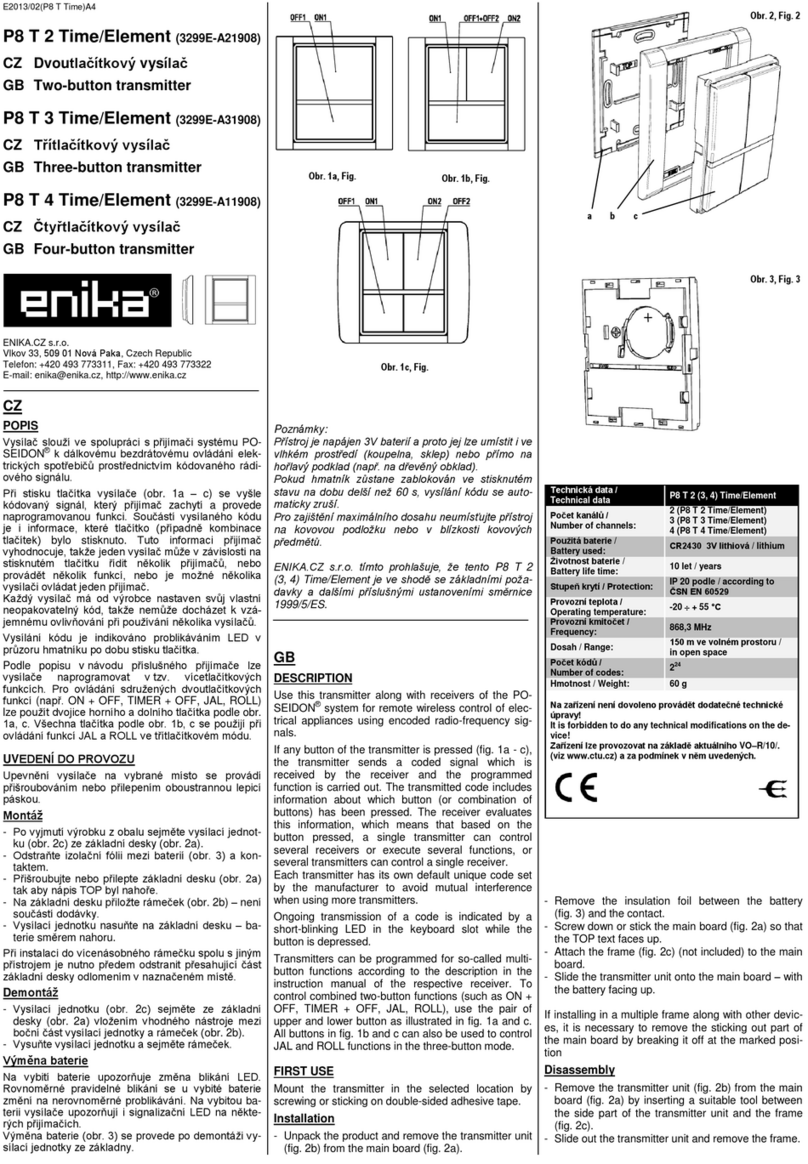
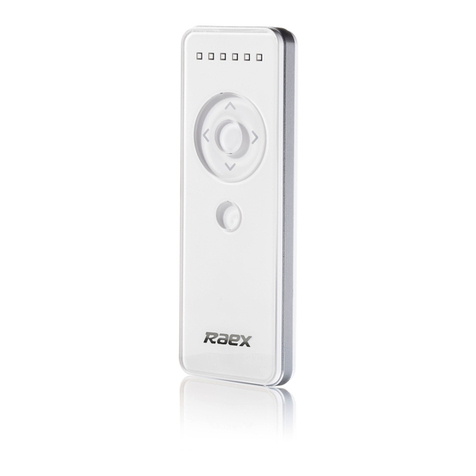
If any button of the transmitter is pressed (fig. 1a - c),
the transmitter sends a coded signal which is re-
ceived by the receiver and the programmed function
is carried out. The transmitted code includes informa-
tion about which button (or combination of buttons)
has been pressed. The receiver evaluates this infor-
mation, which means that based on the button pres-
sed, a single transmitter can control several receivers
or execute several functions, or several transmitters
can control a single receiver.
Each transmitter has its own default unique code set
by the manufacturer to avoid mutual interference
when using more transmitters.
Ongoing transmission of a coded signal is indicated
by a green flashing LED in the window between the
buttons while the button is pressed.
If reverse acknowledgement is enabled, a change in
flashing color to red indicates that the transmitter has
not received the acknowledgement signal from the
receiver. This can most likely be caused by interfe-
rence of the transmitted coded signal between the
transmitter and receiver. Sometimes, only a part of
the transmitted code may be interfered (for example,
if the transmitter button is pressed for long). In such
case, the change in flashing color is temporary only.
Transmitters can be programmed for so-called multi-
button functions according to the description in the in-
struction manual of the respective receiver. To control
associated functions (ON + OFF, TIMER + OFF), use
the pair of upper and lower buttons as illustrated in
fig. 1a and c. All buttons in fig. 1b and c can also be
used to control JAL and ROLL functions in the three-
button mode.
FIRST USE
Mount the transmitter in the selected location by
screwing or sticking on double-sided adhesive tape.
Installation
- Unpack the product and remove the transmitter unit
(fig. 2b) from the main board (fig. 2a).
- Remove the insulation foil between the battery
(fig. 3) and the contact.
- Screw down or stick the main board (fig. 2a) so that
the TOP text faces up.
- Attach the frame (fig. 2c) (not included) to the main
board.
- Slide the transmitter unit onto the main board –with
the battery facing up.
If installing in a multiple frame along with other devic-
es, it is necessary to remove the sticking out part of
the main board by breaking it off at the marked posi-
tion.
Disassembly
- Remove the transmitter unit (fig. 2b) from the main
board (fig. 2a) by inserting a suitable tool between
the side part of the transmitter unit and the frame
(fig. 2c).
- Slide out the transmitter unit and remove the frame.
Reverse acknowledgement setting
By default, the transmitter is set to indicate the re-
verse acknowledgement of the transmitted code. If
there is no need to use acknowledgement, it is possi-
ble to disable it in the setup mode:
- Press all buttons simultaneously and hold them un-
til the indication LED lights up permanently (approx.
10 s). The light is red, indicating that reverse ack-
nowledgement is enabled.
- Press the lower button (or simultaneously the pair
of the lower buttons) while the indication LED is lit
(setup mode is limited to approximately 5 s). To in-
dicate disabled reverse acknowledgement, the
green LED lights up for approx. 3 s and then the
device returns to the operation mode.
If you want to enable reverse acknowledgement
again, proceed in the similar way:
- Press all buttons simultaneously and hold them un-
til the indication LED lights up permanently (approx.
10 s). The light is green, indicating that reverse
acknowledgement is disabled.
- Press upper button (or simultaneously the pair of
the upper buttons) while the indication LED is lit. To
indicate enabled reverse acknowledgement, the red
LED lights up for approx. 3 s and then the device
returns to the operation mode.
To program the transmitter code to the receiver
memory, it is necessary for the transmitter to send a
so-called initialization code during the time the re-
ceiver is in the programming mode. To send the ini-
tialization code, press the selected button (buttons)
twice with a pause between the two presses no lon-
ger than 2 s.
If the reverse acknowledgement of the code is ena-
bled on the transmitter, an acknowledgement request
is included in the initialization code as well. As a reply
to such programmed code, the receiver will send a
reverse acknowledgement message. If the reverse
acknowledgement is disabled on the transmitter,
there will be no request for acknowledgement in the
initialization code and the receiver will not send
acknowledgement message.
Reverse acknowledgements of the received code can
be programmed to a one receiver only, otherwise,
acknowledgement codes could interfere with each
other. If multiple receivers are to be controlled, it is
recommended to program the initialization code in-
cluding the request for acknowledgement to the fur-
thest receiver, then disable acknowledgements using
the setup mode in the transmitter, and then program
the remaining receivers. After that, enable reverse
acknowledgement in the transmitter again.
Replacing the battery
A weak battery is indicated by a change in the LED
flashing. If the battery is weak, even and regular
flashing will change to irregular flashing. Indication
LEDs in some receivers will indicate a weak battery in
the transmitter, too.
If you need to replace the battery (fig. 3), dismount
the transmitter unit from the main board.
Notes:
The device is powered by a 3V battery and therefore
can be placed even in a humid area (such as a bath-
room or cellar) or directly on a flammable base (such
as a wood wall lining).
If the button remains blocked in the depressed posi-
tion for a period longer than 60 s, transmission of the
code will automatically be cancelled. The red LED
flashing is limited for 60 s even when the reverse
acknowledgement is enabled and the transmitter has
picked up no acknowledgement code from a receiver.
To ensure the maximum range, do not place the de-
vice on a metal base or near metal objects.
ENIKA.CZ s.r.o. hereby declares that this P8 T 2a
(3a, 4a) Time/Element complies with the essential re-
quirements and other relevant provisions of Directive
1999/5/EC
Prohlášení o shodě
Výrobce: ENIKA.CZ s. r. o.
190 00 PRAHA 9, Pod Harfou 933/86
IČO: 28218167
tímto prohlašuje, že výrobek
typové označení: P8 T 2a Time/Element
P8 T 3a Time/Element
P8 T 4a Time/Element
specifikace: ---
druh výrobku: dvou-, tří-, čtyřtlačítkový vysílač
frekvence: 868,3 MHz
vf výkon: 10 dBm
- je ve shodě se základními požadavky NV 426/2000 Sb. v platném
znění a s NV 481/2012 Sb. v platném znění
- odpovídá základním požadavkům a dalším ustanovením evropské di-
rektivy
1999/5/ES
(R&TTE) (Směrnice o radiových zařízeních a tele-
komunikačních koncových zařízeních a vzájemném uznávání jejich
shody) a evropské direktivy 2011/65/EU (RoHS)
- splňuje požadavky těchto norem a předpisů:
rádiové parametry, EMC: ČSN ETSIEN 300 220-1 V2.1.1: 2007
ČSN ETSI EN 300 220-2 V2.1.1: 2006
ČSN ETSI EN 301 489-1 V1.6.1: 2006
ČSN ETSI EN 301 489-3 V1.4.1: 2003
elektrická bezpečnost: ČSN EN 60950-1 ed.2: 2006
Toto prohlášení je vydáno na výhradní odpovědnost výrobce.
V Nové Pace dne 10. 12. 2013 ing. Vladimír Militký,
řízení sytému jakosti


