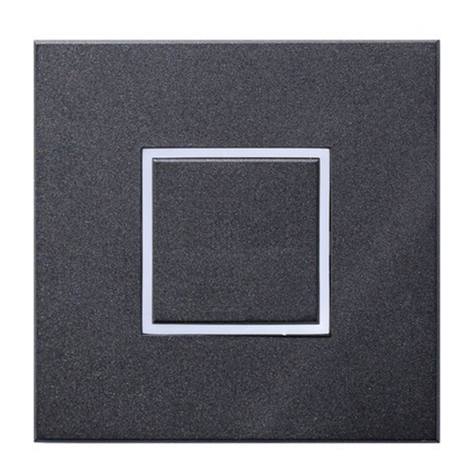
GB
DESCRIPTION
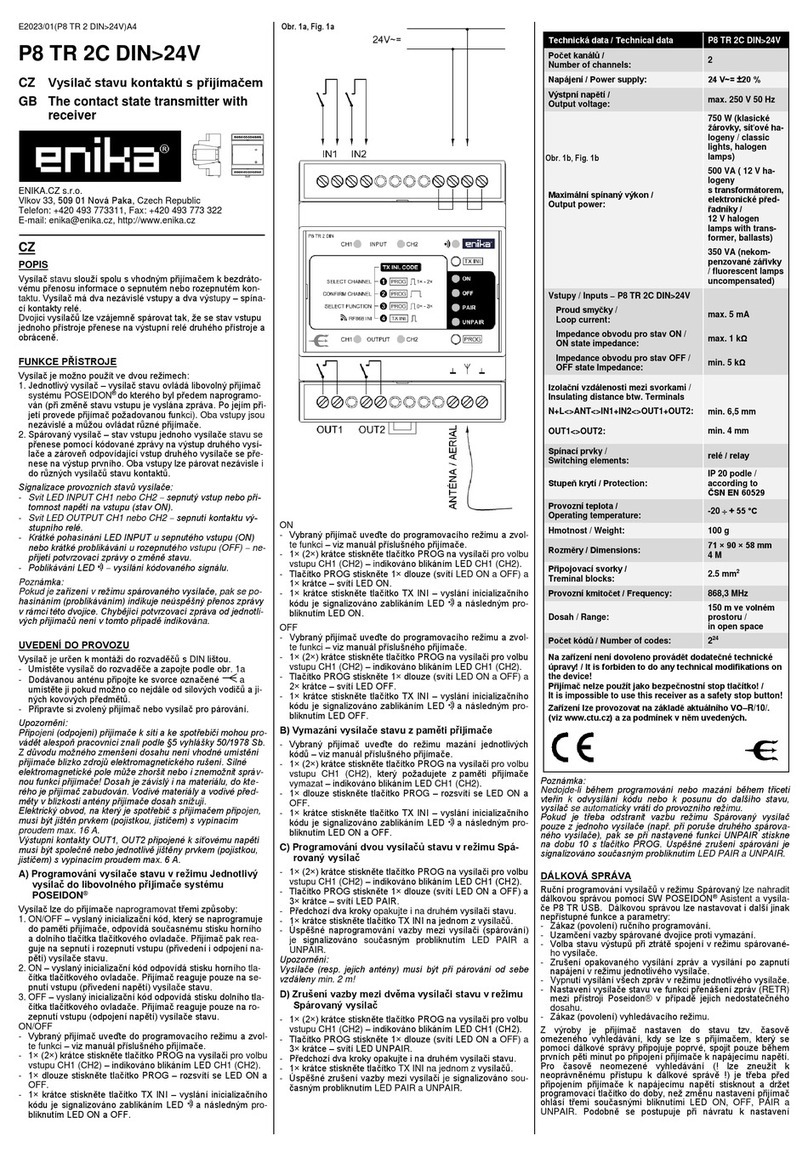
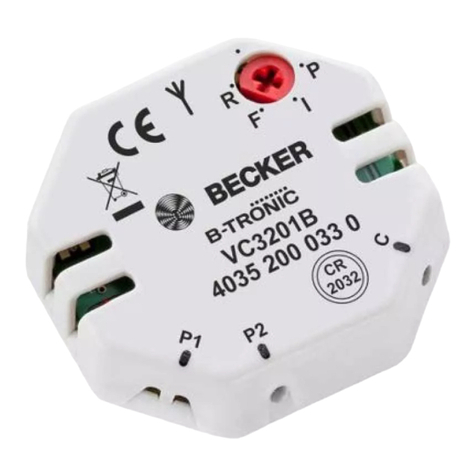
Use the contact state transmitter along with a suitable re-
ceiver in the POSEIDON®system for wireless transfer of
information specifying a closed or opened contact. The
transmitter has two independent inputs.
DEVICE FUNCTIONS
If any contact connected to the transmitter is closed or
opened, the transmitter sends a coded signal which is re-
ceived by the receiver and the programmed function is
carried out.
The transmitter can be used in two basic modes:
Contact state transmitter mode (M1)
When closing the contact connected to one of the two in-
puts, the code corresponding to pressing the ON button is
transmitted; when opening the contact, the code corre-
sponding to pressing the OFF button is transmitted.
Note:
In the contact state transmitter mode, repeated transmis-
sion can be set; then, information specifying the current
state of inputs is transmitted at regular intervals (max. 10
min). In addition, a long (up to 1.75 s) or short (up to 0.5
s) response time to the input state change can be set.
This setting affects battery lifetime.
Button mode (M2)
The pair of inputs simulates the function of a two-button
transmitter. When closing the contact connected to input
1, the code corresponding to pressing the ON button is
transmitted; when closing the contact on input 2, the code
corresponding to pressing the OFF button is transmitted.
Closing a contact for a period longer than 0.5 s is evalu-
ated as a long press. The duration of code transmission
in case of permanent closure of a contact is limited to
60 s.
Indication of operating status of the transmitter:
- Short green blink of LED 1 or 2 –input state change.
- Short red blink of LED 1 or 2 while input state changes
–low battery.
FIRST USE
The transmitter is designed for installation into installation
boxes.
- Connect the contact state transmitter according to
fig. 1.
- Remove the battery cover and the insulation foil be-
tween the battery contact and the battery (fig. 2).
- Place the battery cover back again.
- Get ready the selected receiver for programming of the
transmitter code into its memory.
Note:
Due to the risk of reducing the detection zone, it is not
recommended to locate the transmitter near sources of
electromagnetic interference. A strong electromagnetic
field may impair or disable correct functioning of the
transmitter! The detection zone depends on the material
in which the transmitter is built. Conductive materials and
items near the transmitter aerial decrease its operating
range.
Connection wires must not be placed parallel to power
wires!
A) Mode selection
The transmitter is factory preset to the contact state
transmitter mode with long response time.
Contact state transmitter –long response (longer bat-
tery life)
- Press (long press >0.5 s) the transmitter button once. It
will be indicated by LED 1 illuminated green and LED 2
flashing green slowly.
- Press (long press) the button once to confirm - indicat-
ed by concurrent green flashing of both LEDs.
Contact state transmitter –short response (shorter
battery life)
- Press (long press >0.5 s) once and press (brief press)
the transmitter button once. It will be indicated by LED
1 illuminated green and LED 2 flashing green fast.
- Press (long press) the button once to confirm - indicat-
ed by concurrent green flashing of both LEDs.
Contact state transmitter with repeated transmission
–long response (longer battery life)
- Press (long press >0.5 s) once and press (brief press)
the transmitter button once. It will be indicated by LED
1 illuminated green and LED 2 flashing red slowly.
- Press (long press) the button once to confirm - indicat-
ed by concurrent green flashing of both LEDs.
Contact state transmitter with repeated transmission
–short response (shorter battery life)
- Press (long press >0.5 s) once and press (brief press)
the transmitter button once. It will be indicated by LED
1 illuminated green and LED 2 flashing red fast.
- Press (long press) the button once to confirm - indicat-
ed by concurrent green flashing of both LEDs.
Button
- Press (long press >0.5 s) the button of the transmitter
once and then press it (brief press) four times. It will be
indicated by both LEDs illuminated red.
- Press (long press) the button once to confirm - indicat-
ed by concurrent green flashing of both LEDs.
B) Transmitting the initialization code of the contact
state transmitter to the receiver memory
According to the mode of use, the initialization code can
have several forms:
ON/OFF –the receiver processes the transmitted com-
mand for both closing and opening of inputs;
ON –the receiver processes the transmitted command
for closing of inputs only;
OFF –the receiver processes the transmitted command
for opening of inputs only.
Transmitting the initialization code in the contact
state transmitter mode (M1)
1.Select a channel:
- Press (brief press) the button of the transmitter once
= select the first channel –indicated by LED 1 flash-
ing green.
- Press (brief press) the button of the transmitter once
again = select the second channel –indicated by
LED 2 flashing green.
- Press (long press) the button to confirm the selected
channel and move to selection of the initialization
code form –indicated by LED 1 illuminated green
and LED 2 flashing alternately green/red.
2.Select the form of the transmitted message:
- ON/OFF –indicated by LED 1 illuminated green and
LED 2 flashing alternately green/red.
- Press (brief press) the button once = ON. It will be
indicated by LED 1 illuminated green and LED 2
flashing green.
- Press (brief press) the button once = ON. It will be
indicated by LED 1 illuminated green and LED 2
flashing green.
3.Set the selected receiver to the programming mode
and select the required function (see the user's manual
of the appropriate receiver).
4.Press (long press >0.5 s) the button of the transmitter
to transmit the initialization code in the selected form to
program the transmitter into the receiver memory –in-
dicated by a green blink of the LED of the appropriate
channel.
Transmitting the initialization code in button mode
(M2)
1.Select both channels:
- Press (brief press) the button of the transmitter once
= select both channels –indicated by both LEDs
flashing green.
- Press (long press) the button to confirm the channels
and move to selection of the initialization code form –
indicated by LED 1 illuminated red and LED 2 flash-
ing alternately green/red.
2.Select the form of the transmitted message:
- ON/OFF –indicated by LED 1 illuminated red and
LED 2 flashing alternately green/red.
- Press (brief press) the button once = ON. It will be
indicated by LED 1 illuminated red and LED 2 flash-
ing green.
- Press (brief press) the button twice = OFF. It will be
indicated by LED 1 illuminated red and LED 2 flash-
ing red.
3.Set the selected receiver to the programming mode
and select the required function (see the user's manual
of the appropriate receiver).
4.Press (long press >0.5 s) the button of the transmitter
to transmit the initialization code in the selected form to
program the transmitter into the receiver memory –in-
dicated by a green blink of both LEDs.
Note:
A different form of transmitted message can be set for
each receiver!
ENIKA.CZ s.r.o. hereby declares that this P8 T 2C I com-
plies with the essential requirements and other relevant
provisions of Directive 1999/5/EC.
Prohlášení o shodě
Výrobce: ENIKA.CZ s. r. o.
190 00 PRAHA 9, Pod Harfou 933/86
IČO: 28218167
tímto prohlašuje, že výrobek
typové označení: P8 T 2C I
specifikace: ---
druh výrobku: vysílač stavu kontaktů
frekvence: 868,3 MHz
vf výkon: 10 dBm
- je ve shodě se základními požadavky NV 426/2000 Sb. v platném
znění a s NV 481/2012 Sb. v platném znění
- odpovídá základním požadavkům a dalším ustanovením evropské di-
rektivy
1999/5/ES
(R&TTE) (Směrnice o radiových zařízeních a tele-
komunikačních koncových zařízeních a vzájemném uznávání jejich
shody) a evropské direktivy 2011/65/EU (RoHS)
- splňuje požadavky těchto norem a předpisů:
rádiové parametry, EMC: ČSN ETSI EN 300 220-1 V2.1.1: 2007
ČSN ETSI EN 300 220-2 V2.1.1: 2006
ČSN ETSI EN 301 489-3 V1.4.1: 2003
elektrická bezpečnost: ČSN EN 60950-1 ed.2: 2006
Toto prohlášení je vydáno na výhradní odpovědnost výrobce.
V Nové Pace dne 28.04.2013 ing. Vladimír Militký,
řízení sytému jakosti


