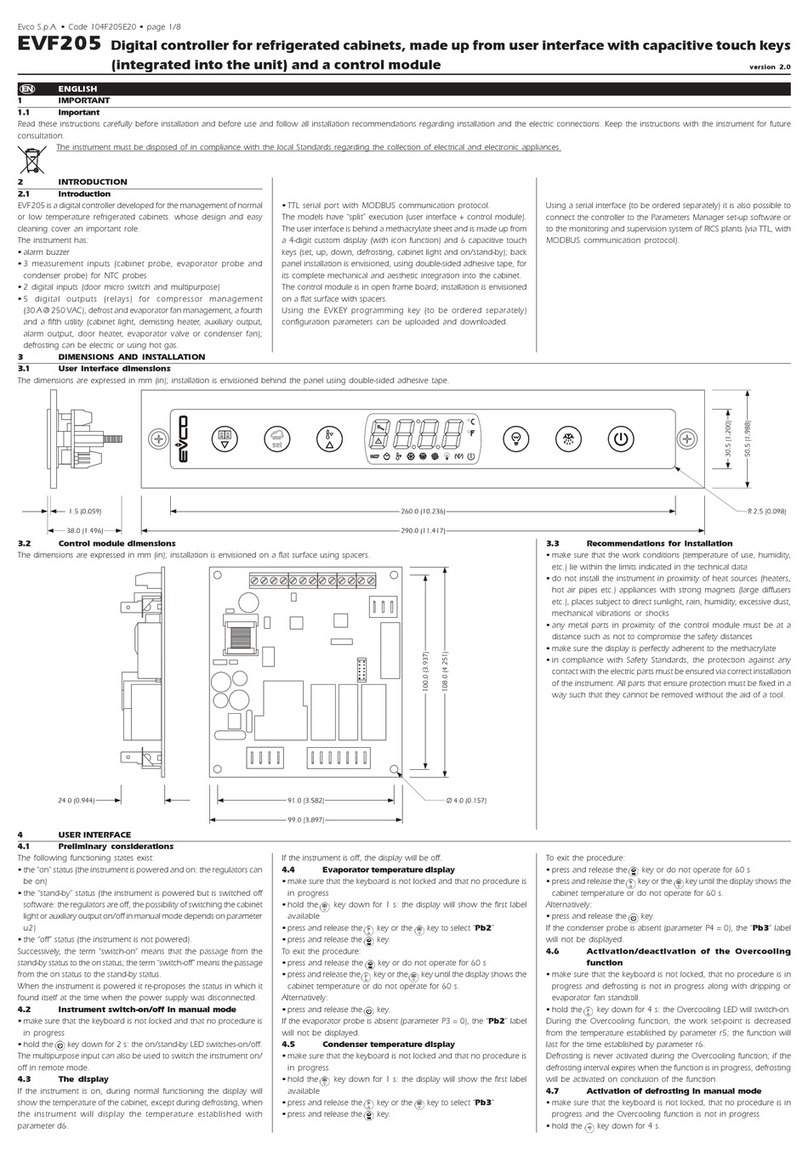
EVCO S.p.A. | EV3 700 series | Instruction sheet ver. 1.0 | Code 1043700E103 | Page 1 o 2 | PT 05/18
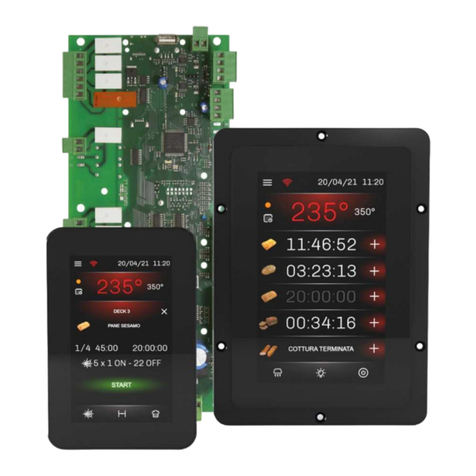
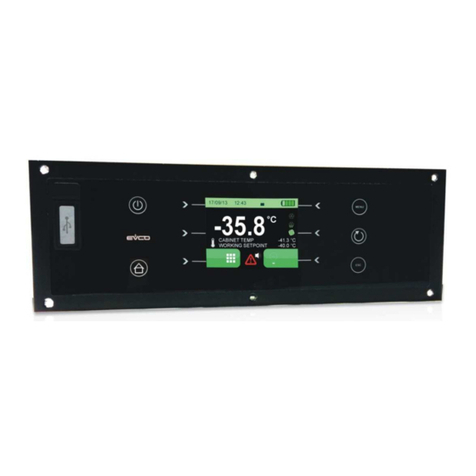
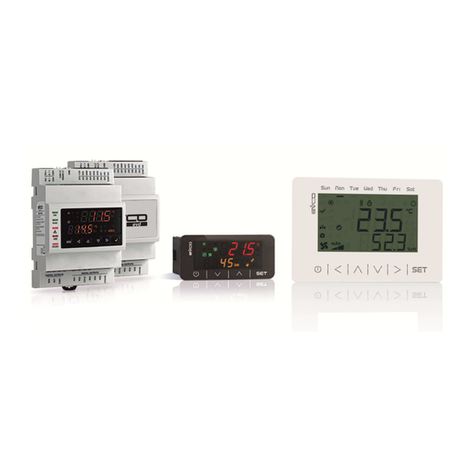
EV3 700 series Timing modules for basic ovens
EN ENGLISH
- user inter ace with push encoder or touch keys (according to the model)
- 230 VAC or 12 VAC/DC power supply (according to the model)
- 2 multi-purpose inputs
- relay output, 5 A res. @ 250 VAC
- alarm buzzer
- operation with programming key
N.B.
- the push encoder is not provided
- or models with a push encoder user inter ace, it is mandatory
- models with a touch key user inter ace also operate with push encoder.
Purchasing code User inter ace Power supply Output
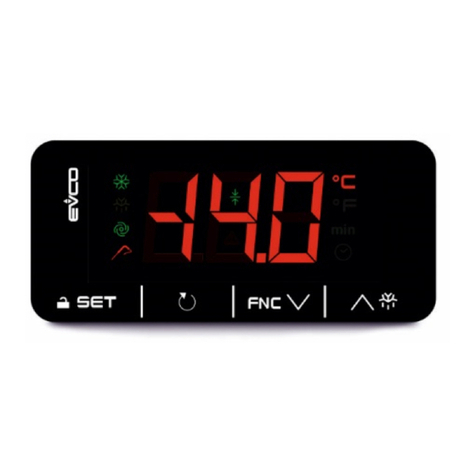
EV3701D2 push encoder 12 VAC/DC relay, 5 A res.
EV3701D7 push encoder 230 VAC relay, 5 A res.
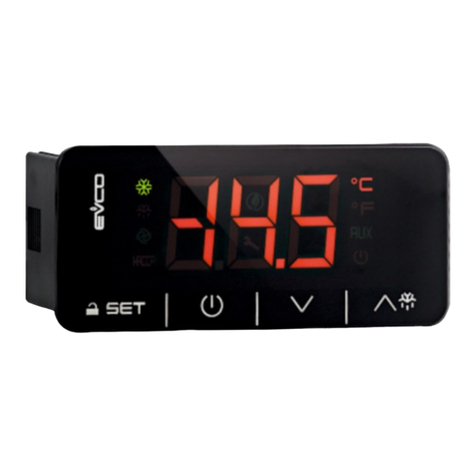
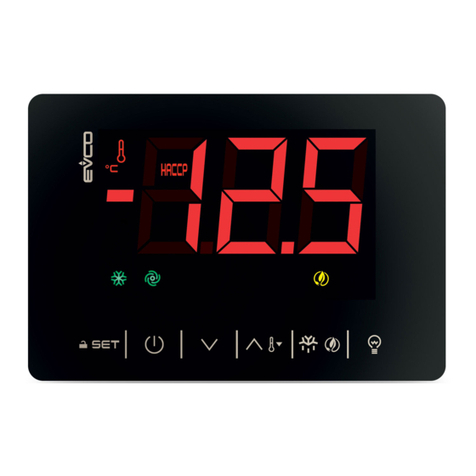
EV3711D2 touch keys 12 VAC/DC relay, 5 A res.
EV3711D7 touch keys 230 VAC relay, 5 A res.
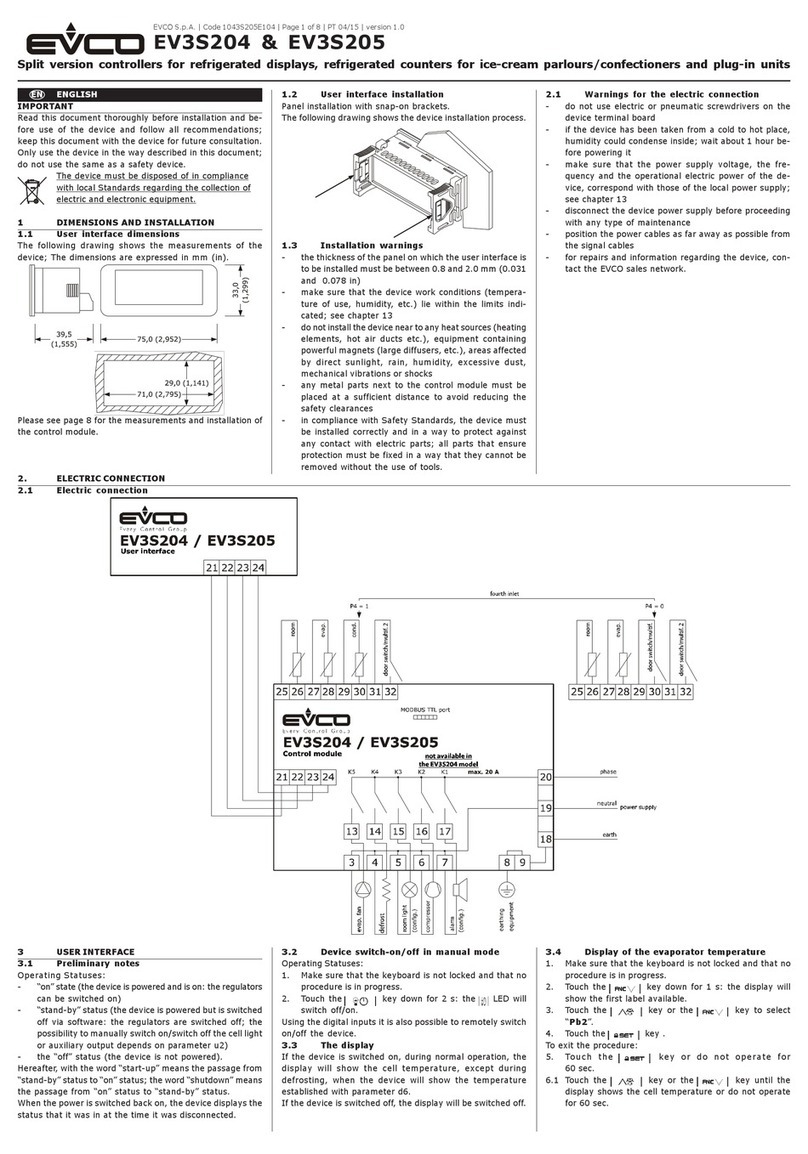
1 ME SUREMENTS ND INST LL TION
Measurements in mm (in); 39.5 (1 9/16) depth with ixed screw terminal blocks, 52.5 (2 1/16)
depth with plug-in screw terminal blocks.
To be itted to a panel, snap-in brackets provided.
INSTALLATION PRECAUTIONS
- the thickness o the panel must be between 0.8 and 2.0 mm (1/32 and 1/16 in);
- ensure that the working conditions are within the limits stated in the TECHNICAL
SPECIFICATIONS section;
- do not install the device close to heat sources, equipment with a strong magnetic ield,
in places subject to direct sunlight, rain, damp, excessive dust, mechanical vibrations
or shocks;
- in compliance with sa ety regulations, the device must be installed properly to ensure
adequate protection rom contact with electrical parts. All protective parts must be
ixed in such a way as to need the aid o a tool to remove them.
2 ELECTRIC L CONNECTION
N.B.
- use cables o an adequate section or the current running through them.
- to reduce any electromagnetic inter erence locate the power cables as ar away as
possible rom the signal cables.
PRECAUTIONS FOR ELECTRICAL CONNECTION
- i using an electrical or pneumatic screwdriver, adjust the tightening torque;
- i the device is moved rom a cold to a warm place, humidity may cause condensation
to orm inside. Wait or about an hour be ore switching on the power;
- make sure that the supply voltage, electrical requency and power are within the set
limits. See the section TECHNICAL SPECIFICATIONS;
- disconnect the power supply be ore carrying out any type o maintenance;
- do not use the device as a sa ety device;
- or repairs and or urther in ormation, contact the EVCO sales network.
3 FIRST-TIME USE
1. Carry out the installation ollowing the instructions given in the section MEASUREMENTS
AND INSTALLATION.
2. Power up the device as set out in the section ELECTRICAL CONNECTION: an internal
test will start up.
The test normally takes a ew seconds; when it is inished the display will switch o .
3. Con igure the device as shown in the section Setting configuration parameters.
Recommended con iguration parameters or irst-time use:
PAR. DEF. PARAMETER MIN... MAX.
t00
1
type o timer
0 = steam injection timer
1 = cooking timer
t02
1
timing
0 = s (seconds)
1 = min (minutes)
t13
0
quick setting value - steam injection
timer mode
0 = injection duration
1 = cycle time
2 = number o automatic cycles
3 = maximum duration percentage
Then check that the remaining settings are appropriate; see the section CONFI URA-
TION PARAMETERS.
4. Disconnect the device rom the mains.
5. Make the electrical connection as shown in the section ELECTRICAL CONNECTION with-
out powering up the device.
6. I necessary, connect the push encoder.
7. Power up the device.
4 USER INTERF CE ND M IN FUNCTIONS
4.1 Switching the device on/off
To switch on push encoder models:
1. Press the encoder.
To switch o push encoder models:
1. Press the encoder or 2 s.
To switch on touch key models:
1. Touch the ON/STAND-BY key.
To switch o touch key models:
1. Touch the ON/STAND-BY key or 2 s.
I the device is switched on, the display will show the t09 value ("time count-down” de ault); i
the display shows an alarm code, see the section ALARMS.
LED ON OFF FLASHING
OUT1
relay active
-
quick setting in progress
alarm active
-
-
OUT2
unused
-
-
SEC time display
-
-
device switched o
device switched on
device being switched o
°C/°F
unused
-
-
% percentage display -
-
MIN time display
-
-
I Loc = 1 and 30 s have elapsed without the keys being pressed, the display will show the
"Loc" label and the keypad will lock automatically.
4.2 Unlocking the keypad
Touch a key or 1 s: the display will show the label “UnL”.
4.3 Quick setting:
- steam injection duration (if t00 = 0 and t13 = 0, default)
- cycle time for steam injection (if t00 = 0 and t13 = 1)
- number of steam injection automatic cycles (if t00 = 0 and t13 = 2)
- percentage of steam injection maximum duration (if t00 = 0 and t13 = 3)
- cooking timer duration (if t00 = 1)
For push encoder models
1. Rotate the encoder.
2.
Rotate the encoder within 15 s to set the value within the limits
t03 and t04.
3. Press the encoder.
4. Take no action or 15 seconds to exit the procedure in advance: the device will not
save the entered value.
For touch key models:
- check that the keypad is not locked.
1. Touch the SET key.
2.
Touch the UP or DOWN keys within 15s to set the value within
the limits t03 and t04.
3. Touch the SET key.
4.
Touch the ON/STANDBY key (or take no action or 15 s) to exit
the procedure in advance: the device will not save the entered
value.
4.4 Stopping the timer:
- steam injection timer (if t00 = 0, default)
- cooking timer (if t00 = 1)
For push encoder models:
1. Press the encoder or 2 s.
To switch o touch key models:
1. Touch the ON/STAND-BY key or 2 s.
4.5 Silencing the buzzer
For push encoder models:
- rotate or press the encoder.
For touch key models:
- touch a key.
5 FUNCTION MODES
Steam injection timer mode (t00 = 0) with 3 automatic cycles (t12 = 3).
Cooking timer mode (t00 = 1).
6 SETTINGS
6.1 Setting configuration parameters
For push encoder models:
- make sure that the timer is not in progress.
1. Press the encoder or 4 s: the display will show the label “P ”.
2. Press the encoder.
3.
Rotate the encoder within 15 s to set the PAS value (de ault “-
19”).
4.
Press the encoder (or take no action or 15 s): the display will
show the label “t00”.
5. Rotate the encoder to select a parameter.
6. Press the encoder.
7. Rotate the encoder within 15 s to set the value.
8. Press the encoder (or take no action or 15 s).
9.
Press the encoder or 4 s (or take no action or 60 s) to exit the
procedure.
For touch key models:
- make sure that the timer is not in progress.
1. Touch the SET key or 4 s: the display will show the label “P ”.
2. Touch the SET key.
3.
Touch the UP or DOWN key within 15s to set the PAS value (de-
ault "-19").
4.
Touch the SET key (or take no action or 15s): the display will
show the label “t00”.
5. Touch the UP or DOWN key to select a parameter.
6. Touch the SET key.
7. Touch the UP or DOWN key within 15s to set the value.
8. Touch the SET key (or take no action or 15s).
9.
Touch the SET key or 4s (or take no action or 60s) to exit the
procedure.
6.2 Restoring factory settings (default) and saving customised settings
N.B.
- Check that the actory settings are appropriate; see the section CONFI URATION
PARAMETERS.
- Saving customised settings overwrites the actory settings.
For push encoder models:
- make sure that the timer is not in progress.
1. Press the encoder or 4 s: the display will show the label “P ”.
2. Press the encoder.
3. Rotate the encoder within 15 s to set the value.
VAL. DESCRIPTION
149 value or restoring the actory in ormation (de ault)
161 value or saving customised settings
4.
Press the encoder (or take no action or 15 s): the display will
show the label “dEF” ( or setting the “149” value) or the label
“M P” ( or setting the “161” value).
5. Press the encoder.
6. Rotate the encoder within 15 s to set the value “4”.
7.
Press the encoder (or take no action or 15 s): the display will
show “- - -“ lashing or 4 s, a ter which the device will exit the
procedure.
8. Disconnect the device rom the power supply.
