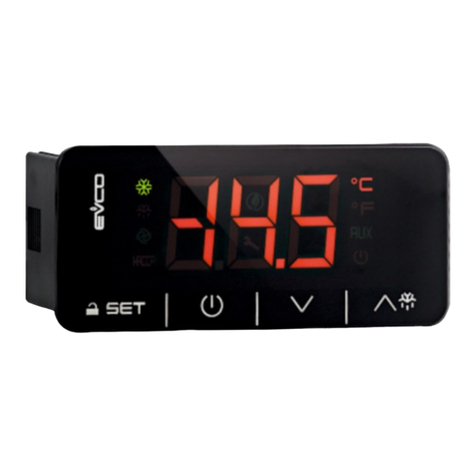
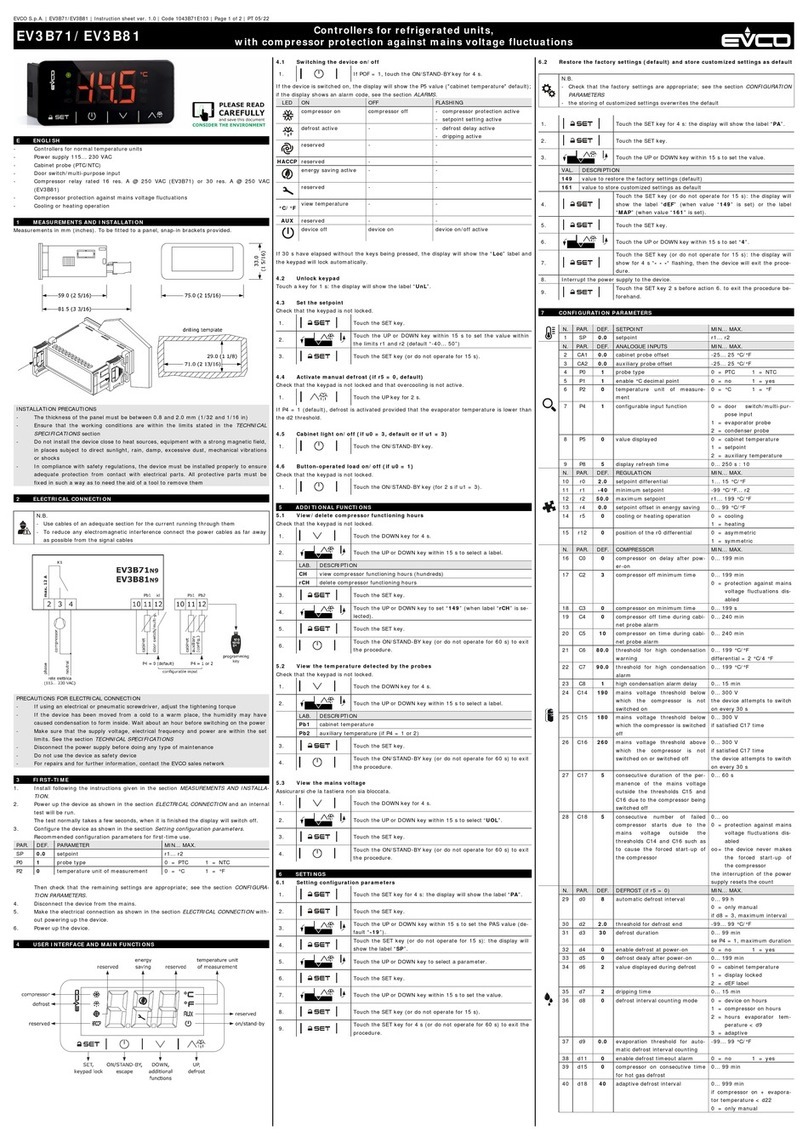
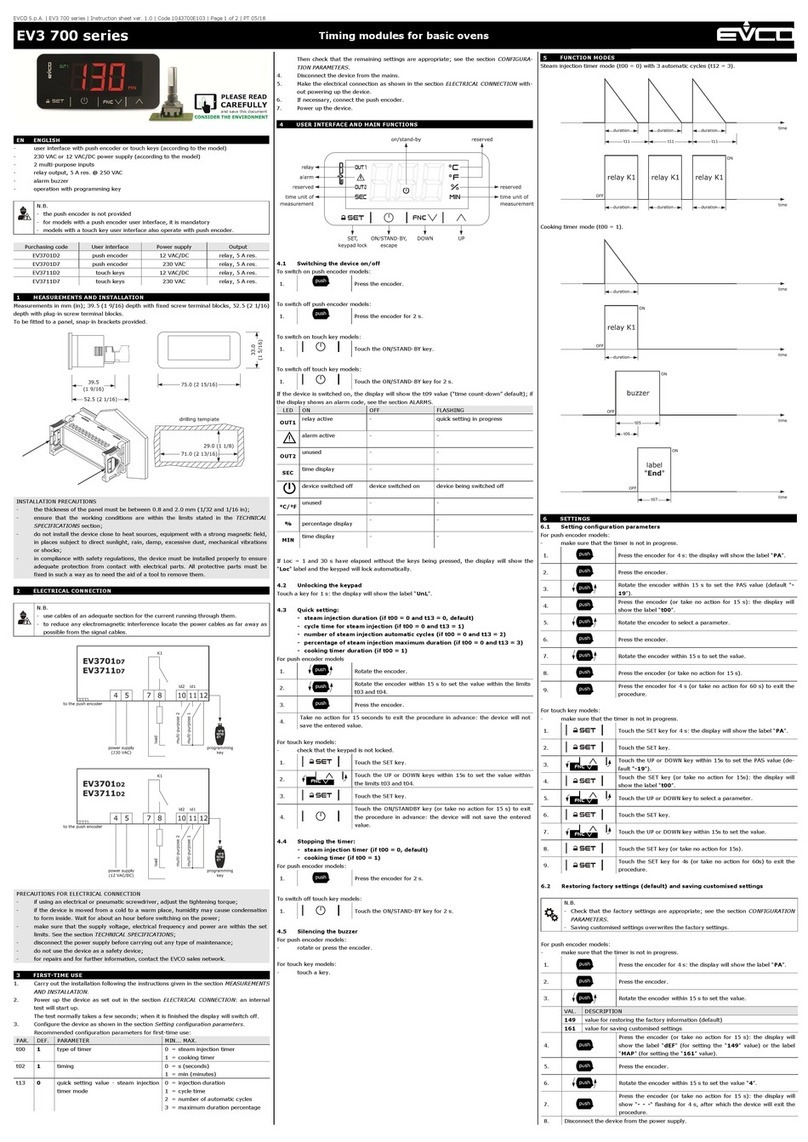
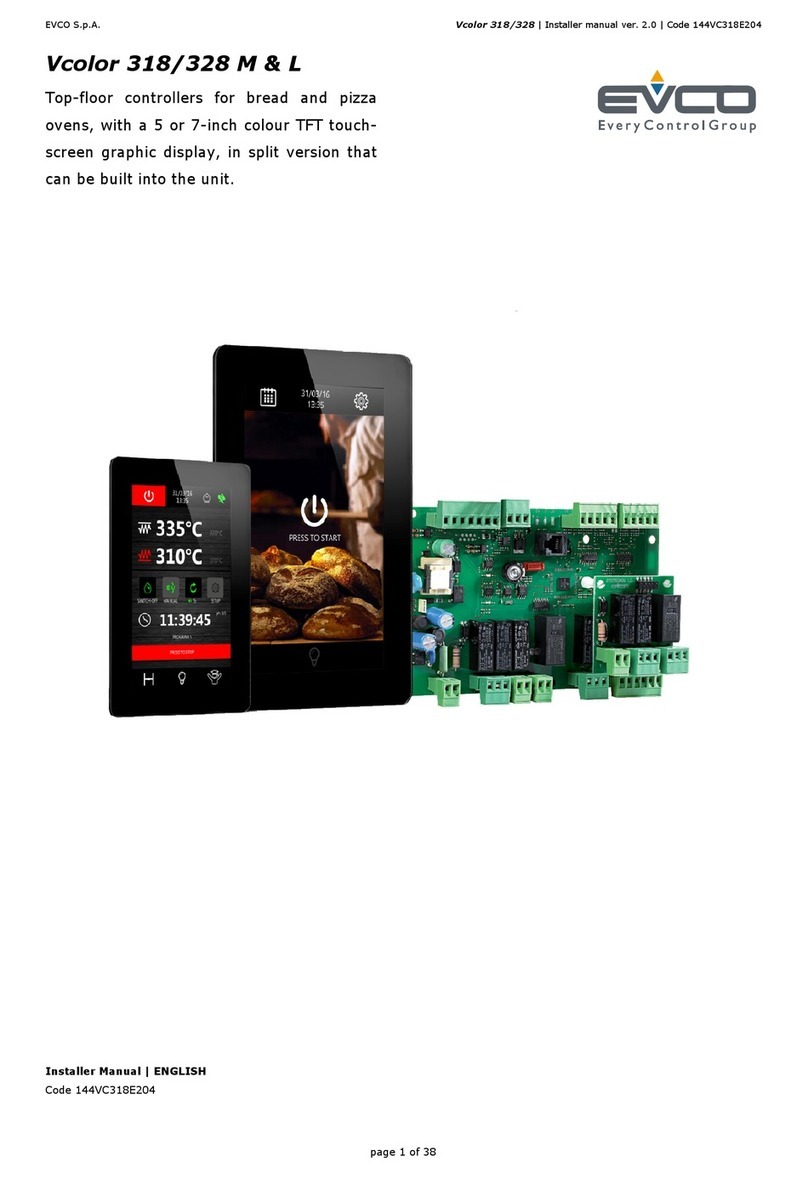
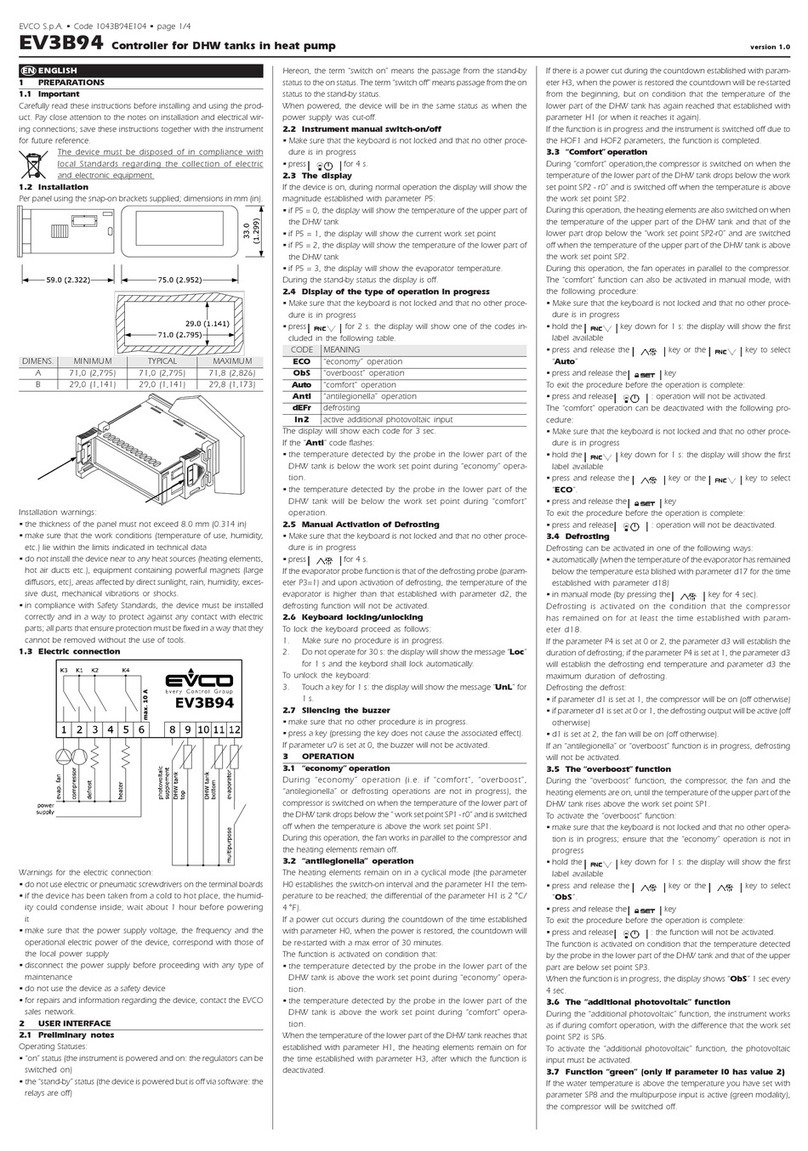
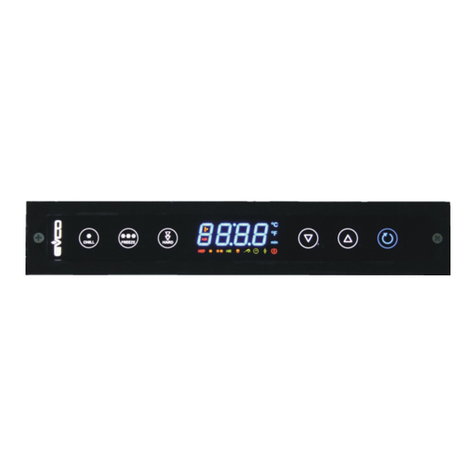
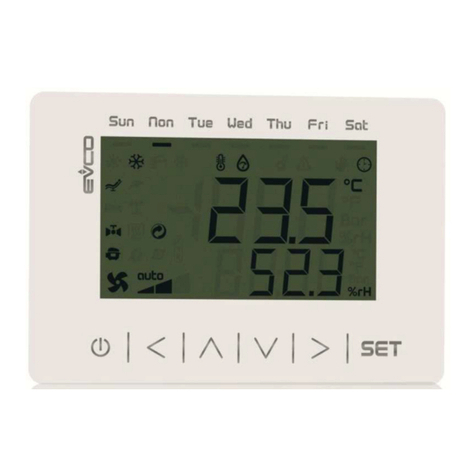
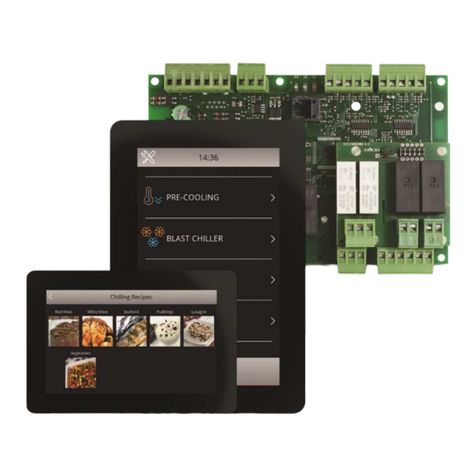
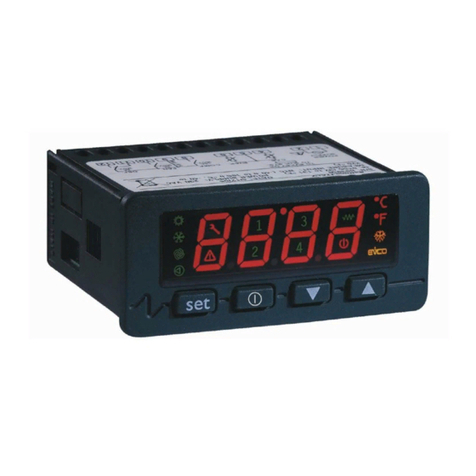
Evco EV3 WEB User guide

EV3 WEB
Gateway for a network of up to 10 devices
WARNING
Read and fully understand
user manual before using
this device.
Failure to follow these
instructions can result in
death or serious injury.
1143W01E4.01 - 08/2022
Installer Manual

1143W01E4.01 ·EV3 Web
CONTENTS
07/2023
| 2 |
IMPORTANT INFORMATION.............................................................................................................. 4
IMPORTANT SAFETY INFORMATION................................................................................................ 5
SAFETY INFORMATION RELATING TO THE PRODUCT..................................................................... 6
1. INTRODUCTION............................................................................................................................... 7
1.1 DESCRIPTION ......................................................................................................................................... 7
1.2 FEATURES................................................................................................................................................ 7
1.3 ACCESSORIES ........................................................................................................................................ 7
2. TECHNICAL SPECIFICATIONS ...................................................................................................... 8
2.1 TECHNICAL SPECIFICATIONS .............................................................................................................. 8
2.2 I/O FEATURES......................................................................................................................................... 8
3. MECHANICAL ASSEMBLY.............................................................................................................. 9
3.1 BEFORE STARTING ................................................................................................................................. 9
3.2 INFORMATION ON INSTALLATION AND THE ENVIRONMENT ............................................................ 9
3.3 DIMENSIONS ........................................................................................................................................10
3.4 INSTALLATION......................................................................................................................................10
3.4.1 Minimum distances ...................................................................................................................................11
4. ELECTRICAL CONNECTIONS........................................................................................................ 12
4.1 WIRING BEST PRACTICES...................................................................................................................12
4.1.1 Wiring guidelines.......................................................................................................................................12
4.1.2 Fixed screw terminal blocks guidelines..................................................................................................12
4.1.3 Permitted lengths of wiring ......................................................................................................................13
4.2 WIRING DIAGRAM ...............................................................................................................................13
5. USER INTERFACE .......................................................................................................................... 14
5.1 INTERFACE............................................................................................................................................14
5.2 TOUCH KEYS.......................................................................................................................................... 14
5.3 ICONS ....................................................................................................................................................14
5.4 CONTROLLER OPERATION ...................................................................................................................15
5.4.1 Switching the controller ON/OFF.............................................................................................................15
5.4.2 Unlocking the keypad ................................................................................................................................15
5.4.3 Setting/changing the setpoint .................................................................................................................15
5.4.4 Functions that can be activated by key...................................................................................................16
5.4.5 Activating the AUX digital output by key..................................................................................................16
5.4.6 Accessing the parameters .......................................................................................................................16
6. REGULATORS ................................................................................................................................. 17
6.1 Fan .........................................................................................................................................................17
6.1.1 Operation ...................................................................................................................................................17

1143W01E4.01 ·EV3 Web
CONTENTS
07/2023
| 3 |
7. REMOTE COMMUNICATION CONFIGURATION......................................................................... 18
7.1 INTRODUCTION ....................................................................................................................................18
7.1.1 Conguration diagram when using a PC with direct connection via USB ...........................................18
7.1.2 Conguration diagram when using a PC with connection via Ethernet...............................................18
7.1.3 Conguration diagram when using a smartphone and the EPoCA START app. ..................................19
7.2 FIRST CONFIGURATION.......................................................................................................................19
7.2.1 Conguration using a PC ..........................................................................................................................19
7.2.2 Conguration using a smartphone or tablet ..........................................................................................22
8. REGULATION PARAMETERS ........................................................................................................ 26
8.1 TABLE OF REGULATION PARAMETERS ...............................................................................................26
9. MODBUS TCP FUNCTIONS AND RESOURCES............................................................................. 27
9.1 Introduction .........................................................................................................................................27
9.2 Managing modbus connections over a TCP network .......................................................................27
9.3 Modbus message structure................................................................................................................27
9.4 Modbus functions and registers ........................................................................................................28
9.4.1 Available Modbus commands and data areas .......................................................................................28
9.5 Address conguration.........................................................................................................................28
9.6 Operation ..............................................................................................................................................28
9.6.1 Stand-alone operation ..............................................................................................................................28
9.6.2 Cloud + Modbus TCP .................................................................................................................................28
9.6.3 Modbus TCP only .......................................................................................................................................29
9.7 Modbus tables content........................................................................................................................29
9.8 EV3 WEB Modbus addresses ..............................................................................................................30
9.8.1 Table of Modbus Parameters...................................................................................................................30
9.8.2 Table of Modbus Resources.....................................................................................................................31
10. DIAGNOSTICS ............................................................................................................................. 32
10.1 EV3 Web alarms table........................................................................................................................32

1143W01E4.01 ·EV3 Web 07/2023
| 4 |
IMPORTANT INFORMATION
Liability and residual risks
EVCO assumes no liability for any damage caused by the following (by way of example; this is not an exhaustive list):
• Installation/useforpurposesotherthanthosespeciedand,inparticular,notadheringtothesafetyprovisionssetout
by current regulations in the country in which the product is installed and/or contained in this manual;
• Useinappliancesthatdonotguaranteesufcientprotectionagainstelectricshocks,wateranddustwithinthe
installation conditions created;
• Useinappliancesthatallowaccesstohazardouspartswithouttheuseofakeyedortooledlockingmechanismwhen
accessing the instrument;
• Tampering and/or modifying the product;
• Installation/use in appliances which do not comply with current regulations in the country in which the product is
installed.
The customer/manufacturer is responsible for ensuring their machine complies with these regulations.
EVCO’s responsibility is limited to the correct and professional use of the product in accordance with regulations and the
instructions contained in this manual and other product support documents.
TocomplywithEMCstandards,observealltheelectricalconnectioninstructions.Asitdependsonthewiringconfigurationas
wellastheloadandtheinstallationtype,compliancemustbeverifiedforthefinalmachineasspecifiedbytherelevantproduct
standard.
Disclaimer
This document is the exclusive property of EVCO. It contains a general description and/or a description of the technical
specifications for the features offered by the products listed herein. This document should not be used to determine the
suitability or reliability of these products in relation to specific user applications. Each user or integration specialist should
conducttheirowncompleteandappropriateriskanalysis,inadditiontocarryingoutaproductevaluationandtestinrelation
to its specific application or use. Users can send us comments and suggestions on how to improve or correct this publication.
Neither EVCO nor any of its associates or subsidiaries shall be held responsible or liable for improper use of the information
contained herein.
EVCOhasapolicyofcontinuousdevelopment,thereforereservestherighttomakechangesandimprovementstoanyproduct
described in this document without prior notice.
The images in this document and other documentation supplied with the product are provided for illustrative purposes only and
may differ from the product itself.
The technical data in this manual is subject to change without prior notice.
Terms and Conditions of use
Permitted use
Thedevicemustbeinstalledandusedinaccordancewiththeinstructionsprovidedand,inparticular,hazardousliveparts
must not be accessible under normal conditions.
The device must be suitably protected from water and dust with regard to its application and must also only be accessible with
the aid of a tool (with the exception of the front panel).
Only qualified personnel may install the product or perform technical support procedures on it.
The customer must only use the product as described in the documentation relating to that product.
Prohibited use
Anyuseotherthanthosedescribedinthe"Permitted use"sectionandintheproductsupportdocumentationisprohibited.
Disposal
The device must be disposed of according to local regulations governing the collection of electrical and electronic
equipment.
Consider the environment
Thecompanystrivestorespecttheenvironment,takingaccountofcustomerrequirements,technologicalinnovations
in terms of materials and the expectations of the community to which we belong. EVCO places great importance on
respectingtheenvironment,encouragingallassociatestobecomeinvolvedwithcompanyvaluesandguaranteeing
safe,healthyandfunctionalworkingconditionsandworkplaces.
Please consider the environment before printing this document.
1143W01E4.01 ·EV3 Web 07/2023
| 5 |
IMPORTANT SAFETY INFORMATION
Readthisdocumentcarefullybeforeinstallationandtakeallprecautionsbeforeusingthedevice.Onlyusethedevicein
accordance with the methods described in this document. The following safety messages may be repeated several times in
thedocument,toprovideinformationregardingpotentialhazardsortoattractattentiontoinformationwhichmaybeusefulin
explaining or clarifying a procedure.
Thissymbolisusedtoindicateariskofelectricshock.
Itisasafetyindicationandassuch,shouldbeobservedtoavoidpotentialaccidentsorfatalities.
Thissymbolisusedtoindicateariskofseriouspersonalinjury.
Itisasafetyindicationandassuch,shouldbeobservedtoavoidpotentialaccidentsorfatalities.
DANGER
DANGER indicatesasituationofimminentdangerwhich,ifnotavoided,will result in death or serious injury.
WARNING
WARNING indicatesasituationofimminentdangerwhich,ifnotavoided,may result in death or serious injury.
CAUTION
CAUTION indicatesapotentiallyhazardoussituationwhich,ifnotavoided,could cause minor or moderate injury.
NOTICE
NOTICE indicates a situation not related to physical injuries but which
,ifnotavoided,
could damage the equipment.
N.B.Themaintenance,repair,installationanduseofelectricalequipmentmustonlybeentrustedtoqualifiedpersonnel.
QUALIFIED PERSONNEL
Only suitably trained and experienced personnel capable of understanding the content of this manual and all documentation
regardingtheproductareauthorisedtoworkonandwiththisequipment.Furthermore,thepersonnelmusthavecompleted
coursesinsafetyandmustbeabletorecogniseandpreventtheimplieddangers.Thepersonnelmusthavesuitabletraining,
knowledgeandexperienceatatechnicallevel,andbecapableofanticipatinganddetectingpotentialriskscausedbyusing
theproduct,aswellaschangingthesettingsandmodifyingthemechanical,electricandelectronicequipmentfortheentire
systeminwhichtheproductisused.Allpersonnelworkingonandwiththeproductmustbeentirelyfamiliarwiththerelevant
standardsanddirectives,aswellassafetyregulations.

1143W01E4.01 ·EV3 Web 07/2023
| 6 |
SAFETY INFORMATION RELATING TO THE PRODUCT
Beforecarryingoutanyworkontheequipment,readtheseinstructionscarefully,makingsureyouunderstandeverything.
DANGER
RISK OF ELECTRIC SHOCK, EXPLOSION OR ELECTRIC ARC
• Only use electrically insulated measuring devices and equipment.
• Do not install the equipment while the power supply is connected.
• Switchoffallequipment,includingconnecteddevices,beforeinstallingoruninstallingthedevice.
• Alwaysuseacorrectlycalibratedvoltmetertocheckthesystemisswitchedoff.
• Do not touch the unshielded components or the terminals while they are live.
• Donotopen,disassemble,repairormodifytheproduct.
• Do not expose the equipment to liquids or chemicals.
• Before applying voltage to the equipment:
• Makesureallprotectiveelements,suchascovers,hatchesandgrilles,arefittedand/orclosed.
• Checkallwiringconnections.
DANGER
RISK OF ELECTRIC SHOCK AND FIRE
• Do not use the device with loads greater than those indicated in the technical specifications.
• Do not exceed the temperature and humidity ranges indicated in the technical specifications.
• Usetherequiredsafetyinterlocks(fusesand/ormagnetothermalswitches)ofasuitablesize.
DANGER
RISK OF ELECTRIC SHOCK OR MALFUNCTIONING OF THE EQUIPMENT
Do not use damaged products or accessories.
Thisdevicewasdesignedtooperateinnon-hazardousenvironments,excludingapplicationsthatgenerate,orcouldpotentially
generate,hazardousatmospheres.Onlyinstallthisdeviceinareasandforapplicationswhicharereliablyfreefromhazardous
atmospheres.
DANGER
RISK OF EXPLOSION
• Onlyinstallandusethisdeviceinsitesthatarenotatrisk.
• Donotinstallorusethisdeviceinapplicationswhicharecapableofgeneratinghazardousatmospheres,suchas
applications that use flammable refrigerants.
WARNING
MALFUNCTIONING OF THE EQUIPMENT
• Perform the wiringcarefully,incompliancewithelectromagneticcompatibilityrequirements.
• Makesurethewiringiscorrectfortheapplication.
• Use shielded cables for all I/O signal and communication cables.
• Minimise the length of the connections as much as possible and avoid winding the cables around electrically connected
parts.
• Thesignalcables(analogueanddigitalinputs,communicationandcorrespondingpowersupplies),powercablesandpower
supply cables for the device must be routed separately.
• Beforeapplyingthepowersupply,checkallthewiringconnections.
• Usetherequiredsafetyinterlockswherepersonneland/orequipmenthazardsexist.
• Installandoperatethisequipmentinacabinetappropriatelyratedforitsintendedenvironmentandsecuredbyakeyedor
tooledlockingmechanism.
• Power line and output circuits must be wired and fused in compliance with local and national regulatory requirements for
the rated current and voltage of the particular equipment.
• Do not use this equipment in safety-critical machine functions.
• Donotdisassemble,repairormodifythisequipment.
• Do not connect wires to unused terminals and/or to terminals labelled “No connection “(N.C.)”.

1143W01E4.01 ·EV3 Web 07/2023
| 7 |
1.1 DESCRIPTION
EVCO EV3 Web controllers remotely monitor up to 10 EPoCA-compatible controllers on the EPoCA cloud via the on-board
Ethernet and RS-485 serial ports.
EV3 WebiscompliantwithHACCPregulationsforfoodsafetyduringfoodprocessing.
1.2 FEATURES
The main features of EV3 Web are:
• 1 digital input;
• 1 analogue input for NTC/PTC probes;
• 1 relay output;
• 1 Ethernet RJ45 Modbus TCP/IP compatible serial port;
• 1 micro-B USB serial port;
• 1 RS-485 serial port;
• 1 32 MB internal memory;
• 1yearofHACCPdatarecordingwith5-minuteintervals,upto3probes;
• RTCsharedwithsubnetwork;
• EPoCA compatible.
1.3 ACCESSORIES
The following accessories are available for EV3 Web controllers:
Type P/n Description
EVTPN615F200 SNDNTCTERM1,5M6x15COSTFL
EVTPN630F200 SNDNTCTERM3,0M6x15COSTFL
EVTPP815P200 SNDPTCPVC21,5M6x30STEEL67
EVTPP830P200 SNDPTCPVC23,0M6x30STEEL67
0810500023 USBA-micro-Bcable1.5m
EVIF22TSX ModuleforTTL/RS-485serialinterface
EV3KEY ProgrammingkeyforEV3regulationparameters
1. INTRODUCTION

1143W01E4.01 ·EV3 Web 07/2023
| 8 |
2. TECHNICAL SPECIFICATIONS
AllthesystemcomponentsoftheEV3 Web controllers meet the requirements of the European Community (EC) for electric
equipment.Theymustbeinstalledinacasingorotherlocationdesignatedforthespecificambientconditionsandtokeepthe
possibility of involuntary contact with dangerous electrical voltages to a minimum. Use metal casings to improve the immunity
of the EV3 Web system to electromagnetic fields. This equipment meets EU requirements as shown in the tables below.
WARNING
MALFUNCTIONING OF THE EQUIPMENT
Do not exceed the nominal values given in this section.
2.1 TECHNICAL SPECIFICATIONS
Type Description
The product complies with the following harmonised standards:
EN60730-1 and EN60730-2-9
Device construction: Built-in electronic device
Device purpose: Operating control device
Type of action: 1
Pollution category: 2
Overvoltage category: III
Rated impulse withstand voltage: 4000 V
Power supply: 115...230Vac,±10%,50/60Hz
Consumption: 10VAmaximum
Ambientoperatingconditions:
0...50°C(32...122°F)10…90%RHnon-condensing
Transportation and storage conditions:
-20...70°C(-4...158°F)10…90%RHnon-condensing
Software class: A
Environmental front protection: IP65
Clock(RTC): Built-in lithium battery
Clockdrift: ≤60s/monthat25°C(77°F)
Battery life: 30 days
Battery charging time: 24 h through device’s power supply
Data memory: 32 MB
Data memory per device: ~2.7 MB
2.2 I/O FEATURES
Type Description
Digital inputs: 1 voltage-free digital input
Analogueinputsfortemperature: 1 analogue input for NTC/PTC probes
Digitaloutputwithnon-hazardousvoltage(SELV): 1 relay output
Serial: 1EthernetRJ4510/100MACserialport
1 USB serial port
Analogue input features
Default NTC 10 kΩ at 25 °C
BETA 3435
PTC KTY 81-121
990 Ω at 25 °C
Pb1
Probe Temperature
• •
Range --- -40...105 °C
(-40...220°F)
-50...150 °C
(-58...302°F)
Resolution --- 0.1°C(1°F) ---
Input
impedance --- 10kΩ 990Ω
Digital output features
Default Description Load (at 250 Vac) Type of load
Out4 AUX SPDT 5A Resistive

1143W01E4.01 ·EV3 Web 07/2023
| 9 |
3. MECHANICAL ASSEMBLY
3.1 BEFORE STARTING
Read this manual carefully before installing the system.
Inparticular,thesafetyinstructions,electricalrequirementsandcurrentregulationsforthemachineortheprocessinwhich
this device is involved must be observed. The use and application of the information contained herein require experience in the
designandprogrammingofautomatedcontrolsystems.Onlytheuser,systemintegratorormachinebuildercanbeawareofall
theconditionsandfactorspresentduringtheinstallation,configuration,operationandmaintenanceofthemachineorprocess,
andcanthereforedeterminetheassociatedautomationequipmentandtherelatedsafetiesandinterlockswhichcanbe
effectively and properly used. When selecting automation and control equipment and any other related equipment or software
foraparticularapplication,alwaysconsideralltheapplicablelocal,regionalornationalstandardsand/orregulations.
WARNING
REGULATORY NON-COMPLIANCE
Makesurealltheequipmentusedandthesystemscomplywithalltheapplicablelocal,regionalandnationalregulations.
3.2 INFORMATION ON INSTALLATION AND THE ENVIRONMENT
Beforecarryingoutanyworkontheequipment,readtheseinstructionscarefully,makingsureyouunderstandeverything.
DANGER
RISK OF ELECTRIC SHOCK, EXPLOSION OR ELECTRIC ARC
• Only use electrically insulated measuring devices and equipment.
• Do not install the equipment while the power supply is connected.
• Switchoffallequipment,includingconnecteddevices,beforeinstallingoruninstallingthedevice.
• Alwaysuseacorrectlycalibratedvoltmetertocheckthesystemisswitchedoff.
• Do not touch the unshielded components or the terminals while they are live.
• Donotopen,disassemble,repairormodifytheproduct.
• Do not expose the equipment to liquids or chemicals.
• Before applying voltage to the equipment:
• Makesureallprotectiveelements,suchascovers,hatchesandgrilles,arefittedand/orclosed.
• Checkallwiringconnections.
Thisdevicewasdesignedtooperateinnon-hazardousenvironments,excludingapplicationsthatgenerate,orcouldpotentially
generate,hazardousatmospheres.Onlyinstallthisdeviceinareasandforapplicationswhicharereliablyfreefromhazardous
atmospheres.
DANGER
RISK OF EXPLOSION
• Only install and use this deviceinsitesthatarenotatrisk.
• Donotinstallorusethisdeviceinapplicationswhicharecapableofgeneratinghazardousatmospheres,suchas
applications that use flammable refrigerants.

1143W01E4.01 ·EV3 Web 07/2023
| 10 |
WARNING
MALFUNCTIONING OF THE EQUIPMENT
• Performthewiringcarefully,incompliancewithelectromagneticcompatibilityandsafetyrequirements.
• Makesurethewiringiscorrectfortheapplication.
• Use shielded cables for all I/O signal and communication cables.
• Minimise the length of the connections as much as possible and avoid winding the cables around electrically connected
parts.
• Thesignalcables(analogueanddigitalinputs,communicationandcorrespondingpowersupplies),powercablesandpower
supply cables for the device must be routed separately.
• Beforeapplyingthepowersupply,checkallthewiringconnections.
• Usetherequiredsafetyinterlockswherepersonneland/orequipmenthazardsexist.
• Installandoperatethisequipmentinacabinetappropriatelyratedforitsintendedenvironmentandsecuredbyakeyedor
tooledlockingmechanism.
• Power line and output circuits must be wired and fused in compliance with local and national regulatory requirements for
the rated current and voltage of the particular equipment.
• Do not use this equipment in safety-critical machine functions.
• Donotdisassemble,repairormodifythisequipment.
• Do not connect wires to unused terminals and/or to terminals labelled “No connection “(N.C.)”.
3.3 DIMENSIONS
33 (1.30)
75 (2.95)
69 (2.71)
59 (2.32)
mm (in.)
Fig. 1. Dimensions EV3 Web
3.4 INSTALLATION
71
(
2.7
9)
29 (1.14)
mm (in.)
Fig. 2. Installation EV3 Web

1143W01E4.01 ·EV3 Web 07/2023
| 11 |
3.4.1 Minimum distances
40 (1.57) 40 (1.57)
mm (in.)
40 (1.57) 40 (1.57)
Fig. 3. Minimum installation distances EV3 Web

1143W01E4.01 ·EV3 Web 07/2023
| 12 |
4. ELECTRICAL CONNECTIONS
4.1 WIRING BEST PRACTICES
The following information describes the wiring guidelines and best practices which should be observed when using the
equipment described in this manual.
DANGER
RISK OF ELECTRIC SHOCK, EXPLOSION OR ELECTRIC ARC
• Only use electrically insulated measuring devices and equipment.
• Do not install the equipment while the power supply is connected.
• Switchoffallequipment,includingconnecteddevices,beforeinstallingoruninstallingthedevice.
• Alwaysuseacorrectlycalibratedvoltmetertocheckthesystemisswitchedoff.
• Do not touch the unshielded components or the terminals while they are live.
• Donotopen,disassemble,repairormodifytheproduct.
• Do not expose the equipment to liquids or chemicals.
• Before applying voltage to the equipment:
• Makesureallprotectiveelements,suchascovers,hatchesandgrilles,arefittedand/orclosed.
• Checkallwiringconnections.
4.1.1 Wiring guidelines
Whenwiringthecontrollers,observethefollowinginstructions:
• TheI/Oandcommunicationwiringmustbekeptseparatefromthepowersupplywiring.Thesetwotypesofwiringmust
be routed in separate ducts.
• Makesuretheoperatingenvironmentandconditionsfallwithinthespeciedvalues.
• Usewireswiththecorrectdiameter,suitedtothevoltageandcurrentrequirements.
• Use copper conductors (compulsory).
• Use shielded twisted pair cables for analogue/digital I/O connections.
Use correctly earthed shielded cables for all analogue inputs or outputs and for communication connections. If shielded cables
arenotusedfortheseconnections,electromagneticinterferencecouldcausethesignaltodeteriorate.Deterioratedsignals
can lead to unpredictable operation of the controller or modules and connected equipment.
WARNING
MALFUNCTIONING OF THE EQUIPMENT
• Performthewiringcarefully,incompliancewithelectromagneticcompatibilityandsafetyrequirements.
• Makesurethewiringiscorrectfortheapplication.
• Use shielded cables for all I/O signal and communication cables.
• Minimise the length of the connections as much as possible and avoid winding the cables around electrically connected
parts.
• Thesignalcables(analogueanddigitalinputs,communicationandcorrespondingpowersupplies),powercablesandpower
supply cables for the device must be routed separately.
• Beforeapplyingthepowersupply,checkallthewiringconnections.
• Usetherequiredsafetyinterlockswherepersonneland/orequipmenthazardsexist.
• Installandoperatethisequipmentinacabinetappropriatelyratedforitsintendedenvironmentandsecuredbyakeyedor
tooledlockingmechanism.
• Power line and output circuits must be wired and fused in compliance with local and national regulatory requirements for
the rated current and voltage of the particular equipment.
• Do not use this equipment in safety-critical machine functions.
• Donotdisassemble,repairormodifythisequipment.
• Do not connect wires to unused terminals and/or to terminals labelled “No connection (N.C.)”.
4.1.2 Fixed screw terminal blocks guidelines
Suitable wiring for power supply and I/O SELV
Step 5.08 mm (0.199 in.)
Ø 3.5 mm (0.14 in.)
mm2
AWG
0.2…2.5
24…14
0.2…2.5
24…14
0.25…2.5
22...14
2 x 0.25…1
2 x 22…18
2 x 0.2…1.5
2 x 24…16
2 x 0.2…1
2 x 24…18
2 x 0.5...1.5
2 x 20...16
mm
in.
7
0.28 C0.5...0.6
4.42...5.31
N•m
lb-in
0.25…2.5
22...14
Fig. 4. Suitable wiring for power supply and I/O SELV

1143W01E4.01 ·EV3 Web 07/2023
| 13 |
4.1.3 Permitted lengths of wiring
NOTICE
INOPERABLE DEVICE
• Whenconnectingtheprobes,thedigitalinputsandthepowersupply,usecableswithamaximumlengthof10m(32.80ft).
• Whenconnectingthepowersupplyofthecontrollerandtherelayoutputs,usecableswithamaximumlengthof10m(32.80ft.).
4.2 WIRING DIAGRAM
4 5 6
12
13 14 15
A+
USB
LT
RS-485
EV3 Web
ON
12
12
13 14 15
RS-485
ETHERNET
ETHERNET
9 10 11
Out4
Power Supply
Maximum 12 A
4 5 6
Pb1
ID3
9 10 11
B- GND
LD3
LD1
LD2
LD4
ON
12
ON
12
LT
LT
Fig. 5. Wiring diagram EV3 Web
TERMINALS
4-6 Power supply input USB USB 2.0 input for communication
5-6 Relay output Out2 (AUX)
ETHERNET
RJ45 connector to connect to Ethernet serial port
8-10 Digital input ID1 (Door switch)
LED
LD1 Red
Flasheswithmessagesfromsubnetwork
9-10 Digital input ID3 (Multifunction) (if P4=0)
Probe input Pb3 (if P4≠0)
LD2 Green StaysonifconnectedtoEPoCA
LD3 Red StaysonwithEthernetlink-up
11-10 AnalogueinputPb1 (Temperature) LD4 Green Stays on with Ethernet activity
13-14-15 RS-485 serial input LEDs off: No communication
LT 1ON = Termination resistor inserted
2 Reserved

1143W01E4.01 ·EV3 Web 07/2023
| 14 |
5. USER INTERFACE
5.1 INTERFACE
Fig. 6. EV3 Web user interface
5.2 TOUCH KEYS
Adescriptionofthetouchkeysisgivenbelow:
Key... Press and release to... Press for at least 3 seconds to...
• Scroll up through values
• Move within a menu
---
• Scroll down through values
• Move within a menu AccesstheFNCfunctionsmenu(functionsactivatedbykey)
--- Switch the device on/off (stand-by)
• Conrmvaluesonthedisplay
• Set the setpoint Enter the parameter menu
5.3 ICONS
Icon ON Flashing OFF
Temperature displayed in °C --- • Over-heating ON
• Over-cooling ON
Temperaturedisplayedin°F ---
• AUXfunctionON
• AUXdigitaloutputON --- AUXfunctionOFF
Compressor maintenance request
• Parameters being changed
• AccesstoFNCmenu(functionsactivated
bykey)
• ActiveconnectionwithEVconnect
---
Device off --- Device on

1143W01E4.01 ·EV3 Web 07/2023
| 15 |
5.4 CONTROLLER OPERATION
5.4.1 Switching the controller ON/OFF
With the function enabled (POF=1),pressthe keyforatleast3secondstoswitchthecontrolleron/off.
Fig. 7. Main screen Fig. 8. Controller off
5.4.2 Unlocking the keypad
Afteraboutoneminuteofinactivity,thedeviceautomaticallylocksthekeypad(thecodeLoc appears for a few seconds).
Tounlockthekeypad,holddownanykeyforabout3secondsuntilthecodeUnLappearstoconfirmthekeypadhasbeen
unlocked.
3 s
Fig. 9. Keypad locked Fig. 10. Conrmation keypad unlocked
5.4.3 Setting/changing the setpoint
Withthekeypadunlocked,touchandreleasethe keytoaccessthesetpointmenu.Scrollthevalueswiththe or
keysandtouch to confirm the setpoint value.
12
Fig. 11. Accessing the setpoint menu Fig. 12. Changing the setpoint

1143W01E4.01 ·EV3 Web 07/2023
| 16 |
5.4.4 Functions that can be activated by key
Tochoosethefunction,touchthe keyforatleast3secondstoaccessthefunctionmenu;usethe or keysto
scroll through and choose the following functions:
• RTC:sets/changestheclock;
• Pb1: displays the temperature read by probe Pb1;
5.4.5 Activating the AUX digital output by key
Withthekeypadunlocked,touchandreleasethe keytomanuallyactivatetheAUXdigitaloutput.TheAUXiconwillcome
on.
Fig. 13. Activating the AUX output by key
5.4.6 Accessing the parameters
Withthekeypadunlocked,touchthe keyforatleast3secondstoaccessandchangetheparameters.ThecodePA will
appear. Touch the keytoenterthepassword,scrollingwiththe or keysandconfirmingwiththe
key;thenusethe or keystoscrollthelistofparameters.
3 s
1
1
2
2
3 4
Fig. 14. Accessing the parameters

1143W01E4.01 ·EV3 Web 07/2023
| 17 |
6. REGULATORS
6.1 FAN
EV3 Web manages a fan according to the Pb1 probe temperature and the SP setpoint.
The configuration parameters are:
Par. Description UM Range
SP Temperature setpoint. °C/°F r1...r2
r0 Setpoint differential. °C/°F 0.1...15.0
r1 Minimum value attributable to setpoint. °C/°F -30.0...r2
r2 Maximum value attributable to setpoint. °C/°F r1...99.0
6.1.1 Operation
°C/°F
r0
t
t
Setpoint
Fig. 15. Operation of fan

1143W01E4.01 ·EV3 Web 07/2023
| 18 |
7. REMOTE COMMUNICATION CONFIGURATION
7.1 INTRODUCTION
EV3 Web can be configured to connect with EPoCA in two different ways:
• FromaPC (Windows only) through EPoCA.exe (online/ofine) which can be downloaded from the website:
https://www.evco.it/assets/doc/EVCO-EV3200Web_congurator_for_EPoCA.zip
• Fromasmartphone/tablet using the EPoCA START app.
Inbothcases,thedevicesmustbevisibleonthelocalnetwork.IfthelocalnetworkrequiresastaticIPaddress,configureusing
the micro-B USB cable.
Ifusedinasubnetwork,configuretheBLEparameterforeverydevicefrom1to10beforesearchingonthenetwork.
7.1.1 Configuration diagram when using a PC with direct connection via USB
EV3 Web USB micro-B
Modem
PC
RS-485 subnet
EV3
TTL/RS-485
RS-485
VColor 279 EVJ
TTL/RS-485
03/07/18 09:22
PRODUCTTEMPERATURE: -35.3°C LOG OUT
WORKING SETPOINT:-38.0°C LOGIN:ADMIN
CABINET
TEMPERATURE
STATUSOK
-35.8 °C
-17.
5
60
%
Over
Temp
Program01
Stop
°c
Fig. 16. Conguration diagram when using a PC - USB
7.1.2 Configuration diagram when using a PC with connection via Ethernet
EV3 Web
Modem
PC
Ethernet
RS-485 subnet
EV3
TTL/RS-485
RS-485
VColor 279 EVJ
TTL/RS-485
03/07/18 09:22
PRODUCTTEMPERATURE: -35.3°C LOG OUT
WORKING SETPOINT:-38.0°C LOGIN:ADMIN
CABINET
TEMPERATURE
STATUSOK
-35.8 °C
-17.560
%
Over
Temp
Program01
Stop
°c
Fig. 17. Conguration diagram when using a PC - Ethernet

1143W01E4.01 ·EV3 Web 07/2023
| 19 |
7.1.3 Configuration diagram when using a smartphone and the EPoCA START app.
RS-485 subnet
EV3
TTL/RS-485
RS-485
VColor 279 EVJ EV3 Web
Modem
Smartphone
TTL/RS-485
11:01
76%
?
?
Configure EVLink
Plant List
Settings
EPoCA
03/07/18 09:22
PRODUCTTEMPERATURE: -35.3°C LOGOUT
WORKING SETPOINT:-38.0°C LOGIN:ADMIN
CABINET
TEMPERATURE
STATUSOK
-35.8 °C
-17.
5
60
%
Over
Temp
Program01
Stop
°c
Fig. 18. Conguration diagram when using a smartphone
7.2 FIRST CONFIGURATION
7.2.1 Configuration using a PC
Connecting using a micro-B USB cable
1. Connect the micro-B USB cable from the PC to the device;
2. MakesureEPoCA.exe has been installed in the PC and boot up EPoCA.exe;
3. SetthePlantandDevicedata,savethecongurationbypressing and continue by pressing
Next
;
3
Next
Prev
1. Plant Configuration
EPOCA
Plant Name:
Plant Password:
Plant Category:
Device Name:
Serial Code:
Plant ID:
Build:
Last Reset:
Mac address:
Internet Status:
Save Config.
Export plant fileUpload plant file
Erase Config.
Fig. 19. Selecting the device and conguring the Plant and Device
N.B.: Save to continue with configuration by pressing .
NOTICE
WRONG OR FORGOTTEN ACCESS CREDENTIALS
Keep your access credentials in a safe place.
caseofincorrectorlostlogincredentials,loginusingaUSBcabletoskiptheloginprocedure.
Other commands:
Command Description
Erase Config. Cancels current configuration
Save Config. Saves current configuration
Upload Plantfile Uploads a previously saved plant file
Export Plantfile Saves the plant file in a folder chosen by the user

1143W01E4.01 ·EV3 Web 07/2023
| 20 |
4. Setthedate,timeandlocaltimeusedandpress
Next
;
5. Set the name of the controllers connected via RS-485 to EV3 Web and press
Next
;
4 5
Next
Prev
2. Date and Time
EPOCA
Day, NN MM YYYY hh:mm:ss
Daylight saving time Addr. 1
Off
Set local time
Next
Prev
3. Controllers
EPOCA
Autoaddress
Com1
On Line
On Line
Off Line
Off Line
Off Line
Off Line
Off Line
Off Line
Off Line
Off Line
Name Name
Name
Addr. 2
Addr. 3
Addr. 4
Addr. 5
Addr. 6
Addr.7
Addr. 8
Addr. 9
Addr. 10
Name
Name
Name
Name
Name
Name
Name
Name
Name
Fig. 20. Selecting the device and conguring the Plant and Device
Autoaddress
:ifthedevicesareswitchedononeatatime,thiskeyautomaticallyconfigurestheBLE parameter of the
device being switched on.
EV3 Web
Modem
Ethernet
RS-485 subnet
TTL/RS-485
BLE=1
COM1
BLE=2
BLE=3
RS-485
TTL/RS-485
03/07/18 09:22
PRODUCTTEMPERATURE: -35.3°C LOG OUT
WORKING SETPOINT:-38.0°C LOGIN:ADMIN
CABINET
TEMPERATURE
STATUSOK
-35.8 °C
-17.
5
60
%
Over
Temp
Program01
Stop
°c
Fig. 21. Diagram of subnetwork and BLE conguration
Toeraseadeviceanditsfailedconfiguration,pressAddr. X.Apop-upappearswhereyoucanchoosetoerasetherecordings
or the configuration of the device.
Erase
Close
Erase memory
Device configuration
Device data recording
Fig. 22. Pop-up to erase memory
6. Set the type of IP address and press
Next
;
7. Set the Modbus RTU and Modbus TCP communication parameters and press
Next
;
8. Press tocompletecongurationofthedevice.
6 7
Next
Prev
4. IP Address
EPOCA
IP address:
Dynamic
Next
Prev
EPOCA
Configure
Next
Prev
4. IP Address
EPOCA
Static
IP address
Netmask
Gateway
Dns 1
Dns 2
0.0.0.0
0.0.0.0
0.0.0.0
0.0.0.0
0.0.0.0
6
Fig. 23. Selecting the type of IP address and end of conguration
Other manuals for EV3 WEB
1
Table of contents
Other Evco Controllers manuals

Evco
Evco EVF215 User manual

Evco
Evco EV3 CHIL User guide

Evco
Evco EVXV 800 Series User guide

Evco
Evco Vcolor 318 M User manual

Evco
Evco EV3 HRV Instructions for use

Evco
Evco EV3401 User manual

Evco
Evco EVBOX Light J500 Series User manual

Evco
Evco EVJ 500 Series User manual

Evco
Evco EV3802 User manual

Evco
Evco EV3143 User manual

Evco
Evco EV3221 User manual

Evco
Evco c-pro 3 micro AHU User manual

Evco
Evco c-pro 3 micro AHU User manual

Evco
Evco EV3 MVC Series Instructions for use

Evco
Evco EVBOX Light JS200 User manual

Evco
Evco EVJ 200 Series User manual

Evco
Evco EVJ254 User manual

Evco
Evco EV8338 User manual

Evco
Evco Vcolor 539 Series User guide

Evco
Evco EV3 Mix User manual