manuals.online logo
Brands
  1. Home
  2. •
  3. Brands
  4. •
  5. Excellent
  6. •
  7. Bathroom Fixture
  8. •
  9. Excellent ARDA User manual

Excellent ARDA User manual

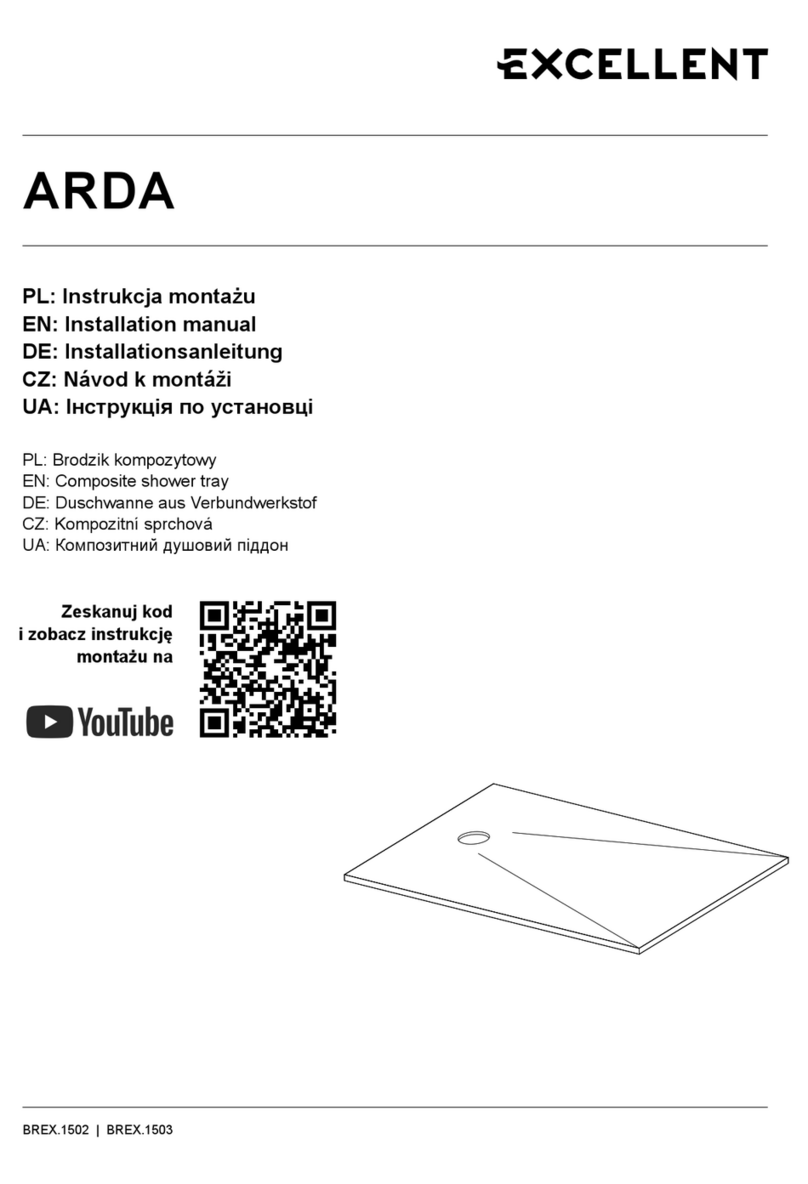
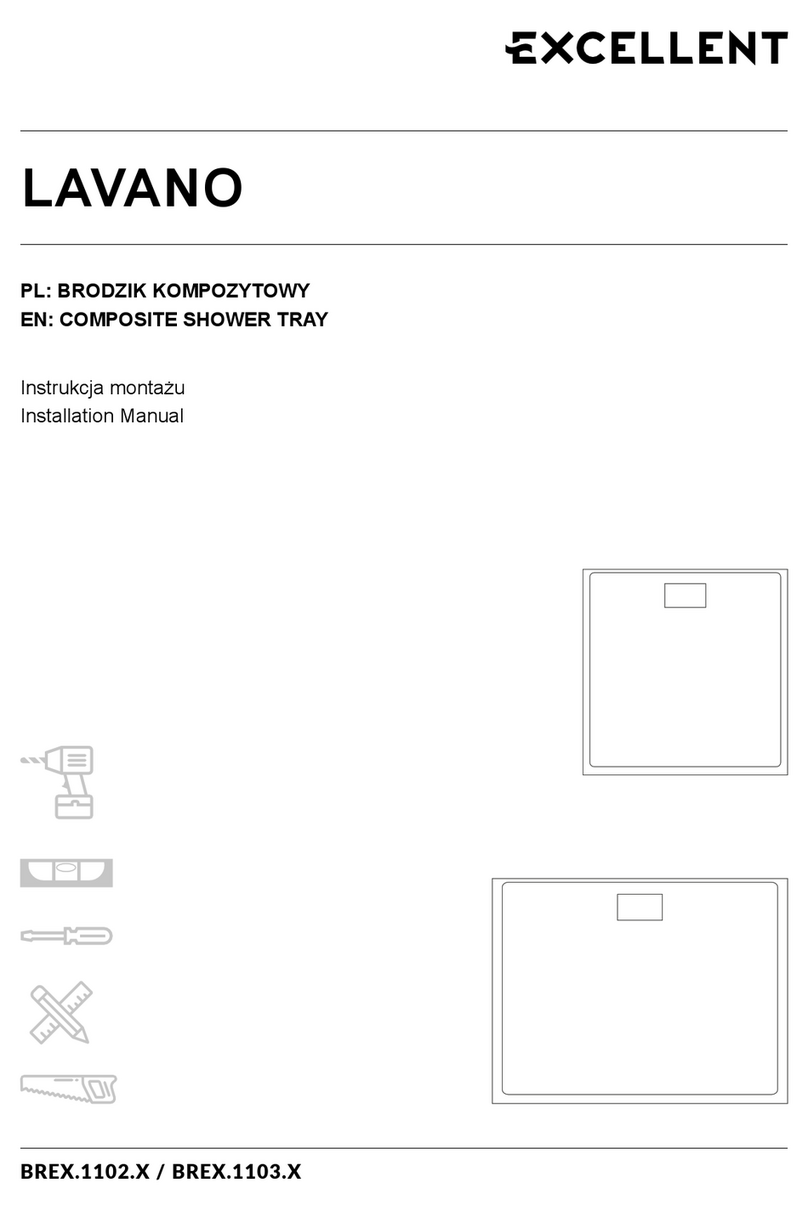
ARDA
BREX.1503.X
PL: BRODZIK PRYSZNICOWY KOMPOZYTOWY
EN: COMPOSITE SHOWER TRAY
Instrukcja montażu
Installation Manual
1
PL: Brodzik umożliwia docinanie do wymiaru i kształtu. W tym celu zaleca się użycie
standardowych elektronarzędzi. Podczas docinania należy zachować ostrożność,
aby nie uszkodzić powłoki brodzika.
EN: This shower tray can be cut to size and shape. It is suggested to use typical power
tools for this purpose. Cauon is advised when cung, to not damage the coang
on top of the shower tray.
PL: Spadek spływu
EN: Surface slope
Wycinanie | Cung to size
2
Przed montażem | Before installaon
2.
PL: Zaznaczyć otwór na odpływ i wpisać go
w kwadrat o wymiarach: 190x190 mm
i wykuć go na głębokość 20 mm.
EN: Mark the waste trap hole and inscribe
it into a 190 x 190 mm square. Carve it to
the depth of 20 mm.
3.
PL: W przygotowanym kwadracie należy
umieścić centralnie syfon i wykuć centralnie
miejsce na jego wysokość, a następnie
podłączyć do instalacji odpływowej.
Po wykonaniu tych czynności należy
sprawdzić szczelność instalacji.
EN: The waste trap should be placed in the
middle of the prepared square. In order to do
that carve the floor further down to fit the
height of the trap. Connect it to the drainpipe
and aerwards check if the connecon is
waterght.
1.
PL: Powierzchnia, na której będzie instalowany
brodzik musi być wypoziomowana i równa.
EN: The surface on which the shower tray
will be installed must be flat and leveled.
3
4.
PL: Rozprowadź równomiernie minimalną
ilość elastycznego kleju do płytek (zalecany
grzebień 3-4 mm).
EN: Spread a small amount of elasc le
adhesive evenly (3-4 mm comb).
5.
PL: Na spód brodzika nałożyć cienką
(minimalną) warstwę kleju elastycznego do
płytek. Ułożyć brodzik na kleju elastycznym
i docisnąć go równomiernie tak, aby nadmiar
kleju został wypchnięty, a następnie nadmiar
należy usunąć.
EN: Spread a minimal amount of elasc le
adhesive on the boom of the shower tray.
Place the shower tray in place and press it
down evenly so that the excess glue will be
pushed out. Remove the excess.
4
6.
PL: Sprawdzić wypoziomowanie brodzika na
wszystkich jego zewnętrznych krawędziach.
EN: Check the leveling of all the outer edges
of the shower tray.
7.
PL: Sprawdź prostoliniowość powierzchni,
w miejscu pokazanym na rysunku, aby spływ
wody był prawidłowy.
EN: Check if the surface marked on the picture
is straight so that the water drainage will
be correct.
5
9.
PL: Przykręcić syfon do brodzika.
EN: Screw the siphon to the shower tray.
8. Uwaga | Warning
PL: Po osadzeniu brodzika pozostrawić
go na 24 godziny i nie należy go obciążać.
EN: Aer pung the shower tray in place
leave it for 24 hours. Do not put any weight
on it.
PL: Przymontażu na płytkach ceramicznych lub innej wykończonej powierzchni, należy
EN: When installing on ceramic les or other finished surface seal the outer edges of the
uszczelnić zewnętrzne krawędzie brodzika silikonem.
Pr zymontażu bezpośrednio na betonowej podłodze po zostawić co najmniej 3 mm
odstępu między płytkami a brodzikiem. Wypełnić lukę uszczelniaczem silikonowym (np.
klejem MS Polimer).
Uwaga | Warning
shower tray with a neutral silicone.
When installing directly on the concrete floor leave a gap of at least 3 mm between
theles and the shower tray. Fill the gap with a silicone sealant (i.e. MS Polymer)
6
PL: Brodziki są odporne na działanie większości chemikaliów powszechnie używanych
w domu. Należy zachować ostrożność przy stosowaniu kwasowych środkówczyszczących
(zwłaszcza na bazie kwasu octowego). Długotrwała ekspozycja dla tych substancji może
powodować trwałe uszkodzenie powierzchni. Rozlane środki czyszczą ce należy szybko
spłukać (w ciągu 2 minut).
EN: These shower trays are resistant to most chemicals commonly used at home. Cauon
is required when using acidic cleaning agents (especially acec acid based). Prolonged
exposion to those may cause permanent surface damage. Spills of such cleaning
agents should be rinsed quickly (within 2 minutes).
Odporność chemiczna | Chemical resistance
Excellent SA
32-003 Podłęże 662
Tel.: 12 657 18 87
e-mail: [email protected]
www.excellent.com.pl

Other Excellent Bathroom Fixture manuals
Excellent ARDA User manual

Excellent

Excellent ARDA User manual

Excellent Vidoq KAEX.1506 User manual

Excellent

Excellent Vidoq KAEX.1506 User manual

Excellent AREX.3080CR User manual

Excellent

Excellent AREX.3080CR User manual

Excellent PI AREX.1233CR User manual

Excellent

Excellent PI AREX.1233CR User manual

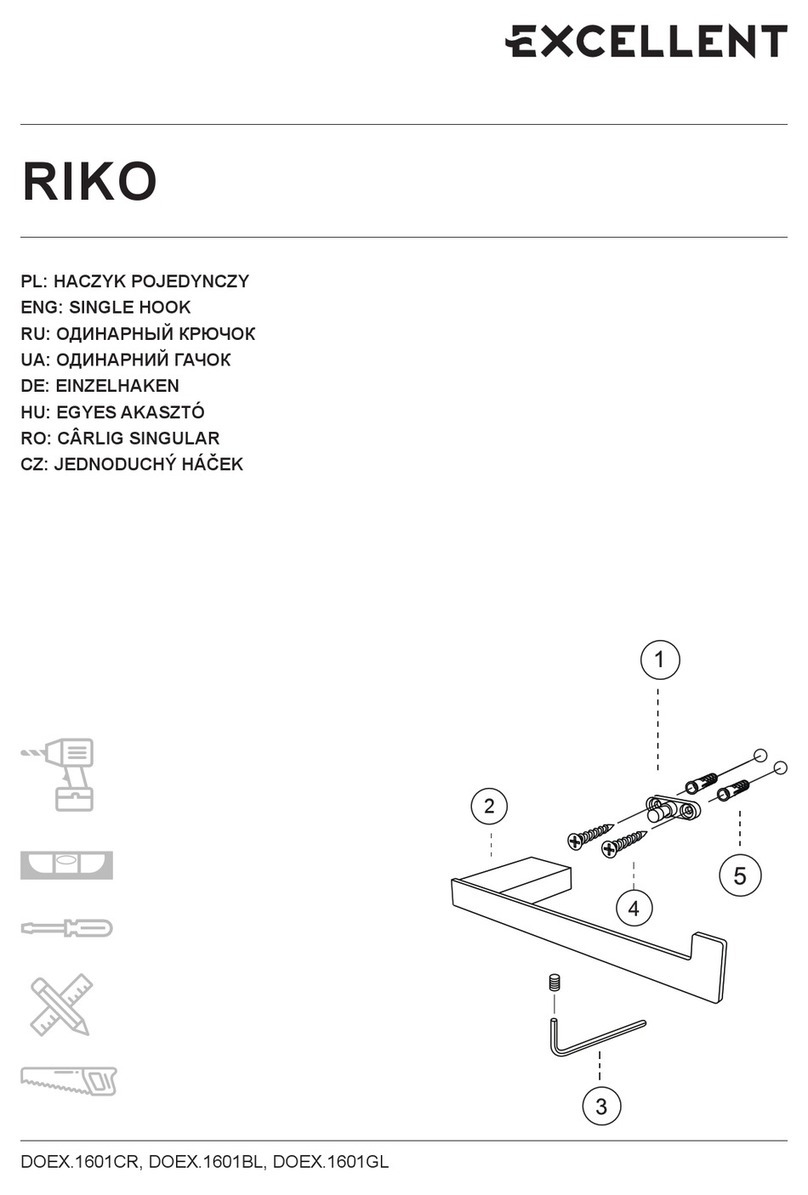
Excellent RIKO User manual

Excellent

Excellent RIKO User manual

Excellent GRAVIO User manual

Excellent

Excellent GRAVIO User manual

Excellent Dakota 2.0 CEEX.4022.D2 Series User manual

Excellent

Excellent Dakota 2.0 CEEX.4022.D2 Series User manual

Excellent AURRO FRESH User manual

Excellent

Excellent AURRO FRESH User manual

Excellent MAZO KAEX.3005 User manual

Excellent

Excellent MAZO KAEX.3005 User manual

Excellent MAZO KAEX.3005 User manual

Excellent

Excellent MAZO KAEX.3005 User manual

Excellent LINER KAEX.2940 User manual

Excellent

Excellent LINER KAEX.2940 User manual

Excellent SHIRO User manual

Excellent

Excellent SHIRO User manual

Excellent Mjosa User manual

Excellent

Excellent Mjosa User manual

Excellent KROTOS AREX.8025CR User manual

Excellent

Excellent KROTOS AREX.8025CR User manual

Excellent TORVI User manual

Excellent

Excellent TORVI User manual

Excellent ARDA User manual

Excellent

Excellent ARDA User manual
Excellent AREX.1255CR User manual

Excellent

Excellent AREX.1255CR User manual
Excellent LAVANO BREX.1102 Series User manual

Excellent

Excellent LAVANO BREX.1102 Series User manual

Excellent RIKO DOEX.1601CR Installation guide

Excellent

Excellent RIKO DOEX.1601CR Installation guide

Excellent SEDURO PREMIUM User manual

Excellent

Excellent SEDURO PREMIUM User manual
Popular Bathroom Fixture manuals by other brands

Graff LMB40-BS installation instructions

Graff

Graff LMB40-BS installation instructions

Twyford Hydr8 instruction manual

Twyford

Twyford Hydr8 instruction manual

Rubi ABYSS RAB22D Installation

Rubi

Rubi ABYSS RAB22D Installation

Project Source F5120021CP manual

Project Source

Project Source F5120021CP manual

Kohler Mira Platinum Dual installation guide

Kohler

Kohler Mira Platinum Dual installation guide

Levaqua 200 Series instruction manual

Levaqua

Levaqua 200 Series instruction manual

Kohler Mira Showers Escape Thermostatic 9.0 kW user guide

Kohler

Kohler Mira Showers Escape Thermostatic 9.0 kW user guide

Fleurco Gemini NPU5432-25-40 installation manual

Fleurco

Fleurco Gemini NPU5432-25-40 installation manual

Haws 8300.158 Installation, operation & maintenance instructions

Haws

Haws 8300.158 Installation, operation & maintenance instructions

Hewi 805 Classic Series Mounting instructions

Hewi

Hewi 805 Classic Series Mounting instructions

Hewi 900 Installation and operating instructions

Hewi

Hewi 900 Installation and operating instructions

Sanela SLZN 83EVR Instructions for use

Sanela

Sanela SLZN 83EVR Instructions for use

Aurlane CAB240 installation instructions

Aurlane

Aurlane CAB240 installation instructions

Kamalu M6000 Installation instruction

Kamalu

Kamalu M6000 Installation instruction

Porcelanosa noken SLATE 100259692 N343120060 manual

Porcelanosa

Porcelanosa noken SLATE 100259692 N343120060 manual

Argent BATH FILLER Care & Installation Guide

Argent

Argent BATH FILLER Care & Installation Guide

Evolve EV3040 Installation

Evolve

Evolve EV3040 Installation

Hans Grohe AXOR One 75 1jet 48651 Series Assembly instructions

Hans Grohe

Hans Grohe AXOR One 75 1jet 48651 Series Assembly instructions

manuals.online logo
manuals.online logoBrands
  • About & Mission
  • Contact us
  • Privacy Policy
  • Terms and Conditions

Copyright 2025 Manuals.Online. All Rights Reserved.