manuals.online logo
Brands
  1. Home
  2. •
  3. Brands
  4. •
  5. Excellent
  6. •
  7. Bathroom Fixture
  8. •
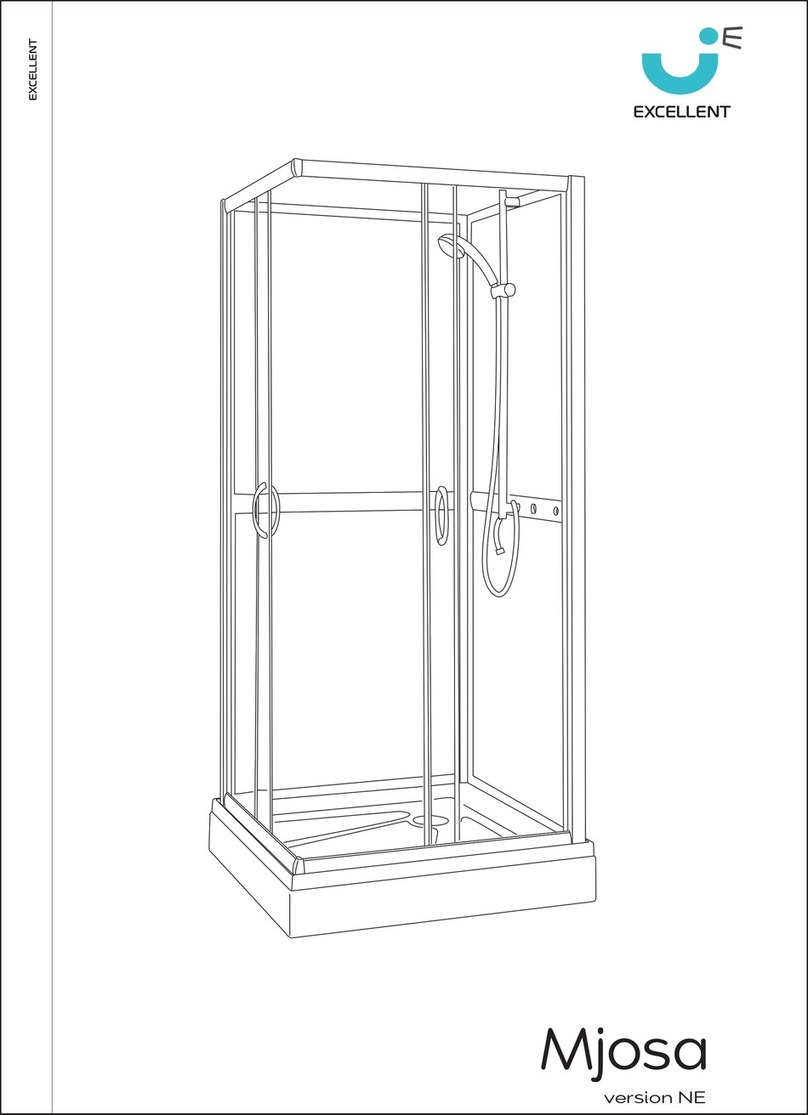
  9. Excellent ARDA User manual

Excellent ARDA User manual

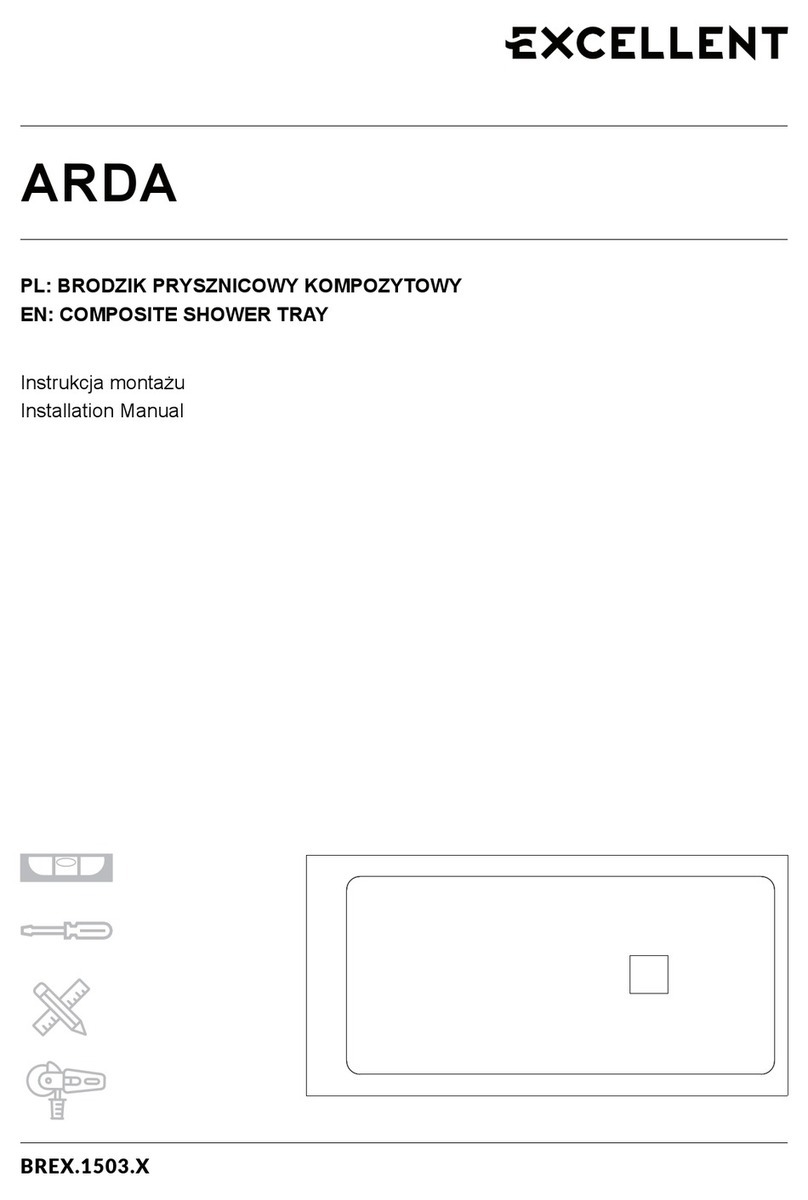
ARDA
PL: BRODZIK PRYSZNICOWY KOMPOZYTOWY
EN: COMPOSITE SHOWER TRAY
Instrukcja montażu
Installation Manual
BREX.1504.x
1
PL:83&A-0 <13৹£->-! &3$-2!2-' &3 >@1-!8< - 09A;!Ě;<W  ;@1 $'£< A!£'$! 9-õ <৹@$-'
9;!2&!8&3> @$, '£'0;832!8Aõ&A-W 3&$A!9 &3$-2!2-! 2!£'৹@ A!$,3>!ࣗ 39;83৹23ঔࣗT
!#@ 2-' <9A03&A-ࣗ 63>Ě30- #83&A-0!W
EN:,-9 9,3>'8 ;8!@ $!2 #' $<; ;3 9-A' !2& 9,!6'W
; -9 9<++'9;'& ;3 <9' ;@6-$!£ 63>'8
;33£9 (38 ;,-9 6<8639'W !<ধ32 -9 !&=-9'& >,'2 $<ষ2+T ;3 23; &!1!+' ;,' $3!ধ2+
32 ;36 3( ;,' 9,3>'8 ;8!@W
PL: 6!&'0 96Ě@><
EN: Surfaceslope
Wy$-2!2-' d <ষ2+ ;3 9-A'
PL:Spadek spływu
EN:Surface slope
2
2
Przed montażem |
2.
PL:Zaznaczyćotwór na odpływ i wpisać go
w kwadrat o wymiarach:190x190 mm
i wykuć go na głębokość 20 mm.
EN:Mark the waste trap hole and inscribe
it into a 190 x 190 mm square.Carve it to
the depth of 20 mm.
3.
PL:W przygotowanym kwadracie należy
umieścić centralnie syfon i wykuć centralnie
miejsce na jego wysokość, a następnie
podłączyć do instalacji odpływowej.
Po wykonaniu tych czynności należy
sprawdzić szczelność instalacji.
EN:Thewaste trap should be placed in the
middle of the prepared square.In order to do
that carvethe oor further down to t the
height of the trap. Connect it to the drainpipe
1.
PL:Powierzchnia, na której będzie instalowany
brodzik musi być wypoziomowana i równa.
EN:The surface on which the shower tray
will be installed must be at and leveled.
3
4.
PL:Rozprowadźrównomiernie minimalną
ilość elastycznego kleju do płytek (zalecany
grzebień 3-4 mm).
EN:
adhesive evenly (3-4 mm comb).
5.
PL:Naspód brodzika nałożyć cienką
(minimalną)warstwę kleju elastycznego do
płytek. Ułożyć brodzik na kleju elastycznym
i docisnąć go równomiernie tak, aby nadmiar
kleju został wypchnięty, a następnie nadmiar
należy usunąć.
EN:
Placethe shower tray in place and press it
down evenly so that the excessglue will be
pushed out. Remove the excess.
4
6.
PL:Sprawdzićwypoziomowanie brodzika na
wszystkich jego zewnętrznych krawędziach.
EN:Checkthe leveling of all the outer edges
of the shower tray.
7.
PL:Sprawdźprostoliniowość powierzchni,
w miejscu pokazanym na rysunku, aby spływ
wody był prawidłowy.
EN:Checkif the surface marked on the picture
is straight so that the water drainagewill
be correct.
5
9.
PL:Przykręcić syfon do brodzika.
EN:Screwthe siphon to the shower tray.
8. Uwaga | Warning
PL:Poosadzeniu brodzika pozostrawić
go na 24 godziny i nie należy go obciążać.
EN:
leaveit for 24 hours.Do not put any weight
on it.
6
PL: Przy montażu na płytkach ceramicznychlub innej wykończonej powierzchni, należy
EN:
uszczelnićzewnętrzne krawędzie brodzika silikonem.
Przy montażu bezpośredniona betonowej podłodze po zostawić conajmniej 3 mm
odstępu między płytkami a brodzikiem. Wypełnić lukę uszczelniaczemsilikonowym (np.
klejem MS Polimer).
Uwaga | Warning
shower tray with a neutral silicone.
When installingdirectly on the concreteoor leave a gapof at least 3 mm between
PL:Brodziki sąodporne na działanie większości chemikaliów powszechnie używanych
w domu. Należy zachować ostrożność przy stosowaniu kwasowych środków czyszczących
(zwłaszcza na bazie kwasu octowego). Długotrwała ekspozycjadla tych substancjimoże
powodować trwałe uszkodzenie powierzchni. Rozlane środki czyszczące należy szybko
spłukać (w ciągu2 minut).
EN:
agents shouldbe rinsed quickly (within 2 minutes).
Odporność chemiczna | Chemicalresistance
7
Excellent SA
32-003 Podłęże 662
Tel.: 12 657 18 87
e-mail: [email protected]
www.excellent.com.pl

Other Excellent Bathroom Fixture manuals
Excellent SEDURO PREMIUM User manual

Excellent

Excellent SEDURO PREMIUM User manual

Excellent PI AREX.1233CR User manual

Excellent

Excellent PI AREX.1233CR User manual

Excellent ARDA User manual

Excellent

Excellent ARDA User manual

Excellent Dakota 2.0 CEEX.4022.D2 Series User manual

Excellent

Excellent Dakota 2.0 CEEX.4022.D2 Series User manual

Excellent KROTOS AREX.8025CR User manual

Excellent

Excellent KROTOS AREX.8025CR User manual

Excellent Vidoq KAEX.1506 User manual

Excellent

Excellent Vidoq KAEX.1506 User manual

Excellent AREX.1255CR User manual

Excellent

Excellent AREX.1255CR User manual

Excellent GRAVIO User manual

Excellent

Excellent GRAVIO User manual

Excellent Mjosa User manual

Excellent

Excellent Mjosa User manual

Excellent AURRO FRESH User manual

Excellent

Excellent AURRO FRESH User manual

Excellent LAVANO BREX.1102 Series User manual

Excellent

Excellent LAVANO BREX.1102 Series User manual

Excellent ARDA User manual

Excellent

Excellent ARDA User manual

Excellent RIKO User manual

Excellent

Excellent RIKO User manual

Excellent AREX.3080CR User manual

Excellent

Excellent AREX.3080CR User manual

Excellent TORVI User manual

Excellent

Excellent TORVI User manual

Excellent RIKO DOEX.1601CR Installation guide

Excellent

Excellent RIKO DOEX.1601CR Installation guide

Excellent SHIRO User manual

Excellent

Excellent SHIRO User manual

Excellent MAZO KAEX.3005 User manual

Excellent

Excellent MAZO KAEX.3005 User manual
Excellent MAZO KAEX.3005 User manual

Excellent

Excellent MAZO KAEX.3005 User manual
Excellent LINER KAEX.2940 User manual

Excellent

Excellent LINER KAEX.2940 User manual
Popular Bathroom Fixture manuals by other brands
Samo AMERICA B6805 Assembly instruction

Samo

Samo AMERICA B6805 Assembly instruction

Sanela SLUN 26A Mounting instructions

Sanela

Sanela SLUN 26A Mounting instructions

brondell SimpleSpa SS-201 installation instructions

brondell

brondell SimpleSpa SS-201 installation instructions

DURAVIT Vero Air 0030371000 Mounting instructions

DURAVIT

DURAVIT Vero Air 0030371000 Mounting instructions

Duscholux DLight AIR LED installation instructions

Duscholux

Duscholux DLight AIR LED installation instructions

Triton ENVI user guide

Triton

Triton ENVI user guide

Hewi 815.21.100 Series Mounting instructions

Hewi

Hewi 815.21.100 Series Mounting instructions

Arjo BCA 1201-04 Instructions for use

Arjo

Arjo BCA 1201-04 Instructions for use

Kallista P22731 installation instructions

Kallista

Kallista P22731 installation instructions

DURAVIT Ketho KT753301818 Operating and mounting instructions

DURAVIT

DURAVIT Ketho KT753301818 Operating and mounting instructions

Steinbach Steinbach SolarduscheSlim Line Duo manual

Steinbach

Steinbach Steinbach SolarduscheSlim Line Duo manual

ALEX BAITLER AB219 manual

ALEX BAITLER

ALEX BAITLER AB219 manual

Rak Ceramics RAK-JOY Mounting instructions

Rak Ceramics

Rak Ceramics RAK-JOY Mounting instructions

Pressalit MATRIX R482219 Mounting instruction

Pressalit

Pressalit MATRIX R482219 Mounting instruction

Whale Twist DS0003B manual

Whale

Whale Twist DS0003B manual

Gessi 316 54083 manual

Gessi

Gessi 316 54083 manual

Zenna Home 35605SS04 installation instructions

Zenna Home

Zenna Home 35605SS04 installation instructions

Karat K-17920X Installation and care guide

Karat

Karat K-17920X Installation and care guide

manuals.online logo
manuals.online logoBrands
  • About & Mission
  • Contact us
  • Privacy Policy
  • Terms and Conditions

Copyright 2025 Manuals.Online. All Rights Reserved.