manuals.online logo
Brands
  1. Home
  2. •
  3. Brands
  4. •
  5. Fermax
  6. •
  7. Intercom System
  8. •
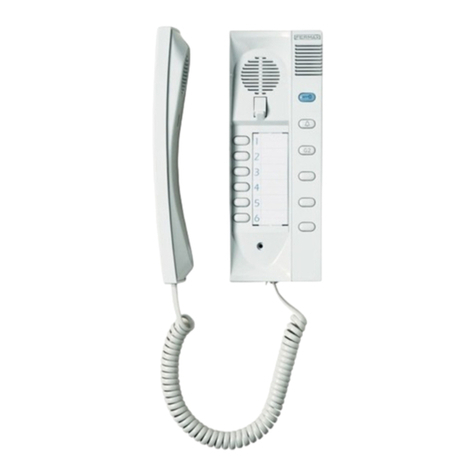
  9. Fermax iLOFT VDS Extra User manual

Fermax iLOFT VDS Extra User manual

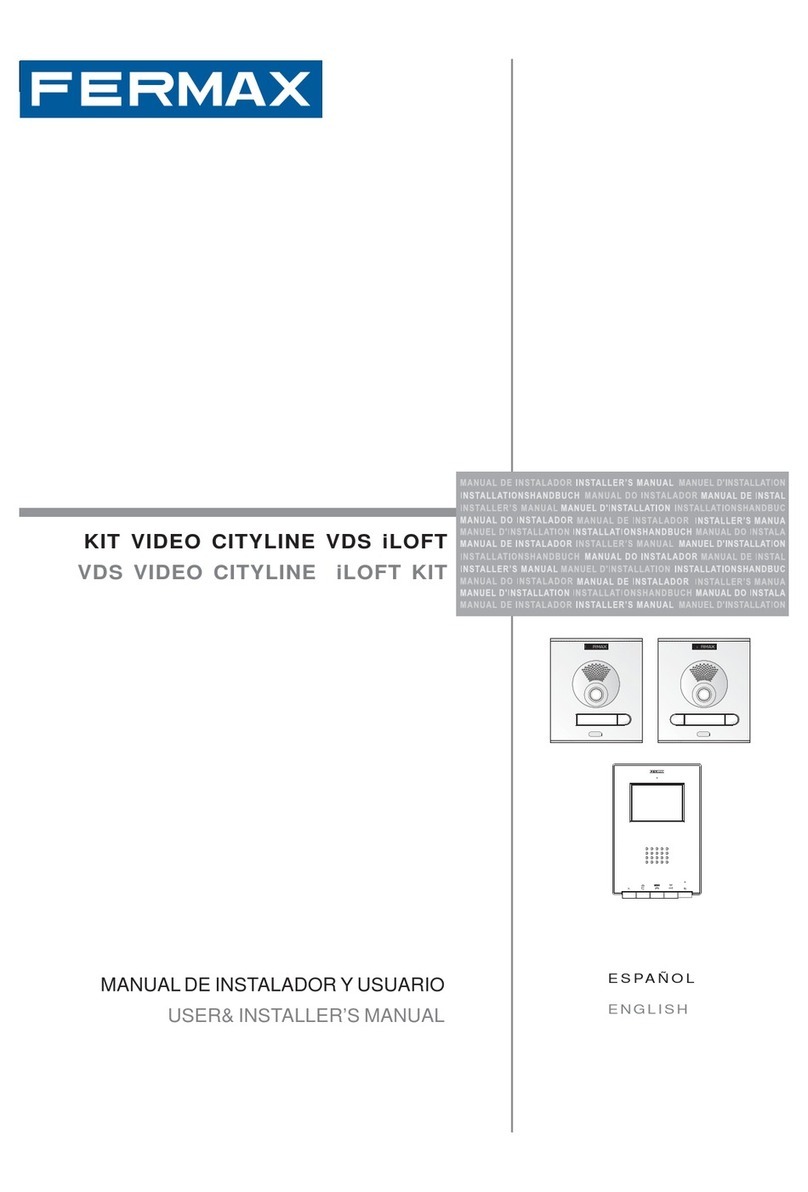
iLOFT VDS Extra
COD.: 97646b V04_14
E
Botón de abrepuertas / llamada a conserje (función disponible según tipo de instalación).
· Al pulsar este botón se activa el abrepuertas. Es posible abrir la puerta en cualquier momento.
· Con el teléfono colgado, al pulsar este botón se realiza una llamada al conserje (si existe conserjería).
EN
Lock release button / Call guard unit (function available depending on the installation’s type).
· Pressing this button activates the lock-release. The door can be opened at any time.
· When you press this button with the telephone on the hook, a call will be made to the guard (*where one exists).
F
Bouton-poussoir de la gâche électrique / appel au concierge (fonction disponible selon le type d’installation)
· Si l’on appuie sur cette touche, la gâche électrique est activée. On peut ouvrir la porte à tout moment.
·Lorsquelecombinéest raccroché, enappuyant sur cettetouche, un appelau concierge est effectué (s’ily a uneconciergerie).
D
Türöffnertaste / Portierruf (Funktion verfügbar je nach Installationstyp):
· Durch Drücken dieser Taste wird der Türöffner aktiviert.
· Bei aufgelegtem Hörer, wird durch Drücken dieser Taste ein Anruf zur Portierzentrale hergestellt (falls vorhanden).
P
Botão do trinco / chamada ao porteiro (função disponível segundo o tipo de instalação).
· Ao premir este botão, activa-se o trinco. É possível abrir a porta a qualquer momento.
· Com o telefone desligado, premir este botão permite realizar uma chamada ao porteiro (se existir portaria).
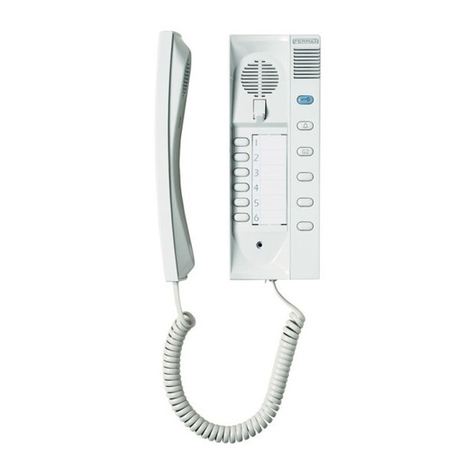
Teléfono - Telephone - Poste
Telefon - Telefone
E
BOTONES
EN
BUTTONS
F
BOUTONS
D
TASTE
P
BOTÃOS
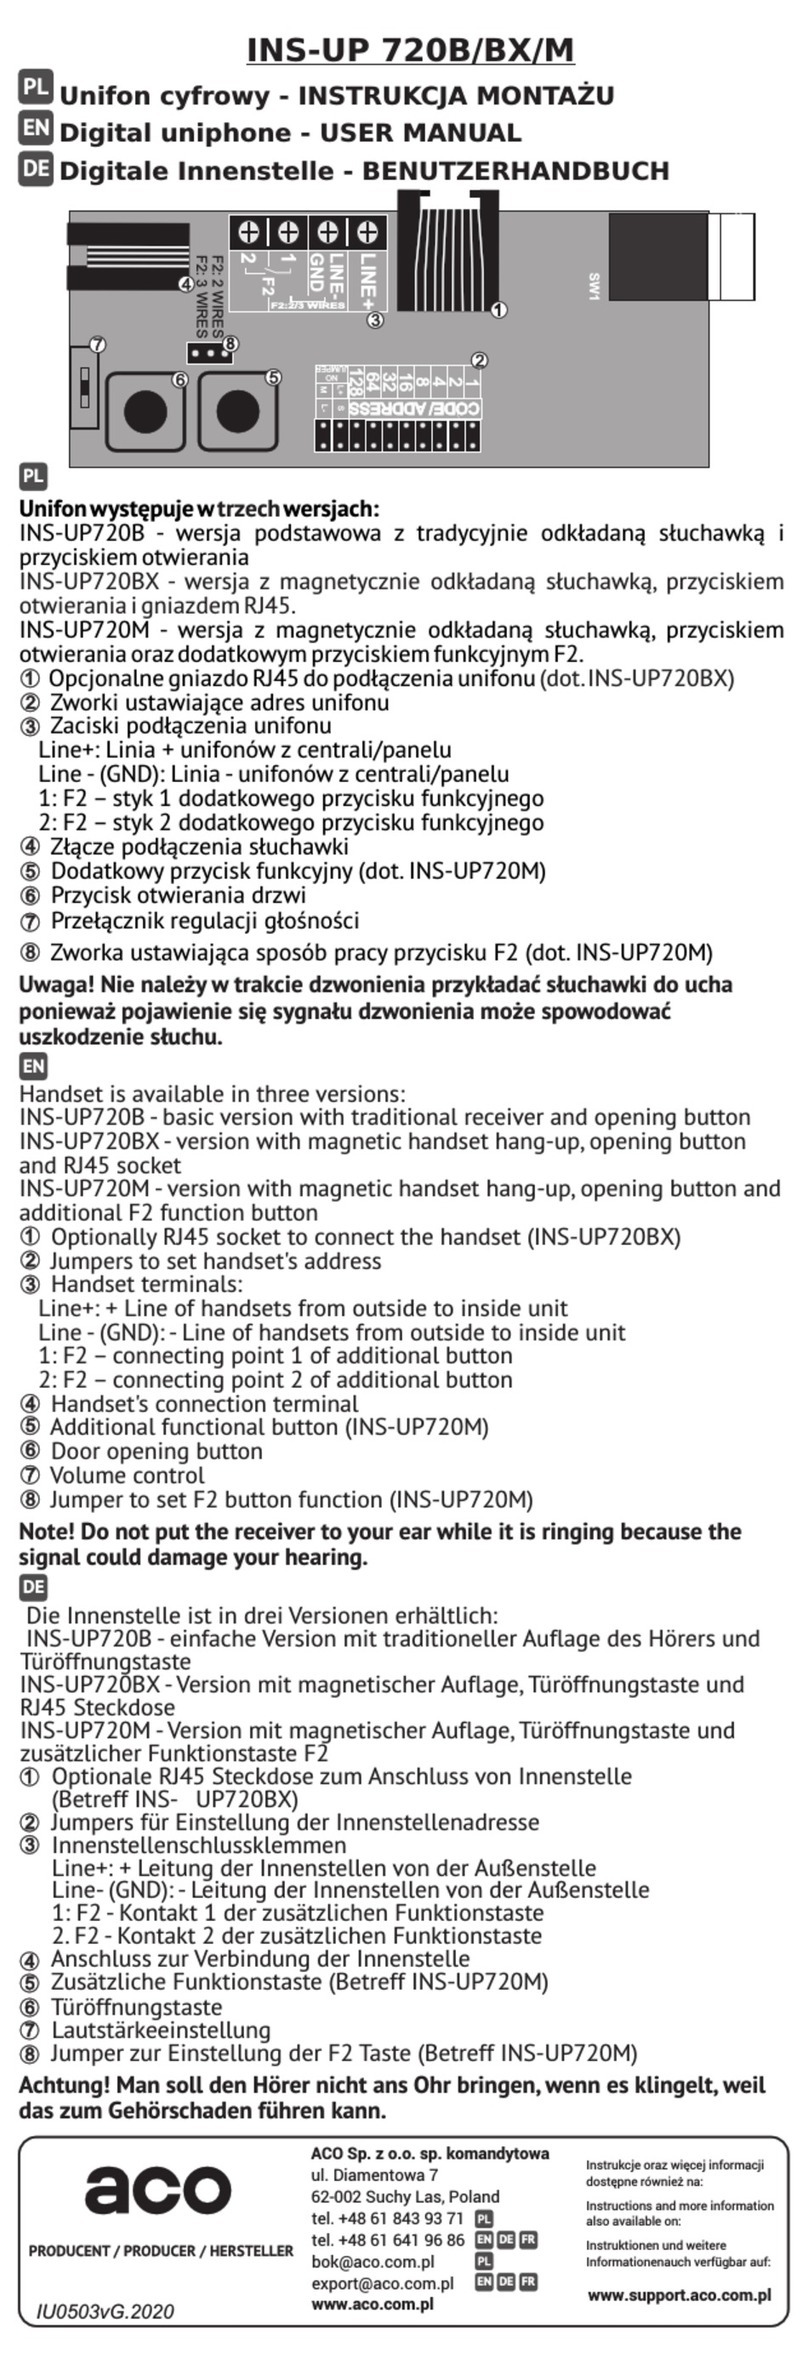
LED
rojo/red/rouge/rot/vermelho
LED
verde/green/verte/grün/verde
LED
azul/blue/bleue/blau/azul
MICRO
Botones/Buttons/Boutons/Tasten/Botãos
E
Botón de activación de Audio, Colgado y Autoencendido.
·Al recibir una llamada se dispone de 30 segundos para contestar. El led azul parpadea durante ese tiempo indicando llamada
pendiente.
· Activación de audio: Al recibir una llamada pulsar y soltar este botón para hablar con el visitante. Se abre el canal de audio
en sentido calle y vivienda, el funcionamiento es en modo manos libres. El led azul permanecerá encendido indicando con-
versación con placa de calle.
· Colgado: pulsar para finalizar la comunicación, si no la conversación finalizará en 90 segundos.
· Autoencendido (placa principal): en reposo, pulsar y soltar este botón, (el led azul se enciende).
EN
Audio activation, hang up and auto-start button.
· On receiving a call the user has 30 seconds to answer. The blue led flashes during this time to indicate a call waiting.
· Audio activation: When a call is received, press and release this button to speak to the visitor. The audio channel between
the entry panel and the residence is opened; operating in hands-free mode. The blue led will remain on indicating that a con-
versation with the entry panel is underway. .
· Hang-Up: press to end communication, if not the conversation will be disconnected after 90 seconds.
· Auto-start (main panel): on standby, press and release this button (the blue led lights up).
F
Bouton d’activation du son, pour raccrocher et pour l’allumage automatique
· Lorsqu’il y a appel, on dispose de 30 secondes pour répondre. La DEL bleue clignote pendant cette durée, indiquant de la
sorte qu’il y a un appel en cours.
· Activation du son : si vous recevez un appel, appuyez sur ce bouton et relâchez-le pour parler avec le visiteur. Le canal audio
sens rue-logement s’active et le tout fonctionne en mode mains libres. La DEL bleue reste allumée, indiquant de la sorte qu’il
y a une communication en cours avec la platine de rue.
· Pour raccrocher : appuyez sur cette touche pour mettre fin à la communication. Dans le cas contraire, la conversation prend
fin au bout de 90 secondes.
· Allumage automatique (platine principale) : en mode veille, appuyez sur cette touche et relâchez-la (la DEL bleue s’allume).
D
Taste für Audioaktivierung, Auflegen und Eigenstart.
· Geht ein Anruf ein, hat man 30 Sekunden Zeit zum Antworten. Die blaue LED blinkt während dieser Dauer und zeigt den
eingehenden Anruf an.
· Audioaktivierung: Drücken Sie bei einem eingehenden Anruf auf diese Taste, um mit dem Besucher zu sprechen. Der Au-
diokanal wird in Richtung Türstation und Wohnung freigegeben und auf Freisprechbetrieb geschaltet. Die blaue LED leuchtet
während des Sprechverkehrs mit der Türstation.
· Auflegen: Drücken, um das Gespräch zu beenden, ansonsten wird das Gespräch nach 90 Sekunden automatisch beendet.
· Eigenstart (Haupttürstation): Im Bereitschaftsmodus, diese Taste drücken und los lassen (die blaue LED leuchtet auf).
Potenciómetro/Potentiometer/Potentiomètre/Lautstärkeregler/Potenciómetro
E
Potenciómetro
· Ajuste de volumen de llamada (en reposo). Al MÍNIMO:
desconexión de llamada.
· Ajuste audio de subida (en conversación).
EN
Potentiometer
· Call volume settings (on standby). MINIMUM: discon-
nects the call.
· Increases audio volume settings (during conversation).
F
Potentiomètre
· Réglage du volume d’appel (en mode veille). Niveau
MINIMUM : déconnexion de l’appel.
· Réglage du son montant (lors d’une communication).
D
Lautstärkeregler
·EinstellenderLautstärkedesRufsignal (im Bereitschafts-
modus). MINIMUM: Ruftonabschaltung.
· Regulierung der Sprachlautstärke von der Torstation.
P
Potenciómetro
· Ajuste do volume da chamada (em repouso). NO MÍNI-
MO: desconexão da chamada.
· Ajuste de áudio de subida (em conversação).
+ - L T
+A
-A
Ab
F1
L
+
-
E
INSTALACIÓN
EN
INSTALLATION
F
INSTALLATION
D
INSTALLATION
P
INSTALAÇÃO
P
Botão de activação de Áudio, Desligar e Ligação automática.
· Ao receber uma chamada, dispõe de 30 segundos para responder. Durante este tempo, o LED azul pisca indicando uma
chamada em espera.
· Activação de áudio: Ao receber uma chamada, premir e soltar este botão para falar com o visitante. Abre-se o canal de
áudio no sentido rua e vivenda, o funcionamento é em modo mãos livres. O LED azul permanecerá aceso, indicando uma
conversação com a placa de rua.
· Desligar: premir para terminar a comunicação, caso contrário a conversação terminará em 90 segundos.
· Ligação automática (placa principal): em repouso, premir e soltar este botão (o LED azul acende-se).
E
F1: Botón para funciones adicionales
EN
F1: Button for additional functions
F
F1: Touche pour fonctions supplémentaires
D
F1: Taste für Zusatzfunktionen
P
F1: Botão para funções adicionais
1.60m
5.25 feet
1 2 3 4
(*)
(*)
E
ESQUEMA DE CABLEADO
EN
WIRING DIAGRAM
F
SCHEMA DE CABLAGE
D
VERKABELUNGSSCHEMA
P
ESQUEMA DE CABLAGEM
• "+" , "-" :
E
Alimentación (18 Vdc)
EN
Power supply (18 Vdc)
F
Alimentation (18 Vcc)
D
Stromversorgung (18 Vdc)
P
Alimentação (18 Vdc)
•"L" :
E
Datos y Audio.
EN
Data & Audio.
F
Données et son.
D
Datenleitung.
P
Dados e Audio.
• (P1) "T" , "-":
E
Pulsador de llamada puerta vivienda
EN
Call pushbutton at the apartment’s door
F
Poussoir d’appel sur la porte du logement
D
Ruftaste an der Wohnungstür
P
Botão de chamada na porta do apartamento
E
CARACTERÍSTICAS TÉCNICAS
EN
TECHNICAL FEATURES
F
CARACTERISTIQUES TECHNIQUES
D
TECHNISCHE EIGENSCHAFTEN
P
CARACTERÍSTICAS TÉCNICAS
Información - Information - Informations - Information - Informação
E
Para más información, consultar el Man. Avanzado del Teléfono iLOFT VDS EXTRA(Cod. 97631) en www.fermax.com.
EN
For more information, please refer to the Advanced iLOFT VDS EXTRATelephone Manual (Code. 97631) en www.fermax.com.
F
Pour plus d’informations, voir le manuel avancé du poste iLOFT VDS EXTRA(code 97631) sur www.fermax.com.
D
Detailliertere Informationen über das Gerät finden Sie im Kompletthandbuch des Telefons iLoft VDS EXTRA(Kode 97631) auf unserer
Webseite: www.fermax.com.
P
Para mais informações, consultar o Manual Avançado do Telefone iLOFT VDS EXTRA(Cód. 97631) em www.fermax.com.
.
• "+A" , "-A":
E
Conexión prolongador de llamada o activador de luces y timbres.
EN
Call extension connection or light and bell activator.
F
Connexionprolongateurd'appelouactivateurpoursonnettesetéclairages.
D
AnschlussZusatzläutwerkRef.2040 oder Relais Ref.2438 zumAnschluss
externer 230V Leutwerke.
P
Ligaçãodoprolongadordechamadaou activador de luzes e campainhas.
P1
Alimentación - Power Supply - Alimentation - Stromversorgung - Alimentação 18 Vdc
Consumo - Consumption - Consommation - Stromverbrauch - Consumo 24 mA
en reposo - in standby - en veille - Im Bereitschaftsmodus - em repouso
audio activo - audio active -son activé - bei Sprechverkehr -áudio activo 100 mA
Temperatura de funcionamiento - Working Temperature - Température de fonctionnement - Umge-
bungstemperatur - Temperatura de funcionamento -5ºC, +40ºC
E
PROGRAMACIÓN
EN
PROGRAMMING
F
PROGRAMMATION
D
PROGRAMMIERUNG
P
PROGRAMAÇÃO
Selección de melodía - Ringtone Selection - Sélection de la mélodie - Ruftonauswahl - Selecção de
melodias
E
Melodía procedente de la placa principal.
Partiendo del estado de reposo:
· pulsar el botón durante 5" hasta escuchar un "beep", soltar, se escuchará la melodía de la placa principal y el led rojo parpadeará lentamente.
Se encuentra en el menú de configuración de "Selección de melodías".
· pulsar el botón F1 para seleccionar la melodía, (secuencia circular), la última escuchada será la escogida. Led rojo - parpadeo lento.
· pulsar el botón para seleccionar la melodía de la placa secundaria.
Melodía procedente de la placa secundaría.
· pulsar el botón F1 para seleccionar la melodía, (secuencia circular), la última escuchada será la escogida. Led rojo - parpadeo rápido.
Salir de selección de Melodías.
Estando en selección de melodías para placa secundaría pulsar el botón para volver al estado de reposo, (led rojo apagado).
EN
Ringtone corresponding to the main panel.
From standby mode:
· press and hold the button for 5 seconds until you hear a «beep» then release, a ringtone will sound on the main panel and the red led will flash
slowly. This is found in the «Ringtone Selection» configuration menu.
· press the F1 button to select the ringtone, (circular sequence), the last one played will be the one selected. Red led - slow flash.
· press to select the secondary panel’s ringtone.
Ringtone corresponding to the secondary panel.
· press the F1 button to select the ringtone, (circular sequence), the last one played will be the one selected. Red led - slow flash.
Exit ringtone selection .
To return to standby mode while selecting the secondary panel’s ringtone simply press the button (red led off).
F
Mélodie provenant de la platine principale
À partir du mode veille :
·Appuyez sur la touche pendant 5 s jusqu’à ce qu’un bip soit émis. Relâchez la touche. La mélodie de la platine principale se déclenche et la DEL
rouge clignote lentement. Elle se trouve dans le menu de configuration de « Sélection des mélodies ».
·Appuyezsur la touche F1 pour sélectionner la mélodie (séquence circulaire). Ladernièreécoutéeestcellequiestchoisie.DELrouge-clignotementlent.
· Appuyez sur la touche pour sélectionner la sonnerie d’appel de la platine secondaire.
Mélodie provenant de la platine secondaire
·Appuyez sur la touche F1 pour sélectionner la mélodie (séquence circulaire). La dernière écoutée est celle qui est choisie. DEL rouge - clignotement
rapide.
Pour quitter le mode Sélection des mélodies
En mode Sélection des mélodies pour la platine secondaire, appuyez sur la touche pour revenir au mode veille (DEL rouge éteinte).
D
Ruftonauswahl von der Haupttürstation
Vom Bereitschaftsmodus ausgehend:
· Taste 5" gedrückt halten, bis ein Piepton ertönt, darauf hin Taste los lassen, anschließend erklingt die Rufton der Haupttürstation und die rote
LED blinkt langsam. Sie befinden sich im Konfigurationsmenü "Ruftonauswahl".
· Taste F1 drücken, um die Ruftöne sich anzuhören (Kreis-Sequenz), wobei der zuletzt gehörte Rufton automatisch ausgewählt wird. Die rote LED
blinkt langsam.
· Taste drücken, um den Rufton der Nebentürstation auszuwählen.
Ruftonauswahl von der Nebentürstation.
· Taste F1 drücken, die Ruftöne sich anzuhören (Kreis-Sequenz), wobei die zuletzt gehörte Rufton automatisch ausgewählt wird. Die rote LED blinkt
schnell.
Ruftonauswahl verlassen.
In der Ruftonauswahl für die Nebentürstation die Taste drücken, um in den Bereitschaftsmodus umzuschalten (rote LED aus).
P
Melodia proveniente da placa principal.
Partindo do estado de repouso:
· premir o botão durante 5", até ouvir um «bip»; ao soltar, ouvir-se-á a melodia da placa principal e o LED vermelho piscará lentamente. Encontra-
se no menu de configuração de «Selecção de melodias».
· premir o botão F1 para seleccionar a melodia, (sequência circular); a última melodia ouvida será a seleccionada. LED vermelho - piscar lento.
· premir o botão para seleccionar a melodia da placa secundária.
Melodia proveniente da placa secundária.
· premir o botão F1 para seleccionar a melodia, (sequência circular); a última melodia ouvida será a seleccionada. LED vermelho - piscar rápido.
Sair da selecção de Melodias.
Estando na selecção de melodias para placa secundária, premir o botão para regressar ao estado de repouso, (LED vermelho apagado).
5"
¸
BEEP
12
Programación dirección teléfono - Telephone Programming - Programmation adresse poste -
Programmierung der Telefonadresse - Programação direcção telefone
E
RESET DE PARÁMETROS
EN
RESETTING PARAMETERS
F
RÉINITIALISATION DES PARAMÈTRES
D
RESET DER EINSTELLUNGEN
P
RESET DE PARÁMETROS
E
Mantener pulsado el botón durante 10" consecutivos. El teléfono genera un doble pitido corto y pone todos los parámetros por
defecto sin desprogramar el código de llamada.
EN
Press and hold the button for 10 seconds. The telephone will emit a short double beep and will reset all parameters to their default
settings without deprogramming the call code.
F
Apuyez sur la touche et maintenez-la enfoncée pendant 10 secondes. Le poste émet un double bip bref et remet en place tous les
paramètres par défaut sans déprogrammer pour autant le code d’appel.
D
Taste 10" lang gedrückt halten. Das Telefon gibt zwei kurze Pieptöne aus und übernimmt die Werkseinstellungen. Die Rufkodes
werden davon nicht betroffen.
P
Manter premido o botão durante 10" consecutivos. O telefone emite um apito duplo curto e repõe todos os parâmetros predefinidos,
sem desprogramar o código de chamada.
5" ¸
BEEP
5" ¸
+
BEEP
2
3
E
Programación dirección teléfono desde placa de calle (principal).
1. Se debe partir desde el menú de configuración de "Selección de me-
lodías": pulsar el botón durante 5" hasta escuchar un "beep", soltar,
se escuchará la melodía de la placa principal y el led rojo parpadeará
lentamente. En este estado:
2. Pulsar el botón F1 y botón simultáneamente durante 5" hasta escu-
char una confirmación acústica (BEEP). Soltar, se envía comando de
configuración a placa (led azul parpadeando).
3. Pulsar el pulsador/codigo de llamada a vivienda desde placa. Se
escuchará el tono de confirmación en el teléfono. El teléfono está
programado.
EN
Programming a telephone number from the entry panel (main).
1.Theuser shouldstart fromthe «RingtoneSelection» configurationmenu:
press and hold for 5 seconds until you hear a «beep» then release, a
ringtone will sound on the main panel and the red led will flash slowly.
While in this mode:
2. Press the F1 and the button simultaneously for 5 seconds until you
hear a tone (BEEP). Releasing the button sends a panel configuration
command (blue led flashing).
3. Press the button/residential call code from the panel. A confirmation
tone will sound on the telephone. The telephone is programmed.
F
Programmation adresseposteàpartirdelaplatine de rue (principale)
1. Cette programmation est effectuée à partir du menu de configuration
de « Sélection des mélodies ».Appuyez sur la touche pendant
5 s jusqu’à ce qu’un bip soit émis. Relâchez la touche. La mélodie de
la platine principale se déclenche et la DEL rouge clignote lentement.
Dans ce mode :
2.Appuyez sur la touche F1 et sur la touche en même temps pendant
5 s jusqu’à ce qu’un bip de confirmation soit émis. Relâchez. Une com-
mandede configurationest envoyéeà laplatine (laDELbleue clignote).
3.Appuyez surle bouton-poussoir/composez lecode d’appeldu logement
à partir de la platine. Une tonalité de confirmation est émise au niveau
du poste. Le poste est désormais programmé.
D
Programmierung der Telefonadresse über die Haupttürstation).
1.Gehen Sieim Konfigurationsmenüaufdie Einstellung«Ruftonauswahl»:
Taste 5" langgedrückt halten,bis ein Piepton ertönt,, daraufhinTaste
los lassen, anschließend erklingt der Rufton der Haupttürstation und
die rote LED blinkt langsam. In diesem Zustand:
2. Taste F1 und Taste gleichzeitig 5" lang gedrückt halten, bis zur Bes-
tätigung ein Piepton ertönt.Anschließend Taste los lassen, worauf ein
Konfigurationsbefehlan die Türstationübermittelt wird (LED blau blinkt).
3. Taste/Rufkode (Türstation>Wohnung) drücken. Das Telefon gibt einen
Piepton zur Bestätigung aus. Das Telefon ist nun programmiert.
P
Programação direcção telefone a partir da placa de rua (principal).
1. Partir do menu de configuração de «Selecção de melodias»: premir o
botão durante 5", até ouvir um «bip»; ao soltar, ouvir-se-á a melodia
daplaca principal eo LEDvermelho piscará lentamente.Neste estado:
2. Premir simultaneamente o botão F1 e o botão durante 5", até ouvir
umsinal sonorode confirmação(BIP).Ao soltar,éenviado umcomando
de configuração à placa (LED azul a piscar).
3. Premir o botão/código de chamada a um apartamento a partir da
placa. Ouvir-se-á o som de confirmação no telefone. O telefone está
programado.
1

Other Fermax Intercom System manuals

Fermax 2235 User manual

Fermax

Fermax 2235 User manual

Fermax MEET DIGITAL VIDEO PANEL User guide

Fermax

Fermax MEET DIGITAL VIDEO PANEL User guide

Fermax 1-2L Bus2 Audio Kit Instruction Manual

Fermax

Fermax 1-2L Bus2 Audio Kit Instruction Manual

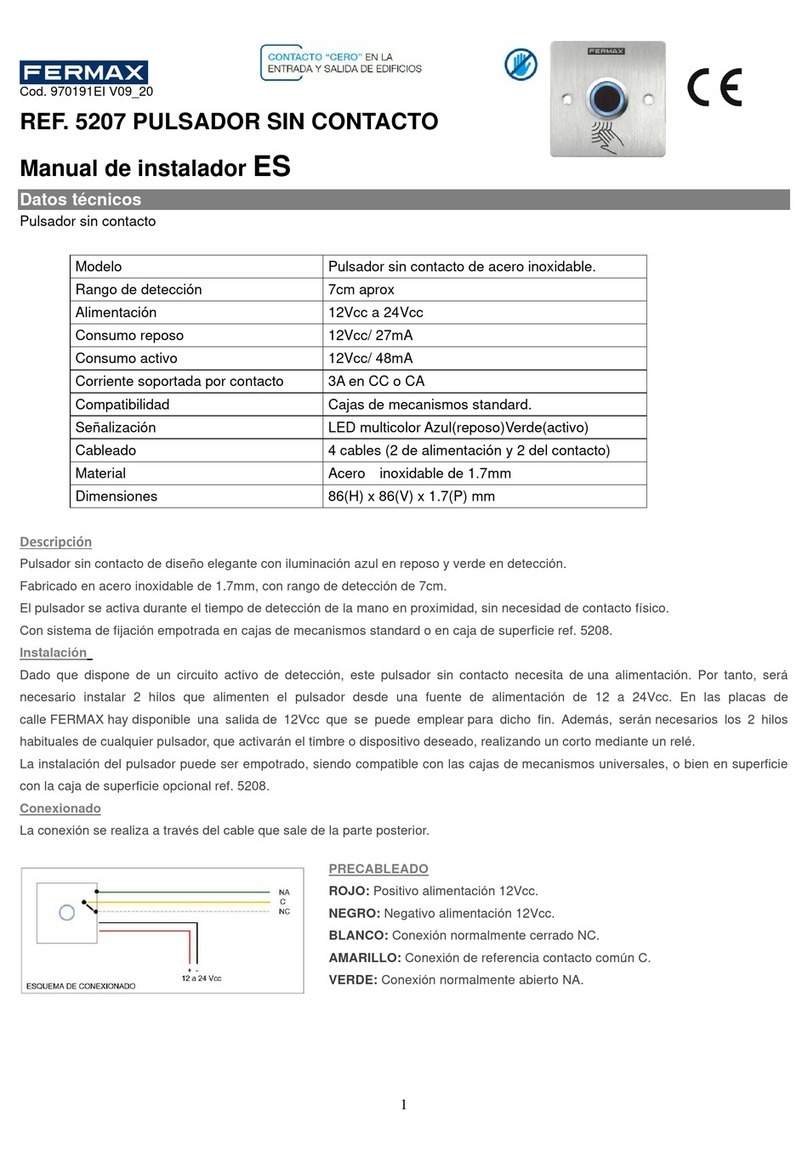
Fermax 5207 User guide

Fermax

Fermax 5207 User guide

Fermax PBX EXP Manual

Fermax

Fermax PBX EXP Manual

Fermax DUOX PLUS 1W MEMOPHONE User guide

Fermax

Fermax DUOX PLUS 1W MEMOPHONE User guide

Fermax MEET GUARD UNIT User guide

Fermax

Fermax MEET GUARD UNIT User guide

Fermax VDS Cityline User guide

Fermax

Fermax VDS Cityline User guide

Fermax DUOX PLUS VEO XS User manual

Fermax

Fermax DUOX PLUS VEO XS User manual

Fermax VIDEOMEMORY 128 DIGITAL User manual

Fermax

Fermax VIDEOMEMORY 128 DIGITAL User manual

Fermax KIT VIDEO SALING Series User manual

Fermax

Fermax KIT VIDEO SALING Series User manual

Fermax Video Cityline iLOFT 3-8 Set Instruction Manual

Fermax

Fermax Video Cityline iLOFT 3-8 Set Instruction Manual

Fermax VDS BASIC iLOFT TELEPHONE User manual

Fermax

Fermax VDS BASIC iLOFT TELEPHONE User manual

Fermax M3ET User manual

Fermax

Fermax M3ET User manual

Fermax Way-Fi User manual

Fermax

Fermax Way-Fi User manual

Fermax VDS User manual

Fermax

Fermax VDS User manual

Fermax Veo VDS Instruction Manual

Fermax

Fermax Veo VDS Instruction Manual

Fermax LOFT Extra DUOX User manual

Fermax

Fermax LOFT Extra DUOX User manual

Fermax VDS User guide

Fermax

Fermax VDS User guide

Fermax WAY SLIM Instruction Manual

Fermax

Fermax WAY SLIM Instruction Manual

Fermax iLoft City User manual

Fermax

Fermax iLoft City User manual

Fermax CITYMAX BASIC DUOX User manual

Fermax

Fermax CITYMAX BASIC DUOX User manual

Fermax Loft Universal 3399 User manual

Fermax

Fermax Loft Universal 3399 User manual

Fermax MILO 1W PANELS User guide

Fermax

Fermax MILO 1W PANELS User guide

Popular Intercom System manuals by other brands

Ampetronic HLS-1A Installation handbook

Ampetronic

Ampetronic HLS-1A Installation handbook

Chamberlain LIFTMASTER MUGAPLM user manual

Chamberlain

Chamberlain LIFTMASTER MUGAPLM user manual

Eartec UltraLITE Printable Instructions

Eartec

Eartec UltraLITE Printable Instructions

Sentry GSM-DE3100 user manual

Sentry

Sentry GSM-DE3100 user manual

Aiphone DA-1MD Operation manual

Aiphone

Aiphone DA-1MD Operation manual

ASI MIS-08D operating instructions

ASI

ASI MIS-08D operating instructions

HKBN MX-PC-01 user guide
HKBN

HKBN MX-PC-01 user guide

Videx IPVK KRISTALLO Installation handbook

Videx

Videx IPVK KRISTALLO Installation handbook

Midland BTNEXT PRO Instruction guide

Midland

Midland BTNEXT PRO Instruction guide

2easy DT 2-wire Technical guide

2easy

2easy DT 2-wire Technical guide

ABB DP7-S-611 manual

ABB

ABB DP7-S-611 manual

Elvox 8000 series Instructions for installing

Elvox

Elvox 8000 series Instructions for installing

SVT innovations SVT-2 user manual

SVT innovations

SVT innovations SVT-2 user manual

urmet domus MATIBUS 1752/20D user manual

urmet domus

urmet domus MATIBUS 1752/20D user manual

PNI SafeHome PT710B user manual

PNI

PNI SafeHome PT710B user manual

Avaya AXIS A8004-VE Application notes

Avaya

Avaya AXIS A8004-VE Application notes

2N Helios user manual

2N

2N Helios user manual

Opiz OP - D04 user manual

Opiz

Opiz OP - D04 user manual

manuals.online logo
manuals.online logoBrands
  • About & Mission
  • Contact us
  • Privacy Policy
  • Terms and Conditions

Copyright 2025 Manuals.Online. All Rights Reserved.