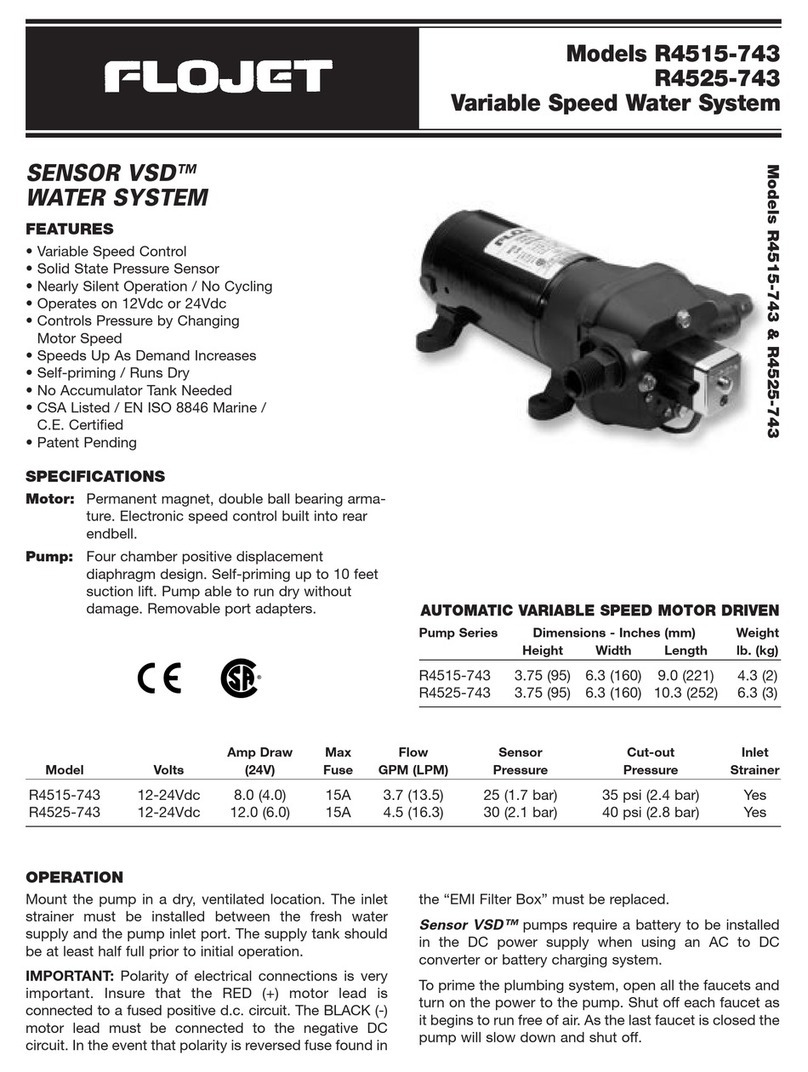
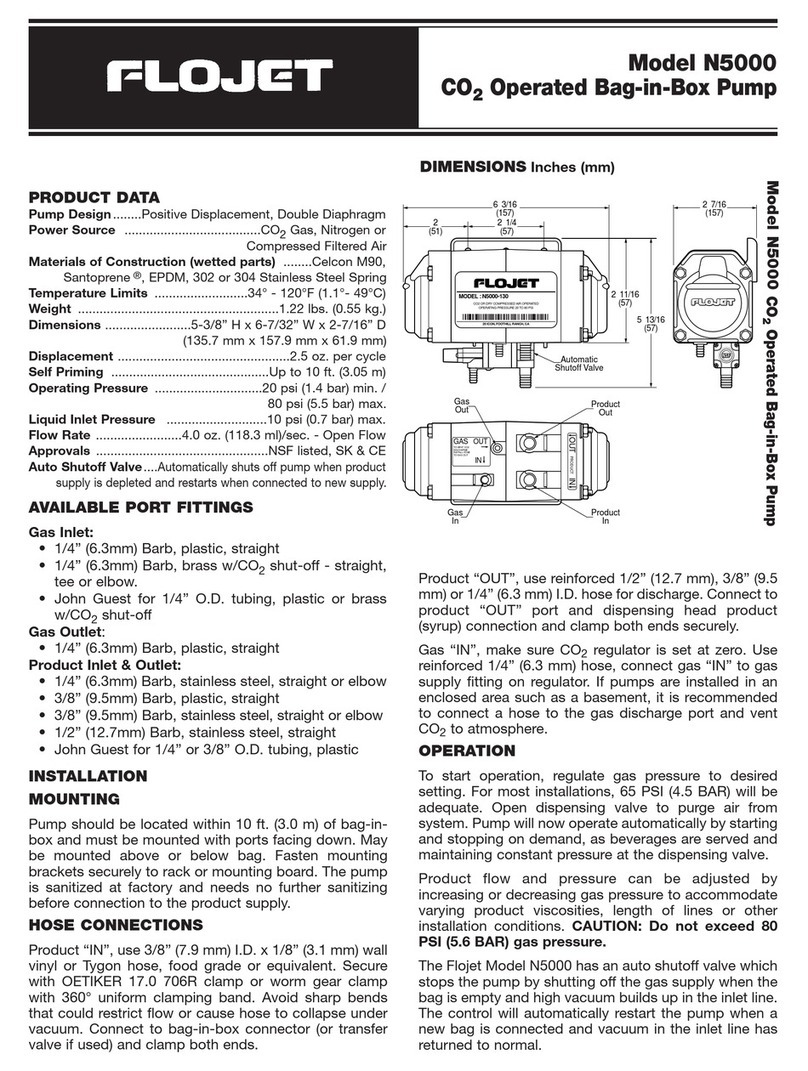
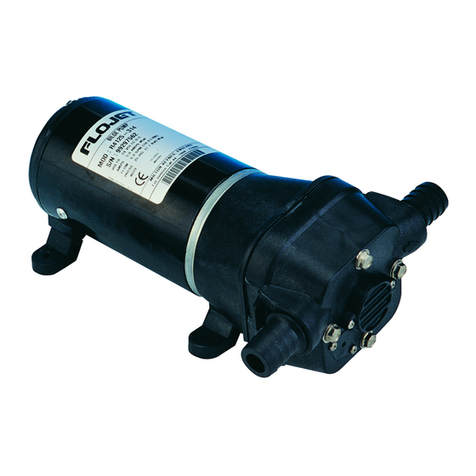
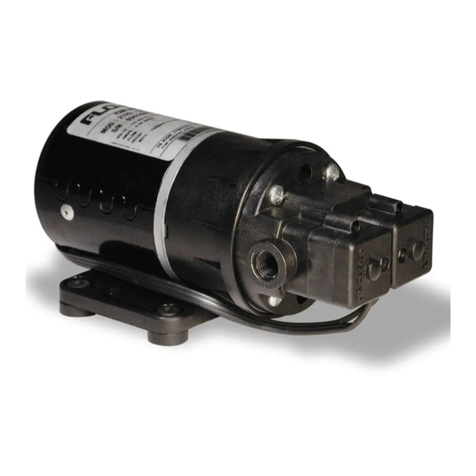
manuals.online logo
Brands
  1. Home
  2. •
  3. Brands
  4. •
  5. FLOJET
  6. •
  7. Water Pump
  8. •
  9. FLOJET 4300 Series User manual

FLOJET 4300 Series User manual

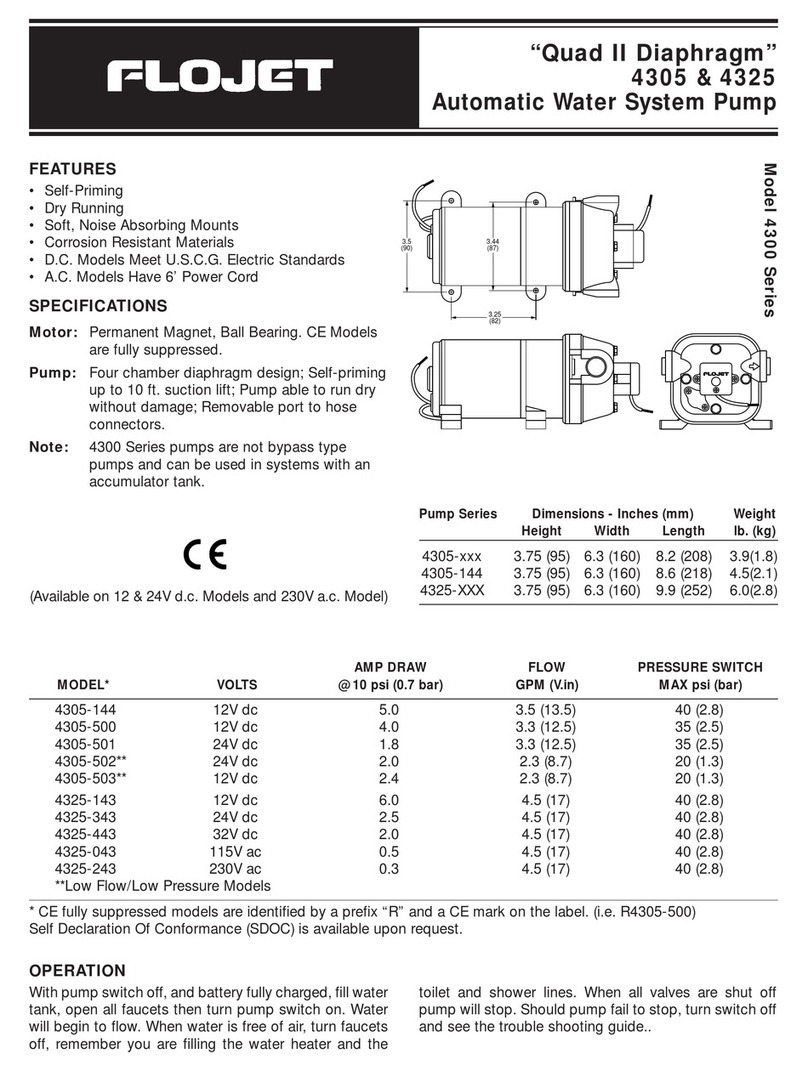
"Quad ll Diaphragm"
Automatic WaterSystemPump
FEATURES
. Self-Priming
. DryRunning
. Soft,NoiseAbsorbingMounts
. Corrosion
ResistantMaterials
. D.C.ModelsMeetU.S.C.G.
Electric
Standards
. A.C.ModelsHave6' PowerCord
SPECIFICATIONS
Motor:
3
o
q
q
T
(D
o
o
o
o
=,
o
o
Pump:
Note:
PermanentMagnet,BallBearing.
CEModels
are
fully
suppressed.
Fourchamber
diaphragmdesign;Self-priming
upto10ft.suctionlift;Pump
able
torun
dry
withoutdamage;Flemovable
port
to hose
connectors.
4300Series
pumps
arenotbypasstype
pumps
andcanbeusedinsystemswith
an
accumulatortank.
Pump
Series Dimensions
- Inches
Height Width (mm)
Length Weight
lb.(ks)
C€
(Available
on12&24Vd.c.Models
and
230V
a.c.l\4odel)
4305-xxx
4305-144
4325-XXX
3.75
(95) 6.3
(160) 8.2
(208) 3.9(1.8)
3.75
(95) 6.3
(160) 8.6
(218\ 4.5(2.1)
3.75
(95) 6.3
(160) e.e(2521 6.0(2.8\
MODEL- AMPDRAW
@10psi(0,7
bar) FLOW
GPM
U.in) PRESSURE
SWITCH
MAXpsi(bar)
4305-144
4305-500
4305-501
4305-502*
4305-503*
4325-143
4325-343
4325-443
4325-043
4325-243
12Vdc
12Vdc
24Vdc
24Vdc
12Vdc
'12V
dc
24Vdc
32Vdc
115Vac
230V
ac
3.5
(13.5)
3.3
(12.5)
3.3
(12.5)
2.3
(8.7)
2.3
\8.71
4.5('t7)
4.5
(17\
4.5
(171
4.5
(17],
4.5
(17r,
40(2.81
35
(2.5)
35
(2.5)
20(1
.3)
20
(1.3)
40
(2.8)
40
(2.8)
40(2.8)
40(2.8\
40(2.81
5.0
4.O
1.8
2.0
2.4
6.0
2.5
2.0
0.5
0.3
**Low
Flow/lowPressure
l\4odels
. CE
fully
suppressedmodelsareidentifiedbyaprefix
"R"andaCEmark
onthelabel.
(i.e.
R4305-500)
SelfDeclarationOfConformance
(SDOC)
isavailableuponrequest.
OPERATION
With
pump
switchoff,andbatteryfully
charged,
fill
water
tank,openallfaucetsthenturnpump
switchon.
Water
willbegin to flow.
Whenwaterisfreeof air,
turn
faucels
off, remember
you arefillingthe waterheater
andthe
toiletand showerlines.
Whenall valvesare shut off
pump
willstop.Should
pump
failto
stop,turnswitchoff
andseethetrouble
(713)-395-1508
Fax: (713) 893-6924
[email protected]
www.industrialzone.com
IndustrialZone
P.O. Box 667306
Houston, Texas 77266
United States
TankValve,
INSTALLATION
STEP1
Removeshipping
plugs
from
Quad
pumpports.
Some
waterfromfactorytestingmayspillout.
STEP2
lnstallinletA anddischarge
B port
connectors.Firmly
push
slideclipsC forwardto lock
port
connectors
In
place,
STEP3
Sliderubbermountsfullyinto4mountingtracks.
STEP4
Mount pump vertically,with pump head down or
horizontally
in an accessiblelocation.lf mounting
vertically,motor up, attach motor mountsfirst, then
pump
headmounts,whilesupportingweightof
pump.
STEP5
Use 1/2" LD. flexiblehose (preferably
braidedor
reinforced).Usehoseclampsontheslip-onbarbhose
connectors.
STEP6
Installno lessthan 3/8" LD.hosefor feed linesto
fixtures.Usehigh
pressure
hose
onallcitywaterlines.
STEP7
Install
a Flojet
strainerin an accessibleLocation
(for
inspectionandcleaning)betweenthetankandpump
inlet.Thisstrainer
or equivalent
is requiredfor pump
warrantyto bevalid.
NOTE: Small accumulatortank maybe used for
smootherflow
Battery
D.C. WRII{G
STEP1
Use
14gauge
stranded
wire10
2O',
12gauge
to 50',
frompower
source.
STEP2
Usea 10-15ampratedon-offswilchonthe
(+)positive
(red)
motorlead.
STEP3
Install10-15
ampfuse
protection
onthe
positive
leadfor
the
-500,
-144
and
-143
models,usea7 amp
fuse
forthe
-503and
-343
anda
4amp
fusefor
-501
and
-443
models.
NOTE:
The115and230Voltmodelsmaybeplugged
directlyintoanyac
outlet.
AG.Fl.
(ground
faultinterruption)
outletandswitchedcircuitisrecommended.
TROUBLESHOOTING
Quiteoitenwhena pump iswornor defective
theonefailedcomponenthas
overburdenedothers.Toavoidfrequent
aggravating
repairs,Flojet
offersservicekit assembliesmaking
repairsasquickandeasyas possible.
Failureto Prime - Motoroperates,but no pumpdischarge
. Restrictedintake
or dischargeline
. Air leakin intakeline
. Debrisin pump
. Punctured
pumpdiaphragm
(pump
leaks)
. Crackin pumphousing
Motor falls to turn on
. Loosewiring
connection
. Pumpckcuithasnopower
. BlownJuse
. Pressure
switchfailure
. Defectivemotor
Pulsating Flow - Pump
cycleson andoff
. Restricted
pump
delivery.
Checkdischargelines,fittings
and
DISASSEiIIBLE
Pressure
Switch
1. Removeswitch
(9).
Disconnect
switchwjres.
Upper Housing
2. Loosen but do not removefour pump head screws and
carefullyremove
upper
housing
assembly
(1)
3 Inspectcheckvalve
(2)
for debris
4. Reassemblenewupperhousing
(1)
Check ValveAssembly
Follow
step2
3. Replace
checkvalve
(2)
4. Reassembleupperhousing
(1)
Lower Housing,Diaphragm,Motor
Followstep2
3. Rotatelowerhousing
(4)
somountingnotch
openingonlower
housing
exposesset screwwhichholdsbearinghousingto
shaft.
4. Loosenthissetscrewby insertingwrench1/8"Allenwrench
intgmountingnotch
opening.Then,slidelowerhousing
(4)off
motorshaft.
DiaphragmConl'd
5. Loosen four cam piston screws with Phillipshead screw
driverandpullapartcamfrominner
pistons.(Pistons
should
alwaysbereplacedwhena newdiaphragmisinstalled.)
Motor Cont'd
5. Replace
Motor
valves
forcloggingorundersizing.
Pump
Fallsto TurnOftAfterAllFixturesAre
Closed
. Emptywater
tank
. Insufiicientvoltage
topump(low
battery)
. Punctured
pump
diaphragm
(pump
leaks)
. Discharge
lineleak
. Defective
pressure
switch
LowFlowandPressure
. Airleak
atpump
intake
. Accumulation
ofdebrisinside
pump
and
plumbing
. Worn
pump
bearing
(excessive
noise)
. Punctured
pump
diaphragm
(pump
leaks)
. Defective
motor
REASSEMBLE
Motor
1. Reassemblelower housing assembly (4)to motor (Follow
steos4 to 10.)
Diaphragm
2. Lowerhousing
isassembledwith:
. Flatsideof diaphragm
andouterpistons
facingmotor
. Hexstem of inner
pistonsmust be alignedinto hex holesin
outer
plstons
{4).
. Outerpistonsmust be alignedwith alignment
slotson cam
assemblymakingsum screw holes align in cam assembly,
otherwisediaphragmwill leak.
3. Tighten cam piston screws partially, center piston in
diaphragm,thentighten
screwssecurely
(18in.lbs.torque)
Lower Housing
4. Reassemblelower
housingassembly
(4)to motor.
5. Retightenset screw securely.Set screw head must be
positioned facing motor covering seam (indentation).
{Positioning
ofthisscrewiscriticalto avoidmisalignment
and
subsequentdiaphragmdamage.)
Upper Housing,Check Valve
6. Reassembleupperhousing
(1)
7. Properly
seatO-Ringincheckvalveassembly
(2)
and check
iffe rulesandscreena. in place
on upperhousing
(1)
8. Installcheckvalve
(2)
intoupperhousing
(1)
andpush in.
9. Assemble
onto lowerhousing
(4),
align4 screws
onto motor
by rotatinglowerhousing
(4)
if necessaryto alignfeet
10. Tighten
screwsevenlyto 30 in. lbs.torque.
Pressure Switch
'1
. Placeswitchagainstfrontof pump(9),
insertscrewsandtake
carenotto crossthread
or stripout threadsinhousing.
2. Reconnectwires.
@ Includesiiems1thru
4
AUTOMATICWATERSYSTEMPUMPSEBVICEPARTS
KEY# DESCRIPTION MODEL#
€05-lif4 4305-5004)05-501 4305-5024305-503
€25n€ $25-343 4325-4434325-0434325-243
0 Service
Kit- 20409-04320409-04320409-04320409-043
20409-04320409-04320409-04320409-04320409-04320409-043
1 Upper
HousingWith
Clips
20404-00320404-00820404-008
20404-012204A4-01220404-00320404-00320404-00320404-003
20404-003
2 Check
ValveAssembly 20407-03020407-03020407-03020407-030
20407-03020407-03020407-03020407-030
20407-03020407-030
3 DiaphragmAssembly
(ncludes
screv/s)20403-04020403-04020403"040
20403-04020403-04020403-04020403-04020403-040
20403-04020403-040
4 LowerHousingAssembly20419-00420419-00120419-001
20419-00020419-00020419-00220419-002
20419-00220419-00220419"002
5 l\,4otofs 2009-08742009-07342019-0234
2019-23A2009-074A2009-08042U9-A27A2049-A26A
l\,4otors
CE
Models 82009-0B74
F2009"0734R2009-023AR2019-023AR2009-074A
R2009-080AR2019-027A
lVotor115Volta.c./230Vol1a.c, 2029-091A
2039-0874
7 PurnpHeadAssembly 20406-015A20406"007A20406-007A
20406-012A20406-012A20406-002420406-002A
20406-002A20406-002A20406-002A
8 SideClips
(pa
r) 20408-00020408-00020408-00020408-000
20408-00020408-00020408"00020408-000
20408-0002040&000
I Pressure
SwitchAssembly2090-1182090-1042090-104
2090-1082090J082090-118
2090G-1182090-1182090-118
2090-118
-Service
Kitincludes
#2.#3.#Banddrivecamassemblv.
ACCESSORIES
QUICK COT{T{ECTPORT
SYSTEM rfilflF\
ul.lkj
F=
El
20381"009
OUAD
PORT
x
1/2'HOSEBARB
90'
ELBOW
_ Theabove
padnumbersare
packaged
with
2fittings
per
bag.
STRAIT{ERS
PumpSeries StrainerNumber Inlet Ou et Screen
1/2Bart)
1/2M Qest
Quad
Port
m381-000
OUADPOBTx
1/2 MALI
QEST.
STBAIGHT
20381-002
oUADP0RTx
1/2"HOSE
BARB
STMIGHT
1740-OO2
1740-OO4
1740-014
20381-007
oUADPoRTx
GARDEN
HOSE
ADAPTOR
ffim
20381-006
oUADPoBTx
3/4',H0SEBA88
STBAIGHT
2m81-008
OUADPORTx
1/2'I\4ALE
OEST
90'ELBOW
m381-t)t0
0UADPoRTx
3/4 HOSEBARB
90'ELBOW
1/2 Bart)
1/2M Qest
1/2 lvlQest
40Mesh
40lMesh
40N/esh
4305-144
4325-XXX
WARRANTY
1740-000 3/4 Batb 3/4 Bart)
RETURI{PROCEDURE
40l.4esh
FLOJET
warrantsthis product to be free of defects in material
and/orworkmanshipior a periodof two yearsafterpurchase
by
the customerfrom FLOJET.During
ths two year
warranty
period,
FLOJETwill at lts option,at no chargeto the customer,repair
or
replace
thisproductiffounddefectiven materialorworkmanship,
w1ha newor recond,t
oneo
product,
butnotto incluoe
costsot
removal or installation.
Thisisonlyanoverview
of our limitedwaffanty.lf youwouldlikea
copyof ourwarranty,
please
callorwriteFLOJET.
Priorto returning
anyproduct
to FLOJET,callcustomerservicefor
an authorizationnumber.Thisnumber
mustbe wrtten on the
outside
of the
shipping
package.
Place
a noteinsidethe pack
age w th an explanationregarding
the reasonfor returnas wel
as the authorizationnumber.Includeyour name, address and
pnone
numoer.
Flojet
ITT
lndustries
Ensineerc.t Ior tife
u.s.A.
Flojet
20lcon
FoothillRanch,
CA92610-3000
Tel:
(949)
859-4945
Fax:
(949)
859-1153
UNITED
KINGDO[/
Jabsco/Flojet
Bingley
Road,Hoddesdon
HertfordshreENl1
OBU
Tel:+44
(0)
1992450145
Fax:+44
(0)
1992467132
CANADA
Fluid
ProductsCanada
55RoyalRoad
Guelph,
OntarioNIH1T1
Tel:
(519)82'1-1900
Fax:
(519)
821-2569
JAPAN
NHKJabscoCompanyLtd.
3-21-10,Shin-Yokohama
Kohoku-Ku,
Yokohama,222
Tel:
045-475-8906
Fax:045-475-8908
GER[,1ANY
JabscoGmbH
Oststrasse28
22844Norderctedt
Tel:
+49-40-535373-0
Fax:+49-40-5353
73-11
@Copyrght2001,ITTndustes Form:81000-074 11/41
(713)-395-1508
Fax: (713) 893-6924
[email protected]
www.industrialzone.com
IndustrialZone
P.O. Box 667306
Houston, Texas 77266
United States
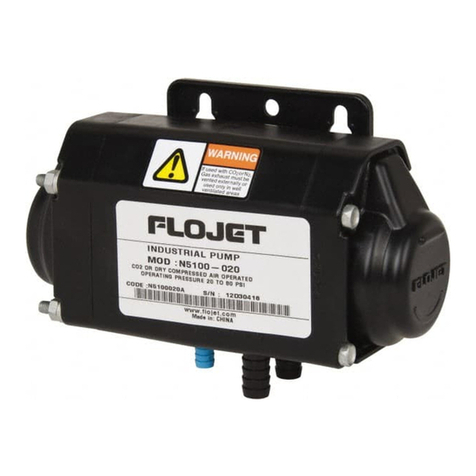
This manual suits for next models

12

Other FLOJET Water Pump manuals

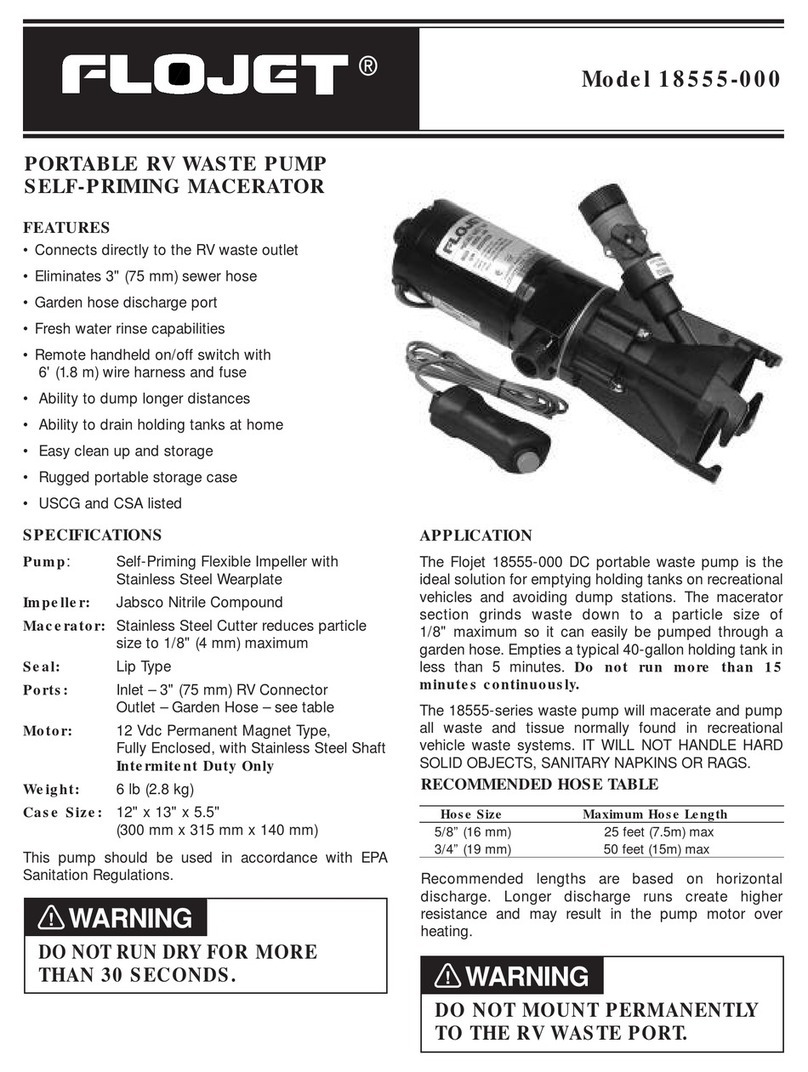
FLOJET G573 User manual

FLOJET

FLOJET G573 User manual

FLOJET BevJet Compact User manual

FLOJET

FLOJET BevJet Compact User manual

FLOJET Triplex Diaphragm 3426 Series User manual
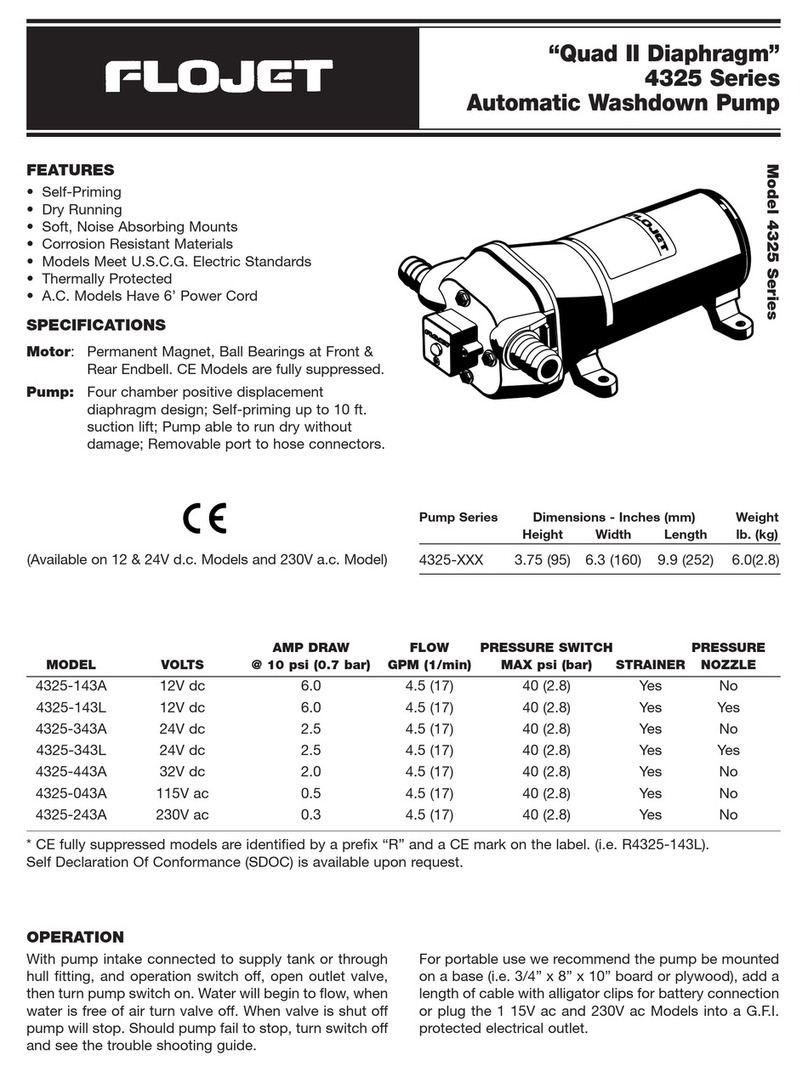
FLOJET

FLOJET Triplex Diaphragm 3426 Series User manual
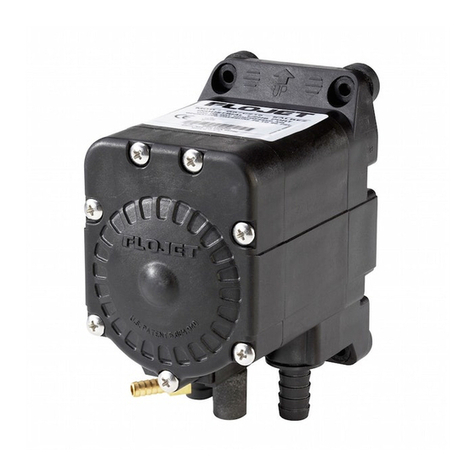
FLOJET 2125 Series User manual

FLOJET

FLOJET 2125 Series User manual

FLOJET G-57 Series Installation instructions

FLOJET

FLOJET G-57 Series Installation instructions

FLOJET 4305-144 User manual

FLOJET

FLOJET 4305-144 User manual

FLOJET N5100 Series Guide

FLOJET

FLOJET N5100 Series Guide

FLOJET 2100-12 User manual

FLOJET

FLOJET 2100-12 User manual

FLOJET R3526144 User manual

FLOJET

FLOJET R3526144 User manual

FLOJET 4105 Series User manual

FLOJET

FLOJET 4105 Series User manual

FLOJET N5000 Series Operation manual

FLOJET

FLOJET N5000 Series Operation manual

FLOJET 18555-000 User manual

FLOJET

FLOJET 18555-000 User manual

FLOJET N5000 User manual

FLOJET

FLOJET N5000 User manual

FLOJET 02840100A Operating and installation instructions

FLOJET

FLOJET 02840100A Operating and installation instructions

FLOJET N5100-010 Guide

FLOJET

FLOJET N5100-010 Guide

FLOJET 03526-144 User manual

FLOJET

FLOJET 03526-144 User manual

FLOJET R3B21 Series User manual

FLOJET

FLOJET R3B21 Series User manual

FLOJET 3426 series User manual

FLOJET

FLOJET 3426 series User manual

FLOJET G56 User manual

FLOJET

FLOJET G56 User manual

FLOJET G257 Series Guide

FLOJET

FLOJET G257 Series Guide

FLOJET R4515-743 User manual

FLOJET

FLOJET R4515-743 User manual

FLOJET G70C Series Owner's manual

FLOJET

FLOJET G70C Series Owner's manual

FLOJET 4325 Series User manual

FLOJET

FLOJET 4325 Series User manual

FLOJET quad II diaphragm 4125 series User manual

FLOJET

FLOJET quad II diaphragm 4125 series User manual

Popular Water Pump manuals by other brands

Praher Plastics Aquastar MP6 installation instructions

Praher Plastics

Praher Plastics Aquastar MP6 installation instructions

Xylem LOWARA Sekamatik 3MK2 Owner's installation, operation and maintenance manual

Xylem

Xylem LOWARA Sekamatik 3MK2 Owner's installation, operation and maintenance manual

Garland GEISER 291 QG instruction manual

Garland

Garland GEISER 291 QG instruction manual

Daewoo DBP1800 user manual

Daewoo

Daewoo DBP1800 user manual

Altrac ST140_3G user manual

Altrac

Altrac ST140_3G user manual

Blagdon Pump B25 Service & operating manual

Blagdon Pump

Blagdon Pump B25 Service & operating manual

Glentronics Basement Watchdog SIT-33D Instruction manual & safety warnings

Glentronics

Glentronics Basement Watchdog SIT-33D Instruction manual & safety warnings

Sunpole Magnus VSY-4000 user manual

Sunpole

Sunpole Magnus VSY-4000 user manual

Grundfos RCME Installation and operating instructions

Grundfos

Grundfos RCME Installation and operating instructions

Eaton 70122 manual

Eaton

Eaton 70122 manual

Badu Tec Bronze Installation and operation manual

Badu Tec

Badu Tec Bronze Installation and operation manual

KSB Amarex N series Installation & operating manual

KSB

KSB Amarex N series Installation & operating manual

HEISSNER HSP600-i Instructions for use

HEISSNER

HEISSNER HSP600-i Instructions for use

Ingersoll-Rand ARO PF20R B Series Operator's manual

Ingersoll-Rand

Ingersoll-Rand ARO PF20R B Series Operator's manual

VEVOR AP-20A quick start guide

VEVOR

VEVOR AP-20A quick start guide

Loctite MM25 operating manual

Loctite

Loctite MM25 operating manual

Outbound 076-5583-2 operating instructions

Outbound

Outbound 076-5583-2 operating instructions

Grundfos AP30 Installation and operating instructions

Grundfos

Grundfos AP30 Installation and operating instructions

manuals.online logo
manuals.online logoBrands
  • About & Mission
  • Contact us
  • Privacy Policy
  • Terms and Conditions

Copyright 2025 Manuals.Online. All Rights Reserved.