manuals.online logo
Brands
  1. Home
  2. •
  3. Brands
  4. •
  5. FLOJET
  6. •
  7. Water Pump
  8. •
  9. FLOJET N5000 Series Operation manual

FLOJET N5000 Series Operation manual

1
3
2
1
2
3
123
Area "B"
(Both Sides)
Area "A"
(Both Sides)
Retainer Bar
Assembly
Bumper
Guard
Tie Wrap
C-Clips
Product Out
Lines
CO2 Inlet Line
Manifold
(Quick-Disconnect
Reversible Fittings)
Pump
Bracket
Fig #1
Standard Configuraton
Flojet Model No. 5000-530
Installation Operation & Service Instructions
Flojet N5000 Series
CO2Operated Beverage Pump
Bracket Assembly
A front installation requires the following hardware, four
#8 Phillips pan head self-drilling sheet metal screws to
mount on “Area A”, which in turn is mounted on the
riser/spacer of the bag-in-box rack (see fig. #1 & #6). On
a side installation, the same hardware is used, but the
area affected is “Area B” (see fig. #8). For wall
installation, four anchor bolts are provided. All pumps/
transfer valves are identified left to right as follows: #3,
#2, #1. On a standard three shelf bag-in-box rack, #3
pump services the top shelf, #2 pump services the
middle shelf and #1 pump services the bottom shelf.
This also applies to the transfer valves. For quick
installations, please note all pumps have the CO2inlet
line manifold. Only one CO2line is needed from CO2
source to pump bracket assembly. A 3/8 inch (9.5 mm)
product out (quick-disconnect fitting) stainless steel
barb port is provided with every pump.
Pump bracket assemblies/transfer valve assemblies are
capable of readily accepting installation of Flojet and
Shurflo products. (See fig. #7 for proper removal of
pumps.) Pump bracket assemblies/transfer valve
assemblies adapt to the Red Line bag-in-box rack. (See
fig. #6 for routing of hose and tube hangers.)
All suction line lengths from pump inlet to box connec-
tor must not exceed 10 feet (3 m). Transfer valve is
located between pump and box and now includes 15
feet (4.6 m) of hose for special applications. Pumps must
be above bottom of corresponding box when installed
on bag-in-box rack. When securing bag-in-box rack to
wall, you must allow a nominal one inch (25.4 mm)
clearance between the wall and the rear legs of the rack.
Pump Assemblies With Transfer Valves
Hose length should be no greater that five feet (1.5 mm)
vertical distance between center line of pump and
bottom of box it is pumping from.
Pump Assemblies Without Transfer Valves
Installation on bag-in-box racks must be provided for no
greater than ten feet (3 m) vertical distance between
center line of pump and bottom of box it is pumping
from.
Mounting Hardware For Installation Of Pump &
Transfer Valve Assemblies To Bag-In-Box Rack
1. Quantity of four #8 Phillips pan head self-drilling
sheet metal screws.
2. Minimum of two tube hangers per suction hose to
fasten hose to bag-in-box rack.
3. Quantity of four #8 Phillips pan head self-tapping
screws for use with anchor bolts for wall mounting.
4. Quantity of four anchor wall mounting anchors.
5. All Oetiker clamps must be stainless steel and of
step-less design.
6. Quantity of one plastic tie wrap provided for product
out hose.
OPERATION
Model N5000 Series
To start operation, regulate gas pressure to desired
setting. For most installations, 65 PSI (4.4 bar) will be
adequate. Open dispensing valve to purge air from sys-
tem. Pump will now operate automatically by starting
and stropping on demand, as beverages are served
while maintaining constant pressure at the dispensing
valve. Product flow and pressure can be adjusted by
increasing or decreasing gas pressure to accommodate
varying product viscosities, length of lines or other
installation conditions. Caution: Do not exceed 80 PSI
(5.5 bar) gas pressure or manufacturer’s maximum
recommended pressure. The Flojet Model N5000 has
an automatic vacuum shutoff valve which stops the
pump by shutting off the gas supply to the pump when
the bag is empty and high vacuum builds up in the inlet
syrup line. The control will automatically restart the
pump when a new bag is connected and vacuum in the
inlet syrup line has returned to normal.
OPERATION
Fig #2
Alternate Configuraton
Flojet Model
No. 5000-530
Fig #3
Flojet Model
No. 5000-535
3
3
2
1
2
1
123
3
2
1
123
123
3R
2R
1R
1L
2L
3L
Fig #5
Flojet Model
No. 5000-540
To Engage Clips:
Push in between tabs and
pull up into slot.
To disengage, push
tabs down.
Fig #4
Flojet Model
No. 5000-545
3
2
123
123
3R
2R2L
3L
3
3
2
2
123
STANDARD THREE OR TWO PUMP FRONT MOUNTING INSTRUCTIONS
Fig. #7
Proper Handling Of
Retainer Bar Assembly
Caution! Pull retainer bar assembly from
two positions on either side of pump with your
fingers. Do Not use a screw driver for removal of
the pump to maintain future retainer bar assembly
tension. Note: The CO2manifold would change if a
Shurflo pump is installed.
Fig. #8
Standard installation of a three pump assembly
without a transfer valve on a riser/spacer.
(See front mount)
Front
Mount Side
Mount
Note:
Tygon Hose
Center Line Run
N5000-530
© Copyright 2001, ITT Industries Printed in U.S.A. All Rights Reserved Form: 81000-343 11/01
UNITED KINGDOM
Flojet, Unit 1, Avant Business Centre
Denbigh West Industrial Estate
Milton Keynes, Bucks, England MK1 1DL
Tel: 44 1908 370088
Fax: 44 1908 373731
U.S.A.
Flojet
20 Icon
Foothill Ranch, CA 92610-3000
Tel: (949) 859-4945
Fax: (949) 859-1153
Standard installation of a three pump / three
transfer valve assembly on a riser/spacer
(See front mount)
Fig. #9
Standard five pump assembly installation
Fig. #10
Front
Mount Side
Mount
Note:
Tygon Hose
Center Line Run
N5000-530
Front
Mount Side
Mount
Note:
Tygon Hose
Center Line Run
N5000-530
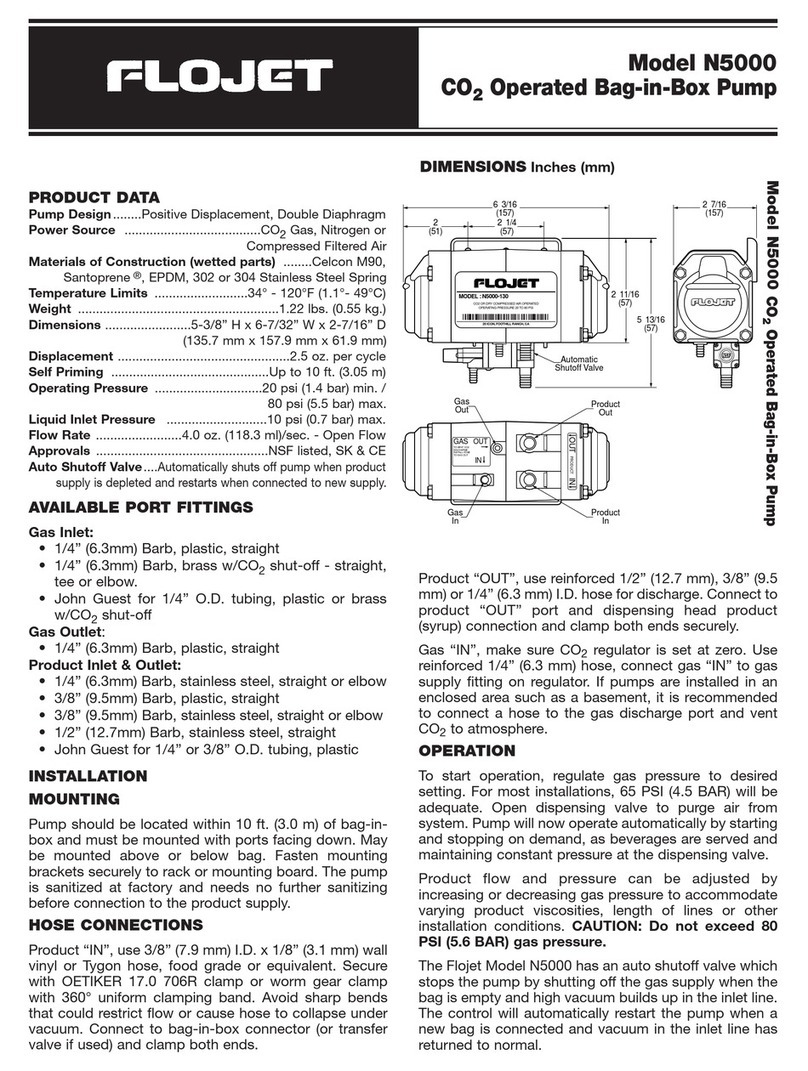
Model N5000 Specifications
Pump Design
................Positive Displacement, Double Diaphragm
Power Source
........CO2Gas, Nitrogen or Compressed Filtered Air
Materials of Construction (wetted parts) ....................Celcon M90,
Santoprene®, EPDM, 302 or 304 Stainless Steel Spring
Temperature Limits
..................................34˚ - 120˚ F (1.1˚ - 49˚ C)
Weight
....................................................................1.22 lbs. (0.55 kg.)
Dimensions
..................................5-3/8" H x 6-7/32" W x 2-7/16" D
(135.7 mm x 157.9 mm x 61.9 mm)
Displacement
..........................................................2.5 oz. per cycle
Self Priming
......................................................Up to 10 ft. (3.05 m)
Operating Pressure
....20 psi (1.4 bar) min. / 80 psi (5.5 bar) max.
Liquid Inlet Pressure
......................................10 psi (0.7 bar) max.
Flow Rate
..................................4.0 oz. (118.3 ml)/sec. - Open Flow
Approvals
..................................................................NSF listed & CE
Vacuum Shutoff
......Automatically shuts off pump at 21" Hg when
product supply is depleted. High altitude versions available for
installation where altitudes exceed 3,000 feet (914 m).
Features
1. Supplies up to two fast flow or four standard flow dis-
pensing valves at remote locations.
2. Fully automatic, operates only when beverage is
being dispensed and maintains constant pressure at
the dispensing valve.
3. Shuts off automatically when bag is empty and
restarts when a full bag is connected.
4. High suction capability empties the bag down to a
minimum residual.
5. Brass tee and elbow CO2shutoff valve quick-discon-
nect allows us to manifold CO2inlet line.
6. All pumps come with a stainless steel 3/8 inch (9.5
mm) product out barb port.
Accessories
Quantity Part No. Description
one 20590-000 Bracket for Pumps
one 20594-000 Bumper Guard
two 20595-000 Tube Hangers
one 1520-000 1/4 Inch (6.3 mm) Brass Tee
CO2Shutoff Valve
one 1521-000 1/4 Inch (6.3 mm) Brass Elbow
CO2Shutoff Valve
one 1500-030A Transfer Valve
IF USED WITH CO2OR N2BE SURE THE AREA IS
WELL VENTILATED
ONLY USE PUMPS WITH SPECIFIED PRODUCTS. DO
NOT PUMP FLAMMABLE LIQUIDS OR USE WHERE
FLAMMABLE VAPORS ARE PRESENT
WARNING
AVAILABLE PORT FITTINGS
Gas Inlet:
• 1/4” (6.3mm) Barb, plastic, straight
• 1/4” (6.3mm) Barb, brass w/CO2shut-off - straight, tee
or elbow.
• John Guest for 1/4” O.D. tubing, plastic or brass
w/CO2shut-off
Gas Outlet:
• 1/4” (6.3mm) Barb, plastic, straight
Product Inlet & Outlet:
• 1/4” (6.3mm) Barb, stainless steel, straight or elbow
• 3/8” (9.5mm) Barb, plastic, straight
• 3/8” (9.5mm) Barb, stainless steel, straight or elbow
• 1/2” (12.7mm) Barb, stainless steel, straight
• John Guest for 1/4” or 3/8” O.D. tubing, plastic
Other FLOJET Water Pump manuals

FLOJET 3426 series User manual

FLOJET

FLOJET 3426 series User manual

FLOJET 2125 Series User manual

FLOJET

FLOJET 2125 Series User manual

FLOJET 02840100A Operating and installation instructions

FLOJET

FLOJET 02840100A Operating and installation instructions

FLOJET 18555-000 User manual

FLOJET

FLOJET 18555-000 User manual

FLOJET G573 User manual

FLOJET

FLOJET G573 User manual

FLOJET BevJet Compact User manual

FLOJET

FLOJET BevJet Compact User manual

FLOJET 4105 Series User manual

FLOJET

FLOJET 4105 Series User manual

FLOJET G-57 Series Installation instructions

FLOJET

FLOJET G-57 Series Installation instructions

FLOJET 4305-144 User manual

FLOJET

FLOJET 4305-144 User manual

FLOJET N5100-010 Guide

FLOJET

FLOJET N5100-010 Guide

FLOJET G70C Series Owner's manual

FLOJET

FLOJET G70C Series Owner's manual

FLOJET N5000 User manual

FLOJET

FLOJET N5000 User manual

FLOJET R4515-743 User manual

FLOJET

FLOJET R4515-743 User manual

FLOJET 4325 Series User manual

FLOJET

FLOJET 4325 Series User manual

FLOJET 03526-144 User manual

FLOJET

FLOJET 03526-144 User manual

FLOJET quad II diaphragm 4125 series User manual

FLOJET

FLOJET quad II diaphragm 4125 series User manual

FLOJET Triplex Diaphragm 3426 Series User manual

FLOJET

FLOJET Triplex Diaphragm 3426 Series User manual

FLOJET G257 Series Guide

FLOJET

FLOJET G257 Series Guide

FLOJET 2100-12 User manual

FLOJET

FLOJET 2100-12 User manual

FLOJET N5100 Series Guide

FLOJET

FLOJET N5100 Series Guide

FLOJET 4300 Series User manual

FLOJET

FLOJET 4300 Series User manual

FLOJET R3B21 Series User manual

FLOJET

FLOJET R3B21 Series User manual

FLOJET G56 User manual

FLOJET

FLOJET G56 User manual

FLOJET R3526144 User manual

FLOJET

FLOJET R3526144 User manual

Popular Water Pump manuals by other brands

SCOPREGA BRAVO 110 instruction manual

SCOPREGA

SCOPREGA BRAVO 110 instruction manual

Chesterton 1400R installation instructions

Chesterton

Chesterton 1400R installation instructions

Salamander Pumps TapBoost TBS15 installation guide

Salamander Pumps

Salamander Pumps TapBoost TBS15 installation guide

ComNav 15CI owner's manual

ComNav

ComNav 15CI owner's manual

Graco G3 Pro instructions

Graco

Graco G3 Pro instructions

REED B20HP manual

REED

REED B20HP manual

IWAKI EH-E 31 instruction manual

IWAKI

IWAKI EH-E 31 instruction manual

laguna MaxDrive Series user manual

laguna

laguna MaxDrive Series user manual

EBARA WINNER Operating and maintenance manual

EBARA

EBARA WINNER Operating and maintenance manual

Pfeiffer Vacuum UNO 2.5 operating instructions

Pfeiffer Vacuum

Pfeiffer Vacuum UNO 2.5 operating instructions

Hove Refiller manual

Hove

Hove Refiller manual

Enerpac PTA-1404 instruction sheet

Enerpac

Enerpac PTA-1404 instruction sheet

Armstrong 11AV Installation and operation manual

Armstrong

Armstrong 11AV Installation and operation manual

Marco 164 404 15 Instructions for use

Marco

Marco 164 404 15 Instructions for use

BIANCO PUMPZ HS Series manual

BIANCO PUMPZ

BIANCO PUMPZ HS Series manual

ALFRA 03855 AHP-M Operation manual

ALFRA

ALFRA 03855 AHP-M Operation manual

Masterflex I/P Series quick start guide

Masterflex

Masterflex I/P Series quick start guide

Zoeller ProPak 507 Series installation instructions

Zoeller

Zoeller ProPak 507 Series installation instructions

manuals.online logo
manuals.online logoBrands
  • About & Mission
  • Contact us
  • Privacy Policy
  • Terms and Conditions

Copyright 2025 Manuals.Online. All Rights Reserved.