manuals.online logo
Brands
  1. Home
  2. •
  3. Brands
  4. •
  5. FRAME IT ALL
  6. •
  7. Lawn And Garden Equipment
  8. •
  9. FRAME IT ALL Crooked Falls User manual

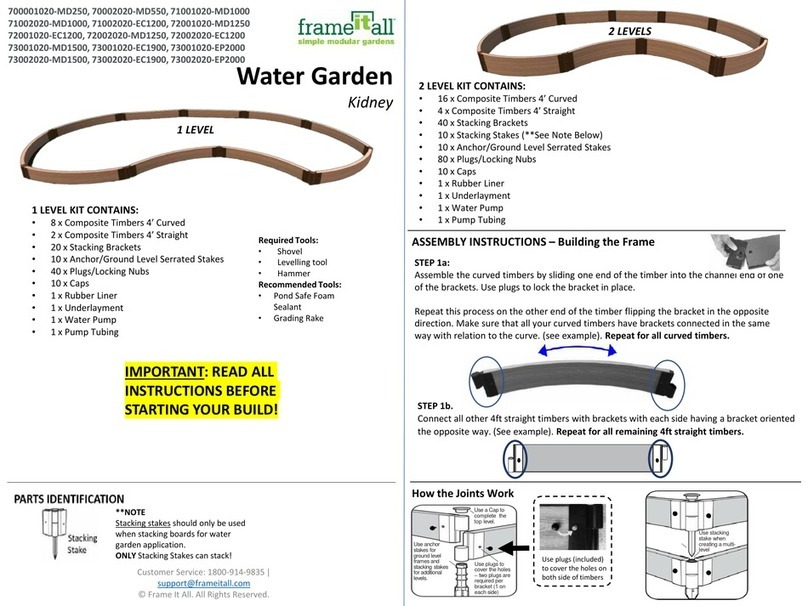
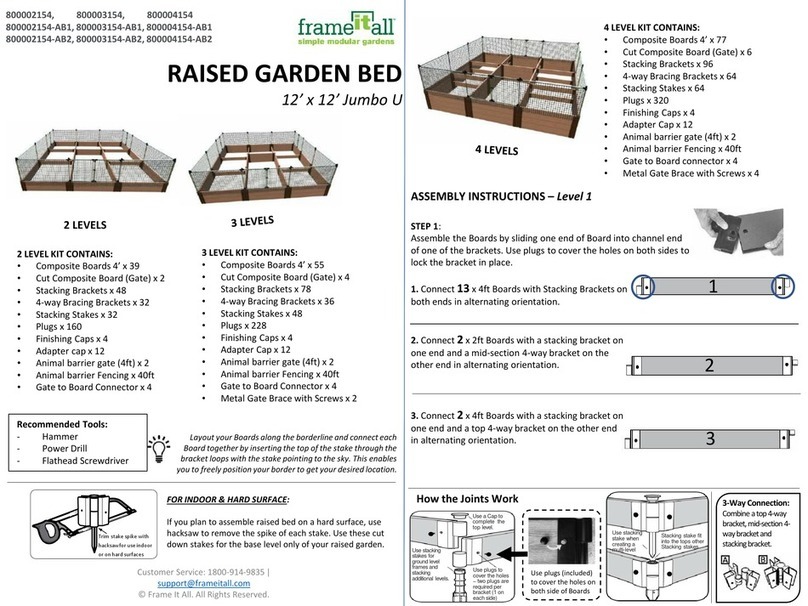
FRAME IT ALL Crooked Falls User manual

70001042-MD250, 71001042-MD350
72001042-MD550, 73001042-MD750
70002042-MD250, 71002042-MD350
72002042-MD550, 73002042-MD750
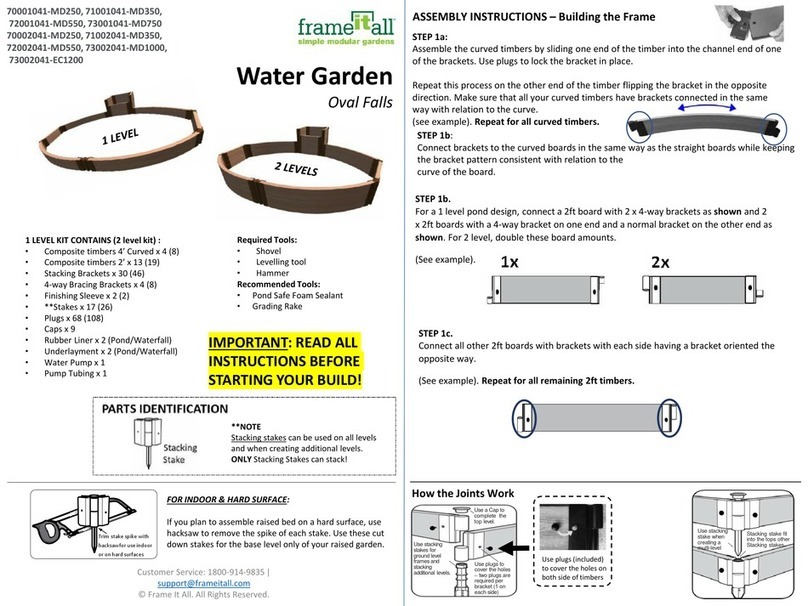
Water Garden
Crooked Falls
Customer Service: 1800-914-9835 |
[email protected]m
© Frame It All. All Rights Reserved.
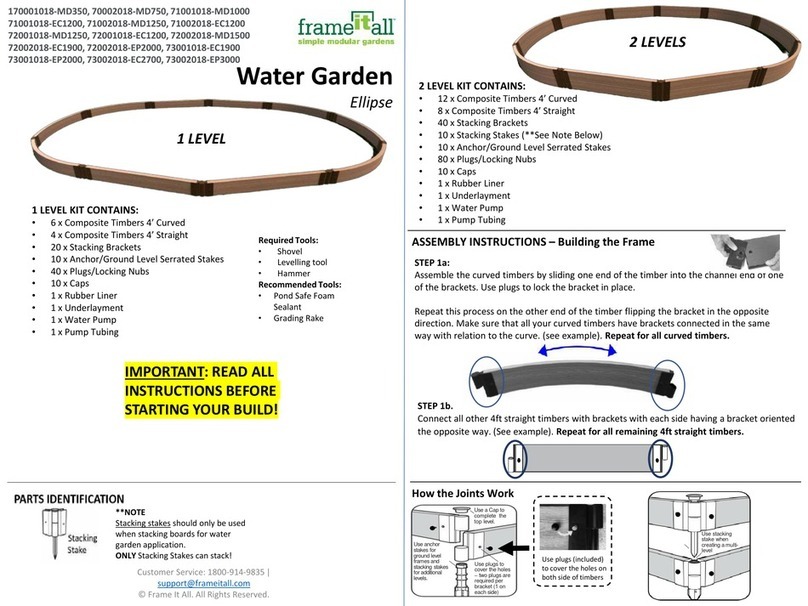
1 LEVEL KIT CONTAINS:
•3 x Composite Timbers 4’ Curved
•21 x Composite timbers 2’ Straight
•44 x Stacking Brackets
•4 x 4-Way Bracing Brackets (1 Bag)
•2 x Finishing Sleeves (1 Bag)
•12 x Stacking Stakes (**See Note Below)
•12 x Anchor/Ground Level Serrated Stakes
•72 x Plugs/Locking Nubs
•12 x Caps
•2 x Rubber Liners (Pond/Waterfall)
•2 x Underlayments (Pond/Waterfall)
•1 x Water Pump
•1 x Pump Tubing
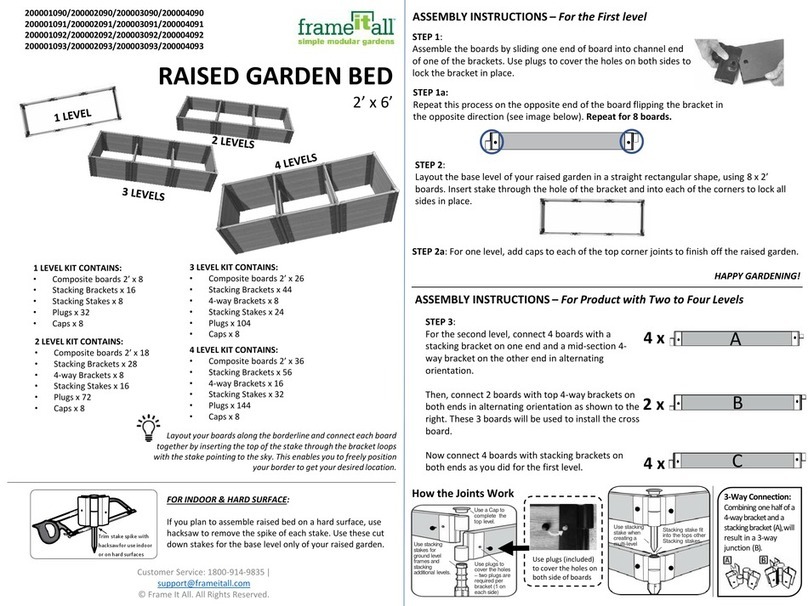
ASSEMBLY INSTRUCTIONS –Building the Frame
STEP 1a:
Assemble the curved timbers by sliding one end of the timber into the channel end of one
of the brackets. Use plugs to lock the bracket in place.
Repeat this process on the other end of the timber flipping the bracket in the opposite
direction. Make sure that all your curved timbers have brackets connected in the same
way with relation to the curve.
(see example). Repeat for all curved timbers.
How the Joints Work
Use plugs (included)
to cover the holes on
both side of timbers
STEP 1b.
For a 1 level pond design, connect a 2ft board with 2 x 4-way brackets as shown and 2
x 2ft boards with a 4-way bracket on one end and a normal bracket on the other end as
shown. For 2 level, double these board amounts.
(See example).
**NOTE
Stacking stakes should only be used
when stacking boards for water
garden application.
ONLY Stacking Stakes can stack! Use plugs to
cover the holes
–two plugs are
required per
bracket (1 on
each side)
Use a Capto
complete the
top level.
Use anchor
stakes for
ground level
framesand
stacking stakes
foradditional
levels.
Use stacking
stake when
creating amulti-
level
STEP 1c.
Connect all other 2ft boards with brackets with each side having a bracket oriented the
opposite way.
(See example). Repeat for all remaining 2ft timbers.
IMPORTANT: READ ALL
INSTRUCTIONS BEFORE
STARTING YOUR BUILD!
Required Tools:
•Shovel
•Levelling tool
•Hammer
Recommended Tools:
•Pond Safe Foam
Sealant
•Grading Rake
2 LEVEL KIT CONTAINS:
•6 x Composite Timbers 4’ Curved
•31 x Composite timbers 2’ Straight
•66 x Stacking Brackets
•8 x 4-Way Bracing Brackets (2 Bags)
•2 x Finishing Sleeves (1 Bag)
•24 x Stacking Stakes (**See Note Below)
•12 x Anchor/Ground Level Serrated Stakes
•112 x Plugs/Locking Nubs
•12 x Caps
•2 x Rubber Liners (Pond/Waterfall)
•2 x Underlayments (Pond/Waterfall)
•1 x Water Pump
•1 x Pump Tubing
Customer Service: 1800-914-9835 |
[email protected]m
© Frame It All. All Rights Reserved.
STEP 5.
Flip your anchor stakes around and hammer them into the ground until they are flush
with the top of the bracket.
Note: If you encounter a point in the ground that you cannot hammer through, remove
the stake, and cut it down to size until it can be hammered flush with the bracket.
STEP 2.
Prepare your pond area to be as level as possible. The frame can also be dug into a slope if
need be.
Note: There will be additional opportunities to level the frame once it is built.
STEP 3.
Layout the first layer of your pond as shown below. Insert your anchor stakes into the joints
so the serrated spike is facing up (see example). This will allow you to level the pond frame
and adjust the shape of your pond before driving the stakes into the ground.
STEP 3a.
At the points where the pond connects into the waterfall frame, connect your 2ft boards
assembled in Step 1b as shown:
STEP 4.
Level your pond frame using a line level or a long level tool that can go across the entire
length of the pond frame. Level at several cross sections to level all boards of the frame
STEP 6.
Once again, check the level of your pond edge and make any adjustments as needed.
STEP 7.
Stack the additional layers onto your pond and waterfall frame. If your design uses a 2-
layer (11” height) pond edge, install your 3-way connection boards in the same fashion as
you did in Step 3a.
2 Level
STEP 8a.
Insert a finishing sleeve over the exposed part of stake on each side of the waterfall lip.
STEP 8b.
Attach finishing caps on top of each joint of the pond and waterfall frame.
STEP 4a.
Use flat stones or soil to shim parts of the edging that needs to rise or dig under areas of
edging that need to be lowered. If you are using stones to level make sure to fill in the
gaps under your boards with soil later. This will prevent water from running under your
liner when it rains.
Customer Service: 1800-914-9835 |
[email protected]m
© Frame It All. All Rights Reserved.
STEP 1.
Dig out your pond placing the dug soil in your waterfall frame and any additional soil a few
feet away from your ponds edge. This soil can be used up against your pond and waterfall
edge to taper the grade away from your pond.
Note: Consider leaving dirt shelves in your pond where stones and aquatic plants can sit.
ASSEMBLY INSTRUCTIONS - Digging your Pond and Lining
STEP 2.
Fill your waterfall frame 1-5” below the waterfall lip opening with soil. Pack this soil down
firmly while taking care to not over compact it. Over compacting soil can result in the
waterfall frame bowing out.
STEP 3.
Measure the depth of your pond to ensure you did not dig deeper than the liner you
purchased can cover. If you have dug too deep, fill in the hole with some soil to bring the
level up.
STEP 4.
Mold the larger piece of underlayment included in your kit to the frame of the pond.
Repeat this step with the smaller underlayment piece and the waterfall frame. This layer
will protect your pond liner from stones or roots that may emerge over time.
STEP 5.
Roll up any excess underlayment to the pond edge or trim it to size AFTER you have
added water.
Note: Trimming underlayment to size before adding water can result in your
underlayment being pulled and not covering certain areas.
STEP 6.
Place the pond liner over the underlayment, molding it to your frame. Allow the liner to
go over the boards of the pond wall. At the point that your pond meets your waterfall
frame, allow the liner to go over the lip of the waterfall.
Note: It is important to eyeball an equal amount of liner on all sides on the pond. Allow
for about 12” of liner over your pond edge. This will give enough surface area for soil to
pin the liner down.
STEP 7.
Fold any excess liner up to the pond edge or cut liner to pond size after filling with water.
When cutting your liner, make sure to leave enough to allow it to drape completely over
the outside pond wall.
Note: Do not make cuts before filling with water.
STEP 8.
Place the smaller pond liner on top of the waterfall frame. Overlap the waterfall liner on
top of the pond liner by 12-18” to prevent leaks over time.
1-5”
Customer Service: 1800-914-9835 |
[email protected]m
© Frame It All. All Rights Reserved.
STEP 9.
As you are molding the liner to the frame, attempt to remove as many folds as possible.
STEP 10.
Consider designing your waterfall feature before adding water to the pond. Once water is
added, your access to the waterfall may be limited making stone placement cumbersome.
STEP 11.
Fill your pond and adjust the liner if needed while the weight of the water is not too much.
As the water fills up, pull your liner to eliminate any wrinkles that may still exist. Once the
pond has been filled, the weight of the water will prevent these wrinkles from returning.
Designing your Waterfall
STEP 1.
Choose the stones you wish for the water to flow over. There are many design options and
stone types you can go with. The classic look and easiest to set up is using flat stones. Flat
stones allow the water to seamlessly glide over making a soothing sheet of water into your
pond.
STEP 2.
If making a multi-step waterfall, reduce the number of cracks in between each step to
maximize the flow of your water down the waterfall.
STEP 3.
Follow your pump assembly instructions included in your pump box. Place your pump
inside of your pond at the furthest point possible from the waterfall. This will maximize
waterflow and filtration. Test how the water will flow over the rocks you have chosen by
changing the position of the tubing while the water is running. Once satisfied, use rocks to
keep the tubing in position.
STEP 4.
Use a pond safe foam sealant to fill in any of the cracks on your waterfall that are
weakening the flow. This will further increase the amount of water that makes it to the spill
way. Exposed foam can be covered with small stones after it has dried for 30-60 minutes.
Landscape Design Suggestions
•Move your excess soil up to your pond edge and take care to pack soil under any
areas of the edge and then taper your soil grade down from the pond edge. Raising
your pond grade from the grade around will ensure lawn chemicals will not wash
into your ponds water effecting the health of your fish and aquatic plants.
•If you are looking to reduce the amount of stone in your design, there are a few
tricks you can do. The first is to use tall, dense leaved plants on either side of your
waterfall instead of stone. The second is instead of using stones all around the edge
of your pond, plant low creeping plants up against the pond frame so that plants
grow up and over the lined edge. Sporadically found this will eliminate the necklace
effect you often see in ponds and naturalize your landscape.
•Before digging my plants into the ground, I place them out where I want them while
they are still in pots. I like to place my plants out first and then place key large
stones in place to get a good idea of where I want things before digging in my plants
and stones.
•Once you like your placement, set your plants and dig your primary focal stones
partly in the soil to create a more natural look.
•My focal stones are sometimes placed in different manners to create a mini
mountain scene or a well-placed stone jutting into the pond.
•After my plants and primary focal stones are in place, I use a combination of mulch
and 2-3 different size stones or pebbles to create a natural look. I try not to over
think the placements of my secondary smaller stones, starting with the largest
stones first then graduating down to the smaller stones.
Customer Service: 1800-914-9835 |
[email protected]m
© Frame It All. All Rights Reserved.
See our waterfall building video on YouTube.com/FrameitallVideos for a visual guide on
how to construct your waterfall feature!
Direct Link: https://www.youtube.com/watch?v=lC9zbXTbkag
This manual suits for next models

8

Other FRAME IT ALL Lawn And Garden Equipment manuals

FRAME IT ALL 300001068 User manual

FRAME IT ALL

FRAME IT ALL 300001068 User manual

FRAME IT ALL Jumbo U 800002154 User manual

FRAME IT ALL

FRAME IT ALL Jumbo U 800002154 User manual

FRAME IT ALL 300001228 User manual

FRAME IT ALL

FRAME IT ALL 300001228 User manual

FRAME IT ALL 300001063 User manual

FRAME IT ALL

FRAME IT ALL 300001063 User manual

FRAME IT ALL 170001018-MD350 User manual

FRAME IT ALL

FRAME IT ALL 170001018-MD350 User manual

FRAME IT ALL Topolski User manual

FRAME IT ALL

FRAME IT ALL Topolski User manual

FRAME IT ALL 300001058 User manual

FRAME IT ALL

FRAME IT ALL 300001058 User manual

FRAME IT ALL Stack & Extend User manual

FRAME IT ALL

FRAME IT ALL Stack & Extend User manual

FRAME IT ALL 70001019-MD350 User manual

FRAME IT ALL

FRAME IT ALL 70001019-MD350 User manual

FRAME IT ALL 200001090 User manual

FRAME IT ALL

FRAME IT ALL 200001090 User manual

FRAME IT ALL 200001095 User manual

FRAME IT ALL

FRAME IT ALL 200001095 User manual

FRAME IT ALL 300001078 User manual

FRAME IT ALL

FRAME IT ALL 300001078 User manual

FRAME IT ALL Stack & Extend VEGGIE WALL User manual

FRAME IT ALL

FRAME IT ALL Stack & Extend VEGGIE WALL User manual

FRAME IT ALL 800001181 User manual

FRAME IT ALL

FRAME IT ALL 800001181 User manual

FRAME IT ALL 300001178 User manual

FRAME IT ALL

FRAME IT ALL 300001178 User manual

FRAME IT ALL Topolski 8' x 8' User manual

FRAME IT ALL

FRAME IT ALL Topolski 8' x 8' User manual

FRAME IT ALL 300001066 User manual

FRAME IT ALL

FRAME IT ALL 300001066 User manual

FRAME IT ALL 70001023-MD250 User manual

FRAME IT ALL

FRAME IT ALL 70001023-MD250 User manual

FRAME IT ALL 70001022-MD250 User manual

FRAME IT ALL

FRAME IT ALL 70001022-MD250 User manual

FRAME IT ALL 800001076 User manual

FRAME IT ALL

FRAME IT ALL 800001076 User manual

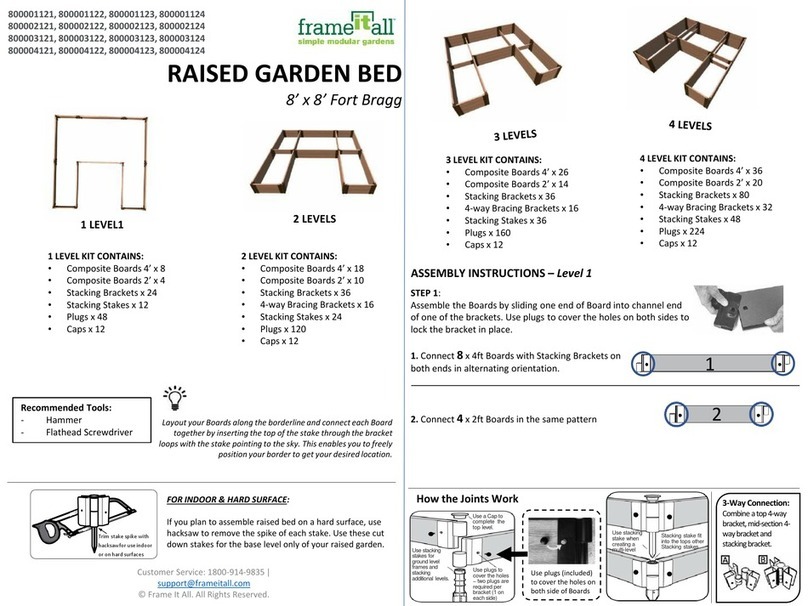
FRAME IT ALL Fort Bragg 8' x 8' User manual

FRAME IT ALL

FRAME IT ALL Fort Bragg 8' x 8' User manual

FRAME IT ALL Circle Keyhole Raised Garden Bed User manual

FRAME IT ALL

FRAME IT ALL Circle Keyhole Raised Garden Bed User manual

FRAME IT ALL 800002179 User manual

FRAME IT ALL

FRAME IT ALL 800002179 User manual

FRAME IT ALL Cumberland User manual

FRAME IT ALL

FRAME IT ALL Cumberland User manual

Popular Lawn And Garden Equipment manuals by other brands

Coby CBZ1J manual

Coby

Coby CBZ1J manual

Victory FMM HD Series Operator's manual

Victory

Victory FMM HD Series Operator's manual

GreenWorks GD48GTE33 Operator's manual

GreenWorks

GreenWorks GD48GTE33 Operator's manual

Krone AX 250 L Original Operating Instruction

Krone

Krone AX 250 L Original Operating Instruction

Billy Goat DL2500SMM owner's manual

Billy Goat

Billy Goat DL2500SMM owner's manual

Grouw! 97977 quick start guide

Grouw!

Grouw! 97977 quick start guide

Garden Oasis D71 M23737 owner's manual

Garden Oasis

Garden Oasis D71 M23737 owner's manual

EZ FLO EZ 1010-HB Installation and operating guide

EZ FLO

EZ FLO EZ 1010-HB Installation and operating guide

Norwood Kwik-Till HSD2575 owner's manual

Norwood

Norwood Kwik-Till HSD2575 owner's manual

Snapper CPSC5.5 parts manual

Snapper

Snapper CPSC5.5 parts manual

ENCLO Bedford EC18003 Assembly instructions

ENCLO

ENCLO Bedford EC18003 Assembly instructions

biofilta FOODCUBE installation guide

biofilta

biofilta FOODCUBE installation guide

Gardigo 62303 instruction manual

Gardigo

Gardigo 62303 instruction manual

Solid S8994 Assembly instructions

Solid

Solid S8994 Assembly instructions

Vivosun Grow Tent Series user manual

Vivosun

Vivosun Grow Tent Series user manual

Krone Comprima F 125 Original operating manual

Krone

Krone Comprima F 125 Original operating manual

Gardenline 91014 user guide

Gardenline

Gardenline 91014 user guide

Echo 02006801 Operator's manual

Echo

Echo 02006801 Operator's manual

manuals.online logo
manuals.online logoBrands
  • About & Mission
  • Contact us
  • Privacy Policy
  • Terms and Conditions

Copyright 2025 Manuals.Online. All Rights Reserved.