manuals.online logo
Brands
  1. Home
  2. •
  3. Brands
  4. •
  5. FRAME IT ALL
  6. •
  7. Lawn And Garden Equipment
  8. •
  9. FRAME IT ALL 300001063 User manual

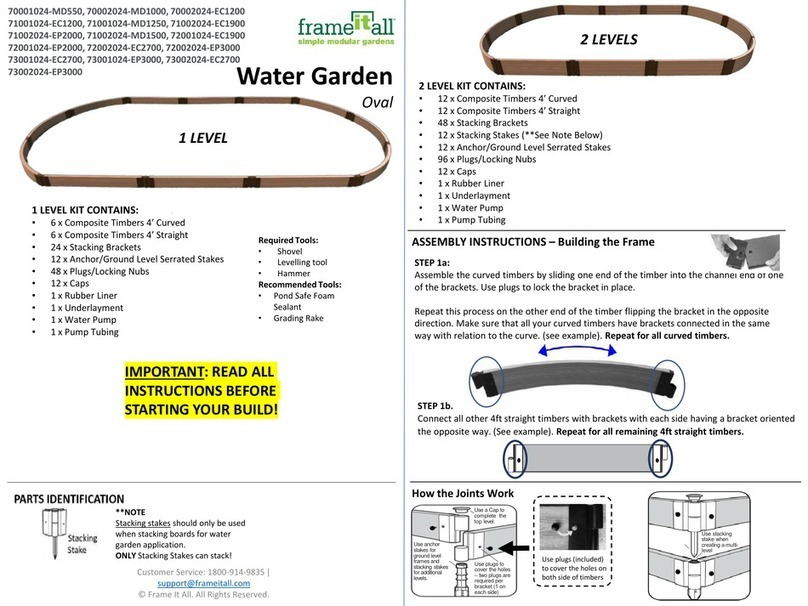
FRAME IT ALL 300001063 User manual

300001063/300001064/300001066/300001067
300001421/300001423/300001442/300001443
300001420/300001442/300001440/300001441
300001090/300001091/300001097/300001098
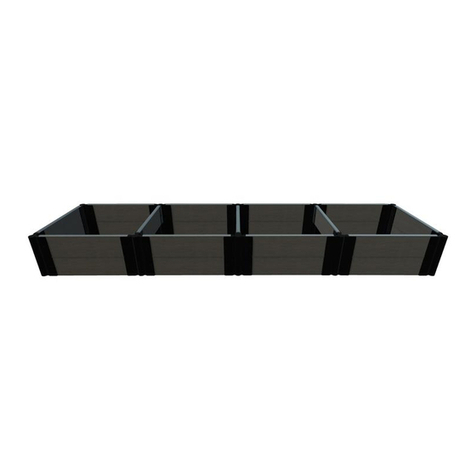
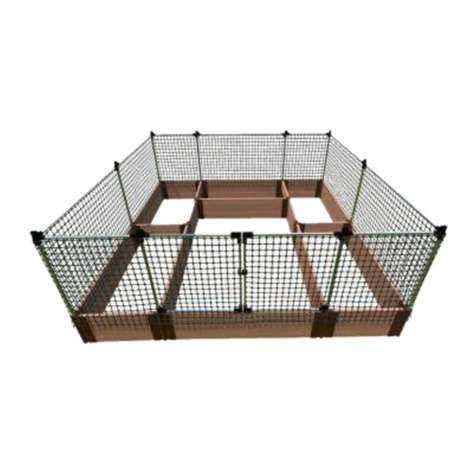
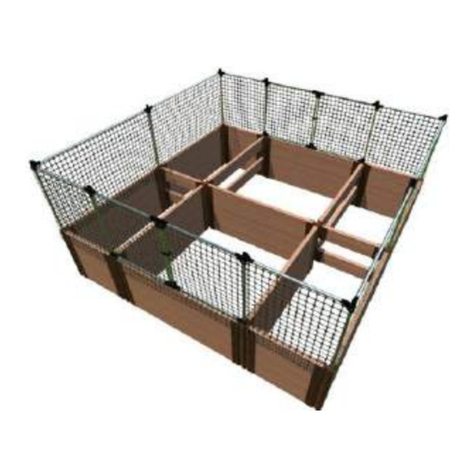
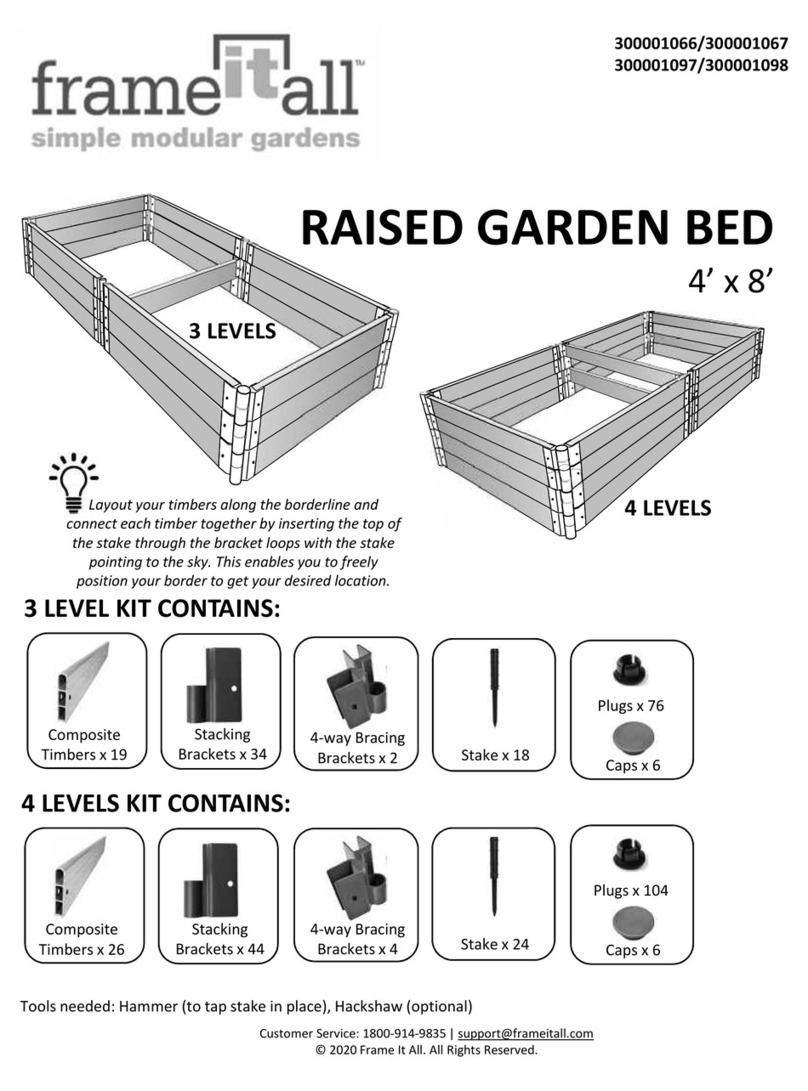
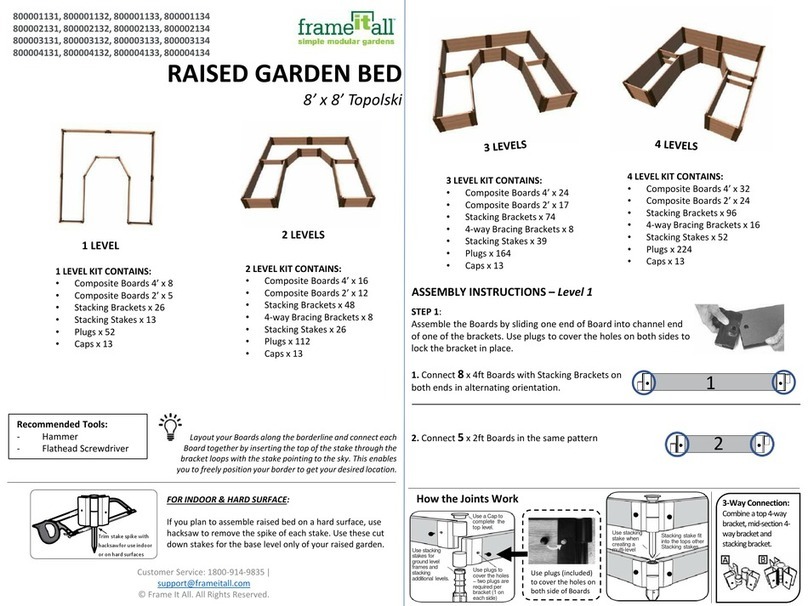
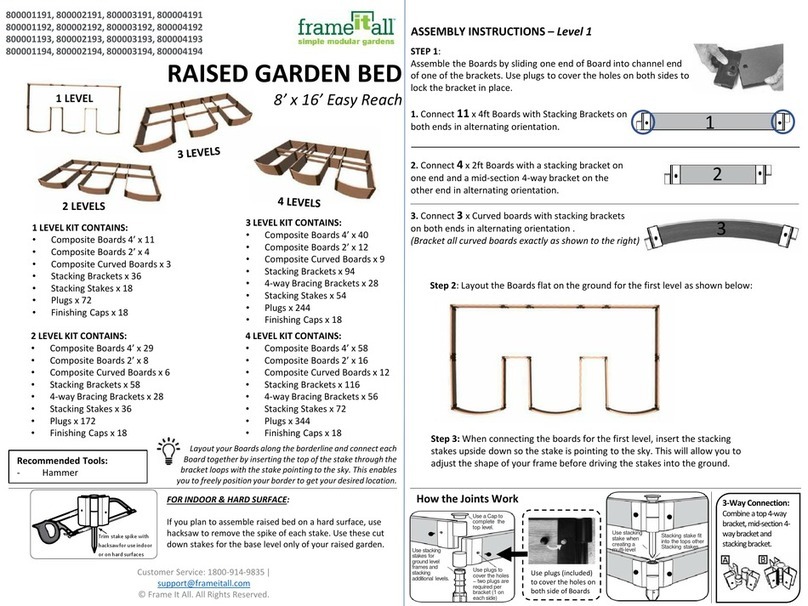
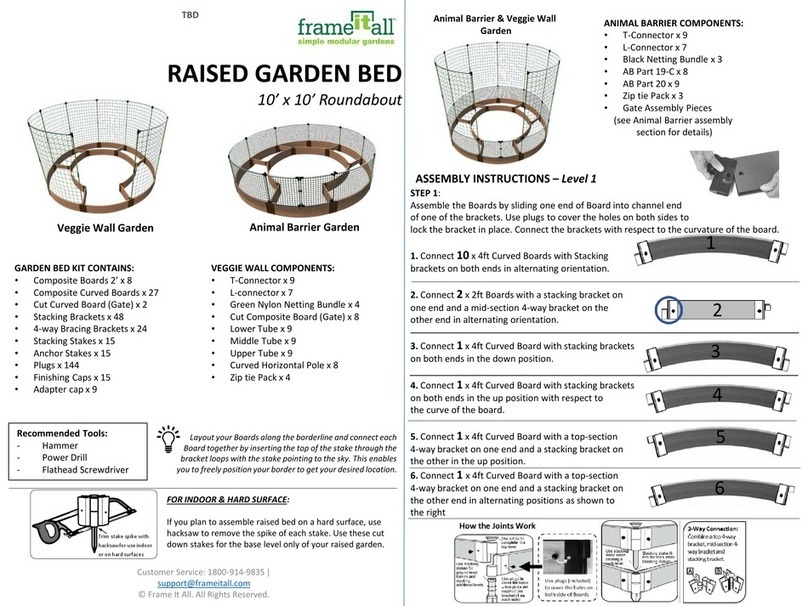
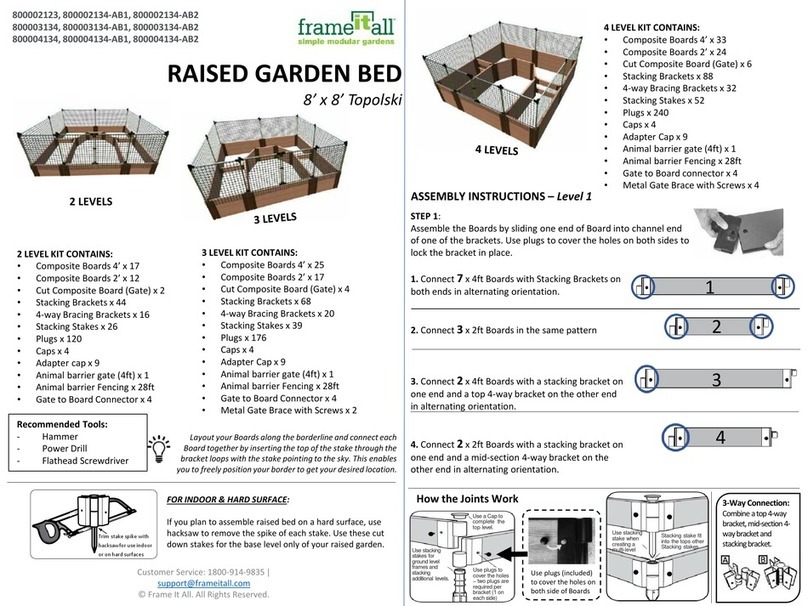
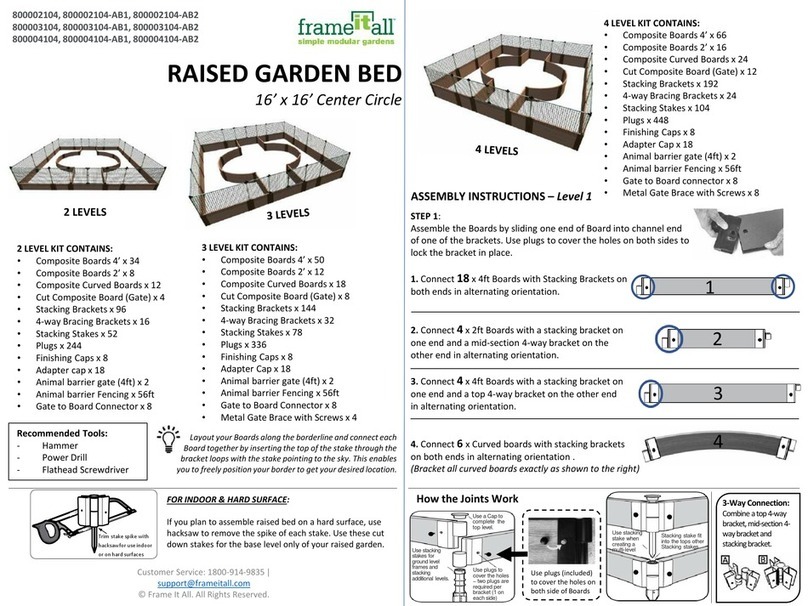
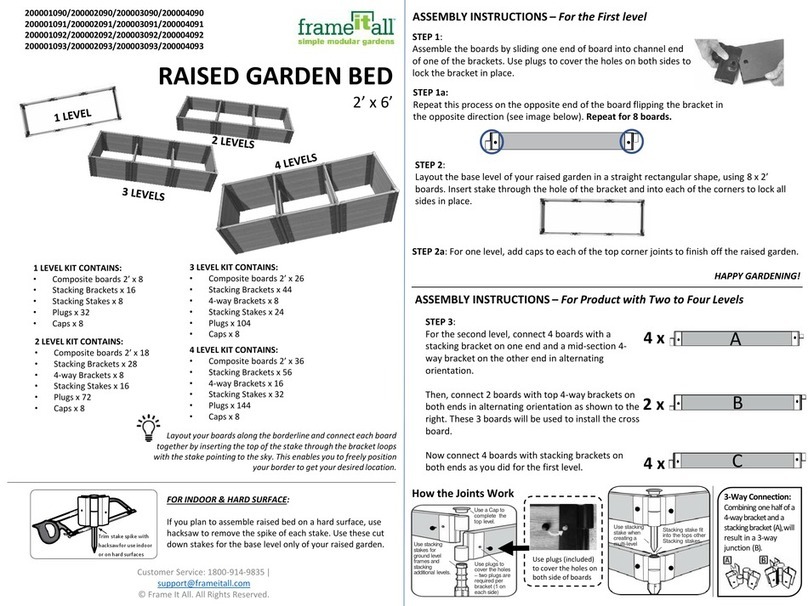
RAISED GARDEN BED
4’ x 8’
Layout your timbers along the borderline and connect each
timber together by inserting the top of the stake through the
bracket loops with the stake pointing to the sky. This enables
you to freely position your border to get your desired location.
Customer Service: 1800-914-9835 |
[email protected]m
© Frame It All. All Rights Reserved.
1 LEVEL KIT CONTAINS:
•Composite timbers 4’ x 6
•Stacking Brackets x 12
•Stacking Stakes x 6
•Plugs x 24
•Caps x 6
ASSEMBLY INSTRUCTIONS –For the First Level
STEP 1:
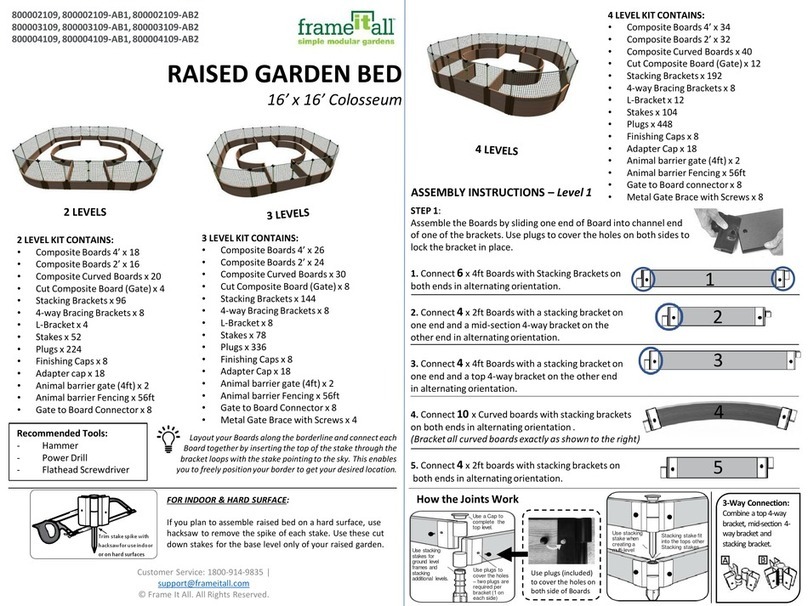
Assemble the timbers by sliding one end of timber into channel end
of one of the brackets. Use plugs to cover the holes on both sides to
lock the bracket in place.
Repeat this process on the opposite end of the timber flipping the bracket in the opposite
direction (see image). Repeat for all timbers on
the first level.
STEP 2:
Layout the base level of your raised garden in a straight rectangular shape, using 6
timbers. Insert stake through the hole of the bracket and into each of the corners to lock
all sides in place. If you are installing a 2nd level, insert your stakes upside down so that
your base shape can be adjusted.
FOR INDOOR & HARD SURFACE:
If you plan to assemble raised bed on a hard surface, use
hacksaw to remove the spike of each stake. Use these cut
down stakes for the base level only of your raised garden.
Trim stake spike with
hacksawfor use indoor
or on hard surfaces
1 LEVEL
STEP 2a: For one level, add caps to each of the top
corner joints to finish off the raised garden.
HAPPY GARDENING!
ASSEMBLY INSTRUCTIONS –For Product with Two to Four Levels
How the Joints Work
Use plugs (included)
to cover the holes on
both side of timbers
Use plugs to
cover the holes
–two plugs are
required per
bracket (1 on
each side)
Use a Capto
complete the
top level.
Use stacking
stakes for
ground level
framesand
stacking
additional levels.
Use stacking
stake when
creating a
multi-level
Stacking stake fit
into the tops other
Stacking stakes
3-Way Connection:
Combining two halves
of a 4-way bracket and
a stacking bracket (A),
will result in a 3-way
junction (B).
STEP 3:
For the second level, connect 2 timbers with a
stacking bracket on one end and a mid-section 4-
way bracket on the other end in alternating
orientation.
Then, connect 1 timber with top 4-way brackets on
both ends in alternating orientation as shown to the
right. These 3 timbers will be used to install the
cross timber.
Now connect 4 timbers with stacking brackets on
both ends as you did for the first level.
2 x
1 x
4 x
2 LEVEL KIT CONTAINS:
•Composite timbers 4’ x 13
•Stacking Brackets x 22
•4-way Brackets x 4
•Stacking Stakes x 12
•Plugs x 52
•Caps x 6
3 LEVEL KIT CONTAINS:
•Composite timbers 4’ x 19
•Stacking Brackets x 34
•4-way Brackets x 4
•Stacking Stakes x 18
•Plugs x 76
•Caps x 6
4 LEVEL KIT CONTAINS:
•Composite timbers 4’ x 26
•Stacking Brackets x 44
•4-way Brackets x 8
•Stacking Stakes x 24
•Plugs x 104
•Caps x 6
A
B
C
STEP 4:
Layout the timbers for the second level flat on the ground while referencing
the diagram below. Place the cross timber for level 2 on top of the upside
stakes to ensure it will fit. Once adjustments have been made, the stakes can
be hammered into the ground and the second level can be stacked.
A
A
B
C
C
C
C
STEP 5:
Connect 6 timbers for level 3 with stacking brackets on both ends
and stack them as you did for level 1..
2 x cross
timbers on a
4-level design.
1 x cross timber
for a 3-level design.
3 LEVELS
4 LEVELS
Note: Stacking stakes insert into the top of the previous level stakes.
STEP 6:
Connect 7 timbers for level 4 in the same quantity and pattern as
you did for level 2. Stack and connect them in the same way as
well.

This manual suits for next models

14

Other FRAME IT ALL Lawn And Garden Equipment manuals
FRAME IT ALL 300000400 User manual

FRAME IT ALL

FRAME IT ALL 300000400 User manual

FRAME IT ALL 200001095 User manual

FRAME IT ALL

FRAME IT ALL 200001095 User manual

FRAME IT ALL 300001058 User manual

FRAME IT ALL

FRAME IT ALL 300001058 User manual

FRAME IT ALL Stack & Extend User manual

FRAME IT ALL

FRAME IT ALL Stack & Extend User manual

FRAME IT ALL 300001058 User manual

FRAME IT ALL

FRAME IT ALL 300001058 User manual

FRAME IT ALL Stack & Extend VEGGIE WALL User manual

FRAME IT ALL

FRAME IT ALL Stack & Extend VEGGIE WALL User manual

FRAME IT ALL Stack & Extend VEGGIE WALL User manual

FRAME IT ALL

FRAME IT ALL Stack & Extend VEGGIE WALL User manual

FRAME IT ALL 300001168 User manual

FRAME IT ALL

FRAME IT ALL 300001168 User manual

FRAME IT ALL 800001076 User manual

FRAME IT ALL

FRAME IT ALL 800001076 User manual

FRAME IT ALL 70001025-MD250 User manual

FRAME IT ALL

FRAME IT ALL 70001025-MD250 User manual

FRAME IT ALL 200001090 User manual

FRAME IT ALL

FRAME IT ALL 200001090 User manual

FRAME IT ALL Crooked Falls User manual

FRAME IT ALL

FRAME IT ALL Crooked Falls User manual

FRAME IT ALL Alamo User manual

FRAME IT ALL

FRAME IT ALL Alamo User manual

FRAME IT ALL 300001178 User manual

FRAME IT ALL

FRAME IT ALL 300001178 User manual

FRAME IT ALL 70001022-MD250 User manual

FRAME IT ALL

FRAME IT ALL 70001022-MD250 User manual

FRAME IT ALL 70001019-MD350 User manual

FRAME IT ALL

FRAME IT ALL 70001019-MD350 User manual

FRAME IT ALL 300001228 User manual

FRAME IT ALL

FRAME IT ALL 300001228 User manual

FRAME IT ALL Stack & Extend User manual

FRAME IT ALL

FRAME IT ALL Stack & Extend User manual

FRAME IT ALL 70001041-MD250 User manual

FRAME IT ALL

FRAME IT ALL 70001041-MD250 User manual

FRAME IT ALL 200001100 User manual

FRAME IT ALL

FRAME IT ALL 200001100 User manual

FRAME IT ALL Center Circle 16' x 16' User manual

FRAME IT ALL

FRAME IT ALL Center Circle 16' x 16' User manual

FRAME IT ALL Cumberland User manual

FRAME IT ALL

FRAME IT ALL Cumberland User manual
FRAME IT ALL Alamo 8' x 8' User manual
FRAME IT ALL

FRAME IT ALL Alamo 8' x 8' User manual

FRAME IT ALL 800001181 User manual

FRAME IT ALL

FRAME IT ALL 800001181 User manual

Popular Lawn And Garden Equipment manuals by other brands

Greencut WS400 instruction manual

Greencut

Greencut WS400 instruction manual

Eliet DZC550 Manual guide

Eliet

Eliet DZC550 Manual guide

Ryobi R18DA Original instructions

Ryobi

Ryobi R18DA Original instructions

ETT 1971195 Reference manual

ETT

ETT 1971195 Reference manual

Sititek 70878 user manual

Sititek

Sititek 70878 user manual

SuperCloset SuperPonics 16 instruction manual

SuperCloset

SuperCloset SuperPonics 16 instruction manual

TUF-TITE TR1 COMPONENTS & ASSEMBLY

TUF-TITE

TUF-TITE TR1 COMPONENTS & ASSEMBLY

Billy Goat QV PUSH Operator's manual

Billy Goat

Billy Goat QV PUSH Operator's manual

BCS Fresa FR 46 Instruction book

BCS

BCS Fresa FR 46 Instruction book

claber 90832 user guide

claber

claber 90832 user guide

E-FLOR AHS 18 LI User instructions

E-FLOR

E-FLOR AHS 18 LI User instructions

Toro 22610 Operator's manual

Toro

Toro 22610 Operator's manual

Scheppach EB2000 Translation of original instruction manual

Scheppach

Scheppach EB2000 Translation of original instruction manual

WONDERMAKE Plantatio2 manual

WONDERMAKE

WONDERMAKE Plantatio2 manual

FITT Flopro Smartflo No Kink Hose System Use and maintenance manual

FITT

FITT Flopro Smartflo No Kink Hose System Use and maintenance manual

Greencut MANGUERA MNG Series instruction manual

Greencut

Greencut MANGUERA MNG Series instruction manual

Land Pride FM20 Series brochure

Land Pride

Land Pride FM20 Series brochure

The Drip Store K001 installation instructions

The Drip Store

The Drip Store K001 installation instructions

manuals.online logo
manuals.online logoBrands
  • About & Mission
  • Contact us
  • Privacy Policy
  • Terms and Conditions

Copyright 2025 Manuals.Online. All Rights Reserved.