manuals.online logo
Brands
  1. Home
  2. •
  3. Brands
  4. •
  5. FRAME IT ALL
  6. •
  7. Lawn And Garden Equipment
  8. •
  9. FRAME IT ALL RAISED GARDEN BED User manual

FRAME IT ALL RAISED GARDEN BED User manual

TBD
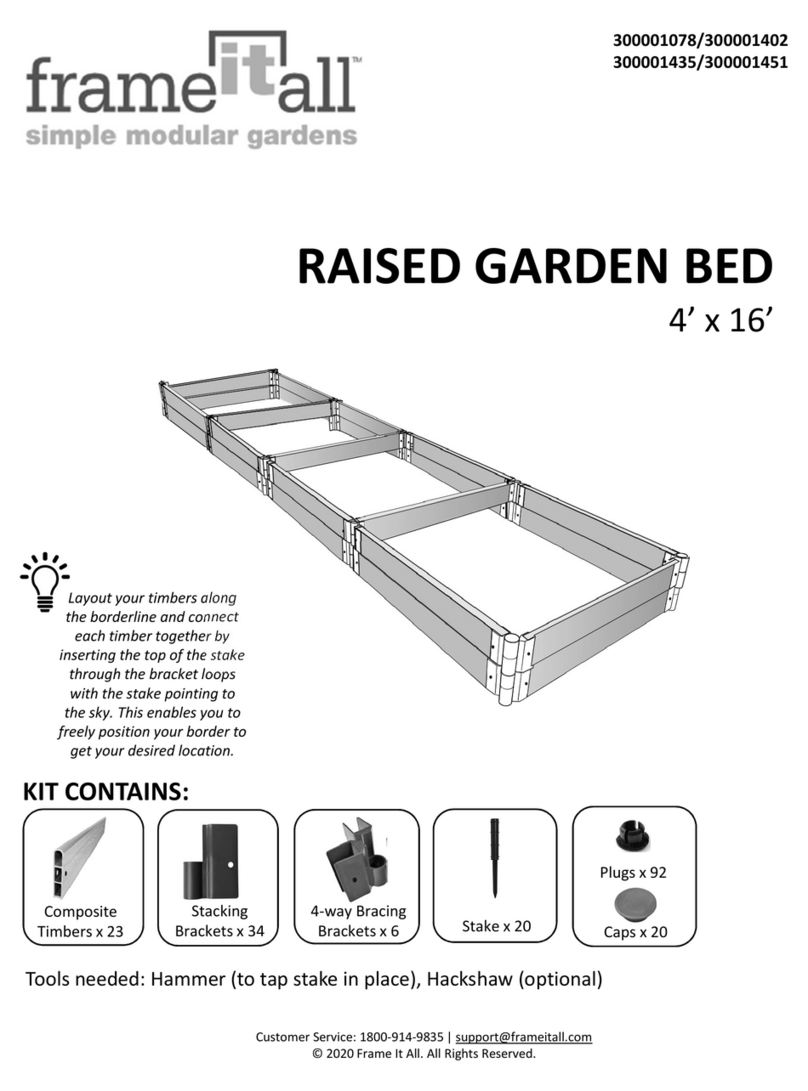
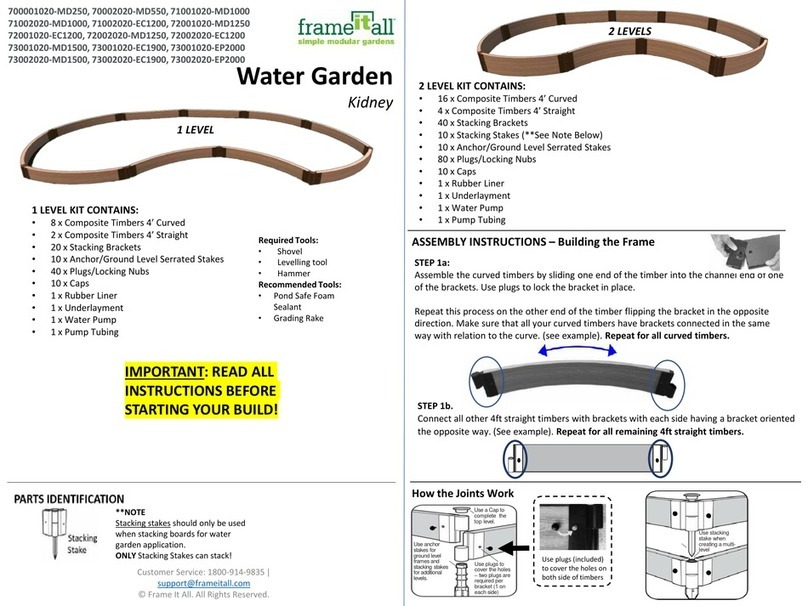
RAISED GARDEN BED
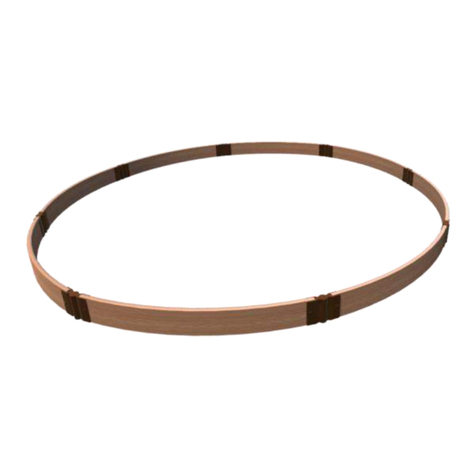
10’ x 10’ Roundabout
Layout your Boards along the borderline and connect each
Board together by inserting the top of the stake through the
bracket loops with the stake pointing to the sky. This enables
you to freely position your border to get your desired location.
Customer Service: 1800-914-9835 |
[email protected]m
© Frame It All. All Rights Reserved.
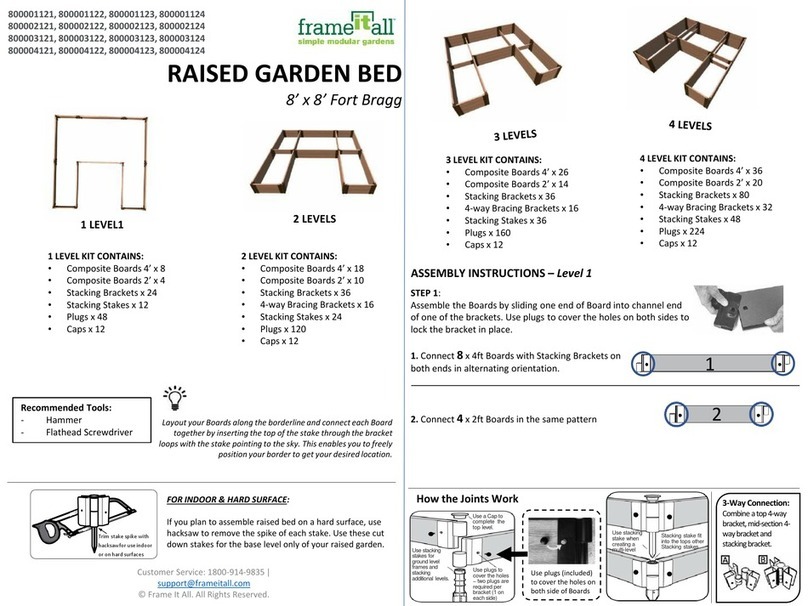
GARDEN BED KIT CONTAINS:
•Composite Boards 2’ x 8
•Composite Curved Boards x 27
•Cut Curved Board (Gate) x 2
•Stacking Brackets x 48
•4-way Bracing Brackets x 24
•Stacking Stakes x 15
•Anchor Stakes x 15
•Plugs x 144
•Finishing Caps x 15
•Adapter cap x 9
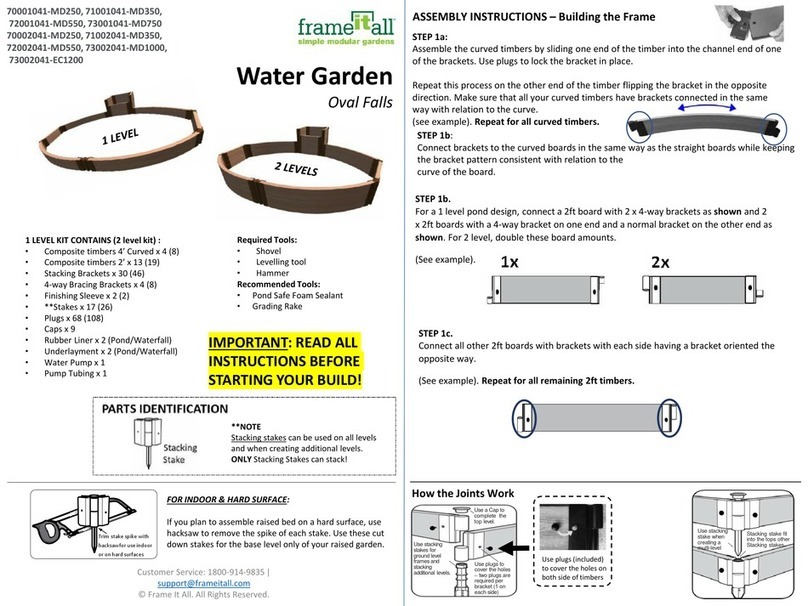
ASSEMBLY INSTRUCTIONS –Level 1
STEP 1:
Assemble the Boards by sliding one end of Board into channel end
of one of the brackets. Use plugs to cover the holes on both sides to
lock the bracket in place. Connect the brackets with respect to the curvature of the board.
1. Connect 10 x 4ft Curved Boards with Stacking
brackets on both ends in alternating orientation.
2. Connect 2x 2ft Boards with a stacking bracket on
one end and a mid-section 4-way bracket on the
other end in alternating orientation.
3. Connect 1x 4ft Curved Board with stacking brackets
on both ends in the down position.
4. Connect 1x 4ft Curved Board with stacking brackets
on both ends in the up position with respect to
the curve of the board.
5. Connect 1x 4ft Curved Board with a top-section
4-way bracket on one end and a stacking bracket on
the other in the up position.
6. Connect 1 x 4ft Curved Board with a top-section
4-way bracket on one end and a stacking bracket on
the other end in alternating positions as shown to
the right
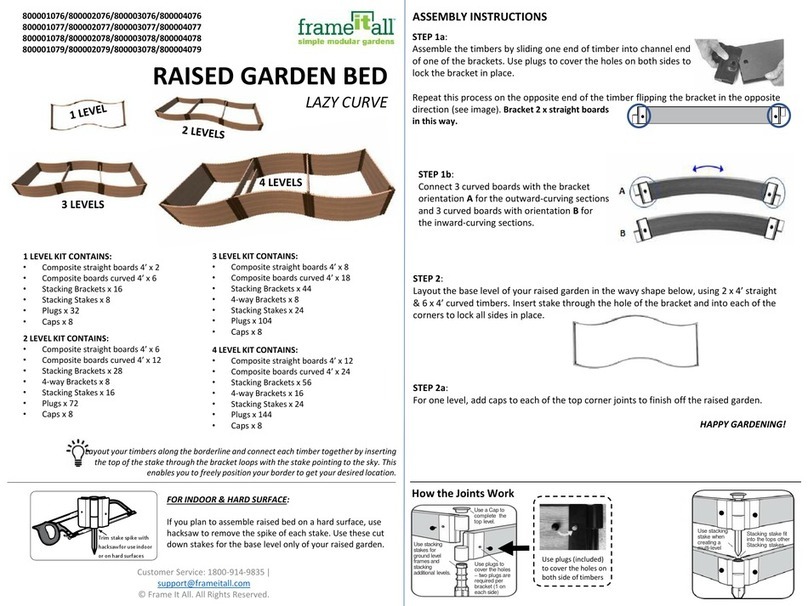
FOR INDOOR & HARD SURFACE:
If you plan to assemble raised bed on a hard surface, use
hacksaw to remove the spike of each stake. Use these cut
down stakes for the base level only of your raised garden.
Trim stake spike with
hacksawfor use indoor
or on hard surfaces
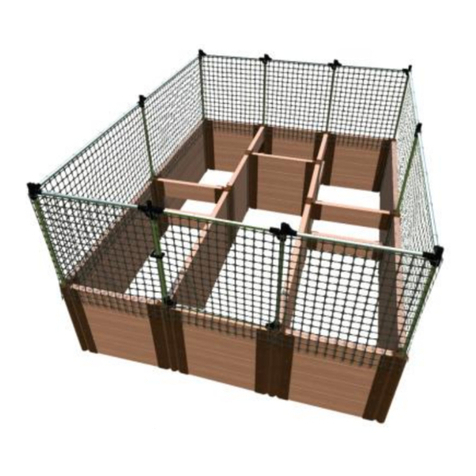
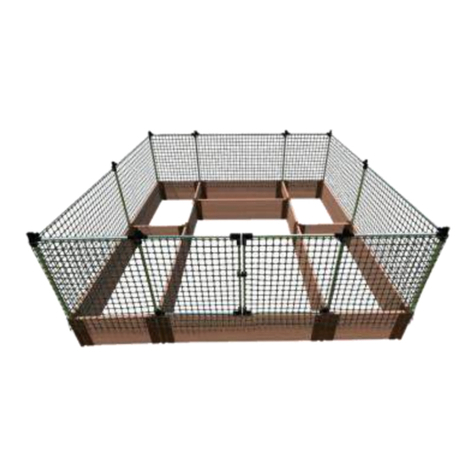
Animal Barrier & Veggie Wall
Garden
Animal Barrier Garden
Veggie Wall Garden
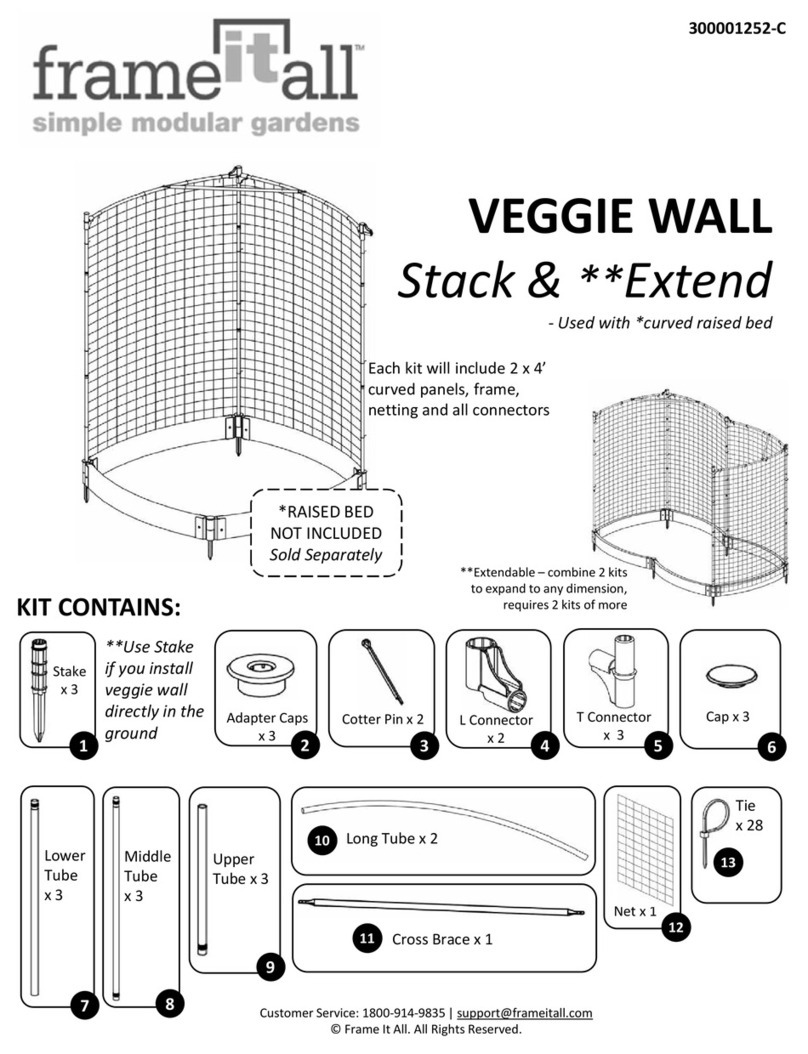
VEGGIE WALL COMPONENTS:
•T-Connector x 9
•L-connector x 7
•Green Nylon Netting Bundle x 4
•Cut Composite Board (Gate) x 8
•Lower Tube x 9
•Middle Tube x 9
•Upper Tube x 9
•Curved Horizontal Pole x 8
•Zip tie Pack x 4
ANIMAL BARRIER COMPONENTS:
•T-Connector x 9
•L-Connector x 7
•Black Netting Bundle x 3
•AB Part 19-C x 8
•AB Part 20 x 9
•Zip tie Pack x 3
•Gate Assembly Pieces
(see Animal Barrier assembly
section for details)
1
2
Recommended Tools:
- Hammer
- Power Drill
- Flathead Screwdriver
3
4
5
6
STEP 5:
Connect the boards for your second level in the quantity and orientation as shown below.
1. Connect 2x 4ft Curved Boards with Stacking Brackets on
on both ends in alternating orientation.
2. Connect 3 x 4ft Curved Board with a top-section
4-way bracket on one end and a stacking bracket on
the other end in alternating positions as shown to
the right .
3. Connect 4x 4ft Curved Boards with a stacking bracket
on one end and a top 4-way bracket on the other end
in alternating orientation as shown to the right.
4. Connect 2 x 4ft Curved boards with a stacking bracket
on end and a top-section 4-way bracket on the other end
in the same position.
5. Connect 1 x 4ft Curved board with stacking brackets on
both sides in the top position.
6. Connect each of the curved gate boards with
stacking brackets on one end in the down
position.
7. Connect 1 x 4ft Curved Board with a top-section 4-way
bracket on one end and a stacking bracket on the other
end in the same position.
8. Connect 4x 2ft Boards with mid-section 4-way brackets on
both ends in alternating orientation.
9. Connect 2 x 2ft Boards with a stacking bracket on one end
and a top section 4-way bracket on the other end in
alternating orientation.
ASSEMBLY INSTRUCTIONS –Level 1 Continued
Step 2: Layout the Boards for the first level according to the number of the
board in Step 1.
Note: It is especially important to layout the boards in the exact orientation
shown in the diagram below.
The gate Board (Board 3) on level 1 is kept uncut to act as a level surface for the
gate to swing on. You can choose to cut this Board if you want it to be apart of the
swinging gate.
IMPORTANT: If you connect any brackets incorrectly, they can be removed by
inserting a flathead screwdriver into the opening of the snap-lock plugs, pushing into
the nub and twisting upwards.
Step 3: When connecting the boards for the first level, insert the anchor
stakes upside down so the stake is pointing to the sky. This will allow you to
adjust the shape of your frame before driving the stakes into the ground.
Step 4: Once you finish with the adjustments of your base level frame, flip
over the stakes and hammer them into the ground.
1
1
1
1
1
11
1
1
6
1
22
3
4
5
1
2
3
4
5
66
7
9
8
Step 6: Before stacking your boards, lay them out around your 1st level frame.
NOTE: Stacking stakes will be used for the second level of the design.
Step 7. Start your 2nd level by connecting the 6/7/9 joint first.
Have the bracket for the gate board (6) on the bottom of the
joint as shown in the picture to the left. Then continue from
this point stacking the remaining 2nd level boards.
ASSEMBLY INSTRUCTIONS –Animal Barrier Gate
NOTE: Part 12 will not be used
if installing the gate to Board
connector
Step 1: Install an adapter cap (Part 21) on top of each of the 9 outer joints on your second
level.
11
2
2
2
3
3
3
3
4
4
5
6
7
8
88
8
9
9
6
9
9
9
3
150
9
*Optional
9
7
Gate spacer sleeve. Only used
if stacking a second level of
animal barrier.
2
THIRD: Add two curved tubes (18) to create the top and the bottom edges of the
left gate. When inserting the round and square tube into the corner joint, make
sure to insert each tube shape into the correct side. One side is for the square
tube and one side is for the round tube.
STEP 4a: Take 2 board to timber connectors and fasten them on either side of
the bottom animal barrier gate pole with the screws provided and a power drill.
This will allow the animal barrier gate and board gate to swing as a complete
door. If you are installing this connector onto one-inch profile boards, insert the
spacer block in between the gate to board connector and board before drilling
in your screws.
THIRD: Add two curved tubes (18)
to create the top and the bottom of
the right gate frame. Insert one tube
into the corner connector of the top
hinge and another into the corner
connector of the bottom hinge.
Veggie Wall Instructions
79
9
99
9
8
4
4
**Only used for stabilization if
reconfiguring your garden bed.
Step 1:
Screw the Upper Tube (9) into the middle tube (8) and
tighten. Then, screw the lower tube (7) into that tube
segment. Repeat until you have assembled 9 vertical veggie
wall poles in total.
Step 2:
Place T-connector (5) on top of each of the 9 assembled
vertical poles. Then attach an L-connector (4) on top of 7 of
the T-connectors, leaving 2 vertical poles with only a T-
connector on top.
Step 3:
Insert the 2 vertical poles with only T-connectors onto the 2
joints at the entrance of the garden bed. Install all other
vertical poles in the remaining perimeter joints.
**If you are installing the Veggie Wall on top of an animal
barrier, the vertical poles will be inserted into the top of
the animal barrier joints. Otherwise. these vertical poles
will insert directly into the stakes of the garden bed.
Step 4:
Connect a long horizontal tube (10) in between each of the
vertical poles just installed. For this step we recommend
using a stable step ladder.
Step 5:
Unravel the nylon mesh netting (12) and attach it to the
veggie wall frame with the zip ties provided (2).
**

Other FRAME IT ALL Lawn And Garden Equipment manuals
FRAME IT ALL 800002179 User manual

FRAME IT ALL

FRAME IT ALL 800002179 User manual

FRAME IT ALL 300001068 User manual

FRAME IT ALL

FRAME IT ALL 300001068 User manual

FRAME IT ALL 70001023-MD250 User manual

FRAME IT ALL

FRAME IT ALL 70001023-MD250 User manual

FRAME IT ALL 300001058 User manual

FRAME IT ALL

FRAME IT ALL 300001058 User manual

FRAME IT ALL Inner Roboto 800002114 User manual

FRAME IT ALL

FRAME IT ALL Inner Roboto 800002114 User manual

FRAME IT ALL 70001025-MD250 User manual

FRAME IT ALL

FRAME IT ALL 70001025-MD250 User manual

FRAME IT ALL 300001168 User manual

FRAME IT ALL

FRAME IT ALL 300001168 User manual

FRAME IT ALL Cumberland User manual

FRAME IT ALL

FRAME IT ALL Cumberland User manual
FRAME IT ALL Alamo User manual

FRAME IT ALL

FRAME IT ALL Alamo User manual

FRAME IT ALL 70001024-MD550 User manual

FRAME IT ALL

FRAME IT ALL 70001024-MD550 User manual

FRAME IT ALL Fort Bragg 8' x 8' User manual

FRAME IT ALL

FRAME IT ALL Fort Bragg 8' x 8' User manual

FRAME IT ALL 170001018-MD350 User manual
FRAME IT ALL

FRAME IT ALL 170001018-MD350 User manual

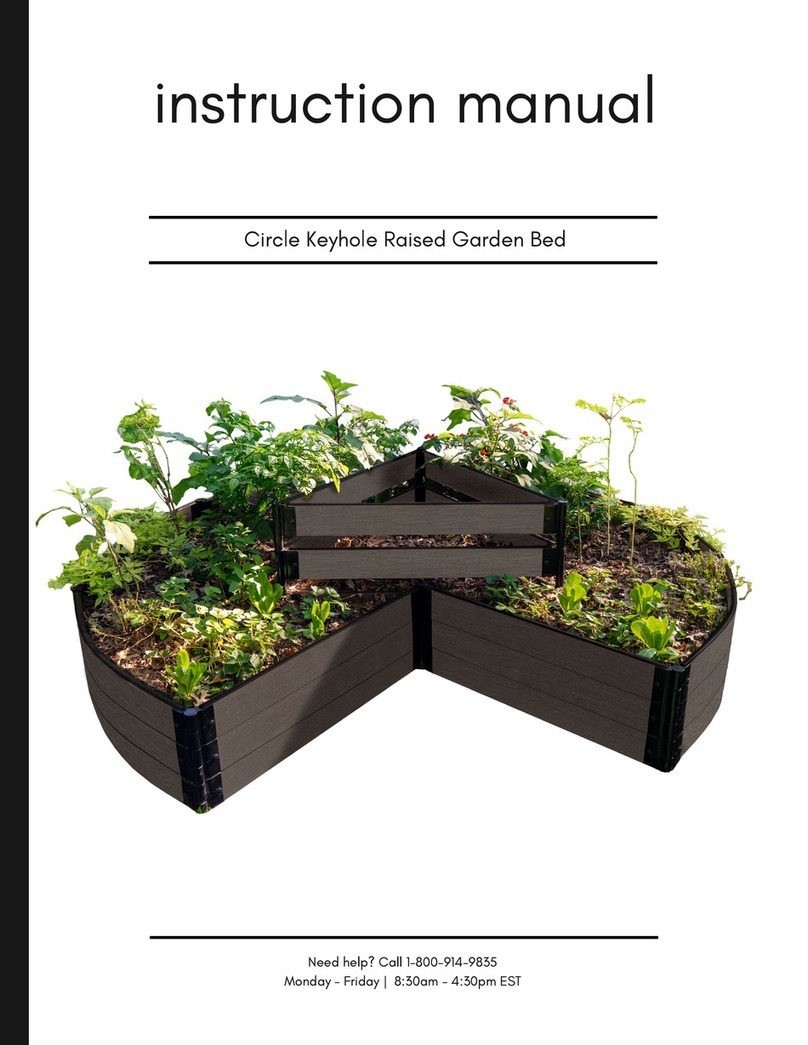
FRAME IT ALL Circle Keyhole Raised Garden Bed User manual

FRAME IT ALL

FRAME IT ALL Circle Keyhole Raised Garden Bed User manual

FRAME IT ALL 300001066 User manual

FRAME IT ALL

FRAME IT ALL 300001066 User manual

FRAME IT ALL Stack & Extend User manual

FRAME IT ALL

FRAME IT ALL Stack & Extend User manual

FRAME IT ALL Stack & Extend User manual

FRAME IT ALL

FRAME IT ALL Stack & Extend User manual

FRAME IT ALL Topolski User manual

FRAME IT ALL

FRAME IT ALL Topolski User manual
FRAME IT ALL Fort Bragg User manual

FRAME IT ALL

FRAME IT ALL Fort Bragg User manual

FRAME IT ALL Stack & Extend VEGGIE WALL User manual
FRAME IT ALL

FRAME IT ALL Stack & Extend VEGGIE WALL User manual

FRAME IT ALL Topolski 8' x 8' User manual

FRAME IT ALL

FRAME IT ALL Topolski 8' x 8' User manual

FRAME IT ALL Stack & Extend User manual

FRAME IT ALL

FRAME IT ALL Stack & Extend User manual

FRAME IT ALL Colosseum 800002109 User manual

FRAME IT ALL

FRAME IT ALL Colosseum 800002109 User manual

FRAME IT ALL 800002123 User manual

FRAME IT ALL

FRAME IT ALL 800002123 User manual

FRAME IT ALL Jumbo U 800002154 User manual

FRAME IT ALL

FRAME IT ALL Jumbo U 800002154 User manual

Popular Lawn And Garden Equipment manuals by other brands

EUROM Fly Away 30-2 IPX4 Instruction booklet

EUROM

EUROM Fly Away 30-2 IPX4 Instruction booklet

Simplicity 1694152 Illustrated parts list

Simplicity

Simplicity 1694152 Illustrated parts list

MASSEY FERGUSON 160V - brochure

MASSEY FERGUSON

MASSEY FERGUSON 160V - brochure

AquaScape Pro Air 60 installation instructions

AquaScape

AquaScape Pro Air 60 installation instructions

DANA 4360-2 parts list

DANA

DANA 4360-2 parts list

Echo hcas-235es Operator's manual

Echo

Echo hcas-235es Operator's manual

SNOWJOE AQUA JOE FIBERJACKET AJFJH25-58-PRO-RM manual

SNOWJOE

SNOWJOE AQUA JOE FIBERJACKET AJFJH25-58-PRO-RM manual

Oypla GARDEN 3888 user manual

Oypla GARDEN

Oypla GARDEN 3888 user manual

Kingfisher NMRS1500 manual

Kingfisher

Kingfisher NMRS1500 manual

RUSTA Privacy screen Acacia 625901090101 manual

RUSTA

RUSTA Privacy screen Acacia 625901090101 manual

Wolf Garten UV 28 EVK instruction manual

Wolf Garten

Wolf Garten UV 28 EVK instruction manual

BIOBALANCE Mikro 200 Operating	 instruction

BIOBALANCE

BIOBALANCE Mikro 200 Operating instruction

Gardenline 81324-20 user manual

Gardenline

Gardenline 81324-20 user manual

Green-Qube GQ120 Assembly instructions

Green-Qube

Green-Qube GQ120 Assembly instructions

Sunjoy Hardtop Pavilion owner's manual

Sunjoy

Sunjoy Hardtop Pavilion owner's manual

Grouw! 70227 instruction manual

Grouw!

Grouw! 70227 instruction manual

PowerBase DT5310 instruction manual

PowerBase

PowerBase DT5310 instruction manual

Stratco Handi-Garden Shed installation guide

Stratco

Stratco Handi-Garden Shed installation guide

manuals.online logo
manuals.online logoBrands
  • About & Mission
  • Contact us
  • Privacy Policy
  • Terms and Conditions

Copyright 2025 Manuals.Online. All Rights Reserved.